Manually install Apache, MySQL, and PHP on CentOS 7
Step 1: Install Apache
Run the httpd -v command to check the Apache version number.

Verify the installation.
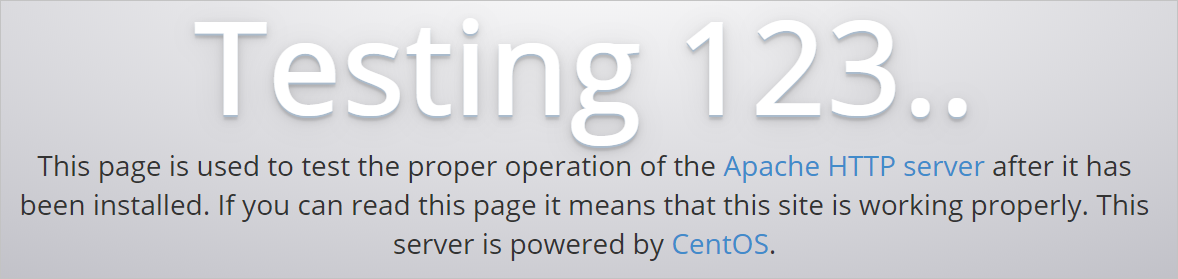
In the address bar of your browser, enter
http://<instance_public_IP_address>and pressEnter.If a page similar to the following figure appears, the Apache service has started successfully.
Step 2: Install MySQL
Run the following command to retrieve the initial temporary password.
grep 'temporary password' /var/log/mysqld.logRun the following command to log on securely and change your password.
mysql -u root -pAfter you log on to MySQL, run the following command to change the password.
NoteThe password must contain uppercase and lowercase letters, digits, and special characters to meet the requirements of the default password policy.
ALTER USER 'root'@'localhost' IDENTIFIED BY 'YourNewPassword';Run the following command to exit MySQL.
exit
Step 3: Install PHP
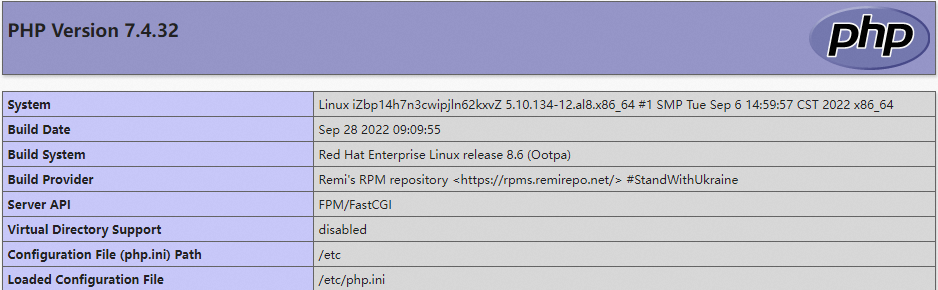
Run the following command to check the PHP version number.
php -vA result similar to the following indicates that the installation is successful.

In the address bar of your browser, enter
http://<instance_public_IP_address>/phpinfo.phpand pressEnter.If a page similar to the following is displayed, the installation is successful.