Install an Apache, MySQL, and PHP environment on Ubuntu
This topic describes how to install an Apache, MySQL, and PHP environment on an ECS instance that runs Ubuntu.
Details
Note the following items:
If you perform risky operations, such as modifying instances or data, ensure that you have a disaster recovery and fault tolerance plan in place to protect your data.
Before you modify the configuration or data of an instance, such as an ECS or RDS instance, create a snapshot or enable a feature such as RDS log backup.
If you have submitted security information, such as logon credentials, on the Alibaba Cloud platform, change them promptly.
Connect to the Linux instance using the management terminal. For more information, see ECS Remote Connection Guide.
Install a Nginx+MySQL+PHP environment
This example uses the following software versions:
Operating system: Ubuntu 22.04 64-bit
Apache version:
MySQL version:
PHP version:
This example uses Ubuntu 22.04 64-bit. The installation steps are similar for other Ubuntu versions, but the software versions installed by the apt package manager, some configuration files, and start commands may differ. Notes for different operating system versions are included in the steps.
When you use yum to install Apache, MySQL, and PHP, the installed version may vary because it depends on the YUM source that is available at the time of download.
Step 1: Install Apache
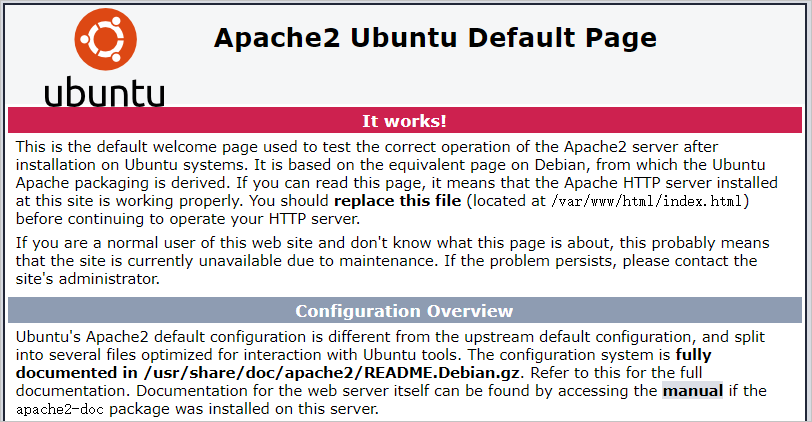
In a browser on your local computer or another host with public network access, open
http://<Public IP address of your ECS instance>.If the Apache default index page appears, the Apache service is running.
NoteApache listens on port 80 by default. If you cannot access the Apache service, make sure that you add an inbound security group rule to allow traffic on port 80 for the ECS instance. For more information, see Add a security group rule.