Magento is an open-source e-commerce platform with a rich, modular architecture and extensible features suitable for medium- and large-scale sites. It is developed using PHP and stores data in a MySQL database. This tutorial guides you through building a Magento e-commerce site using an Alibaba Cloud Marketplace image.
Background information
The Alibaba Cloud Marketplace image Magento e-commerce system (Centos 7.2 64-bit) includes software such as Apache 2.4, PHP 7.0, MySQL 5.6, Magento 2.1.1, and phpMyAdmin. For more information, see Magento e-commerce system (Centos 7.2 64-bit).
The default document root of the Magento e-commerce site is /yjdata/www/wwwroot. The following table lists the installation paths of the bundled software. For more information, see the official Magento documentation.
|
Software |
Path |
|
Apache 2.4.6 |
|
|
PHP 7.0 |
|
|
MySQL 5.6 |
|
|
Magento 2.1.1 |
|
In addition to using an Alibaba Cloud Marketplace image, you can also manually build a Magento e-commerce site. For more information, see Manually build a Magento 2 e-commerce site (Ubuntu).
Step 1: Build the Magento e-commerce site
This section describes how to build a Magento e-commerce site by selecting the Magento e-commerce system (Centos 7.2 64-bit) image when purchasing an ECS instance.
-
Click Magento e-commerce system (Centos 7.2 64-bit) or to go to the image details page.
-
Click Purchase Now.
-
On the Custom Launch page of the ECS console, configure the instance parameters.
Pay attention to the following parameters. For information about other parameters, see Create an instance on the Custom Launch tab.
-
Images: The Images section is preset with the image that you selected.
-
Public IP Address: Select Assign Public IPv4 Address.
-
Security Group: Configure the security group to allow inbound traffic on TCP ports 22, 80, 443, and 3306.
-
Step 2: Configure Magento
-
Obtain the database username, password, and database name.
-
Connect to the ECS instance where Magento is deployed.
For more information, see Log on to a Linux instance by using Workbench.
-
Run the following command to obtain the database username, password, and database name.
cat default.passThe output is similar to the following examples:
[root@iZbp1h2mquu8nb0jz99**** ~]# cat default.pass
+----------------------------------------------------------------------
| YJCOM [ EASY CLOUD EASY WEBSITE]
+----------------------------------------------------------------------
| Copyright (c) 2016 http://yjcom.com All rights reserved.
+----------------------------------------------------------------------

MySQL database name: magento
MySQL user: root
MySQL password: KMmnUTeg****
FTP account: www
FTP password: 3hrfJuu4****
-
-
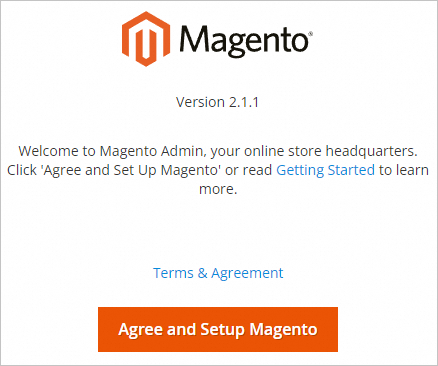
In the address bar of your browser, enter
http://<public IP address of your ECS instance>.The following page appears, indicating that Magento is installed.
-
Click Agree and Setup Magento to start configuring Magento.
-
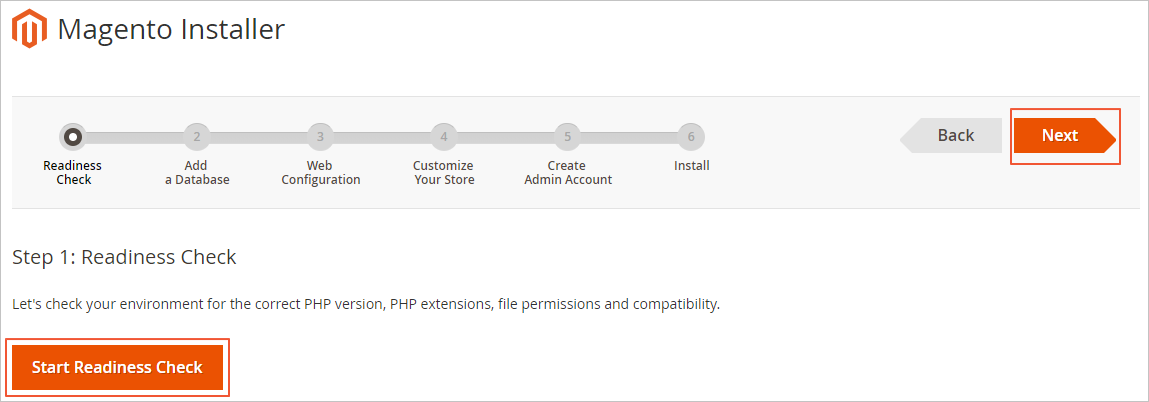
Click Start Readiness Check.
-
After the check is complete, click Next.
-
Enter the database username, password, and database name, then click Next.
See Obtain the database username, password, and database name for how to obtain the database credentials. The following list describes the parameters:
-
Database Server Host: The host address of the database. Enter
127.0.0.1. -
Database Server Username: The username for the database. The default value is
root. -
Database Server Password: The password for the database.
-
Database Name: The name of the database. The default value is
magento.

-
-
Enter the storefront URL and Magento Admin Address, then click Next.
By default, the storefront URL is set to the public IP address of the ECS instance.
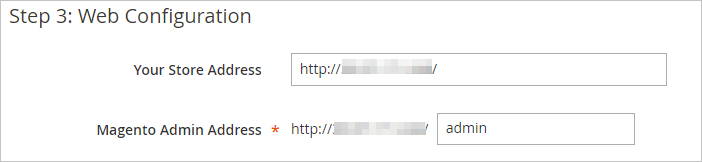 Note
NoteYou can customize the Magento Admin Address. Be sure to record the address that you set.
-
Set the language and time zone, then click Next.
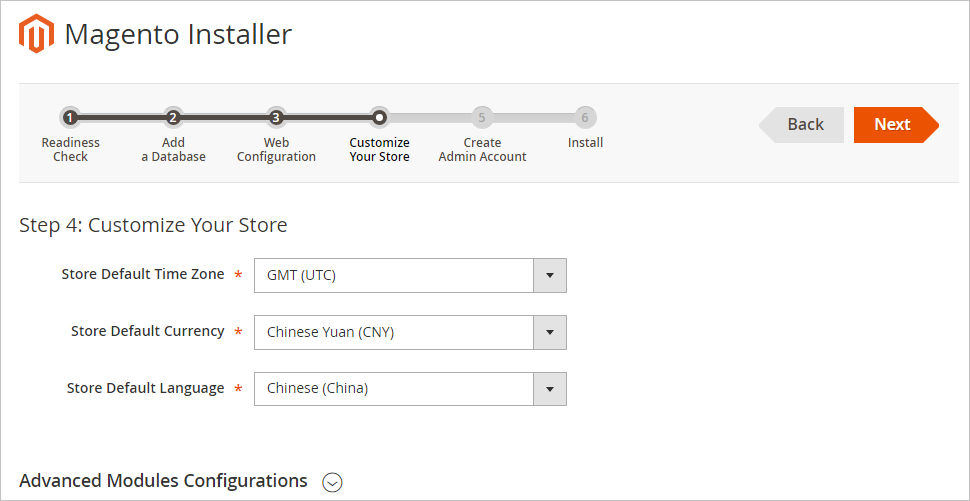
-
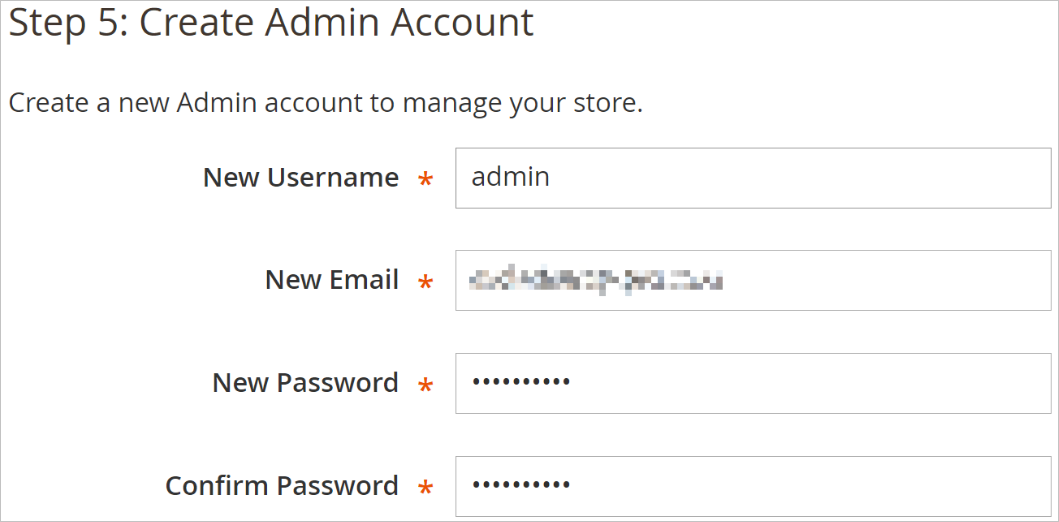
Set an administrator account and password, then click Next.

-
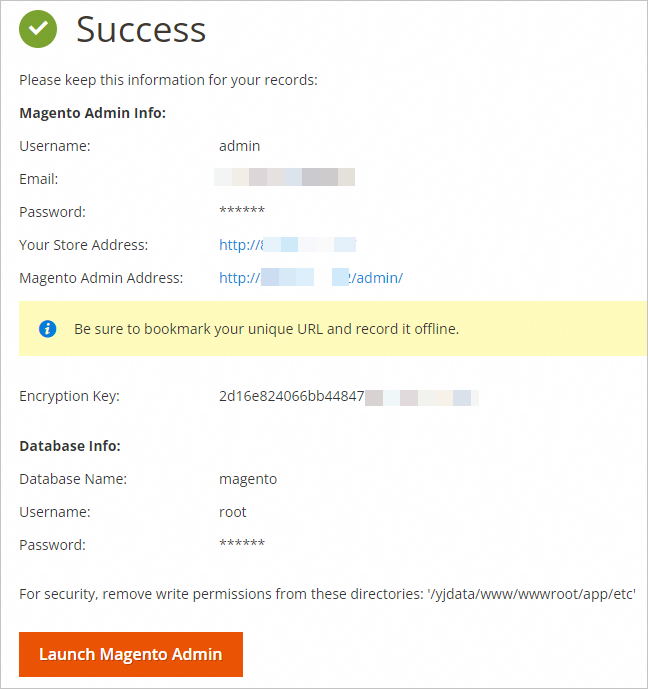
Click Install Now.
The following page appears, indicating that the Magento configuration is complete.
-
Step 3: Add cron jobs
Many features of a Magento e-commerce site require cron jobs, such as reindexing, generating emails, sending newsletters, and creating sitemaps. You must configure these scheduled tasks for your site to operate correctly.
-
Connect to the ECS instance where Magento is deployed.
For more information, see Log on to a Linux instance by using Workbench.
-
Run the following command to open the crontab editor.
crontab -u apache -e -
Press the
ikey to enter insert mode, then add the following content.*/10 * * * * php -c /etc /yjdata/www/wwwroot/bin/magento cron:run */10 * * * * php -c /etc /yjdata/www/wwwroot/update/cron.php */10 * * * * php -c /etc /yjdata/www/wwwroot/bin/magento setup:cron:run -
Press the Esc key, enter
:wq, then press the Enter key to save the file and exit. -
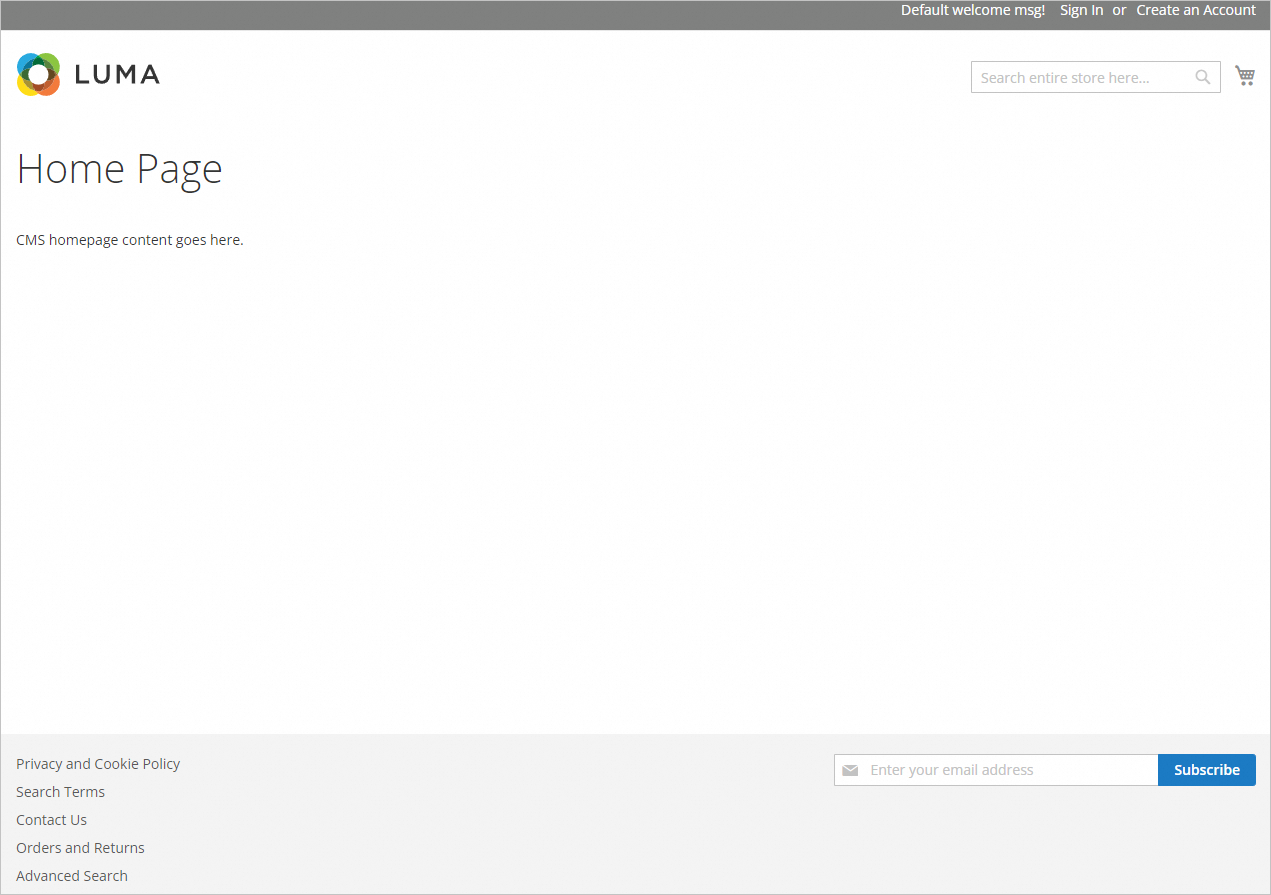
In the address bar of your browser, enter
http://<public IP address of your ECS instance>. The default home page is displayed. -
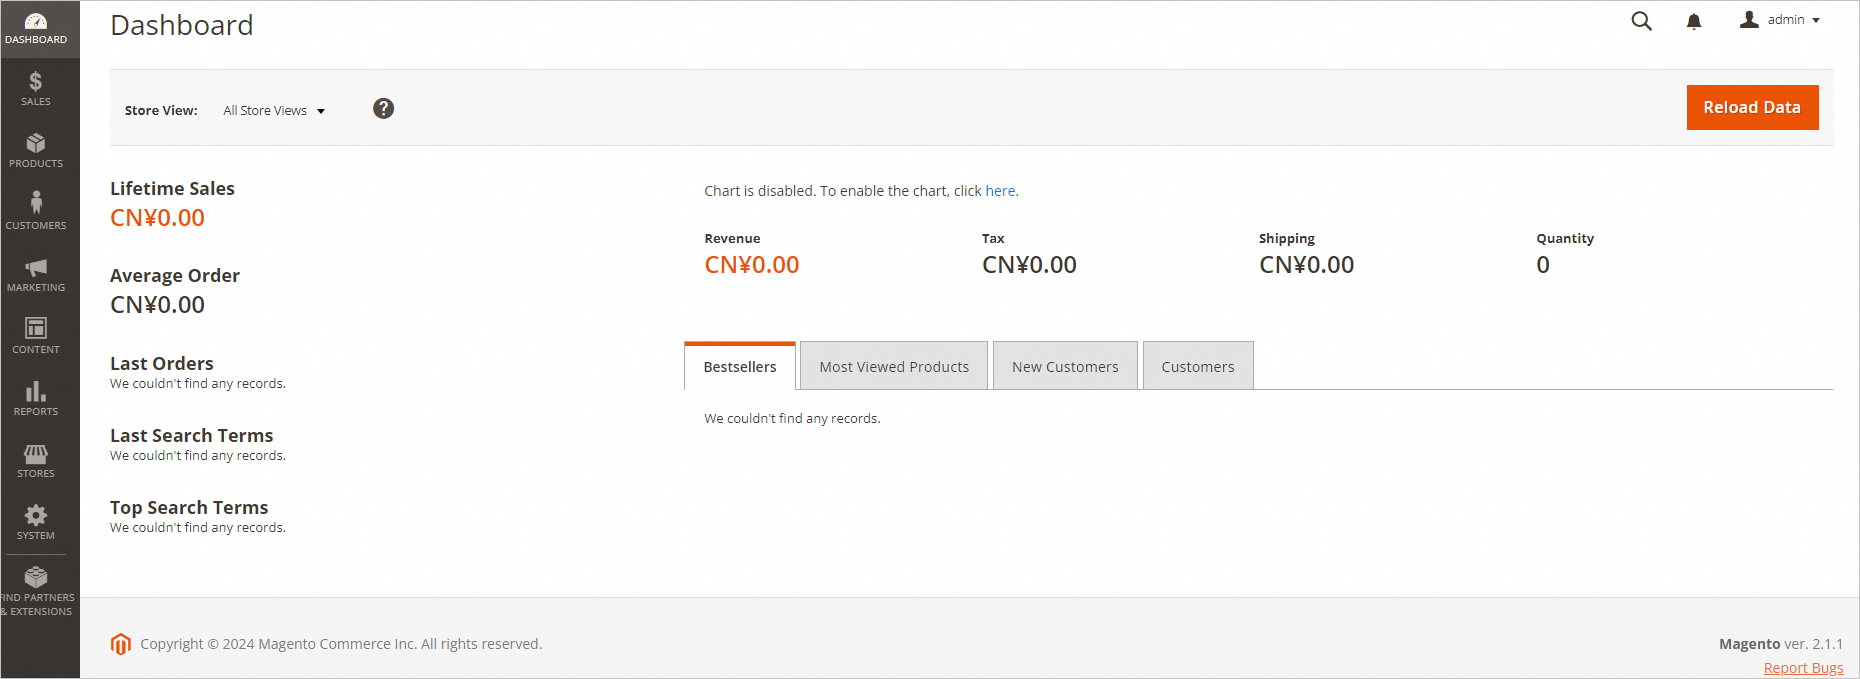
In the address bar of your browser, enter
http://<public IP address of your ECS instance>/admin. Enter the username and password that you set during the installation. After you log on to the admin panel, the following page is displayed.NoteIf the "One or more indexers are invalid. Make sure your Magento cron job is running." error message is displayed after you log on, see FAQ to resolve the issue.
For more information about using cron jobs in Magento, see the official Magento documentation.
(Optional) Step 4: Bind and resolve a domain name
To make your site easier to access, you can bind a domain name to it.
-
Register a domain name.
For more information, see Register a domain name. If you already have a domain name, skip this step.
For example, you can register the domain name
example.com. -
If the website to which your domain name points is hosted on an ECS instance in the Chinese mainland, you must complete an ICP filing for the domain name.
If this is your first ICP filing, see ICP filing process. Otherwise, see ICP filing process.
-
Optional: Resolve the domain name to the public IP address of the ECS instance.
-
If your domain name is registered with Alibaba Cloud, you can skip this step. The system automatically resolves the domain name after it is bound.
-
If your domain name is not registered with Alibaba Cloud and does not use Alibaba Cloud DNS for resolution, you can add the domain name to Alibaba Cloud DNS. For more information, see Domain Management. You can also contact your domain name provider to add an A record that maps the domain name to the server's IP address.
-
FAQ
After you log on to the Magento admin panel at http://<public IP address of your ECS instance>/admin, the "One or more indexers are invalid. Make sure your Magento cron job is running." error message may appear. To fix this, follow these steps.
-
Connect to the ECS instance where Magento is deployed.
For more information, see Log on to a Linux instance by using Workbench.
-
Run the following command to create a symbolic link from the PHP installation path to
/usr/sbin/php.ln -s /usr/local/php/bin/php /usr/sbin/php -
Run the following command to rebuild the indexes.
cd /yjdata/www/wwwroot
php bin/magento indexer:reindex
The following output indicates that the indexes were rebuilt successfully.
Design Config Grid index has been rebuilt successfully in 00:00:00 Customer Grid index has been rebuilt successfully in 00:00:00 Category Products index has been rebuilt successfully in 00:00:00 Product Categories index has been rebuilt successfully in 00:00:00 Product Price index has been rebuilt successfully in 00:00:00 Product EAV index has been rebuilt successfully in 00:00:00 Stock index has been rebuilt successfully in 00:00:00 Catalog Rule Product index has been rebuilt successfully in 00:00:00 Catalog Product Rule index has been rebuilt successfully in 00:00:00 Catalog Search index has been rebuilt successfully in 00:00:00 -
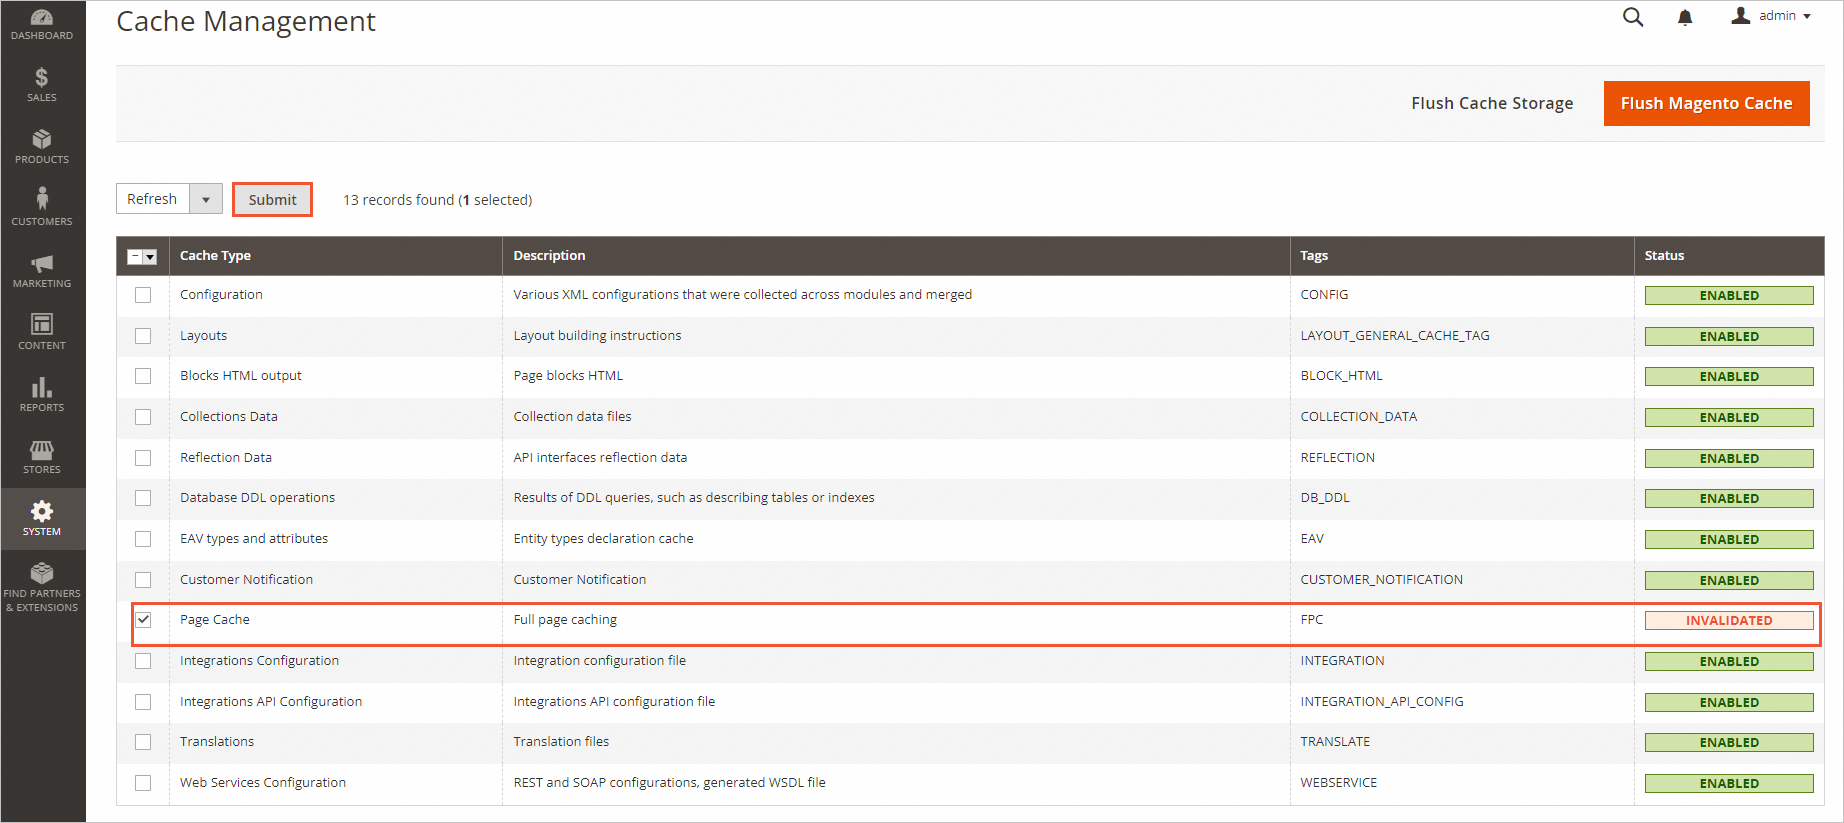
Refresh the page, then click Cache Management.
-
Select the Page Cache with an INVALIDATED status, then click Submit.
The issue is resolved when a message similar to the one below appears.

 The issue is resolved when a message similar to the one below appears.