Enterprise Distributed Application Service (EDAS) provides an integrated open source application marketplace to simplify deployment and improve developer efficiency. You can browse, search, and deploy popular open source applications, such as AI tools and microservice platforms, with a single click in the console. You do not need to manually obtain code, build images, or configure monitoring systems.
Features
This feature lets you:
Quickly discover and deploy popular open source projects.
Use the built-in observability features of EDAS for out-of-the-box monitoring and management.
Manage the lifecycle of deployed applications, including starting, stopping, updating, and deleting them.
Other features are described in the following table.
Feature |
Description |
View the deployed Helm chart |
On the proof of concept (POC) deployment page, click View Helm Chart in the upper-right corner to download or view the original Helm chart file. Use this file for local debugging or custom deployments. |
Notes
License disclaimer
Open source applications deployed through EDAS do not include a commercial license. You must comply with the original project's open source license, such as MIT or Apache 2.0. Alibaba Cloud is not responsible for any legal risks that arise from improper use.Resource consumption
Applications have different requirements for computing resources. Ensure that your cluster has enough CPU and memory resources.Network policy restrictions
The application uses an Internet-facing Server Load Balancer (SLB). To ensure security, configure security group rules. If the application depends on external services, such as a database or an API, configure Virtual Private Cloud (VPC) network policies and security group rules in advance.Kubernetes clusters only
POC deployment is available only for Kubernetes clusters that are connected to EDAS.Service boundaries and technical support scope
This version provides a basic POC deployment for open source applications. EDAS only ensures successful application deployment and that the application reaches its desired state, such as ready pods and accessible services. EDAS does not participate in the development or maintenance of open source projects and cannot guarantee their functional integrity or operational stability. If you encounter problems, see the project's official documentation or community for support.
Advanced configurations, such as environment variables, are not currently supported. To use extended features of the project, such as configuring environment variables or installing plug-ins, go to the Container Service for Kubernetes (ACK) console to perform manual configurations after deployment.
Procedure
Step 1: Go to the AI-native application marketplace
Log on to the EDAS console.
On the page, click the AI-native Applications tab.
Step 2: Search and filter applications
On the AI-native Applications page, you can find applications in the following ways:
Search box: Enter an application name or keyword, such as
n8n,AI, ormonitoring, for a fuzzy match.Category tags: Click a tag at the top, such as All, Microservice, or AI, to filter for specific types of applications.
Sort options: Select Latest, Hottest, Most Installed, or Recommended to view the application list sorted by different dimensions.
Step 3: View application details
Click View Details for any application to navigate to its details page and learn more about it.
Field |
Description |
Product introduction |
The features and scenarios of the application. |
Alternative products |
Suggestions for other open source tools with similar features. For example, alternatives to n8n include Coze Studio and AnythingLLM. |
Product tags |
Examples: Automation, No-Code, and Workflow Automation. These tags help with categorization. |
Open source information |
Displays data such as the license type, number of GitHub Stars, repository clones, and followers. |
Developer links |
Includes links to the product documentation and GitHub repository. This makes it easy to review the source code or submit an issue. |
Step 4: Start the POC deployment
On the application details page, click the POC Deployment tab.
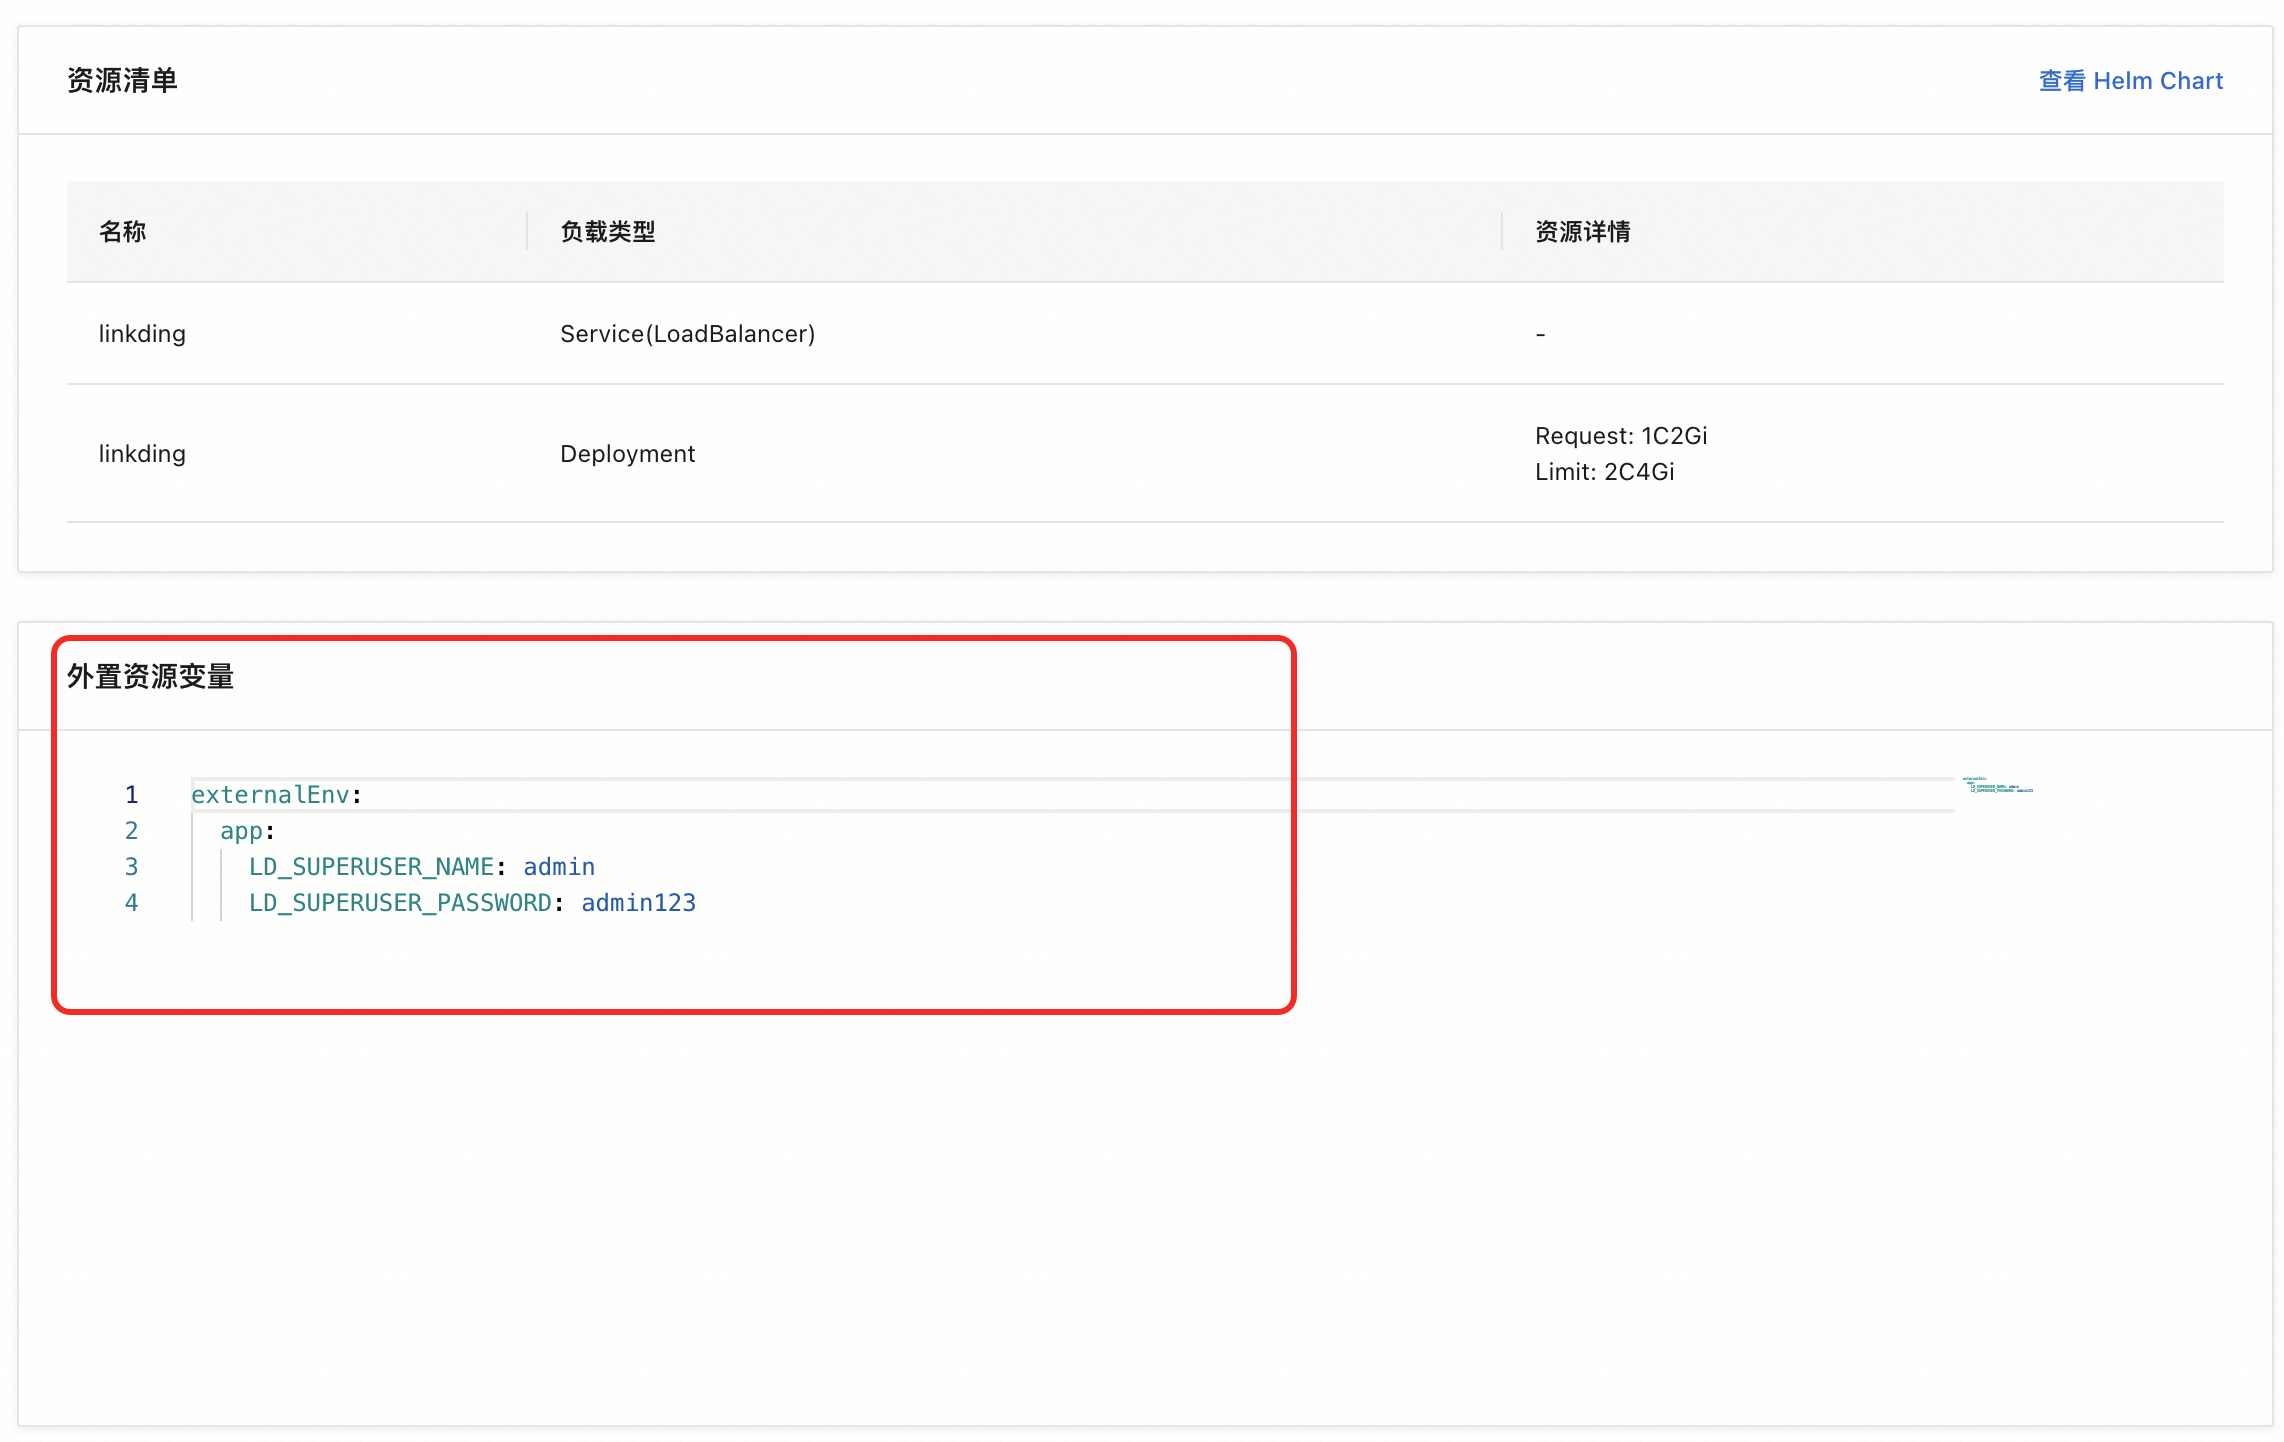
View the resource and cost checklist, including CPU and memory requests and limits, and PersistentVolumeClaims (PVCs).
Some applications require you to set environment variables. These variables fall into two categories: hard dependency variables (such as an API key) and external resource variables (such as an external database). If you do not correctly enter a hard dependency variable, the deployment will fail or the feature will be unavailable.
You can enter the deployment details.
Deployment Region: Select the destination region.
Microservices Namespace: Select the corresponding microservices namespace.
Kubernetes Cluster: Select the destination cluster for deployment.
Kubernetes Namespace: Specify the namespace.
The deployment cannot be submitted if any required fields are empty.
Click Deploy Now.
Step 5: Confirm the deployment
A confirmation dialog box appears. Click Deploy and Go to continue with the deployment task.
Step 6: Wait for the deployment to complete and access the application
After you confirm the deployment, you are automatically redirected to the Helm Details page for the application. The deployment process runs automatically in the background and usually takes a few minutes.
Wait for the Status to become Successful.
Wait for the External IP to be successfully attached.
Click the External IP, such as
115.29.XX.XX, and open it in a browser.
If the status is Deploying, the application is being initialized and deployed. Wait for the process to complete. Click Refresh to view the latest status. Once the status changes to Successful, the deployment is complete. You can then access the application using the attached external IP address.
Step 7: Manage the application
After deployment, the application appears in the following two locations:
Helm Application Management page
Path: Application Management > Helm Applications
Supported operations:
Details: View the application configuration and running status.
Update: Upgrade the chart version or modify parameters.
Delete: Remove the application. A second confirmation is required.
Application List page
Path: Application Management > Application List
You can view all Helm and non-Helm applications in one place.
FAQ
Why did my deployment fail?
Common reasons for deployment failure include the following:
Insufficient cluster resources (CPU or memory limits exceeded).
The cluster is abnormal, the namespace does not exist, or you have insufficient permissions.
Incorrect environment variable settings for the application. Check the logs or contact technical support.