Enterprise Distributed Application Service (EDAS) uses the Alert Management module of Application Real-Time Monitoring Service (ARMS) to deliver alert notifications through webhooks. Configure a webhook to route alerts to messaging platforms such as Lark, WeChat, or DingTalk in near real-time.
Setting up webhook-based alert delivery takes three steps: obtain a webhook URL from the target platform, create a webhook contact in the EDAS console, and link the contact to a notification policy. The following procedure uses a Lark group bot as an example.
Before you begin
An EDAS application is deployed and running
Access to the messaging platform where you want to receive alerts (Lark, WeChat, DingTalk, or any service that accepts HTTP callbacks)
Step 1: Get a webhook URL from Lark
If you already have a webhook URL from your messaging platform, skip to Step 2.
Create a custom bot in a Lark group and copy its webhook URL.
Open Lark and log in.
Click the + icon, then click New group to create a group for alert notifications.
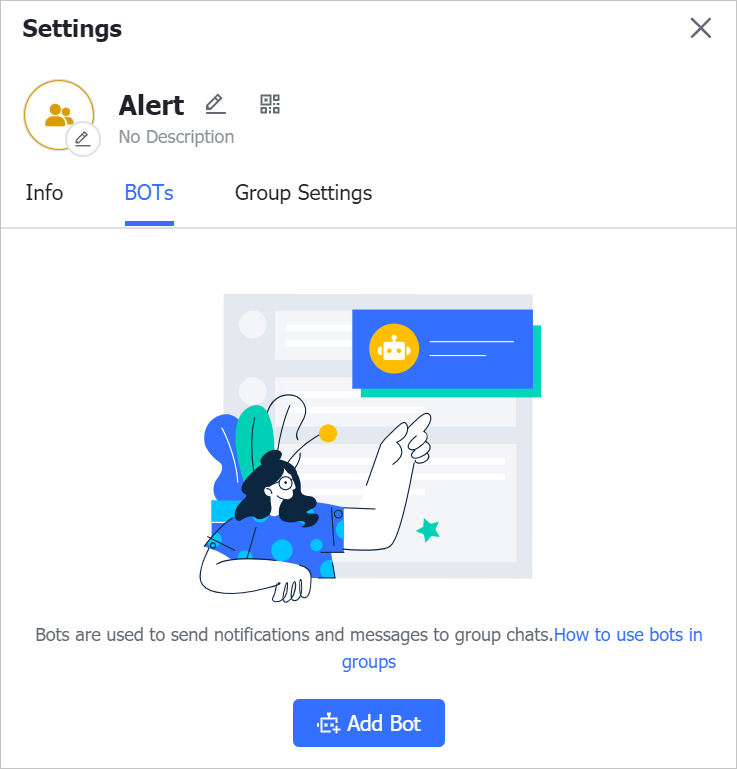
Click the Settings icon, then click the BOTs tab.
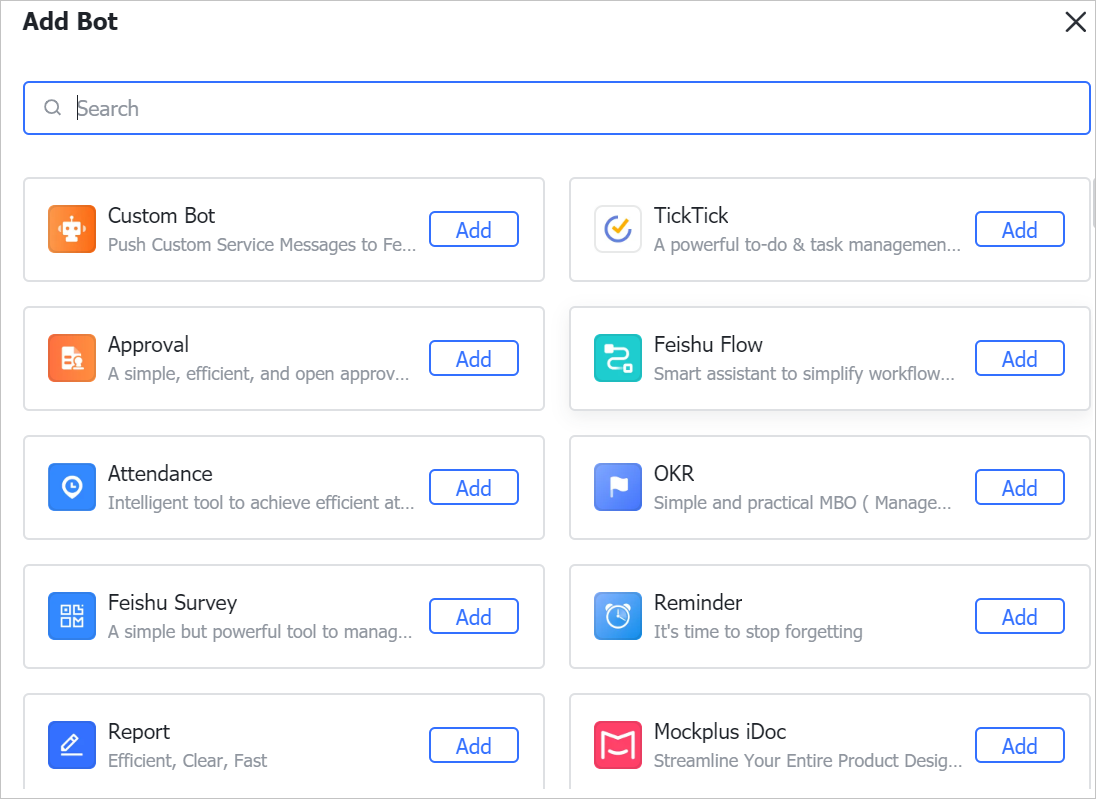
On the BOTs tab, click Add Bot.
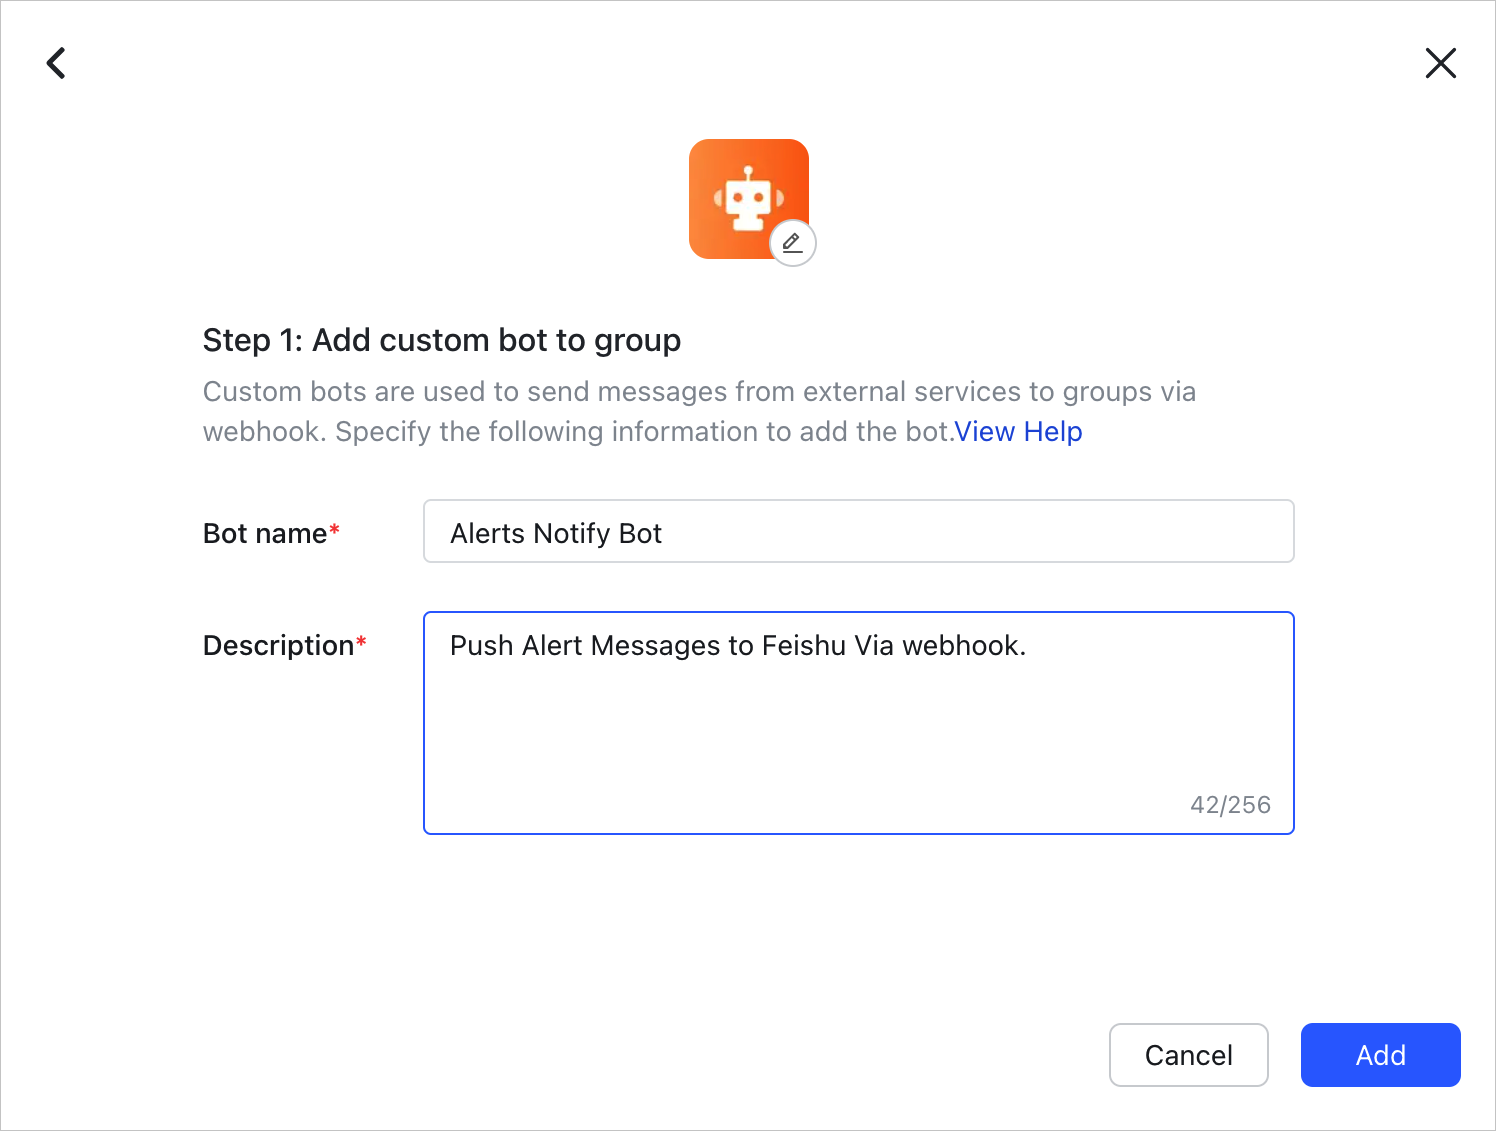
On the Add Bot page, select Custom Bot.
Enter a Bot name and Description, then click Add.
Click Copy next to Webhook URL, then click Save.
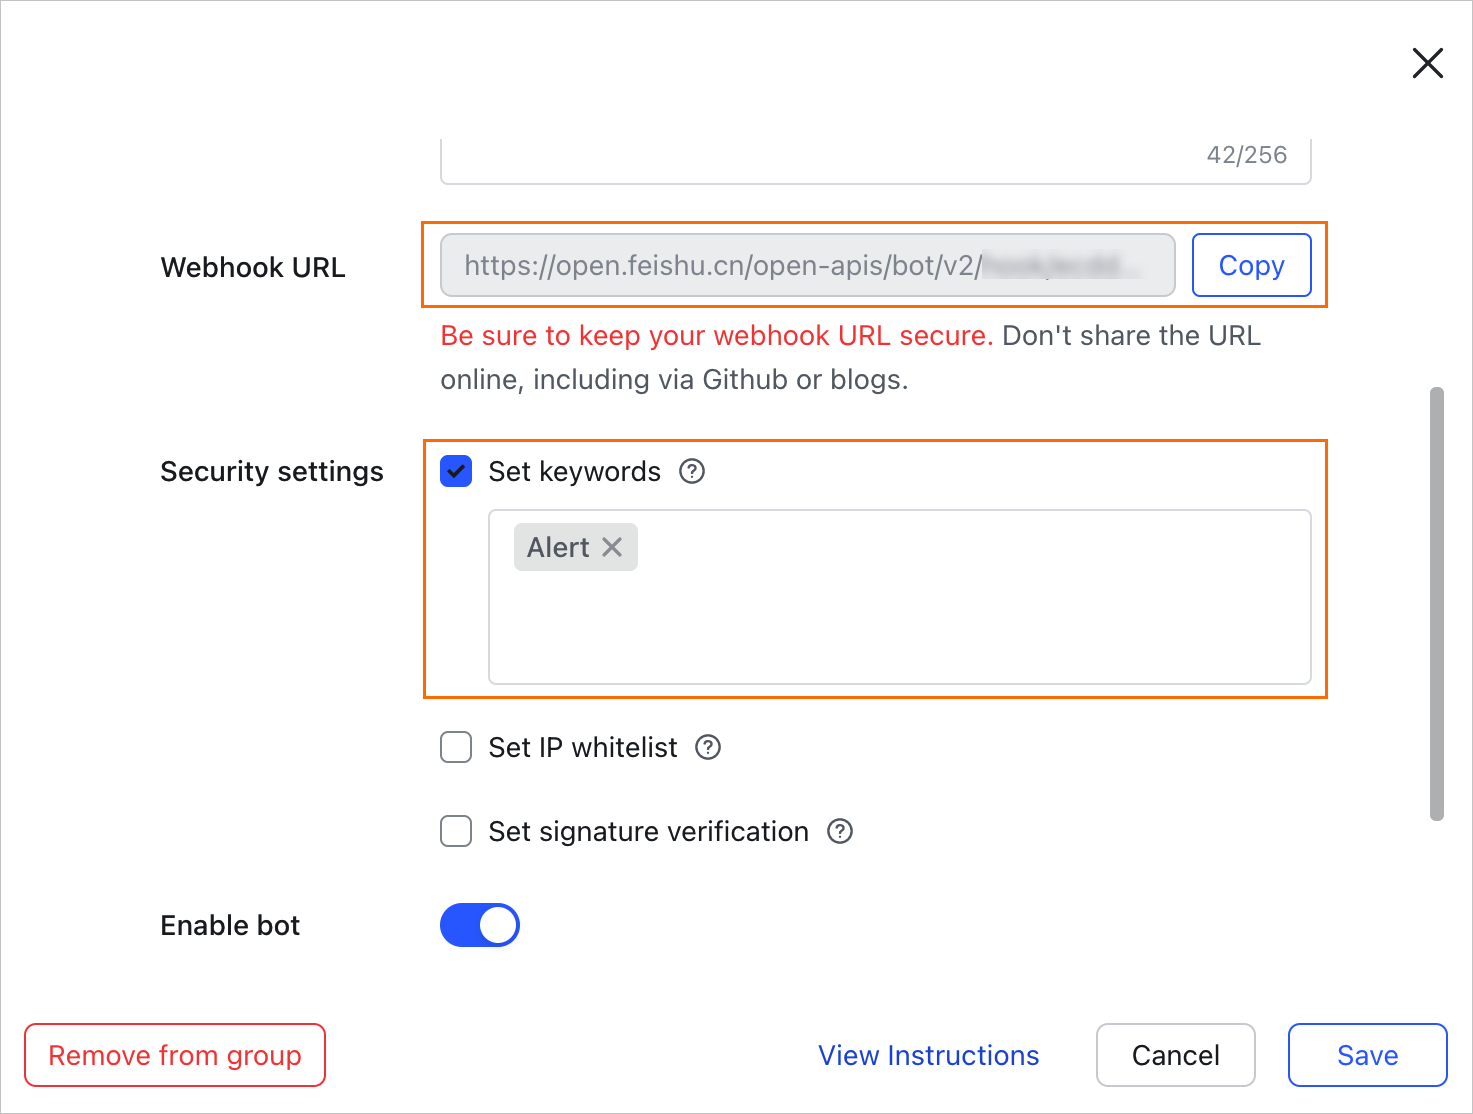
Save the copied URL for use in the next step.
Step 2: Create a webhook contact
Log on to the EDAS console.
On the Applications page, select a region in the top navigation bar and an option from the Microservice Namespace drop-down list. Select ECS Clusters from the Cluster Type drop-down list, then click the name of your application.
In the left-side navigation pane, choose Alert Management > Contact.
On the Notification Objects page, click the Webhook Integration tab, then click Create Webhook in the upper-right corner.
In the Create Webhook panel, configure the following settings.
Basic settings
| Setting | Required | Description |
|---|---|---|
| Webhook Name | Yes | The custom webhook name. |
| Request method | Yes | Post or Get. The URL cannot exceed 100 characters. |
For the Lark example, select Post and paste the webhook URL you copied in Step 1.
Request headers
| Setting | Required | Description |
|---|---|---|
| Request header | No | Custom headers or query parameters (Header or Param). Each entry cannot exceed 200 characters. Click + Add to add an entry. |
The default request header is Content-Type: text/plain; charset=UTF-8.The combined total of headers and parameters cannot exceed six.
For the Lark example, add the following two Header entries:
Arms-Content-Type: jsonContent-Type: application/json
Notification templates
Templates define the message body sent when an alert fires or clears. Templates are only available when the request method is Post. Each template cannot exceed 500 characters. Use the $content placeholder to reference the default notification content.
Notification Template (sent when an alert fires):
{
  "msg_type": "text",
  "content": {
    "text": "Alert Name: {{ .commonLabels.alertname }} \n Alert Triggered At: {{ .startTime }} \n Alert Message: {{ for .alerts }} {{ .annotations.message }}  {{if .generatorURL }} Link to Details: {{.generatorURL}} {{ end }} \n {{ end }}"
  }
}
Template to Clear Alerts (sent when an alert resolves):
{
  "msg_type": "text",
  "content": {
    "text": "Alert Name: {{ .commonLabels.alertname }} \n Alert Cleared At: {{ .endTime }} \n Alert Message: {{ for .alerts }} {{ .annotations.message }}  {{if .generatorURL }} Link to Details: {{.generatorURL}} {{ end }} \n {{ end }}"
  }
}
These Lark-specific templates use "msg_type": "text" as required by the Lark bot API. For other messaging platforms, adjust the payload format accordingly.
Generic template example
For platforms other than Lark, start with the following generic template:
{
  "Alert Name": "{{ .commonLabels.alertname }}{{if .commonLabels.clustername }}",
  "Cluster Name": "{{ .commonLabels.clustername }} {{ end }}{{if eq \"app\" .commonLabels._aliyun_arms_involvedObject_kind }}",
  "Application Name": "{{ .commonLabels._aliyun_arms_involvedObject_name }} {{ end }}",
  "Notification Policy": "{{ .dispatchRuleName }}",
  "Alert Triggered At": "{{ .startTime }}",
  "Alert Message": "{{ for .alerts }} {{ .annotations.message }} {{ end }}"
}
For the clear-alert version, replace {{ .startTime }} with {{ .endTime }} and rename the key to "Alert Cleared At".
Template variables reference
The following Go template variables are available in notification templates:
| Variable | Description |
|---|---|
{{ .commonLabels.alertname }} | Name of the alert rule |
{{ .commonLabels.clustername }} | Name of the cluster |
{{ .commonLabels._aliyun_arms_involvedObject_kind }} | Type of the monitored object |
{{ .commonLabels._aliyun_arms_involvedObject_name }} | Name of the application |
{{ .dispatchRuleName }} | Name of the notification policy |
{{ .startTime }} | Timestamp when the alert fired |
{{ .endTime }} | Timestamp when the alert cleared |
{{ for .alerts }} ... {{ end }} | Iterates over all alerts in the notification |
{{ .annotations.message }} | Alert message (used inside the {{ for .alerts }} loop) |
{{ .generatorURL }} | Link to the alert details page (used inside the {{ for .alerts }} loop) |
$content | Placeholder for the default notification content |
Use {{if <variable> }} ... {{ end }} for conditional blocks, and {{if eq "<value>" <variable> }} for equality checks.
Test and save
(Optional) Click Send Test to verify the webhook delivers a properly formatted message. If the test fails, check the following:
The webhook URL is correct and reachable.
The request headers match the target platform's requirements.
The template JSON is well-formed and all
{{ }}blocks are properly closed.
Click OK.
Step 3: Link the webhook to a notification policy
Associate the webhook with a notification policy to start receiving alerts.
In the left-side navigation pane, click Notification Policy.
On the Notification Policies page, create or modify a notification policy:
Set Contacts to the webhook contact you created in Step 2.
Select WebHook for the Notification Methods parameter.
For details on notification policy configuration, see Create and manage a notification policy.
If the webhook endpoint does not respond within 5 seconds, the notification delivery fails.
Verify the result
After linking the webhook to a notification policy, trigger a test alert or wait for an actual alert to fire. A successfully delivered notification appears in your Lark group with the alert name, trigger time, and alert message.
Troubleshooting
| Symptom | Possible cause | Resolution |
|---|---|---|
| No message received in Lark group | Webhook URL is incorrect or expired | Regenerate the webhook URL from the Lark bot settings and update it in the EDAS console. |
Send Test fails | Request headers are misconfigured | Verify that both Arms-Content-Type: json and Content-Type: application/json headers are set. |
| Message received but content is empty or malformed | Template syntax error | Check the Go template syntax. Make sure all {{ }} blocks are properly closed and variable names match the reference table above. |
| Notification not delivered for real alerts | Webhook not linked to a notification policy | Confirm that the notification policy has WebHook selected as the notification method and the correct webhook contact is assigned. |
| Delivery fails intermittently | Webhook endpoint responds slowly | Make sure the target endpoint responds within 5 seconds. |