AI CAPTCHA quick start
This guide shows you how to integrate AI CAPTCHA in two steps by adding Click-and-pass verification to a login page at test.example.com/login.
Step 1: Configure verification rule
Configure basic information, such as the URI to protect and the verification type.
Log in to the ESA console and go to the AI captcha configuration page.
On the Configuration page, click Add Rule.
On the Add Rule page, configure the following parameters:
Rule Name: Enter a custom name, such as
login.API to Be Verified: Enter the URI that you want to protect. In this example, enter
test.example.com/login.Methods to Verify: Select the request methods that require verification. In this example, select
GETandPOST.Type: Select the verification type. In this example, select Click-and-Pass.
For information about other types, see Types and Selection Suggestions.
Step 2: Integrate front-end code
After you add the verification rule in the ESA console, integrate the CAPTCHA initialization code into your web or H5 page to enable client-side verification.
Obtain credentials
ESA uses an Identity and a Scenario ID for authentication. Before integrating the front-end code, obtain the following credentials:
Identity: You can find your identity token in the upper-right corner of the Configuration page.
Scenario ID: You can find the ID in the Scenario ID column for the corresponding rule on the Configuration page.
Add script
In your front-end code, such as login.html, add the following three script snippets:
Define the global variable
AliyunCaptchaConfig: Before loading the CAPTCHA JavaScript file, add a script to define theAliyunCaptchaConfigobject. This object must contain theregionandprefixparameters. Place this script in the section of your HTML, before the main CAPTCHA script.<script> window.AliyunCaptchaConfig = { region: "cn", // Required. The region for the CAPTCHA example. Valid values are cn (Chinese mainland) and sgp (Singapore). If your client is distributed globally, pass cn for clients in the Chinese mainland and sgp for clients outside the Chinese mainland. prefix: "IDENTITY", // Required. The identity token. Replace IDENTITY with the identity token obtained in the previous step, such as: esa-q2*****cqb. }; </script>Dynamically load the CAPTCHA script: After you define the
AliyunCaptchaConfigobject, add the following script tag to load the main CAPTCHA script.NoteYou must dynamically load the AI CAPTCHA script. Bypassing dynamic loading, for example by hosting the script locally, prevents the CAPTCHA service from being updated. This compromises security and can cause incorrect blocking or compatibility issues.
<script
  type="text/javascript"
  src="https://o.alicdn.com/captcha-frontend/aliyunCaptcha/AliyunCaptcha.js"
></script>
Add the initialization method: Call the
initAliyunCaptchafunction to initialize the CAPTCHA. For more information, see initAliyunCaptcha parameter reference.NoteDo not call the
initAliyunCaptchafunction more than once unless necessary, for example, when initialization parameters change. If initialization fails, see Client-side initialization errors for troubleshooting.<script type="text/javascript"> var captcha; window.initAliyunCaptcha({...}); </script>
Sample code
Refer to the following sample code to add AI CAPTCHA to your front-end code.
Load the CAPTCHA script as early as possible in your page lifecycle. This allows the script to collect more comprehensive environment and device data. Ensure at least a 2-second interval between loading the script and making a verification request.
To ensure faster resource loading, initialize the CAPTCHA as early as possible. Allowing at least 2 seconds between initialization and the verification request ensures that related resources, such as images, can load.
In your client's source code, reserve placeholder elements for the CAPTCHA. The
elementandbuttonparameters will target these elements. For example:<div id="captcha-element"></div>.
<!doctype html>
<html>
  <head>
    <meta charset="utf-8" />
    <meta name="data-spm" />
    <!-- 1. Before including the AI CAPTCHA script, define the global AliyunCaptchaConfig object. Place this in the <head> tag of your HTML. -->
    <script>
      window.AliyunCaptchaConfig = {
        region: "cn",
        prefix: "{{IDENTITY}}",
      };
    </script>
    <!-- 2. Load the main CAPTCHA script. -->
    <script
      type="text/javascript"
      src="https://o.alicdn.com/captcha-frontend/aliyunCaptcha/AliyunCaptcha.js"
    ></script>
  </head>
  <body>
    <!-- Placeholder element for the CAPTCHA. This is the target for the 'element' parameter in the initialization function. -->
    <div id="captcha-element"></div>
    <!-- In pop-up mode, this element triggers the CAPTCHA dialog. -->
    <button id="button" class="btn">Login</button>
    <!-- 3. Add a <script> tag to call the initAliyunCaptcha function. -->
    <script type="text/javascript">
      var captcha;
      window.initAliyunCaptcha({
        // The Scene ID. You can find this ID in the rule list on the Configuration page after you create a rule.
        SceneId: "{{SCENE_ID}}",
        // The CAPTCHA mode. 'popup' displays the CAPTCHA in a dialog. 'embed' renders it directly on the page. Do not change this unless required.
        mode: "popup",
        // The placeholder element where the CAPTCHA will be rendered. This must match the element reserved in your HTML.
        element: "#captcha-element",
        // The ID of the element that triggers the pop-up or no-CAPTCHA verification.
        button: "#button",
        // Callback function for successful verification.
        success: function (captchaVerifyParam) {
          // The captchaVerifyParam is passed as an argument.
          // 1. Send this parameter to your backend server, which then sends it to the ESA server for signature verification.
          // 2. Handle the business logic based on the verification result from your server.
          // 3. To run the verification again, call captcha.refresh().
          console.log('SUCCESS'); // Print SUCCESS to the console for debugging.
        },
        // Callback function for failed verification.
        fail: function (result) {
          // The argument contains failure information.
          // No action is needed if the verification fails within its validity period. The CAPTCHA automatically refreshes for a new attempt.
          console.error(result);
        },
        // Callback function to get the CAPTCHA instance. This is called after successful initialization.
        getInstance: function (instance) {
          captcha = instance;
        },
        // Specifies the ESA service endpoint. Do not change this value.
        server: ['captcha-esa-open.aliyuncs.com', 'captcha-esa-open-b.aliyuncs.com'],
        // Style for the trigger box in slider verification and Click-and-pass modes. You can customize the width and height in pixels (px).
        slideStyle: {
          width: 360,
          height: 40,
        },
        // For other parameters, see the initAliyunCaptcha parameter reference.
      });
    </script>
  </body>
</html>
When the success: function (captchaVerifyParam) function is called, the client sends a request to ESA. The request must include the signature verification parameter captchaVerifyParam. captchaVerifyParam can be placed in the request parameters or in the header. Refer to the following two examples:
URI parameter
async function captchaVerifyCallback(captchaVerifyParam) {
    // 1. Send a request to your application's backend endpoint to verify the token.
    const result = await fetch('${YOUR_BACKEND_VERIFICATION_ENDPOINT}?captcha_verify_param=' + captchaVerifyParam, {
        method: 'POST',
        headers: { 'Content-Type': 'application/json'},
        body: JSON.stringify({
            // Your custom business parameters
            // BizParam:
        }),
        credentials: 'include'
    });
    // Your backend must proxy the 'X-Captcha-Verify-Code' header from the ESA server's response.
    const verify_code = result.headers.get('X-Captcha-Verify-Code');
    if (verify_code === 'T001') {
        alert('Verification successful!');
    } else {
        alert('Verification failed: ' + verify_code);
    }
    // Refresh the CAPTCHA for the next verification.
    captcha.refresh();
    const data = await result.json();
    return data;
}
Header value
async function captchaVerifyCallback(captchaVerifyParam) {
 // 1. Send a business request to ESA to obtain the CAPTCHA verification result and business result.
 const result = await fetch('${Business verification URI (the URI configured for CAPTCHA in the ESA console)}', {
 method: 'POST',
 headers: { 'Content-Type': 'application/json', 'captcha-verify-param': captchaVerifyParam},
 body: JSON.stringify({
 // Custom business parameters
 }),
 credentials: 'include'
 });
 const verify_code = result.headers.get('X-Captcha-Verify-Code')
 if (verify_code === 'T001') {
 alert('CAPTCHA verification passed!');
 } else {
 alert('CAPTCHA verification failed: ', verify_code)
 }
 captcha.refresh()
 const data = await result.json()
 return data
}
Result:
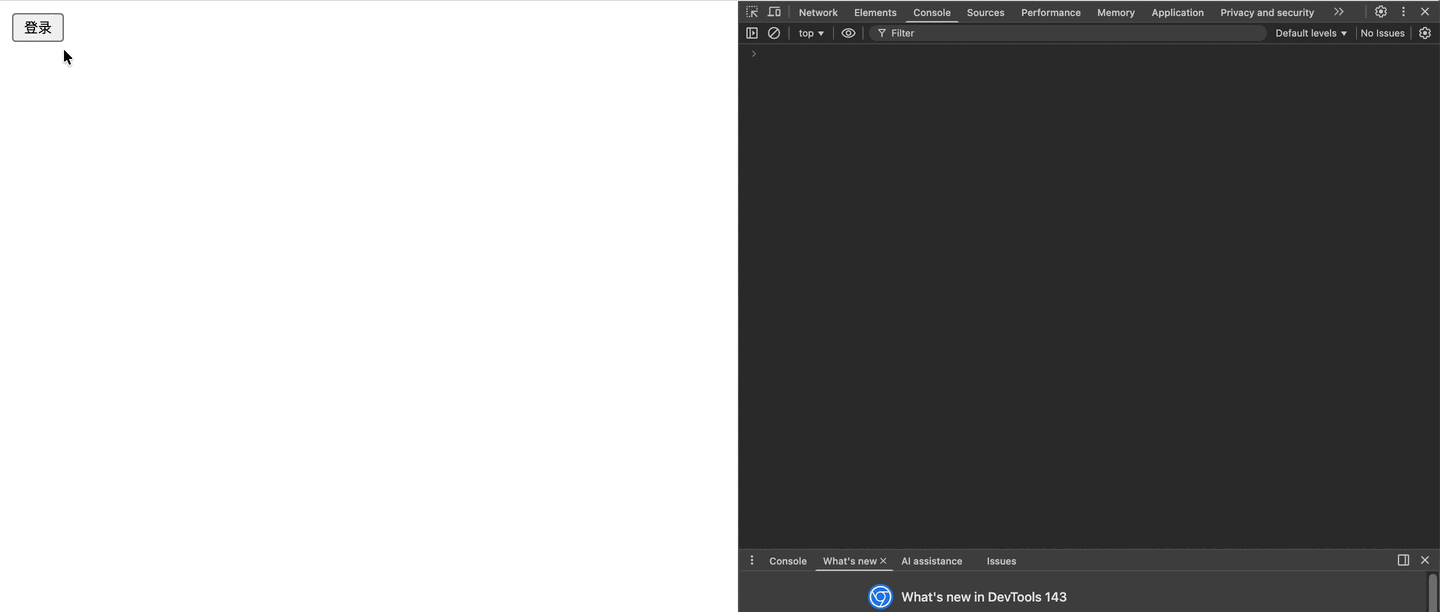
The ESA server-side verification response includes the x-captcha-verify-code header. Your backend must pass this header to the client. The client can then handle the result based on the following reason codes:
Reason code | Description |
T001 | Verification passed. |
T005 | Test mode is enabled in the console and configured to pass verification. |
T006 | The request matched a whitelist policy and passed verification. |
F001 | Suspected attack request — the request failed the risk policy check. |
F003 | Failed to parse |
F004 | Test mode is enabled in the console and configured to fail verification. |
F005 | The Scene ID ( |
F008 | Duplicate submission of verification data. |
F009 | A virtual device environment was detected. Check whether a virtual machine (such as VMware, VirtualBox, Hyper-V, or Parallels), an emulator (such as AVD, BlueStacks, or VBox/Hyper-V), or a desktop browser impersonating a mobile device is in use. |
F010 | The access frequency from the same IP address exceeded the limit. |
F011 | The access frequency from the same device exceeded the limit. |
F014 | No initialization record was found. There are two possible causes:
|
F015 | The verification interaction failed. |
F016 | The request was blocked by the URL verification policy configured in the custom policy in the console. |
F017 | The content of |
F018 | The signature verification data was reused. |
F019 | Signature verification timed out (valid for 90 seconds) or was performed before a verification was initiated. |
F020 | The verification ticket does not match the Scene ID or user. |
F021 | The |
F022 | Encryption mode verification failed in the V3 architecture (for example, client resource abuse was blocked, or the client was not integrated correctly). |
F024 | An automated script simulating clicks, swipes, or similar actions was detected. Do not enable blocking for a Vue application that introduces touch-emulator to simulate touch events on desktop, or for any other business with legitimate simulated-click scenarios. |
T005, T006, F004, F009, F016, and F024 depend on test mode, whitelist policies, or custom policies on the CAPTCHA service side. These switches are not available in the Captcha configuration of the ESA console. According to the policy dependency section of "V3 client architecture response data", F009, F016, and F024 are never returned if custom policy is not enabled.
References
AliyunCaptchaConfig parameters
Parameter | Type | Required | Default | Description |
region | String |
| The region where the CAPTCHA instance is deployed. Valid values:
The AI CAPTCHA service has control planes in the Chinese mainland (China (Shanghai)) and Singapore regions. Based on your configuration, client-side data such as user behavior and device information is sent to the corresponding regional center for security processing. | |
prefix | String | None | Your identity token. |
initAliyunCaptcha parameters
Parameter | Type | Required | Default | Description |
SceneId | String | None | The Scene ID for the verification scenario. | |
mode | String | None | The display mode for the CAPTCHA. Valid values:
| |
element | String | None | A CSS selector for the HTML element where the embedded CAPTCHA will be rendered. This must match the placeholder element in your source code. | |
button | String | None | The element that is clicked to display the CAPTCHA pop-up or trigger no-CAPTCHA verification. The value must be the same as the value of the | |
success | Function | None | When the CAPTCHA verification is successful, the callback function returns the verification parameter. In this function, you can obtain | |
fail | Function | None | The callback function that is executed upon a failed verification. It receives an error code. | |
getInstance | Function |
| A callback function that receives the CAPTCHA instance object after initialization. Use the following syntax: | |
slideStyle | Object |
| An object to customize the style of the trigger box for slider verification and Click-and-pass types. You can set the width and height in pixels (px). Notes:
| |
language | String |
| The language for the CAPTCHA UI. Valid values:
| |
timeout | Number |
| The timeout for a single initialization request, in milliseconds. | |
rem | Number |
| A number to scale the CAPTCHA UI. For example, rem parameter is primarily for mobile browsers. | |
onError | Function | None | An error callback function for failures or timeouts during the initialization request or resource loading. Use the following syntax: | |
onClose | Function | None | A callback function that is triggered when the CAPTCHA pop-up dialog is closed. | |
showErrorTip | Boolean | true | Specifies whether to display an error message for access exceptions due to poor network quality. | |
delayBeforeSuccess | Boolean | true | Specifies whether to delay the |
No-CAPTCHA mode methods
You can call methods on the CAPTCHA instance. In no-CAPTCHA mode, the initial verification is triggered automatically. Do not use the following methods to control the initial verification, but you can use them for custom flows:
Method name | Description | Example | Use case |
show | Displays the CAPTCHA element and overlay. |
| Use this method to programmatically trigger the CAPTCHA dialog without a user click. |
hide | Hides or closes the CAPTCHA element and overlay. |
| Use this method to programmatically close the CAPTCHA dialog. |
Limits
IP Address Access Frequency Limit
The access frequency limit for the same IP address is 4,000 times per hour.
The access frequency limit for the same IP address is 10,000 times per day.
Device Access Frequency Limit
The access frequency limit for the same device is 150 times per hour.
The access frequency limit for the same device is 400 times per day.
Intercept Simulated Devices
Intercept Simulated Devices is a switch in the custom policy and is disabled by default. After you turn on the switch, requests from simulated devices are intercepted. Simulated devices include virtual machines such as VMware, VirtualBox, Hyper-V, and Parallels; emulators such as AVD, BlueStacks, VirtualBox, and Hyper-V; and mobile browser simulators.