Real-time data analysis with Flink
This topic describes how to analyze real-time data with Flink and write the processed results to a Milvus vector database. This tutorial is designed for scenarios that combine Flink real-time computing with Milvus vector retrieval, particularly for processing high-concurrency streaming data.
Prerequisites
-
You have activated a Realtime Compute for Flink workspace. For more information, see Activate Realtime Compute for Flink.
-
You have created a Milvus instance and a collection. For more information, see Quickly create a Milvus instance and Manage collections.
Limitations
This feature is supported only in Ververica Runtime (VVR) 11.1 and later.
Step 1: Create a job
-
-
Log on to the Realtime Compute console.
-
Find the target workspace and click Console in the Actions column.
-
In the left-side navigation pane, click .
-
-
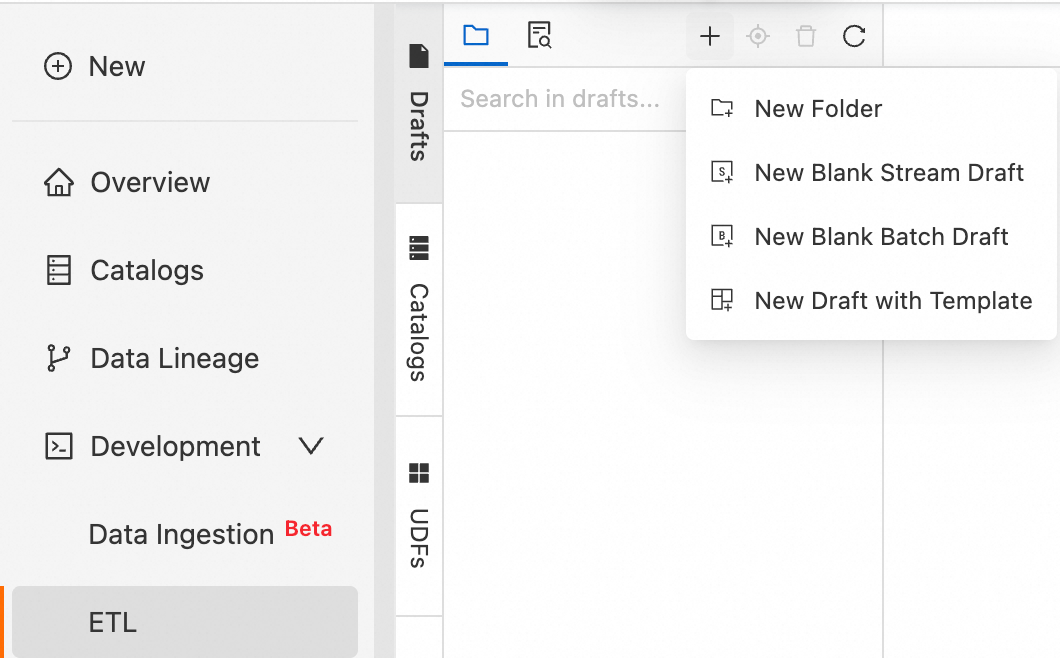
Click the
 icon, and then click New Blank Stream Draft. Enter a File Name and select an engine version.
Realtime Compute for Apache Flink provides a variety of code templates and data synchronization templates. Each template includes specific use cases, code examples, and instructions. You can use these templates to quickly familiarize yourself with product features and syntax to implement your business logic. For more information, see Code templates and Data synchronization templates.
Parameter
Description
Example
File name
The name of the stream draft.
NoteThe name must be unique within the current workspace.
flink-test
Engine version
The Flink engine version for the stream draft.
Use versions labeled with Recommended or Stable. These versions offer higher reliability and better performance. For more information about engine versions, see Feature release history and Engine versions.
vvr-8.0.8-flink-1.17
-
Click Create.
Step 2: Write an SQL job
Copy the following sample code to the SQL editor.
-- Generate mock stream data.
CREATE TEMPORARY TABLE mock_source (
    id STRING,
    vector array<float>,           -- Vector data.
    event_time AS PROCTIME() -- Event time, automatically generated by Flink.
) WITH (
    'connector' = 'datagen',
    'rows-per-second' = '100',  -- Generate 100 records per second.
    'fields.id.kind' = 'sequence',
    'fields.id.start' = '1',
    'fields.id.end' = '1000'
);
-- Create a temporary result table named milvus_sink.
CREATE TEMPORARY TABLE milvus_sink (
  id STRING,               -- A unique identifier, such as a device ID.
  vector ARRAY<FLOAT>,     -- Vector data (must be a FLOAT array).
  `timestamp` BIGINT,         -- Timestamp for stream processing.
  PRIMARY KEY (id) NOT ENFORCED  -- Required. Milvus supports only BIGINT or STRING as the primary key.
) WITH (
    'connector' = 'milvus',
    'endpoint' = '<YOUR-ENDPOINT>',
    'port' = '<YOUR-PORT>',
    'userName' = '<YOUR-USERNAME>',
    'password' = '<YOUR-PASSWORD>',
    'databaseName' = 'default',
    'collectionName'='flink_stream_demo'
);
-- Transform the data and write it to Milvus.
INSERT INTO milvus_sink
SELECT
    id,
    vector,
    UNIX_TIMESTAMP() * 1000 AS `timestamp`  -- The current timestamp in milliseconds.
FROM mock_source;
This example uses the parameters listed below. Replace the placeholder values with your environment's actual values.
|
Parameter |
Description |
|
|
The name of the connector. This value must be |
|
|
The access address for Milvus must be in the format The internal endpoint of your Milvus instance can be found on the Instance Details page. |
|
|
The listening port of the Milvus instance. This value must be |
|
|
The username and password that you configured when you created the Milvus instance. The default username is root. |
|
|
|
|
|
The name of the database to connect to. This example uses the default database |
|
|
The name of the collection. You can customize it. This example uses flink_stream_demo. |
Step 3: Deploy and start the job
-
In the upper-right corner of the SQL editor, click Deploy.
-
In the Deploy New Version dialog box, configure the parameters and click OK.
For the Deployment target, you can select Resource queue or Session cluster.
-
In the left-side navigation pane, click .
-
In the Actions column for the target job, click Start.
-
Select Stateless start and click Start.
A running status indicates that the job has started successfully. For more information about job startup parameters, see Start a job.
For more information, see Deploy and start a Flink SQL job.
Step 4: View the synchronized results
The analysis results are written to the target collection in Milvus. Log on to Milvus to view the data.
-
In the Milvus console, access the Attu page of the target Milvus instance. For more information, see Access the Attu page.
-
Navigate to the target collection and view the synchronized data on the Data tab.
After the synchronization is complete, the
flink_stream_democollection contains 1,000 records with three fields:id,vector, andtimestamp.