Download NAS data to on-premises storage with rsync, Robocopy, SFTP, or IIS FTP, or sync to OSS first and then download locally.
Downloading NAS data consumes ECS public bandwidth. Use a dedicated ECS instance to avoid impacting workloads. For more information, see Use a new ECS instance as a transit node.
Select a migration method
Select a method based on your scenario:
|
Scenario |
Recommended method |
Description |
|
Small number of files with cross-platform GUI |
SFTP client |
Graphical interface, supports Linux, macOS, and Windows. |
|
Large datasets with metadata preservation |
rsync |
Incremental sync, preserves permissions and ownership. |
|
Large datasets on Windows (SMB) |
Robocopy |
Windows built-in tool, creates mirror copies. |
|
Small number of files on Windows (SMB) |
IIS FTP |
Graphical interface for SMB file systems. |
|
Very large datasets or limited bandwidth |
OSS transit |
Sync to OSS first, then download from OSS. |
Use an SFTP client
Procedure
-
Install an SFTP client on your local operating system.
Various SFTP clients are available. This topic uses FileZilla as an example. Download and install an SFTP client that is compatible with your local operating system.
-
Connect the SFTP client to the transit node ECS instance.
-
Open the FileZilla client, configure the following parameters, and then click Quickconnect.
After the connection is established, the left pane displays your local file system, and the right pane displays the file system of the ECS instance.

Parameter
Description
Host
The public IP address of the transit node ECS instance. For example, 192.0.2.1.
Username
The username for the transit node ECS instance. This user must have read and write permissions on the File Storage NAS directory. For example,
root.Note-
The default username for a Linux ECS instance is
rootorecs-user. -
The default username for a Windows ECS instance is
administrator.
Password
The logon password for the transit node ECS instance. For example, the root password.
NoteIf you forget the password for the transit node ECS instance, you can reset it. For more information, see Reset the logon password of an instance.
Port
The SFTP port number. The default is 22.
-
-
In the right pane, set the path in Remote site to the mount path of the File Storage NAS file system, such as
/mnt, and press Enter to view the list of files on the file system.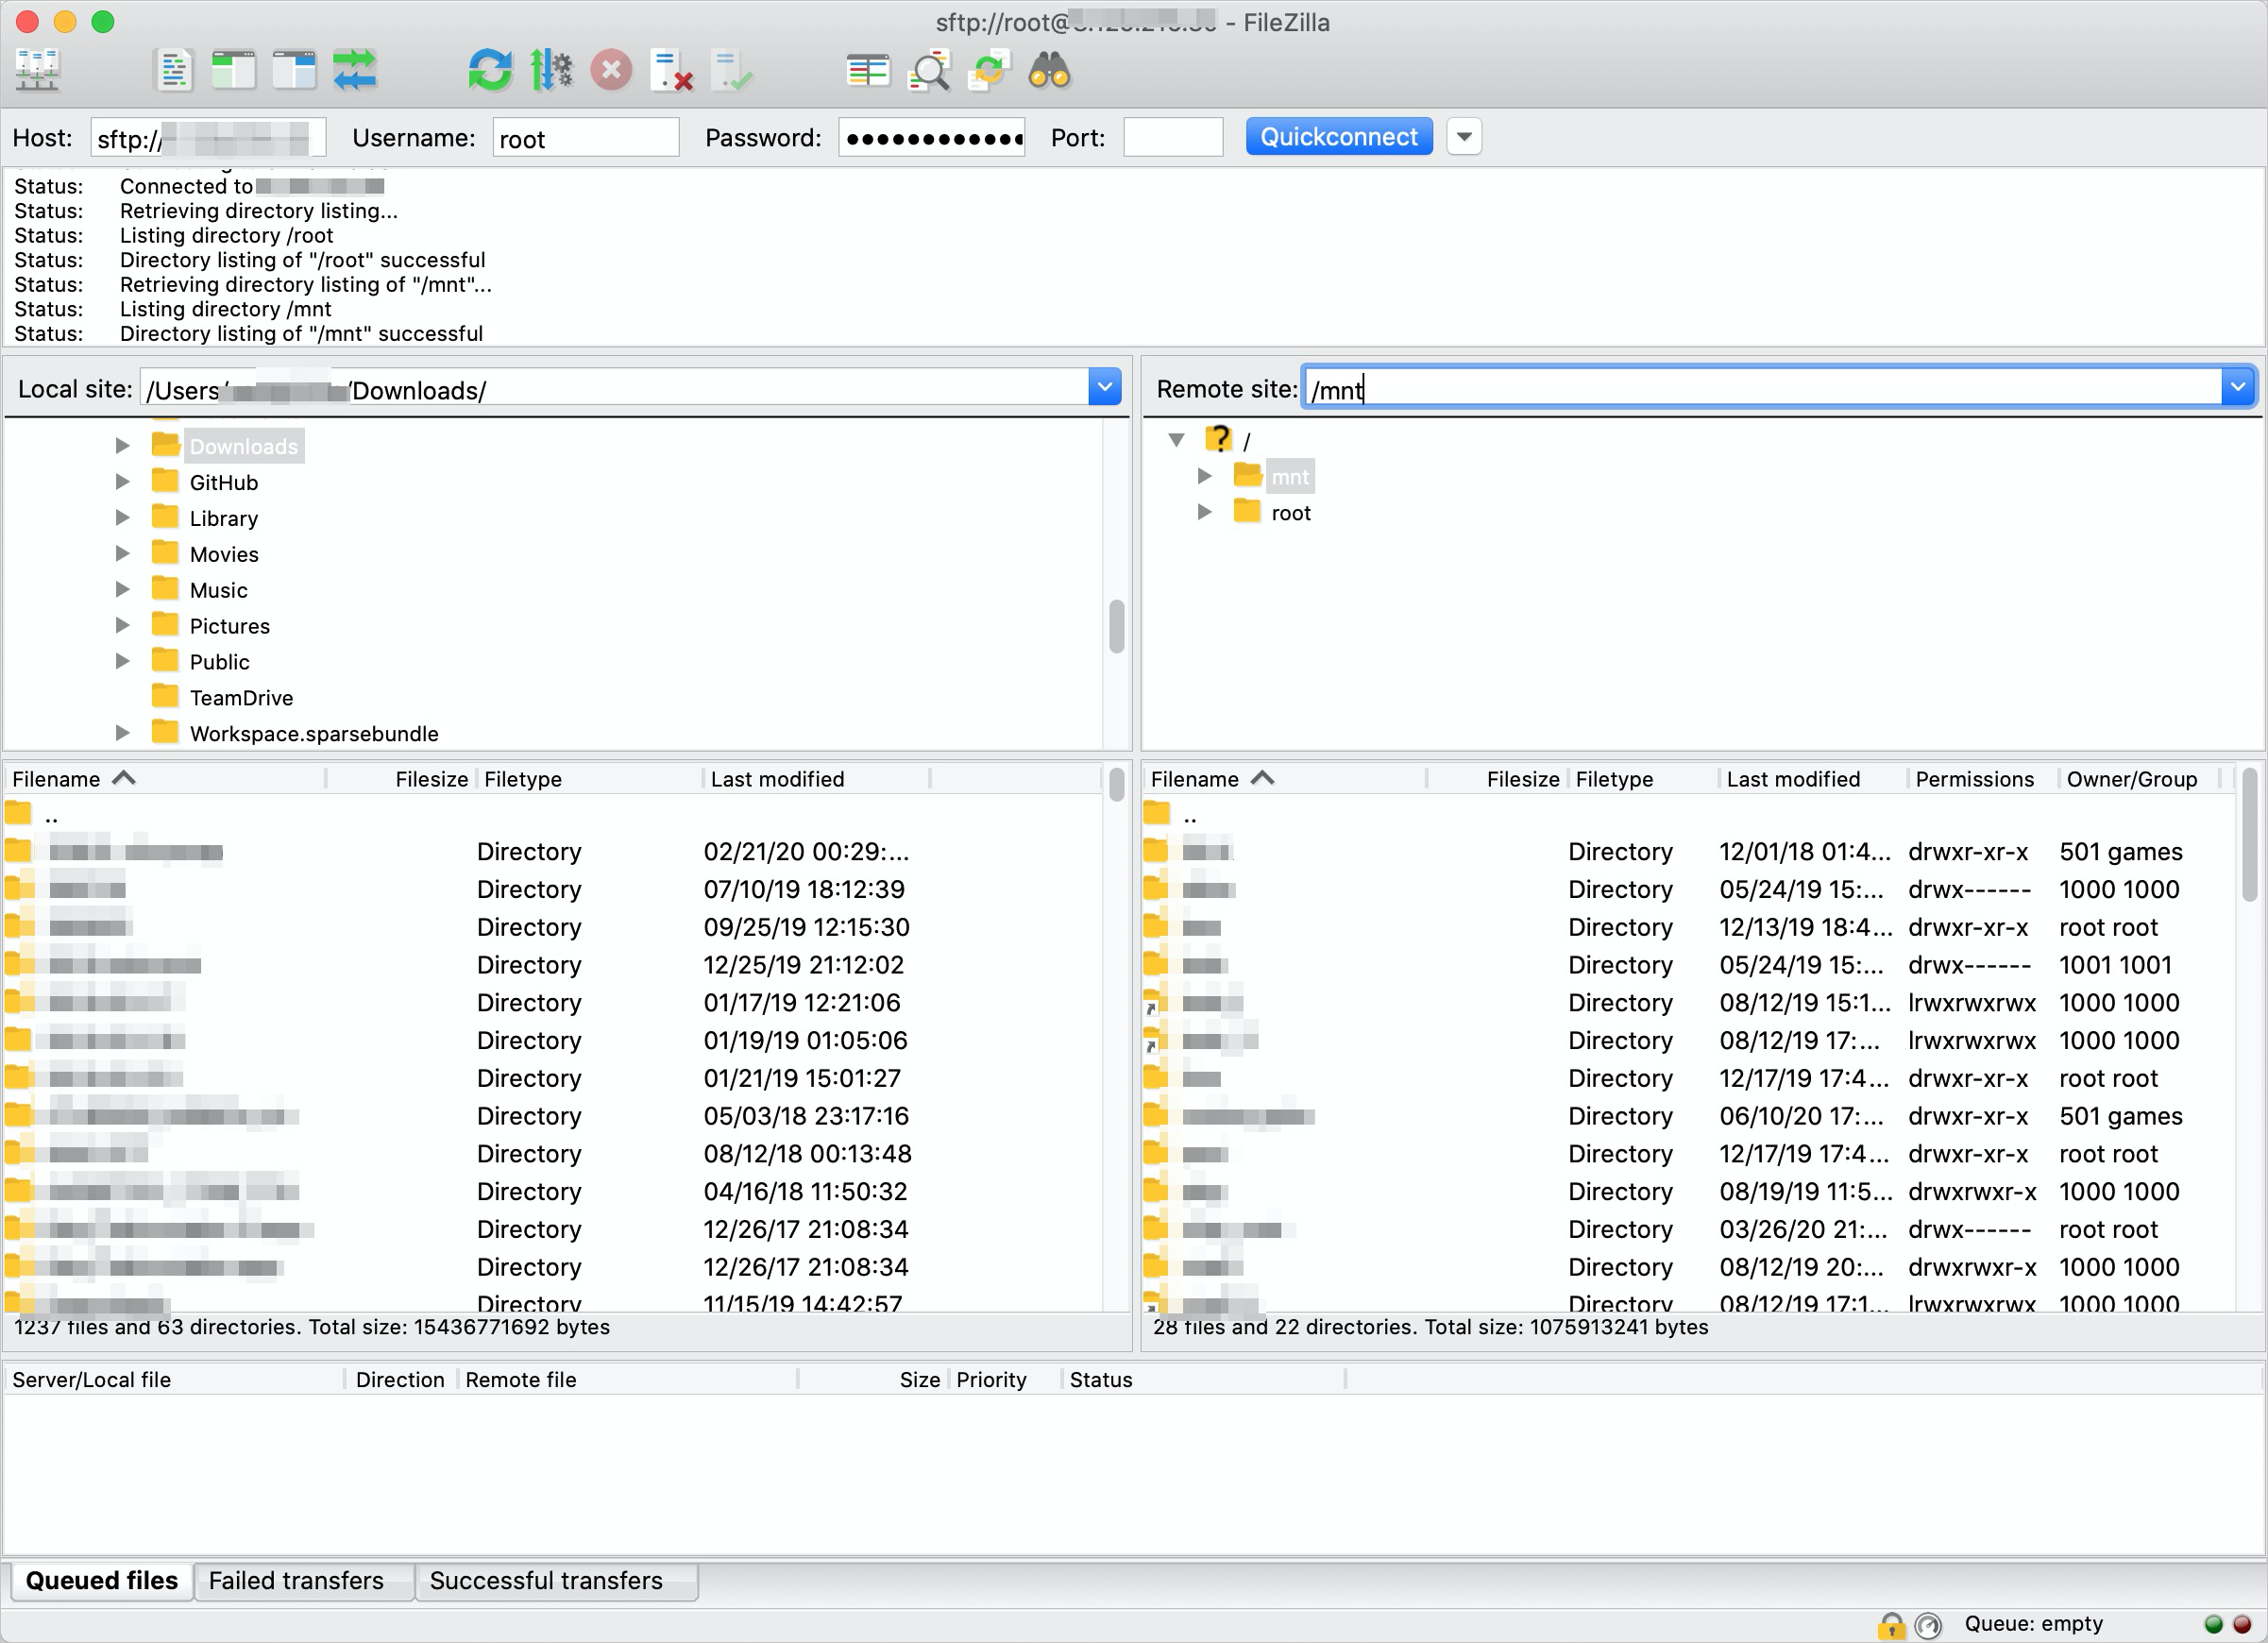
-
-
Download data.
Drag and drop files or directories from the right pane to the left pane.
Use rsync
Benefits
-
Preserves file metadata, including ownership and permissions.
-
Supports incremental synchronization.
-
Supports crontab scheduling on Linux or macOS for automated backups.
Procedure
-
Install rsync.
Linux
Operating system
Command
CentOS
Install rsync with yum:
sudo yum install rsyncRedhat
Ubuntu
Install rsync with apt:
sudo apt-get install rsyncDebian
NoteFor other Linux distributions, use the corresponding package manager.
macOS
Install Homebrew, then run:
brew install rsyncWindows
-
Install the Cygwin environment and search for and select rsync during setup. Alternatively, download, compile, and install rsync manually.
NoteEnable TCP port 22 (SSH) in the security group of the associated VPC.
-
-
Download data.
Run the following command to download NAS data to a local directory:
rsync -avP root@192.0.2.0:/mnt/DirToSync/ DirToSync/Parameter
Description
192.0.2.0
The public IP address of the Linux or Windows ECS instance where the NAS file system is mounted.
/mnt/DirToSync
The directory to export from NAS.
DirToSync
The local directory.
NotePaths in the rsync command must end with a forward slash (/). Otherwise, the directory structure will not match after synchronization.
Use Robocopy
Benefits
Robocopy is a Windows directory copy command that creates mirror copies with identical file structures without duplicating unchanged files, and preserves attributes such as dates and timestamps.
For large-scale migration, install Python on a Windows ECS instance and use the migration.py script. How do I accelerate data migration to an SMB file system?
Procedure
-
Log on to the Alibaba Cloud ECS instance that you use for data migration.
-
Migrate the data.
Run the following command to migrate data from the source file system (drive Z) to the destination file system (drive Y).
robocopy Z:\ Y:\ /e /w:5 /z /mt:32NoteThis command migrates only the data within the specified directory, not the directory itself.
The following table describes the key parameters. Replace them based on your actual requirements.
Parameter
Description
/mt
Specifies the number of concurrent threads. The default value is 8.
The value must be an integer from 1 to 128.
This example uses 32 threads for multithreaded copying.
/w
Sets the interval in seconds between retries after an error.
/z
Copies files in restartable mode.
/e
Copies subdirectories, including empty ones.
/copyall
Copies all file information, including:
-
Data
-
Attributes
-
Timestamps
-
Access control lists (ACLs)
-
Owner information
-
Auditing information
NoteTo accelerate the migration of a massive amount of data, such as hundreds of millions of small files that exceed 10 TB, you can install the latest version of Python on a Windows ECS instance to perform the migration. For more information, see Accelerate data migration to an SMB file system.
-
-
Check the migration result.
After the migration is complete, run the following Robocopy command to verify that the destination file system is consistent with the source file system.
ROBOCOPY Z:\ Y:\ /e /l /ns /njs /njh /ndl /fp /log:reconcile.txtThe following table describes the key parameters. Replace them based on your actual requirements.
Parameter
Description
/e
Lists directories, including empty ones.
/l
Logs differences without modifying or copying files.
/fp
Includes the full path of files in the log. This is necessary only if
/ndlis omitted./ns
Excludes file sizes from the log.
/ndl
Excludes directories from the log.
/njs
Excludes the job summary.
/njh
Excludes the job header.
/log:reconcile.txt
Writes the migration result to the reconcile.txt log file. This overwrites the log file if it exists.
Use IIS FTP
Procedure
For more information, see Configure the Windows IIS web service.
-
You must open the required FTP TCP ports in the security group of the VPC.
-
You can also configure other FTP servers and clients to upload and download data over the internet.
-
Inbound traffic to an elastic IP address (EIP) is not charged, but outbound traffic is. Therefore, you are not charged for uploading data to File Storage NAS over the internet, but you are charged for downloading data from it. For billing details, see Pay-as-you-go EIPs.
Transfer via OSS
Sync data to OSS using ossutil or Data Transport, then download from OSS to local storage.
-
Migrate data to OSS.
-
Use ossutil to migrate data to OSS. For more information, see Migrate data by using ossutil.
-
Use Data Transport to migrate NAS data to OSS. Migrate data by using Data Transport.
-
-
Download the data from OSS to local files. For more information, see Simple download.