Contacts receive alert notifications by phone, text message, or email when a notification policy is triggered.
Create a contact
Log on to the Managed Service for OpenTelemetry console.
-
In the left-side navigation pane, choose . On the Contacts tab, click Create Contact.
-
In the Create Contact dialog box, set the parameters and click Confirm.
Parameter
Description
Name
The contact name.
Phone Number
The contact's phone number, used to send alert notifications by phone call or text message.
NotePhone call notifications require a verified mobile number. For more information, see Verify a mobile number.
Email
The contact's email address, used to send alert notifications by email.
Contact Group
The contact group to which the contact belongs. To create a contact group, see Contact groups.
Notification Fallback Method
The fallback method when a phone notification fails.
You can set a global default on the Contacts tab. For details, see Default contact configuration.
User ID
The user's ID from an IM tool like DingTalk, Lark, or WeCom.
Enter this ID to @mention the contact in alert notifications.
Required for @mentions in Lark and WeCom, but not for DingTalk.
Important-
A phone number or email address is required. Each phone number and email address must be unique to a single contact.
-
This version of the Contacts feature does not support creating DingTalk chatbots. To create a DingTalk chatbot, go to the DingTalk/Lark/WeCom tab. For more information, see DingTalk chatbot. Existing DingTalk chatbots created with a previous version are not affected.
-
Verify a mobile number
Phone call notifications require a verified mobile number.
-
On the Contacts tab, you can verify mobile numbers individually or in batches.
-
To verify a single mobile number, click Not Verified next to the phone number.
-
To verify multiple mobile numbers, select the contacts and click Verify Mobile Numbers.
NoteThe system sends a verification text message to each selected contact.
-
-
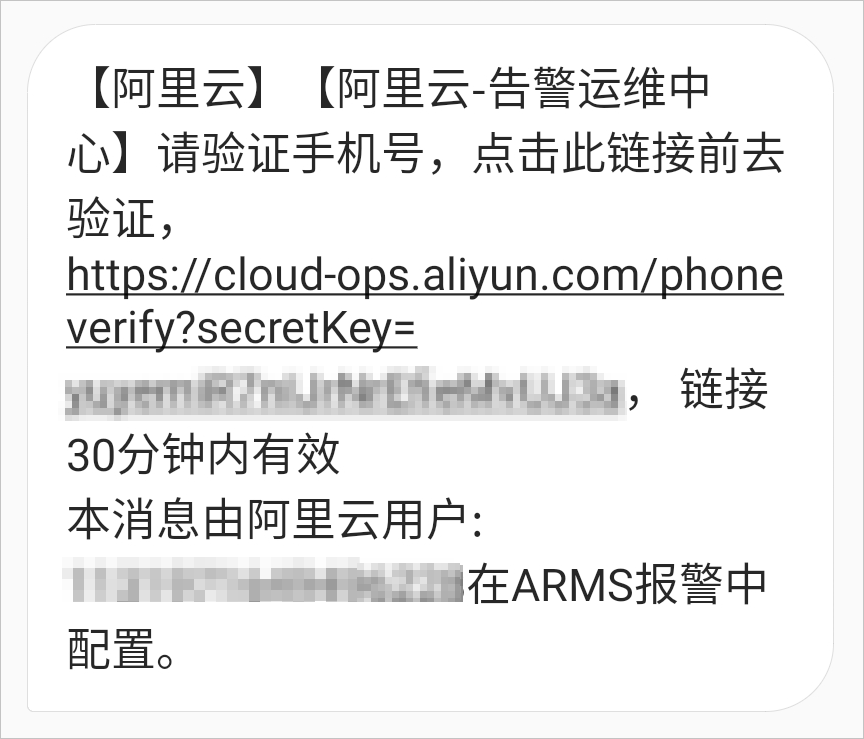
Open the verification link from the text message in a browser.
-
On the verification page, confirm the mobile number, and then click Verification.
Default contact configuration
Configure a default fallback method for failed phone notifications.
-
On the Contacts tab, choose .
-
In the dialog box, select a notification fallback method and click Confirm.
The available fallback methods are Do not resend, Redial once, and Send text message notification.
Manage contacts
Find, edit, or delete contacts on the Contacts tab:
-
Edit a contact: In the Actions column for a contact, click Edit. In the dialog box, modify the contact information and click Confirm.
-
Delete a single contact: In the Actions column for a contact, click Delete. In the dialog box, click Confirm.
-
Delete multiple contacts: Select the contacts, click Batch Delete, and then click Confirm in the confirmation dialog box.