Manage forms
On the Forms page, you can search for, edit, share, move, and delete your forms.
Prerequisites
You have created a form. For more information, see Create a form.
Go to the Forms page
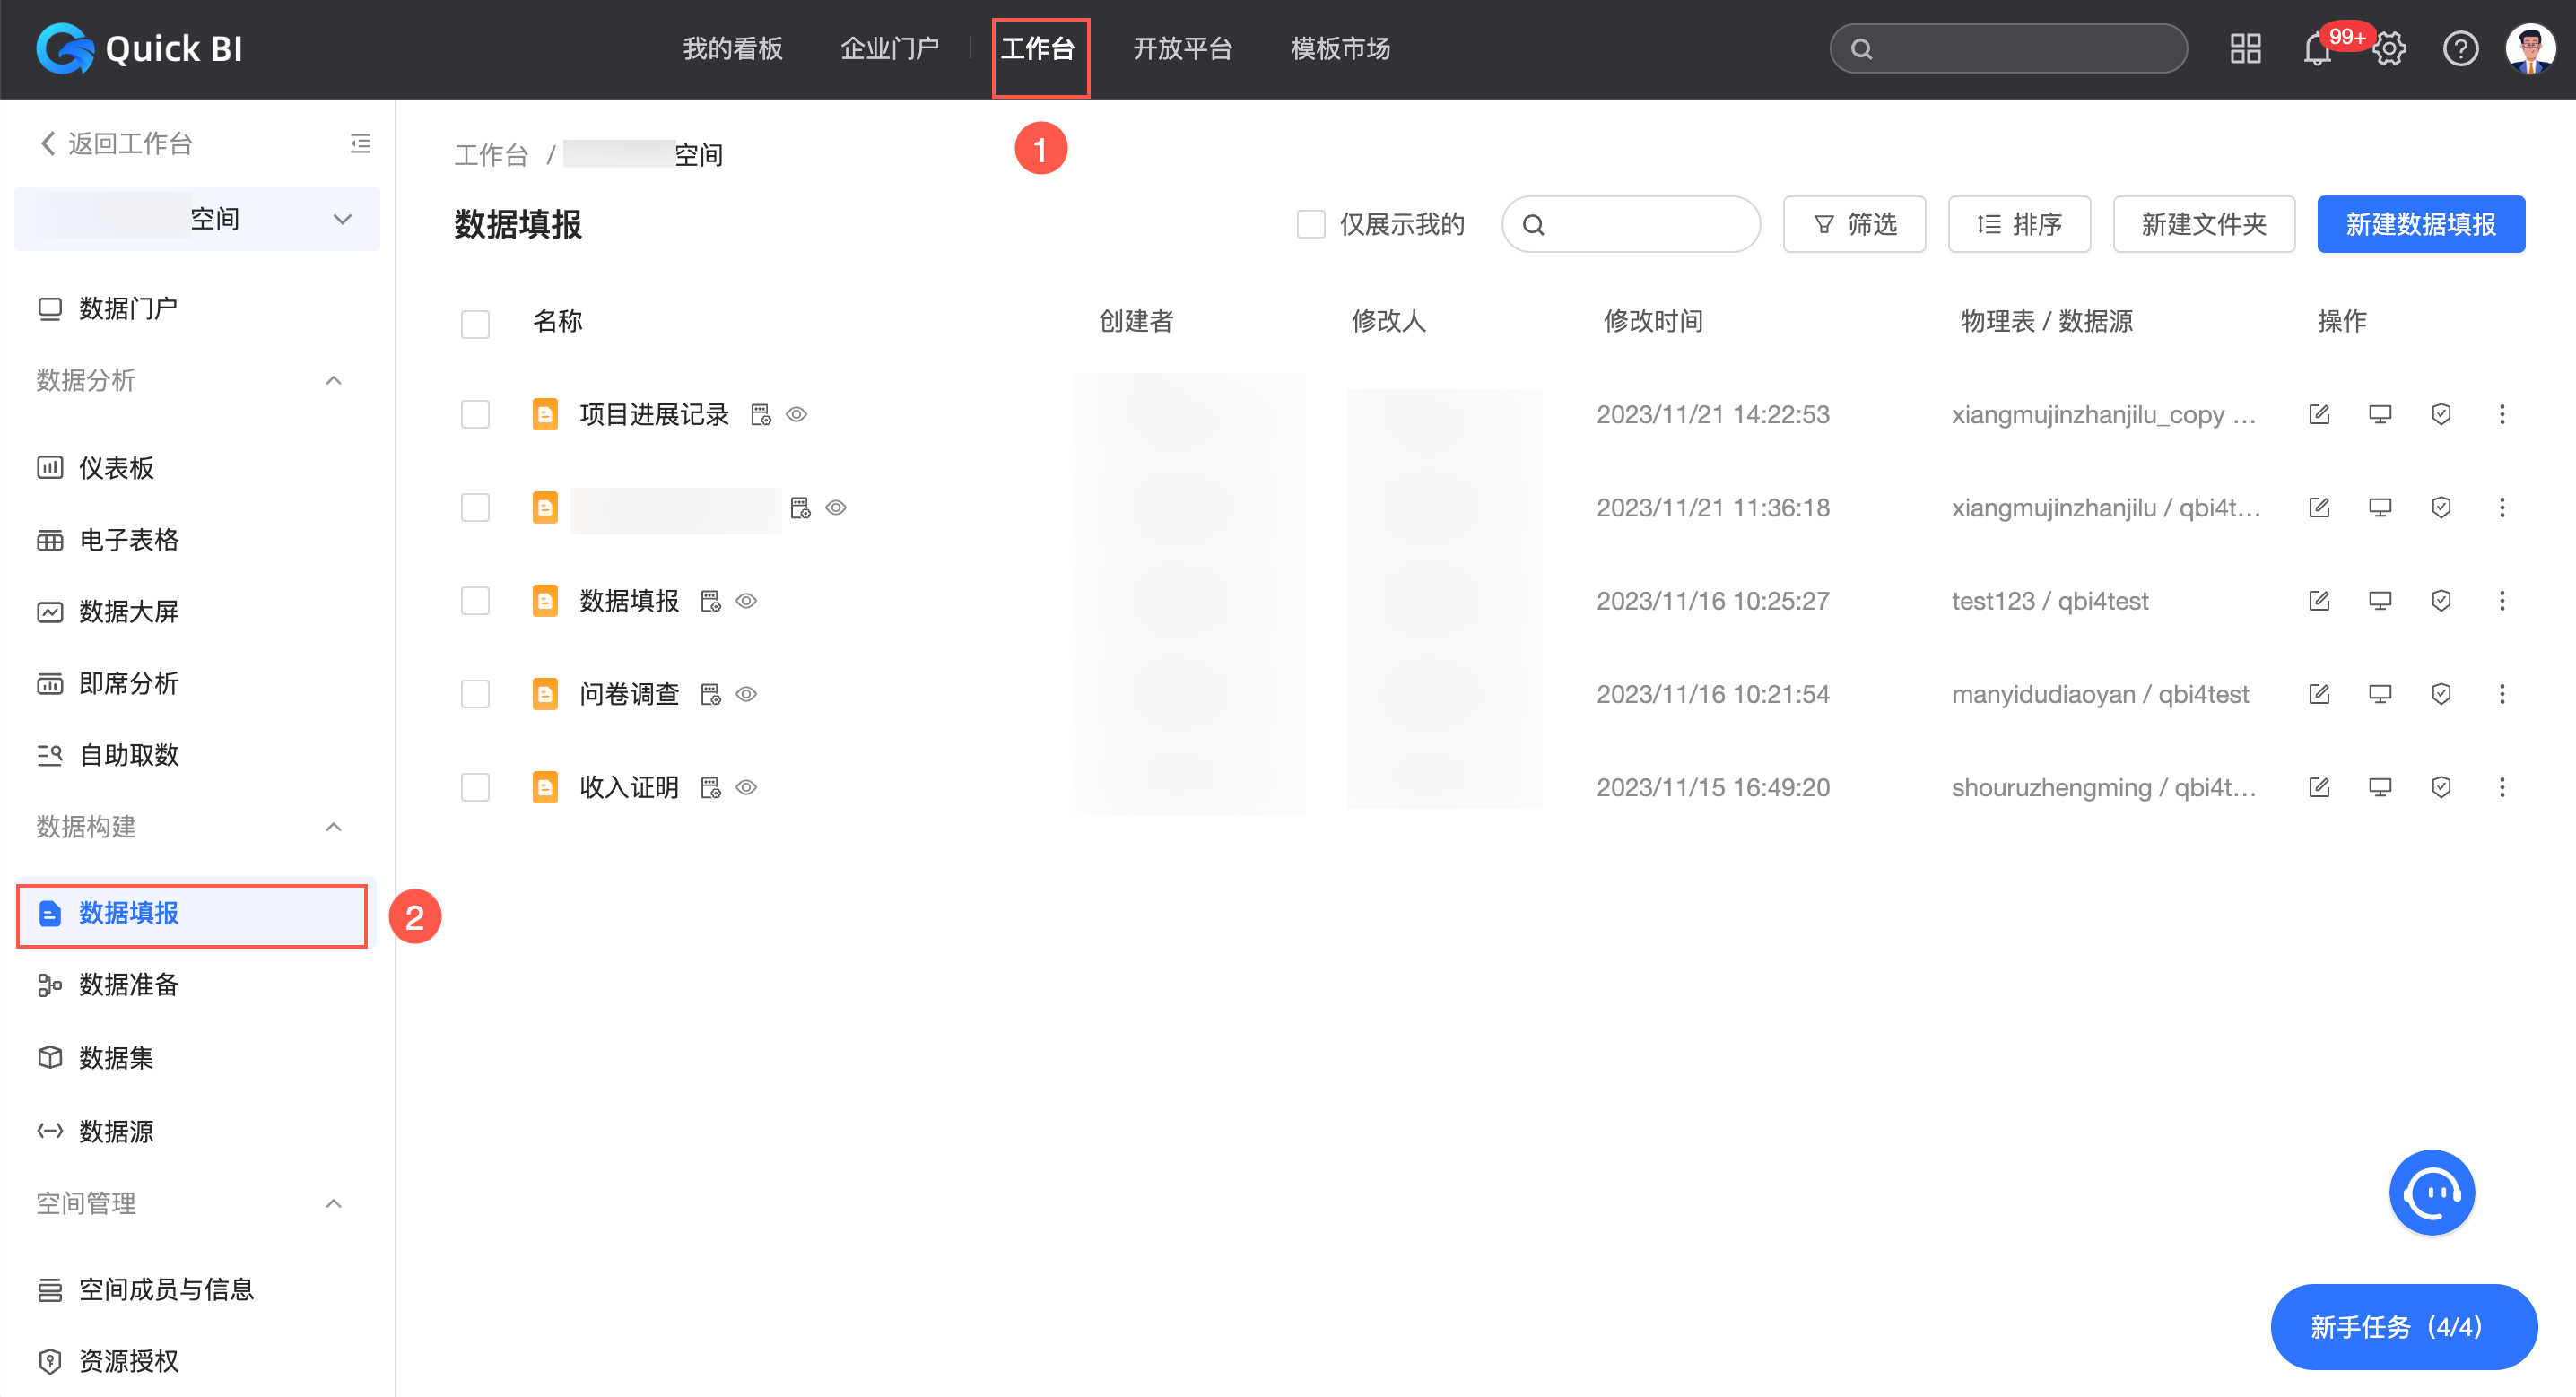
Log on to the Quick BI console and navigate to the Forms page as shown in the figure.
Edit a form
In the left navigation pane, click Forms.
On the Forms page, find the form, right-click it, and select Edit.
Alternatively, click the
 icon in the form's row.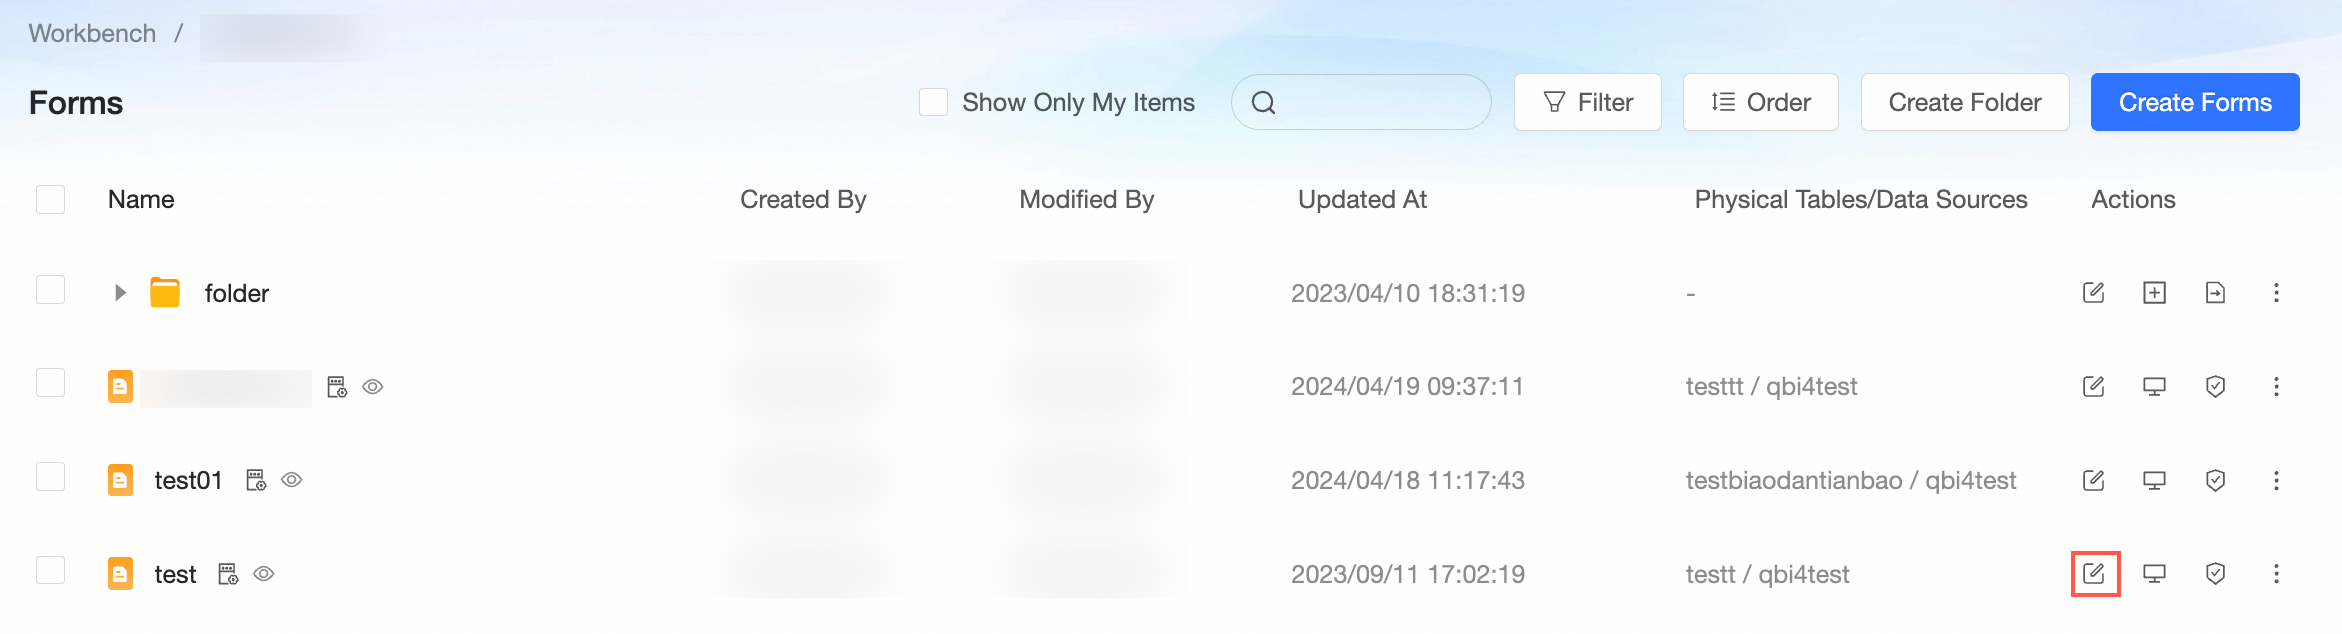
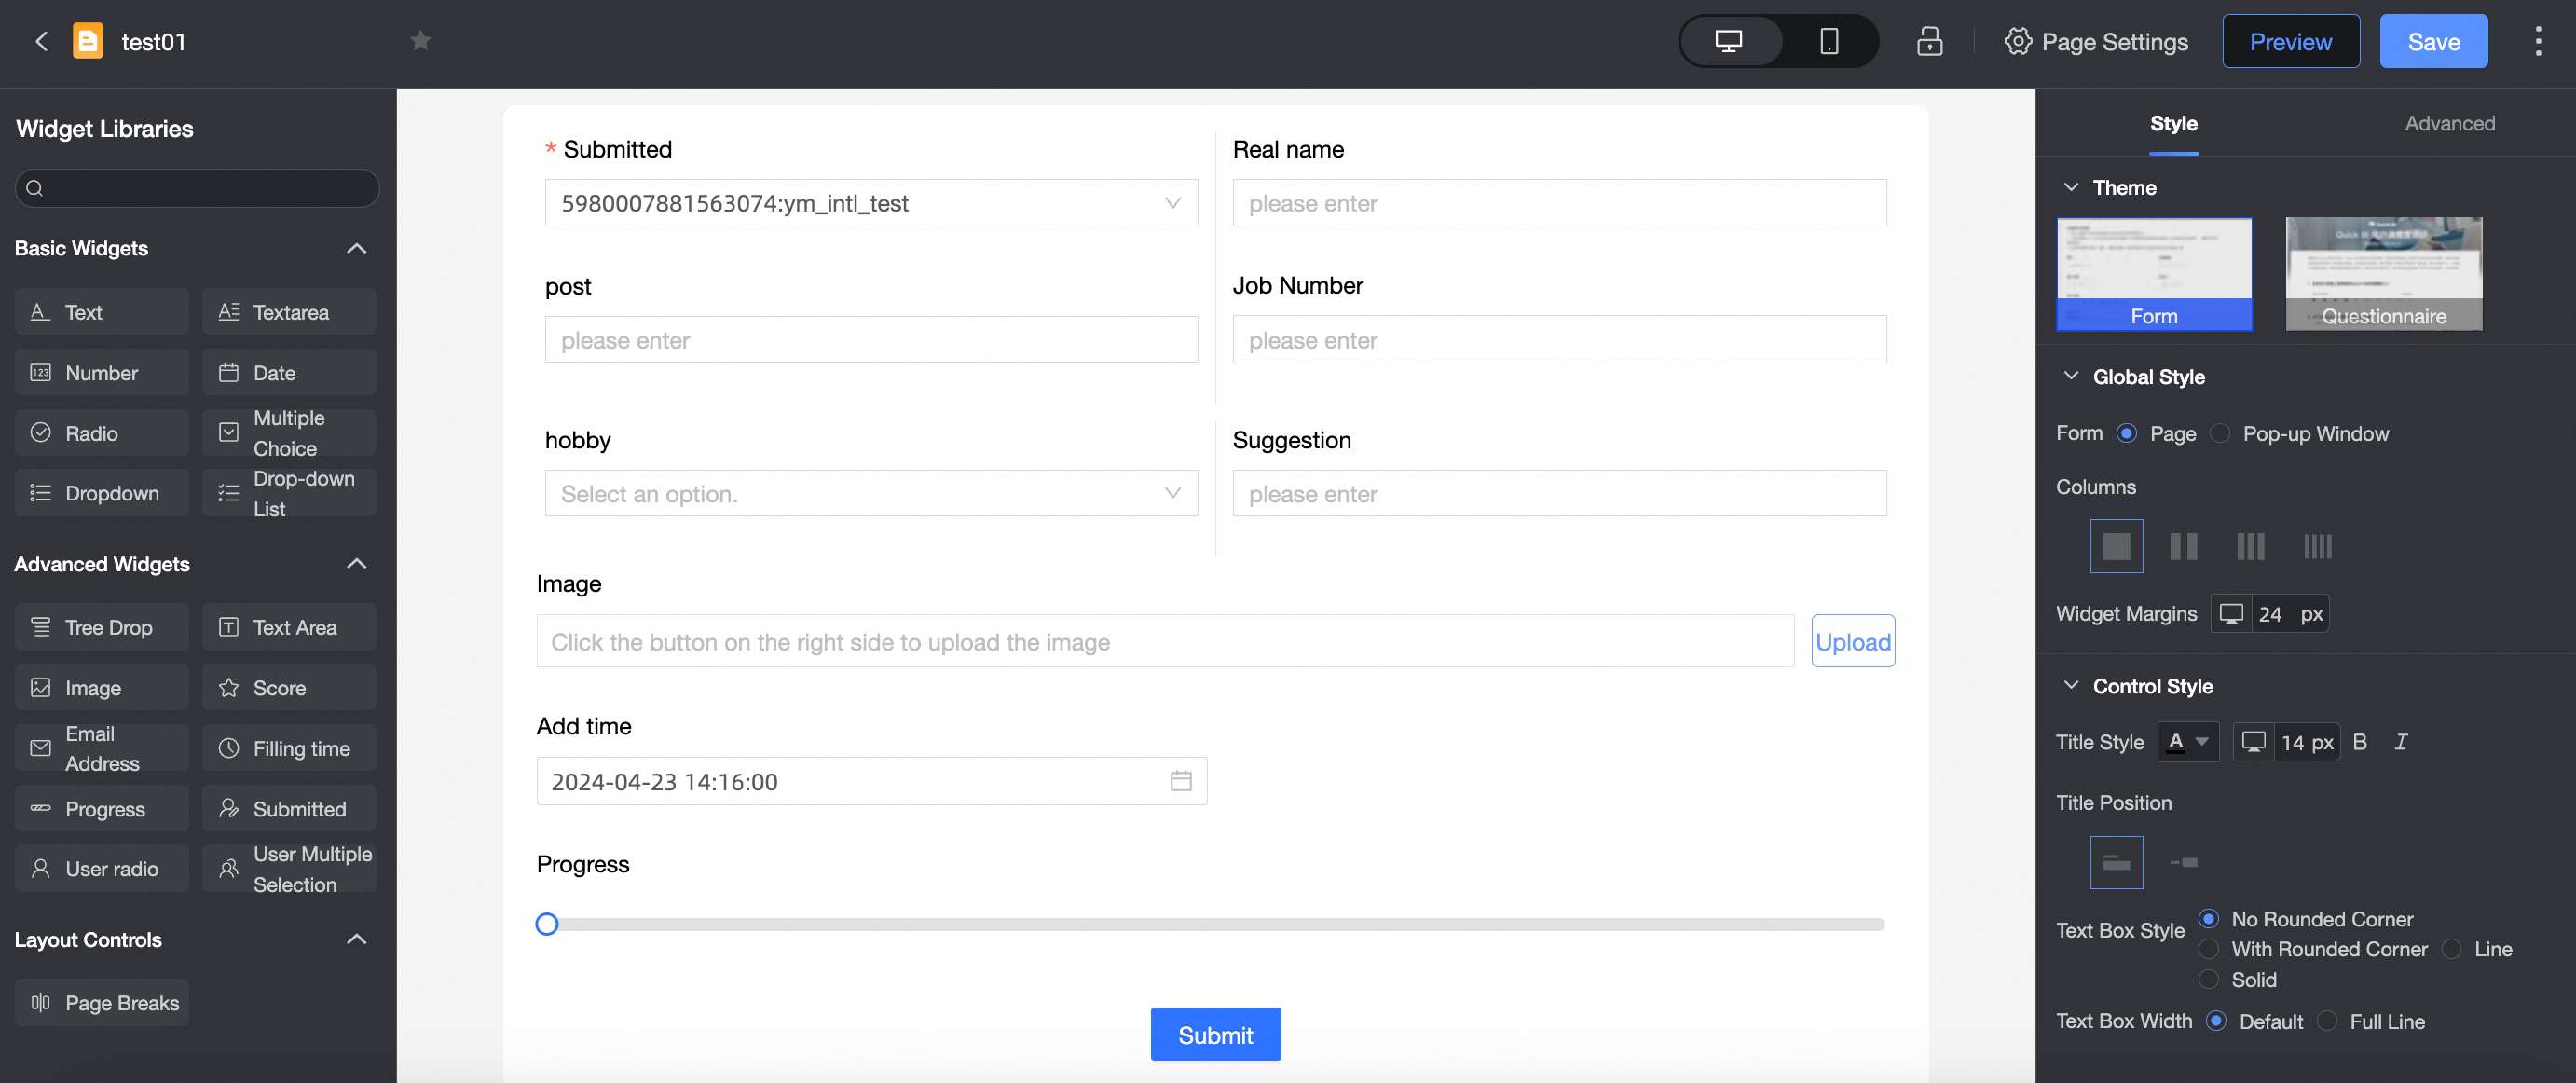
On the form editing page, modify the form as needed.
Search for a form
In the left navigation pane, click Forms.
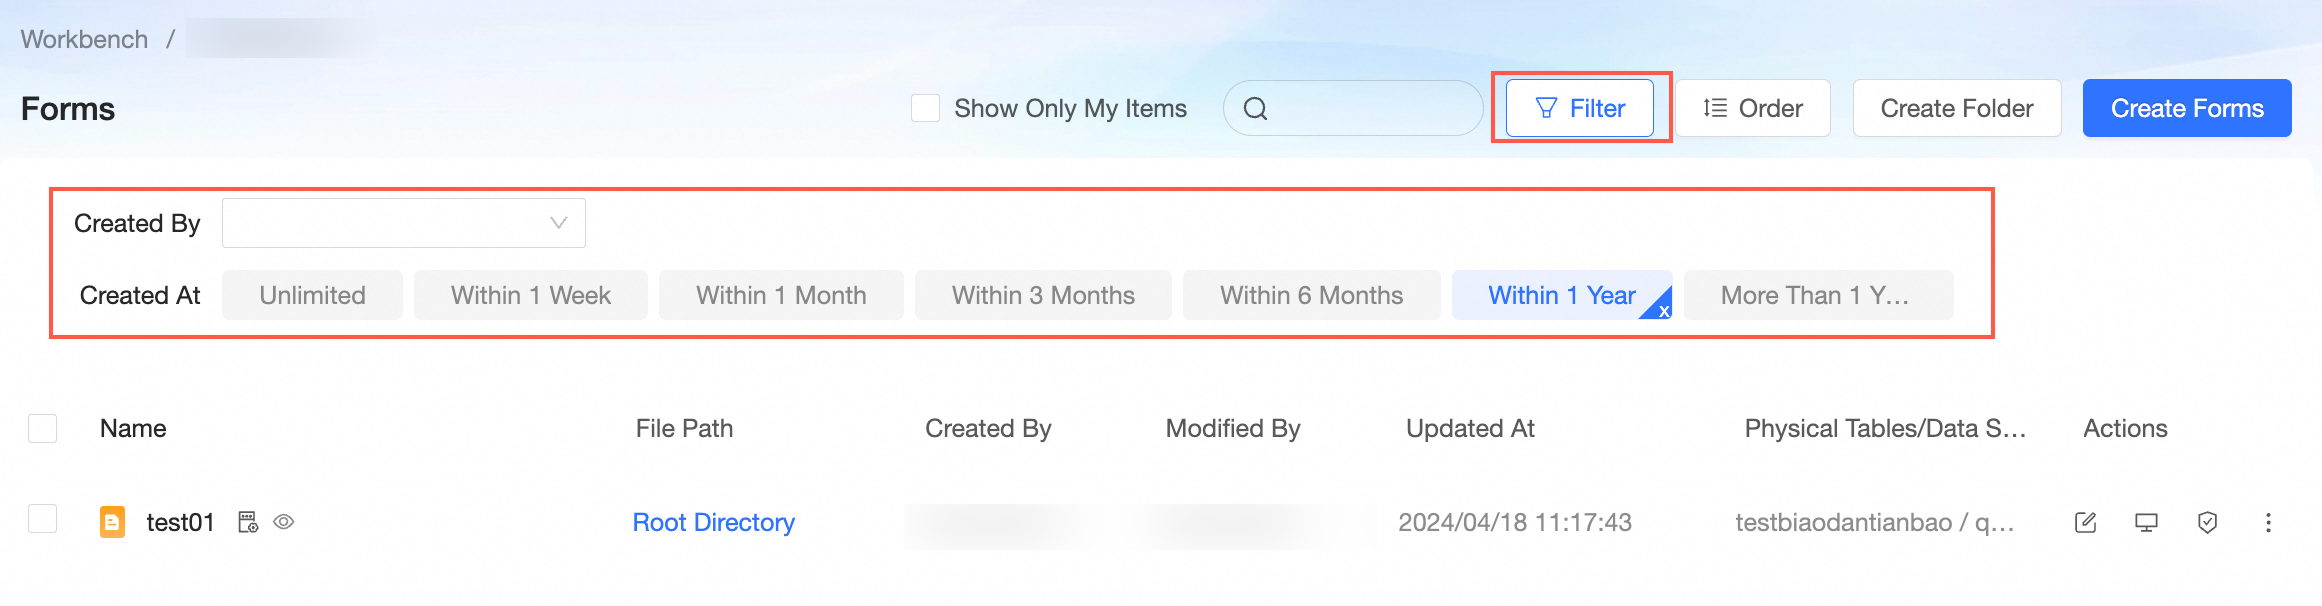
On the Forms page, you can find forms by using one of the following methods.
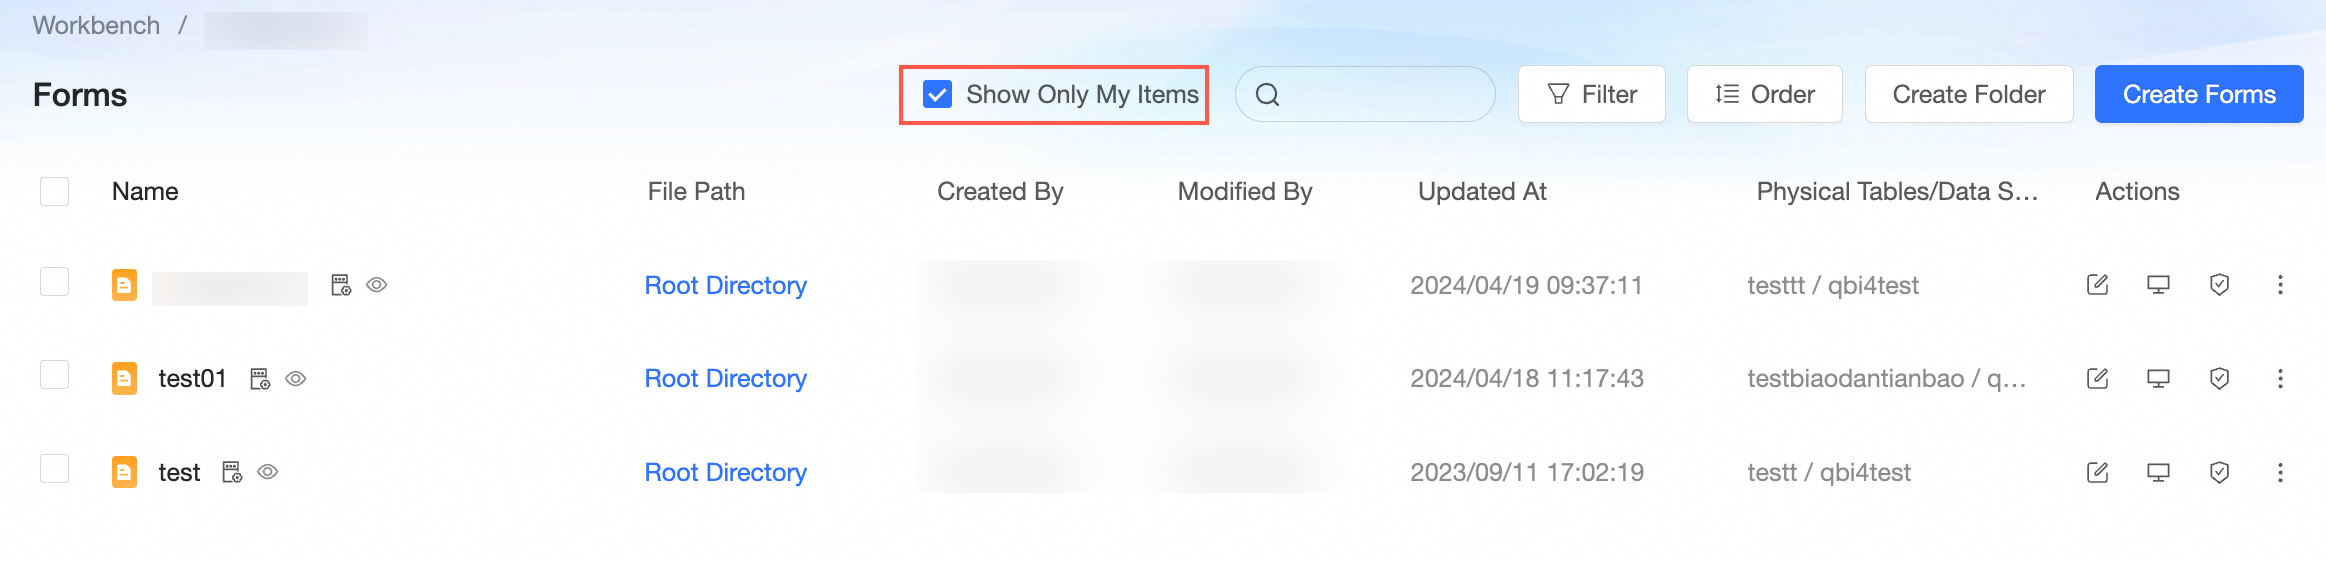 Search for a form by its name.
Filter forms by time period and creator.

Transfer and rename a form
In the left navigation pane, click Forms.
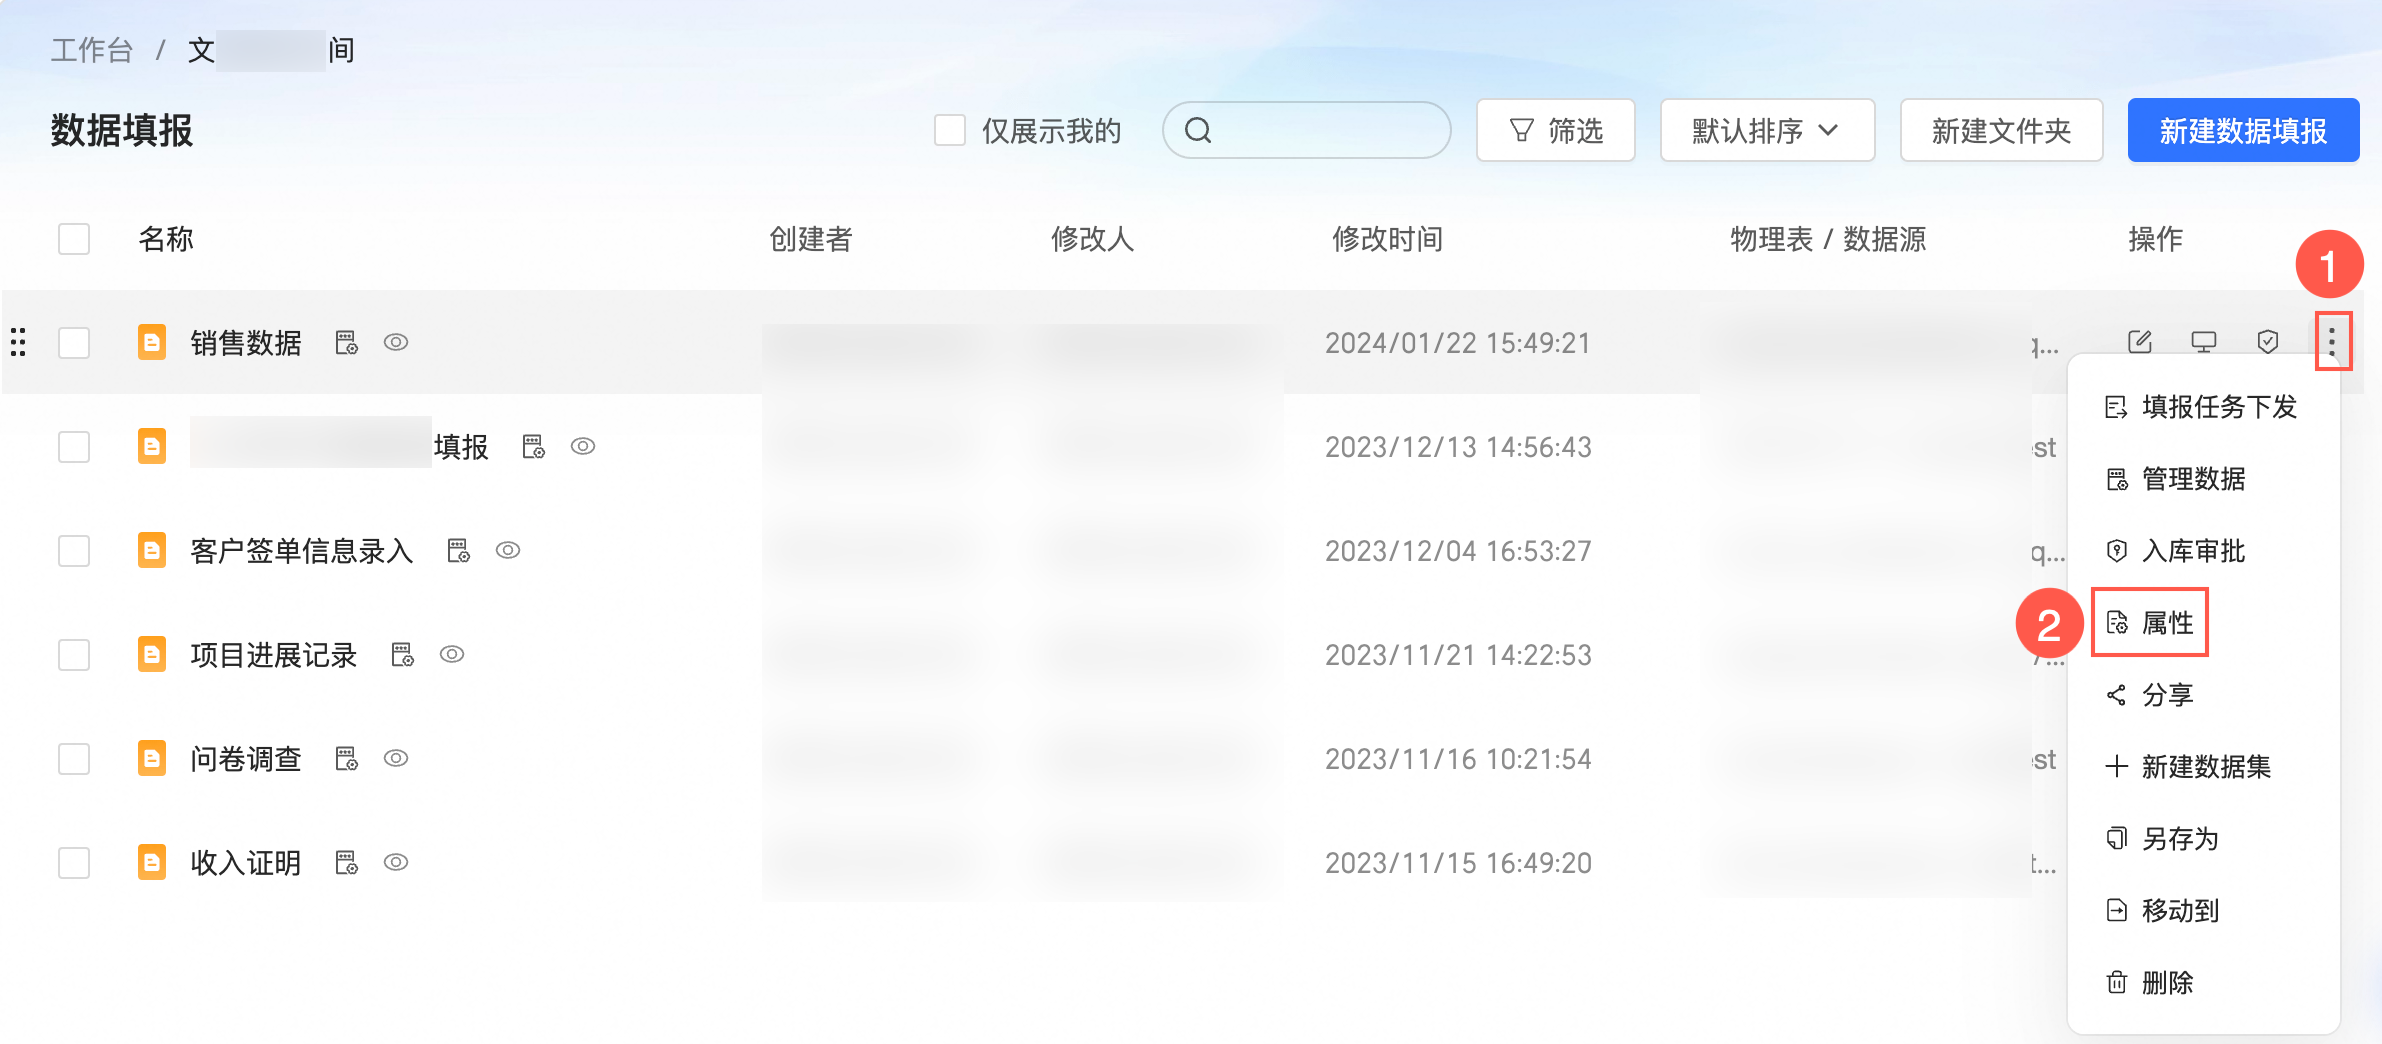
On the Forms page, find the form, right-click it, and select Properties.
In the Properties panel, configure the following parameters.
Parameter
Description
Name
You can change the name of the form.
NoteA form name must be unique within the same folder. Forms in different folders can have the same name.
Owner
To transfer the form, select a new owner from the drop-down list.
Description
Add a description for the form.
Click OK.
Collaborative authorization
In the left navigation pane, click Forms.
On the Forms page, click the
icon to open the collaborative editing and management panel.
 icon to open the collaborative editing and management panel.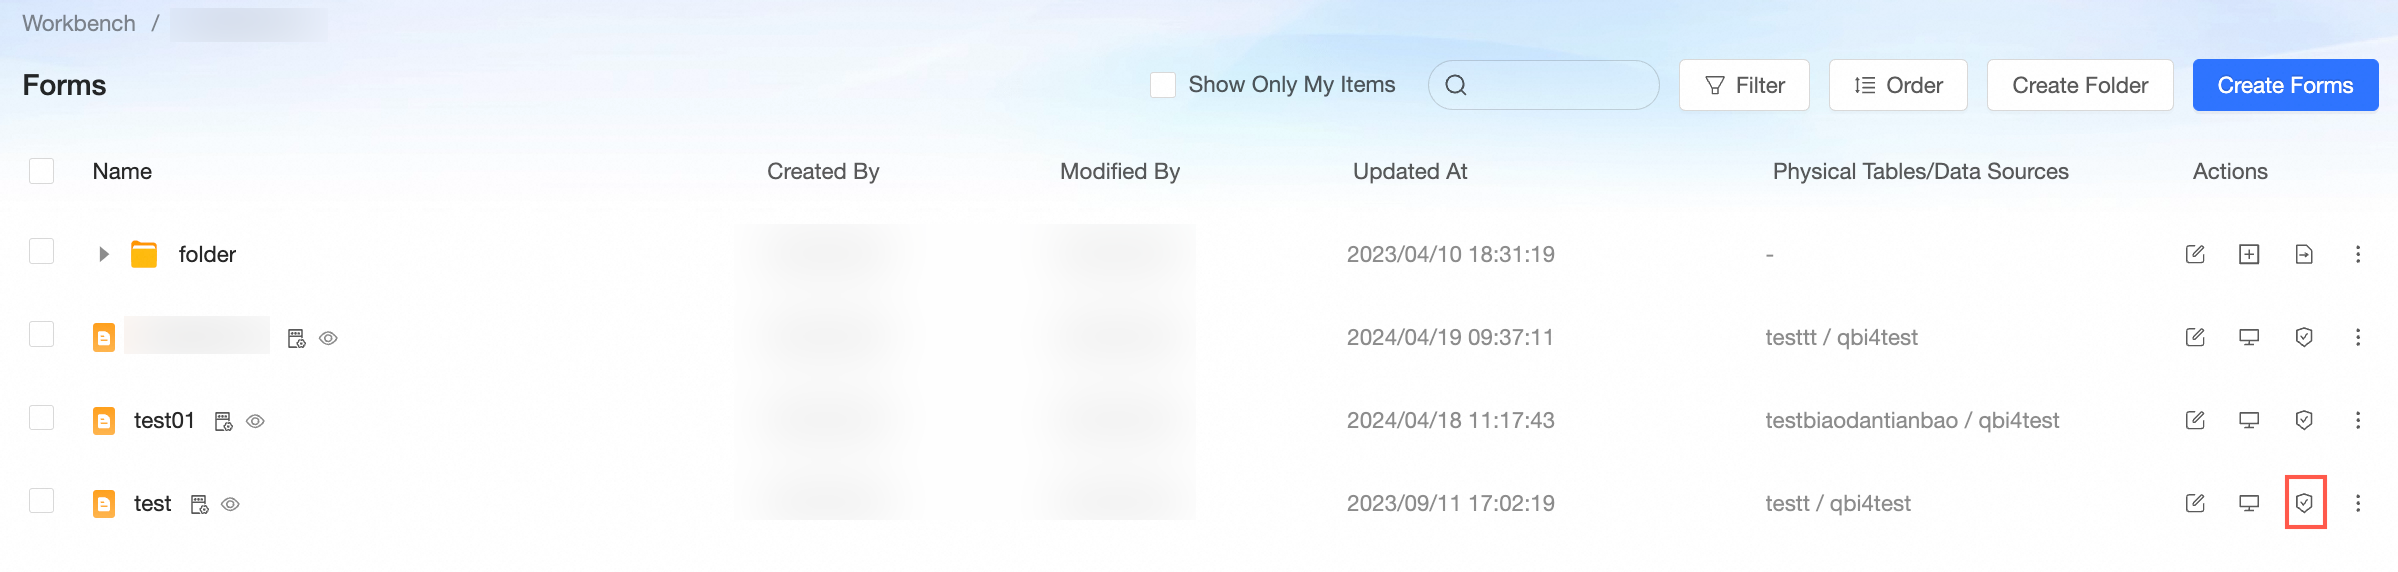
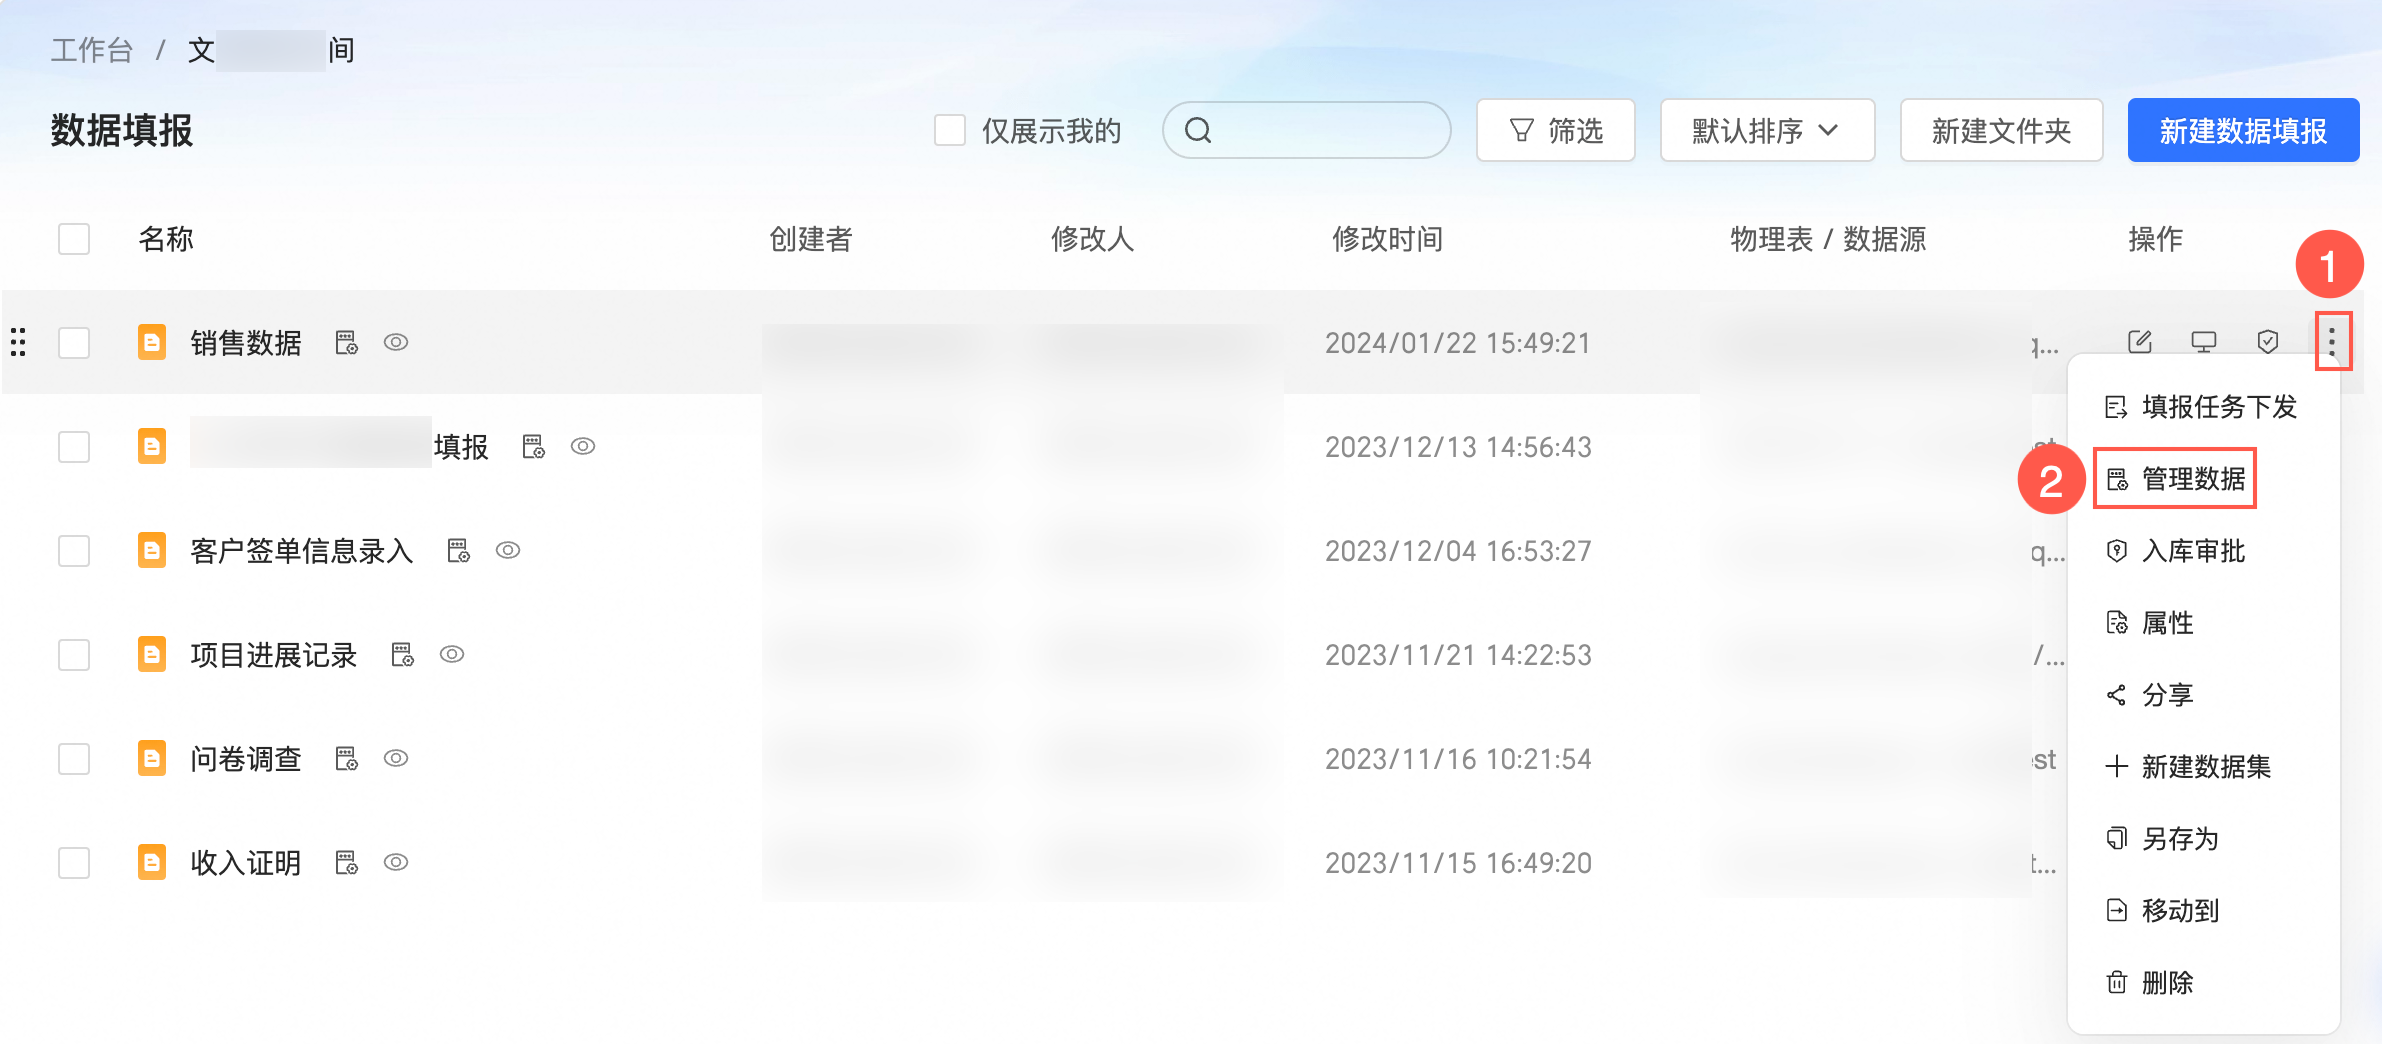
Manage data
The form developer and the project workspace administrator can manage all data.
Users who have not been granted permissions or who only have a public URL cannot manage its data.
Share a form
In the left navigation pane, click Forms.
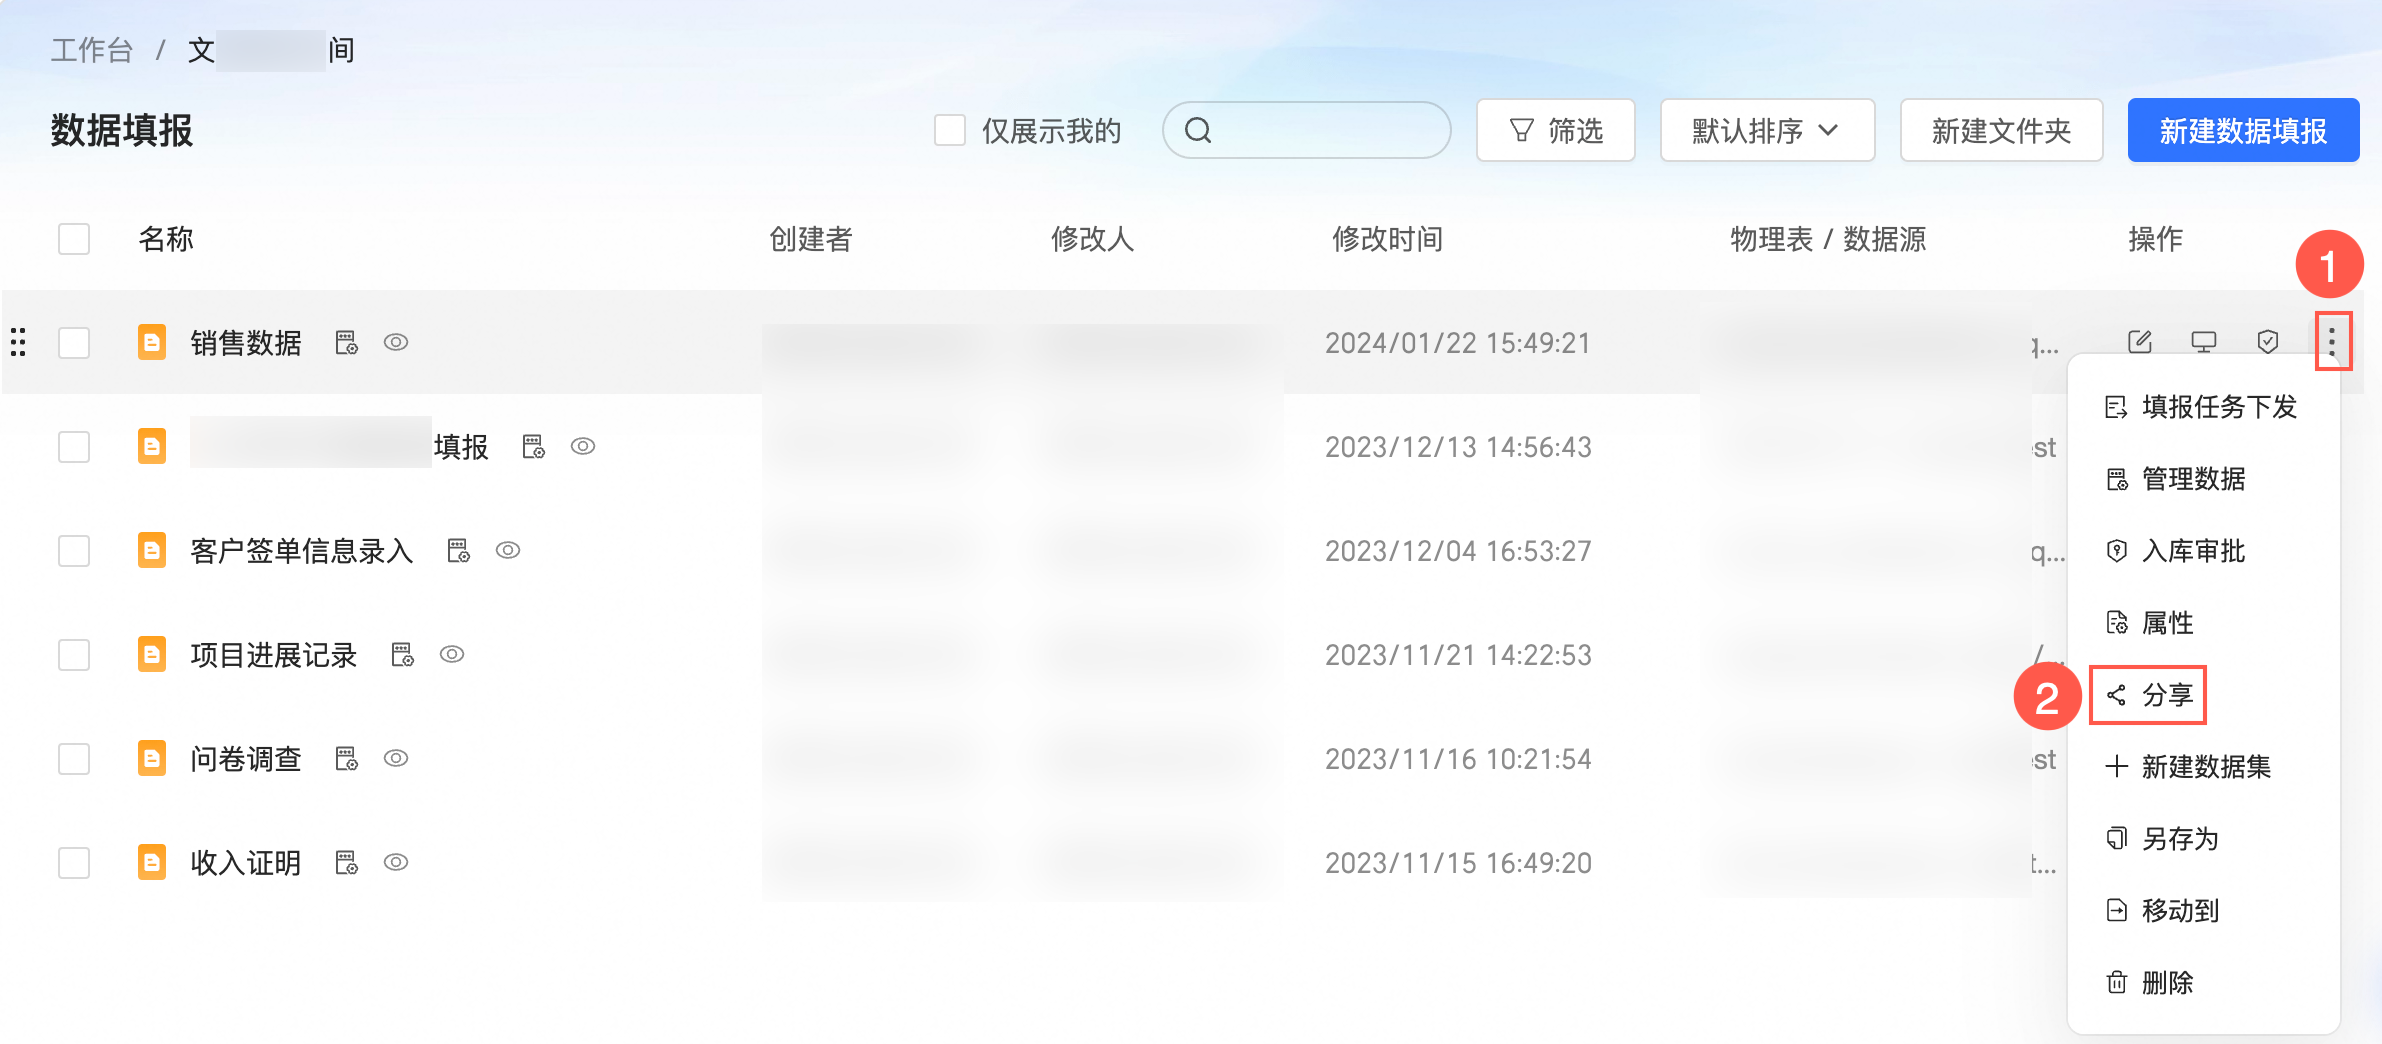
On the Forms page, find the form you want to share, right-click it, and select Share.
In the Share with Private Link dialog box, copy the URL and send it to authorized users.
Create a dataset
In the left navigation pane, click Forms.
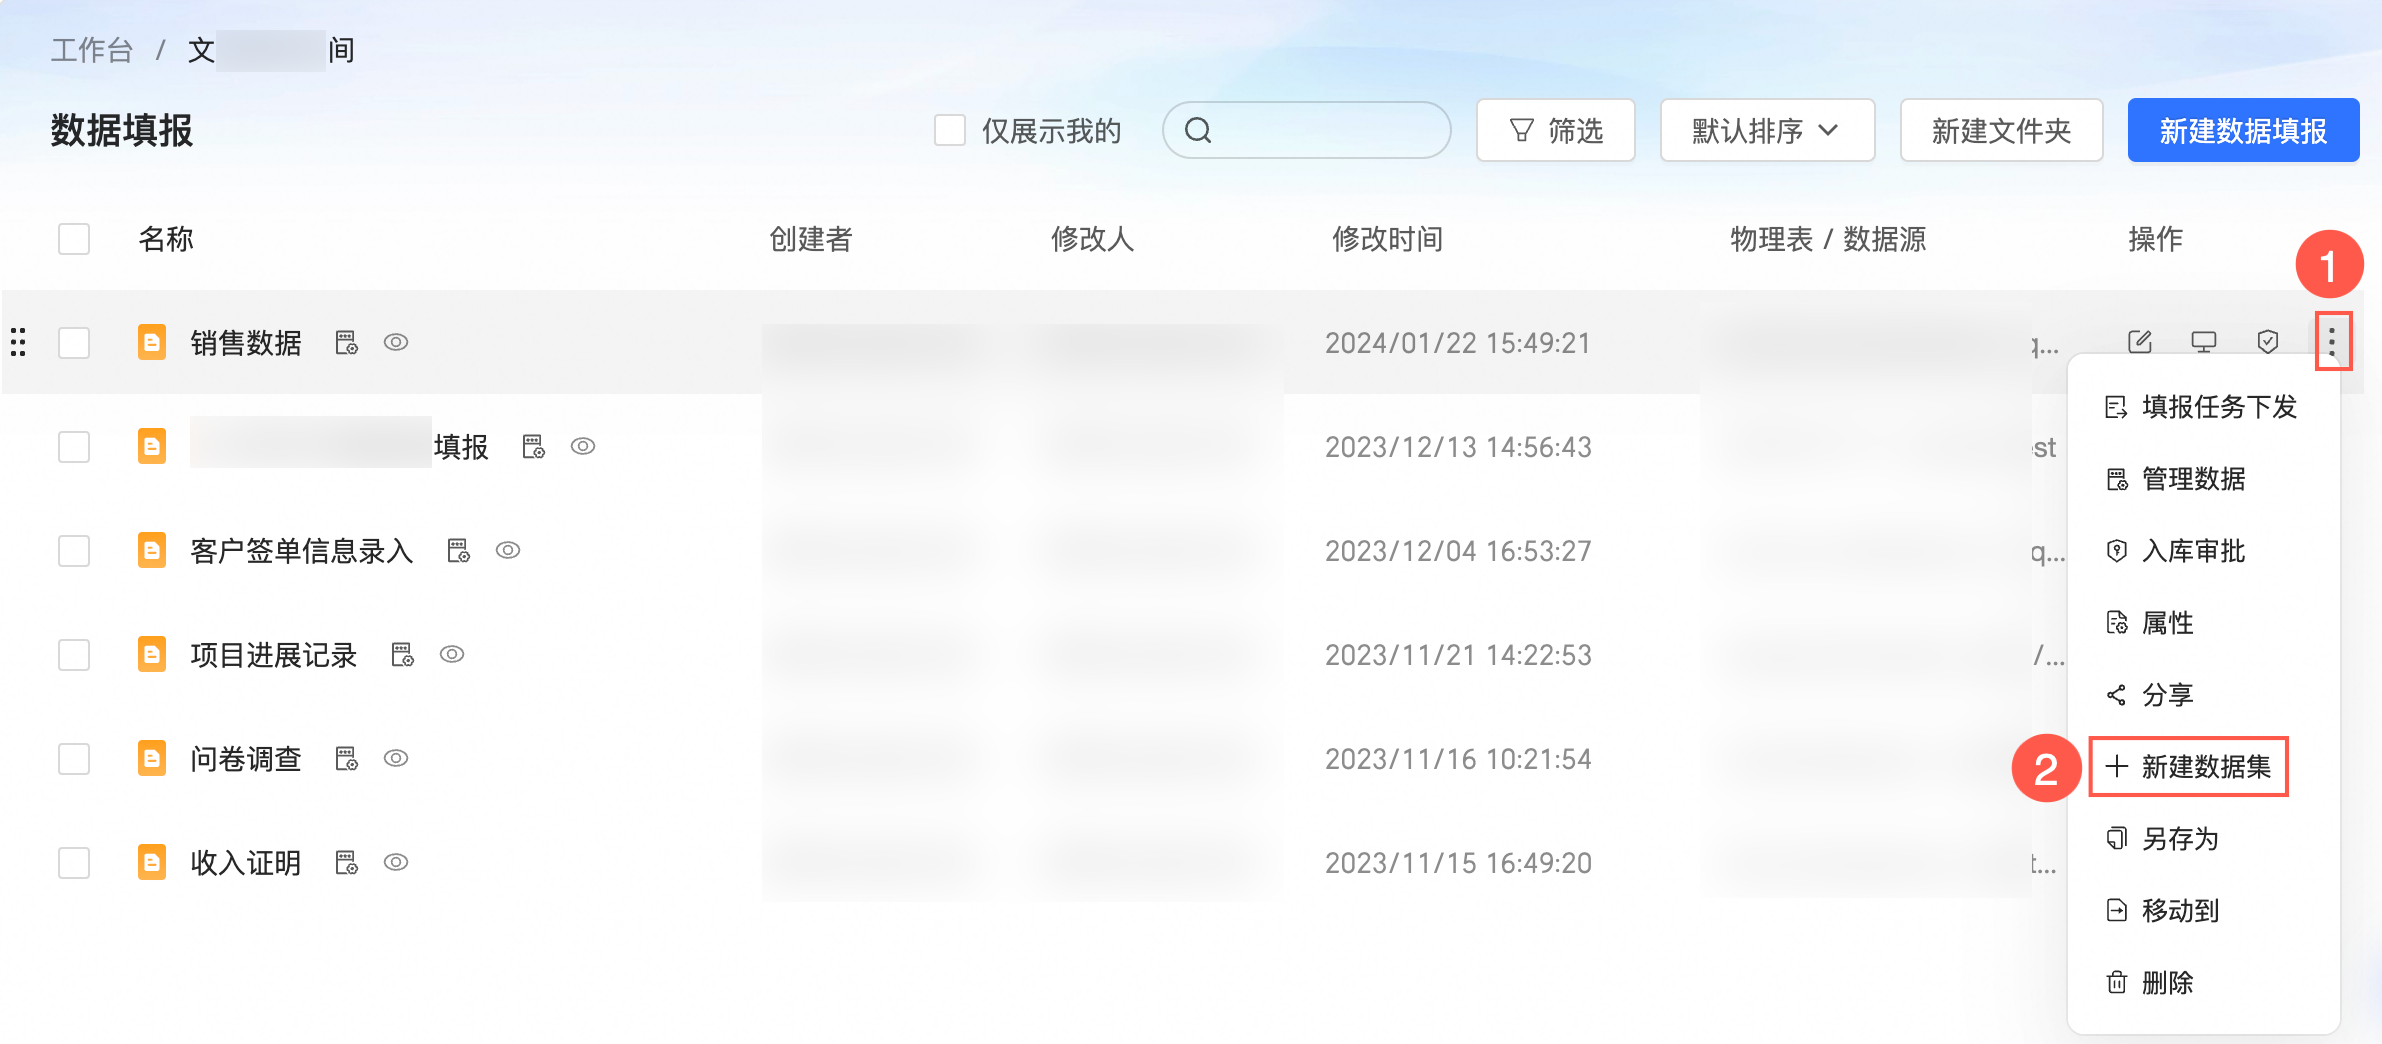
On the Forms page, find the form, right-click it, and select Create Dataset.
In the Create Dataset dialog box, specify a name and location for the dataset, and then click OK.
Duplicate a form
Duplicating a form creates an exact copy, including all its controls and layout. This allows you to quickly create similar forms and improves efficiency.
In the left navigation pane, click Forms.
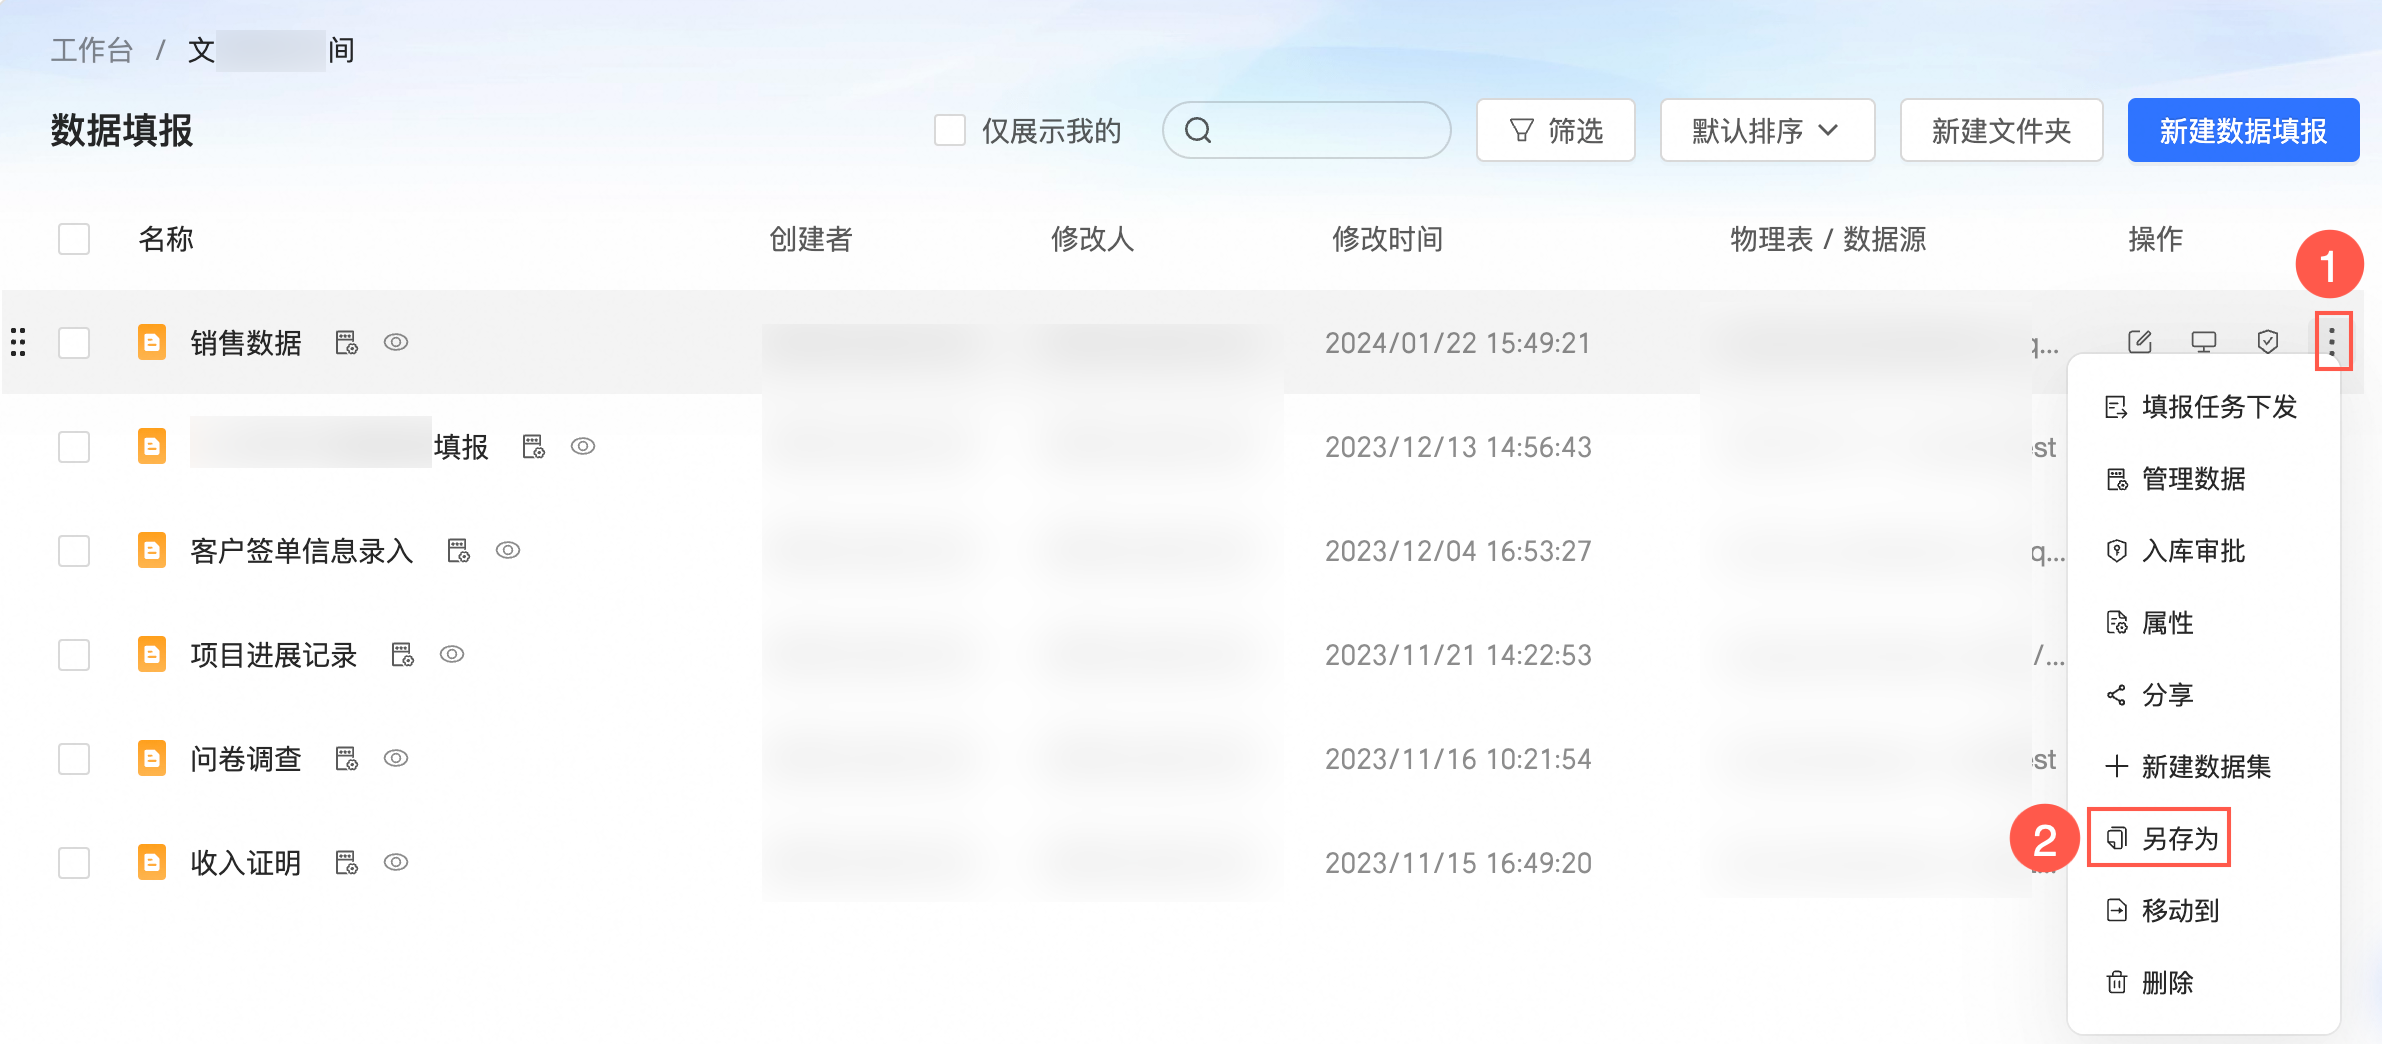
On the Forms page, find the form you want to duplicate, right-click it, and select Duplicate.
In the Save Settings dialog box, click OK.
Move a form
In the left navigation pane, click Forms.
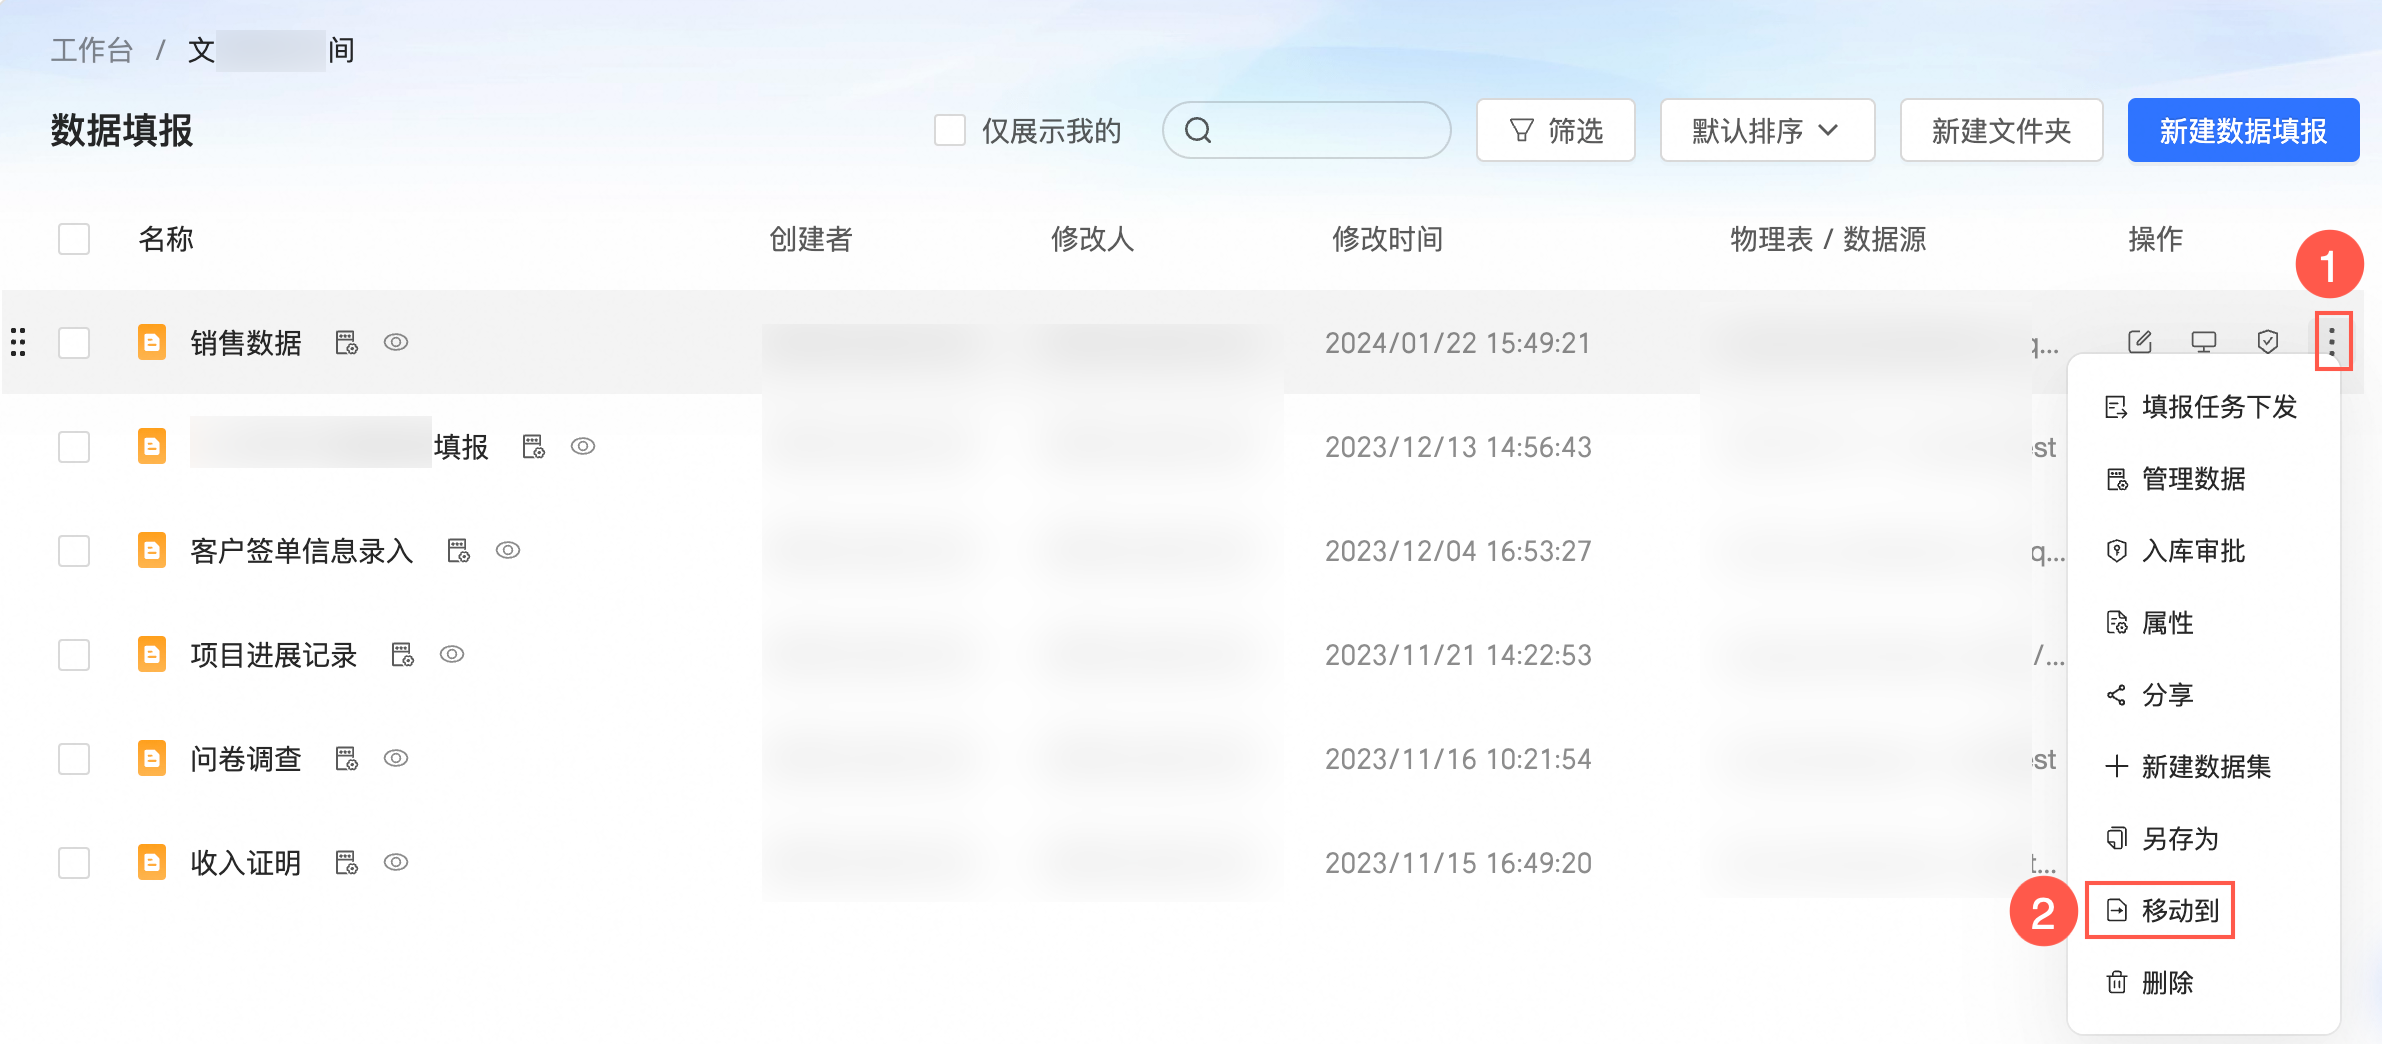
On the Forms page, find the form you want to move, right-click it, and select Move To.
In the Move To panel, select the destination folder and click OK.
Delete a form
In the left navigation pane, click Forms.
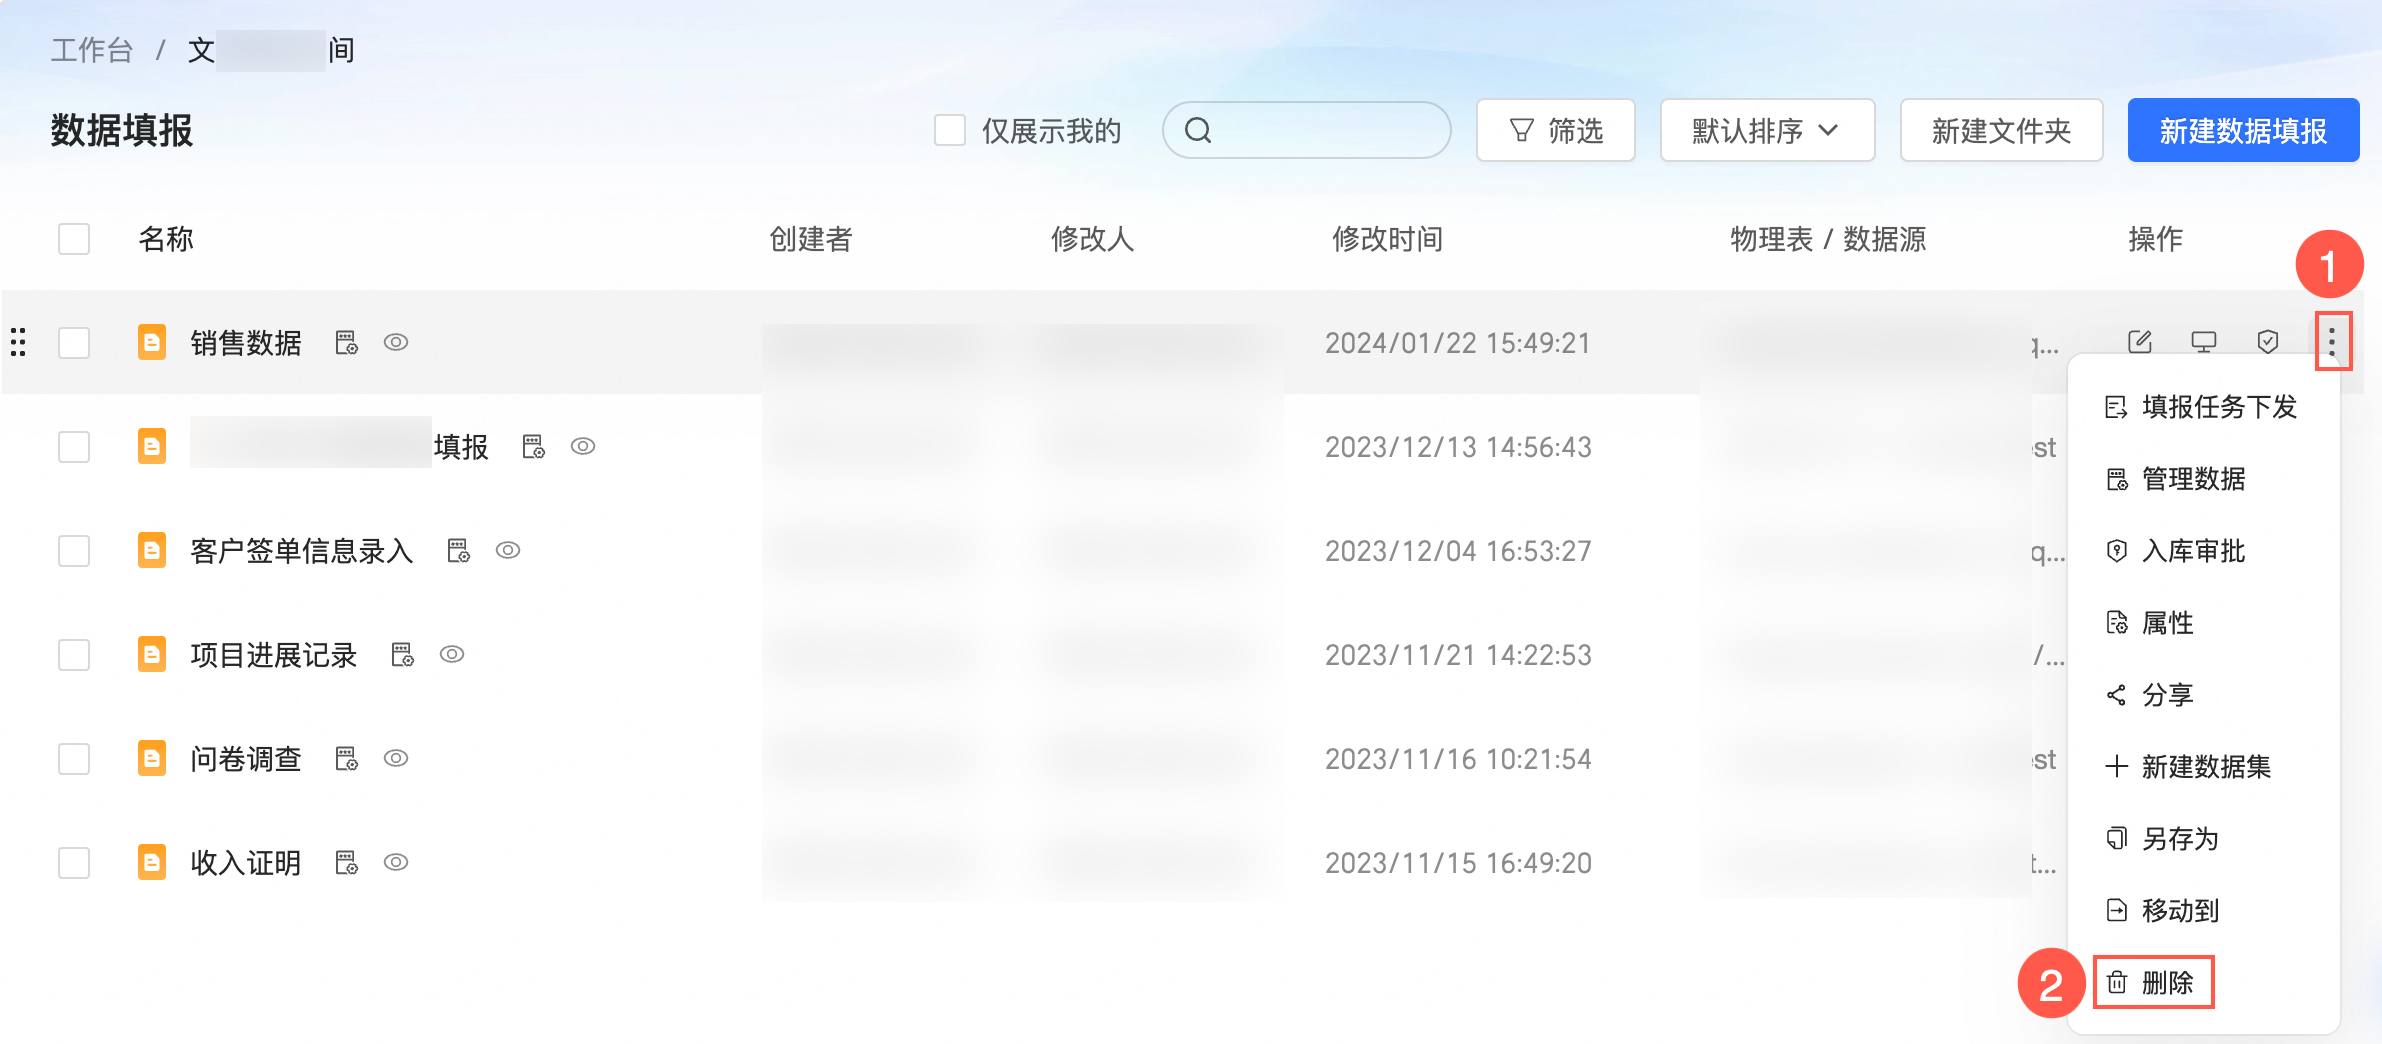
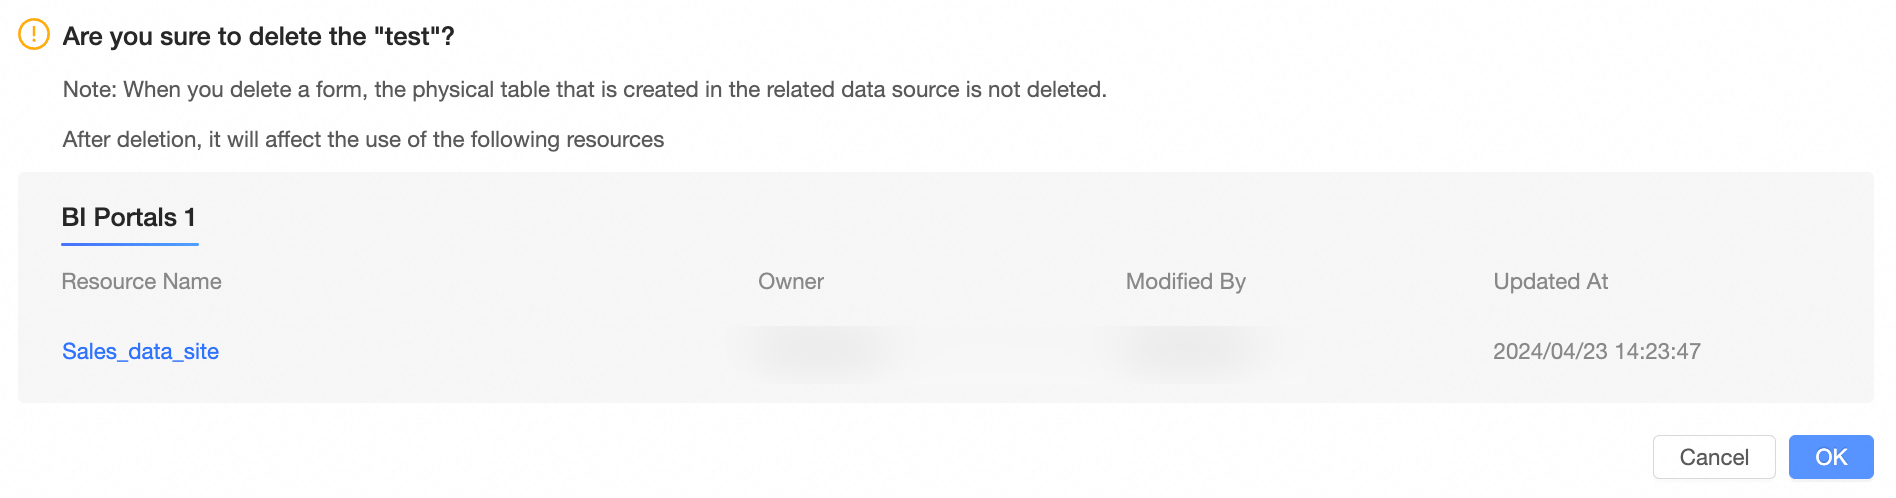
On the Forms page, find the form you want to delete, right-click it, and select Delete.
If you have created a data portal from this form, a message appears when you try to delete it. The message lists the affected published resources, such as name, owner, modifier, and modification time.
In the confirmation dialog box that appears, click OK.
Light and dark themes
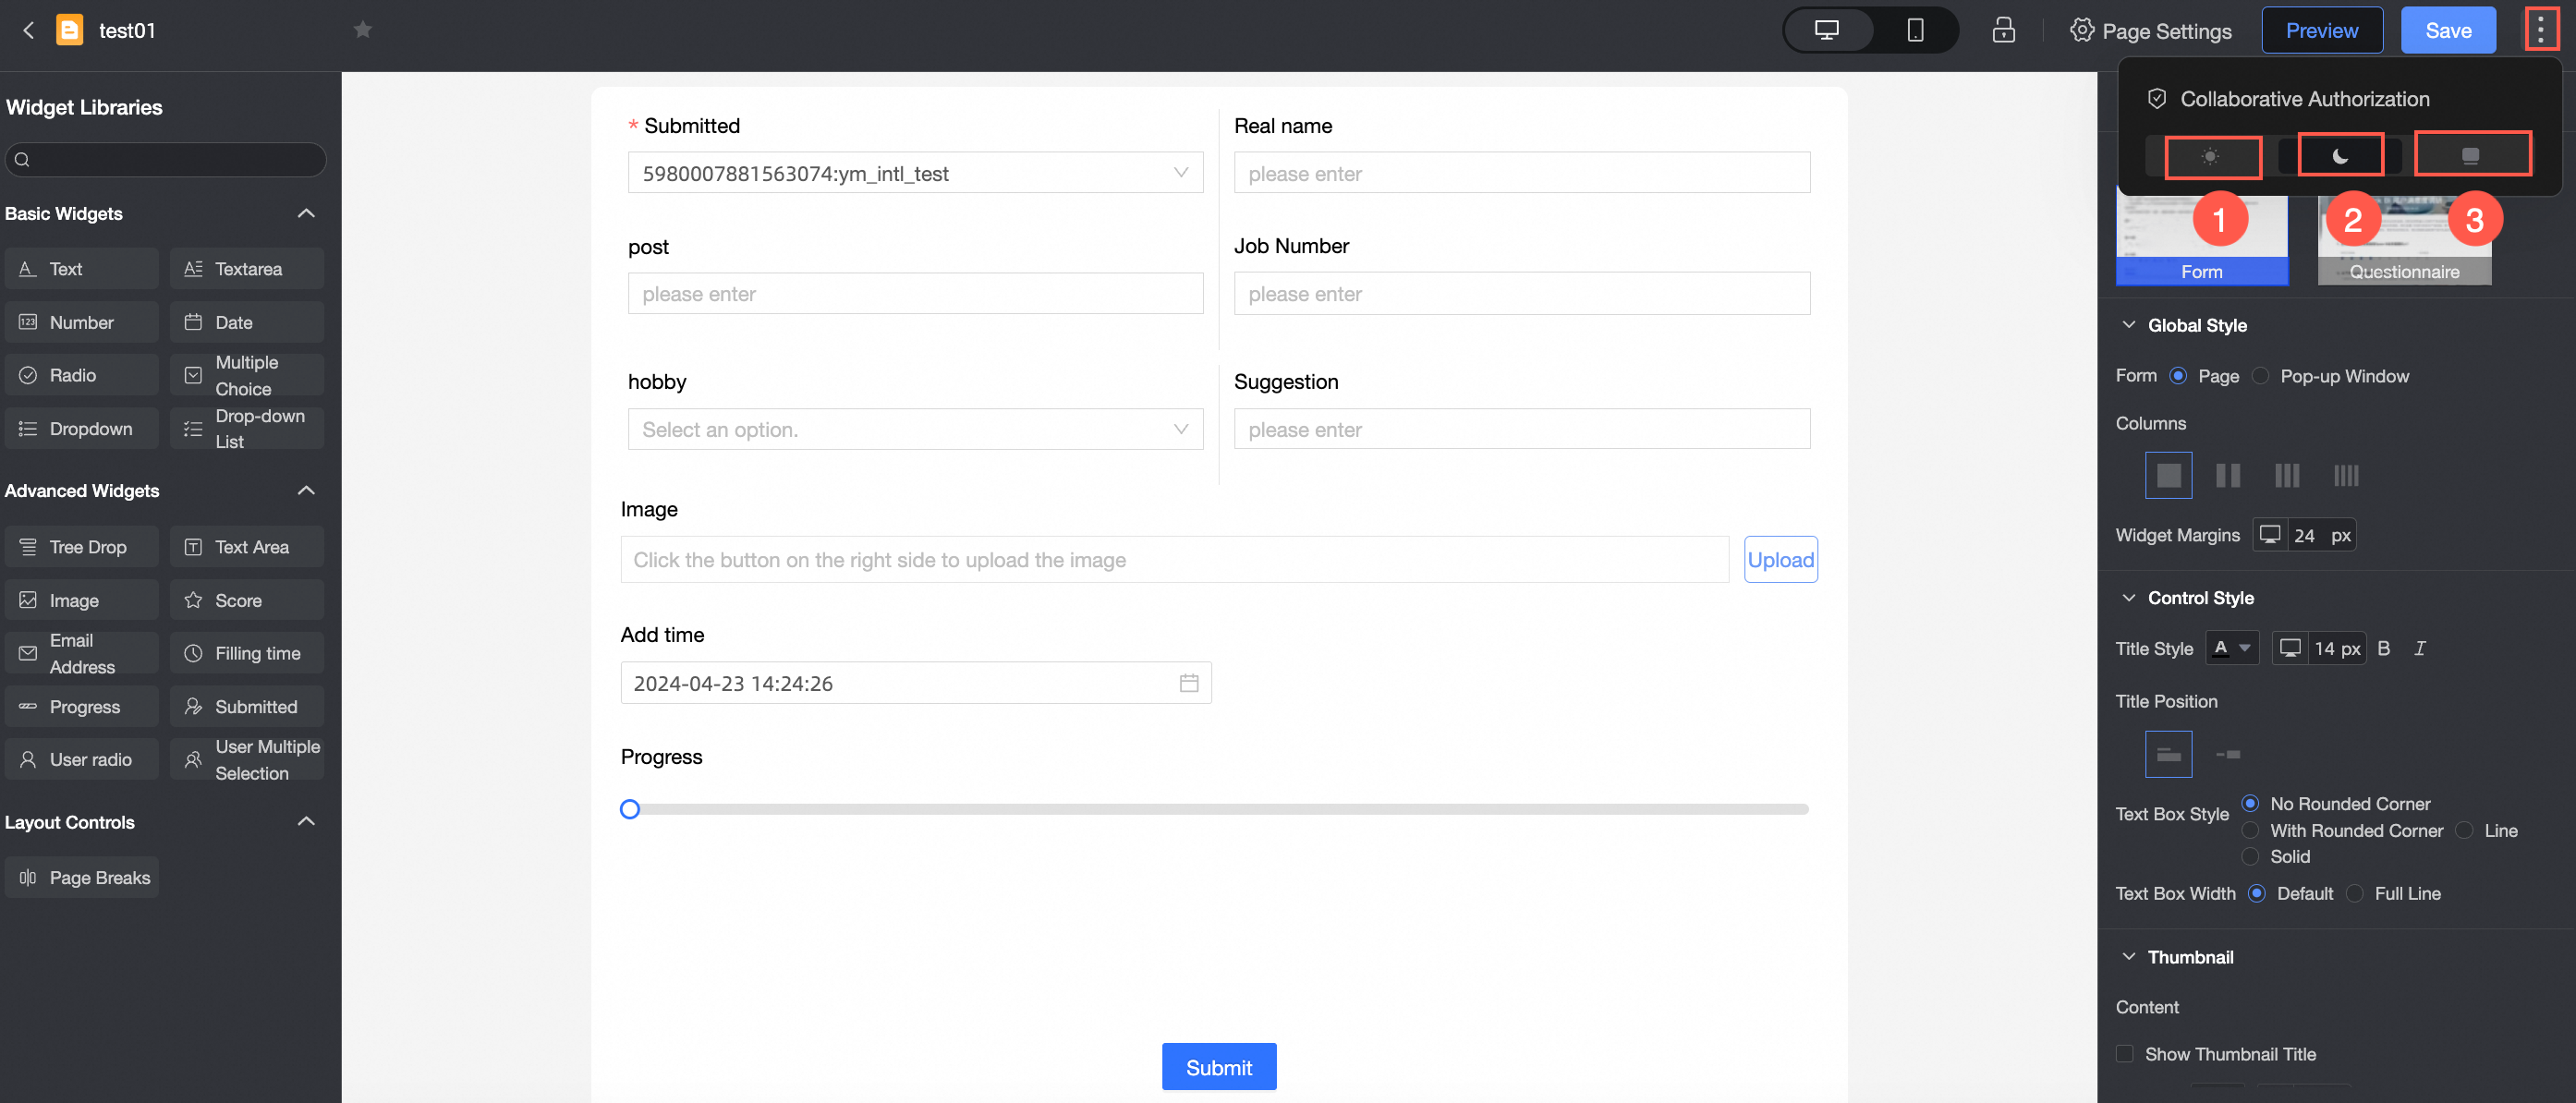
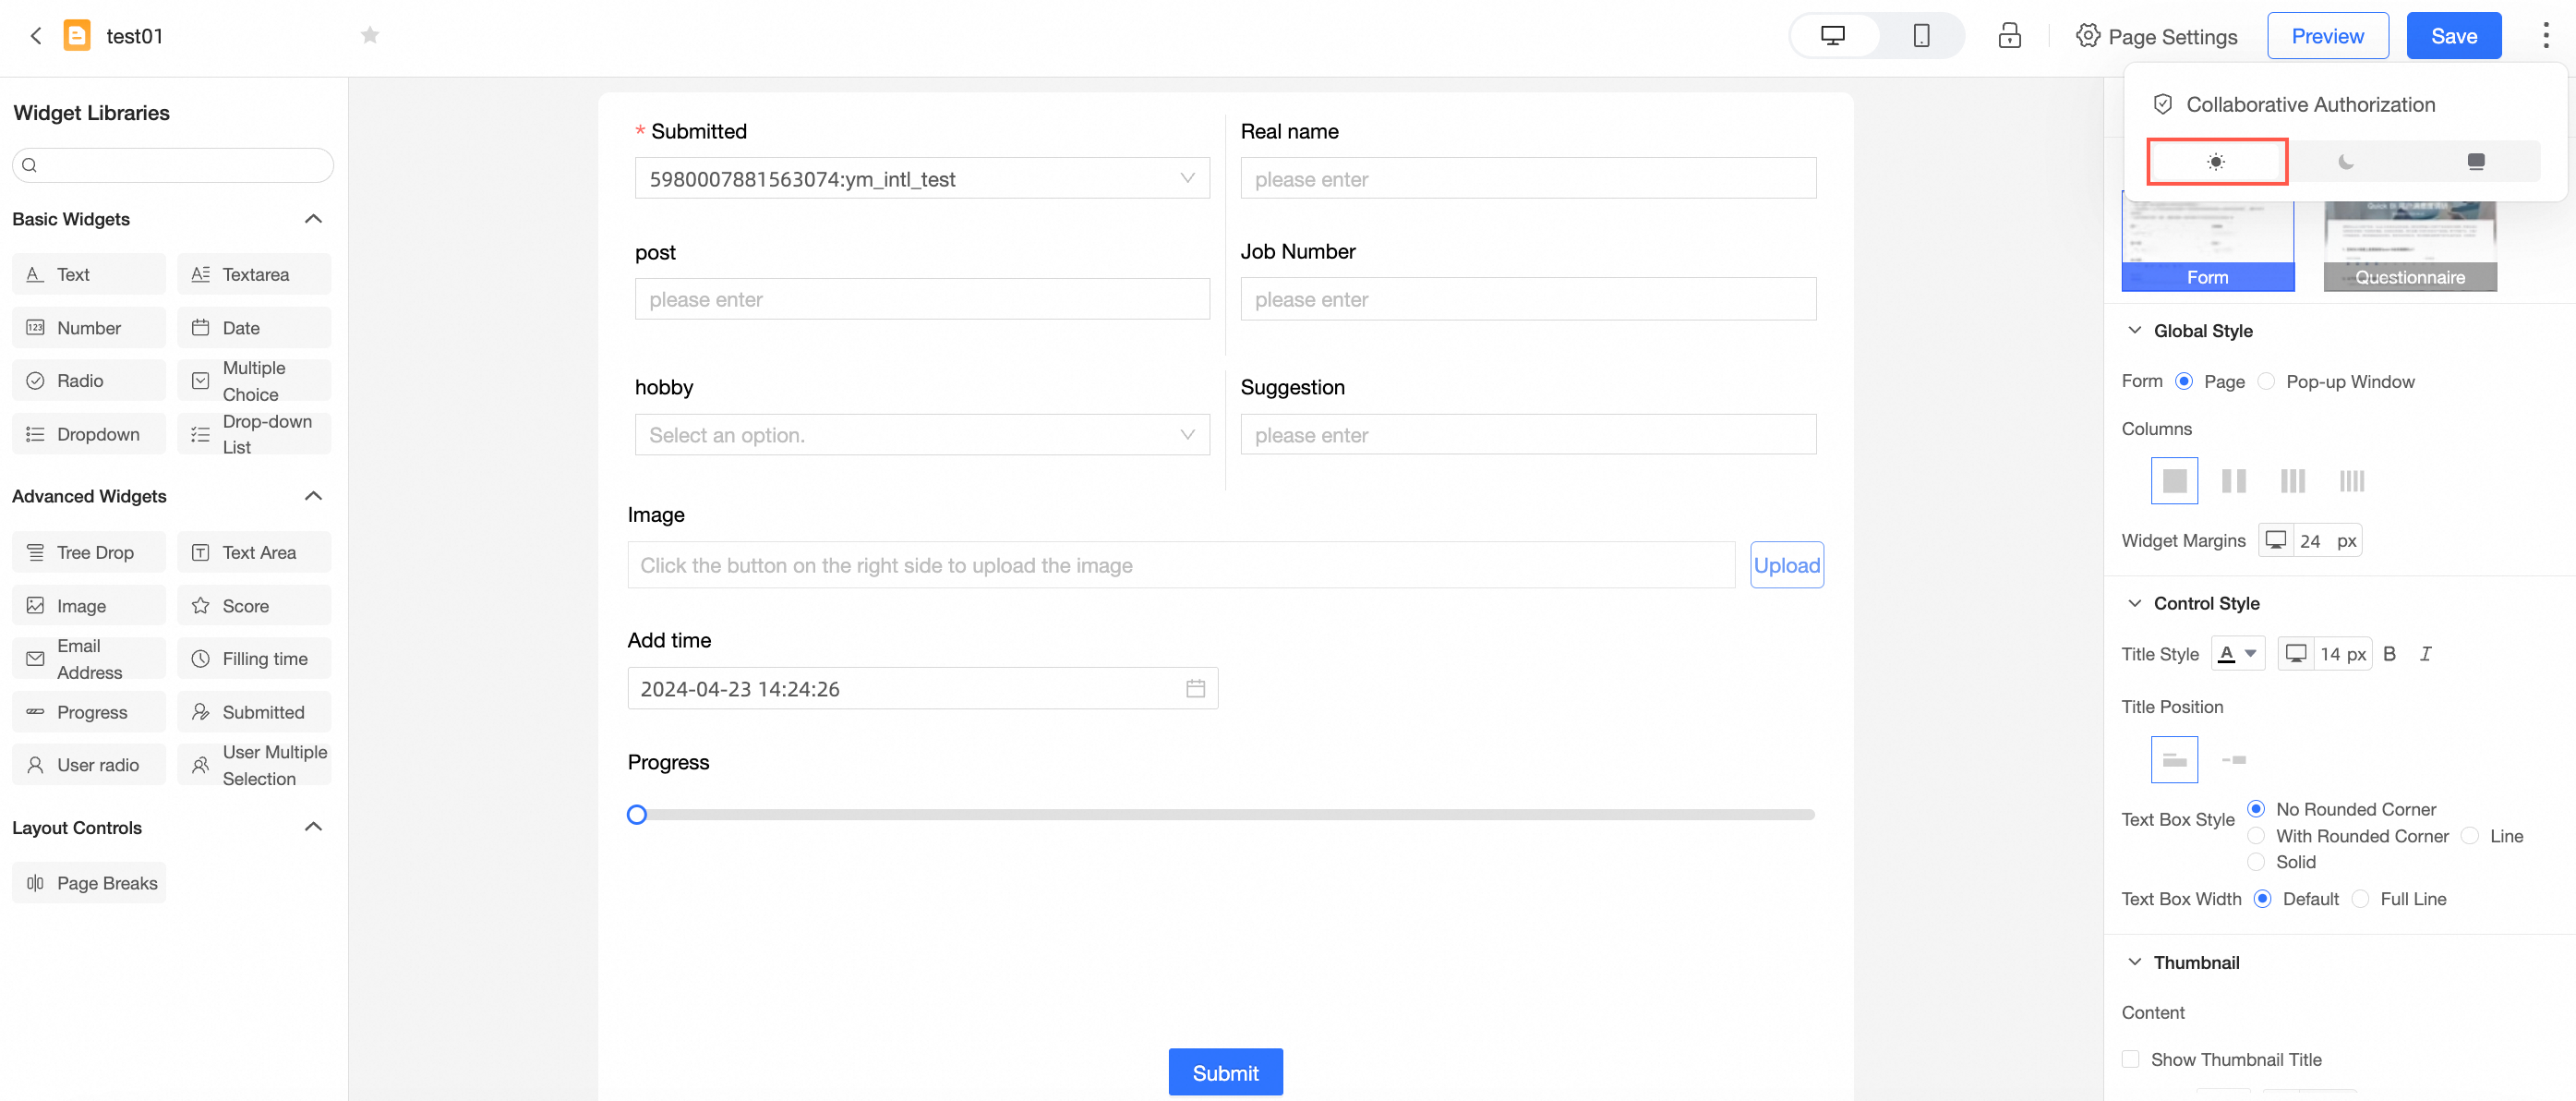
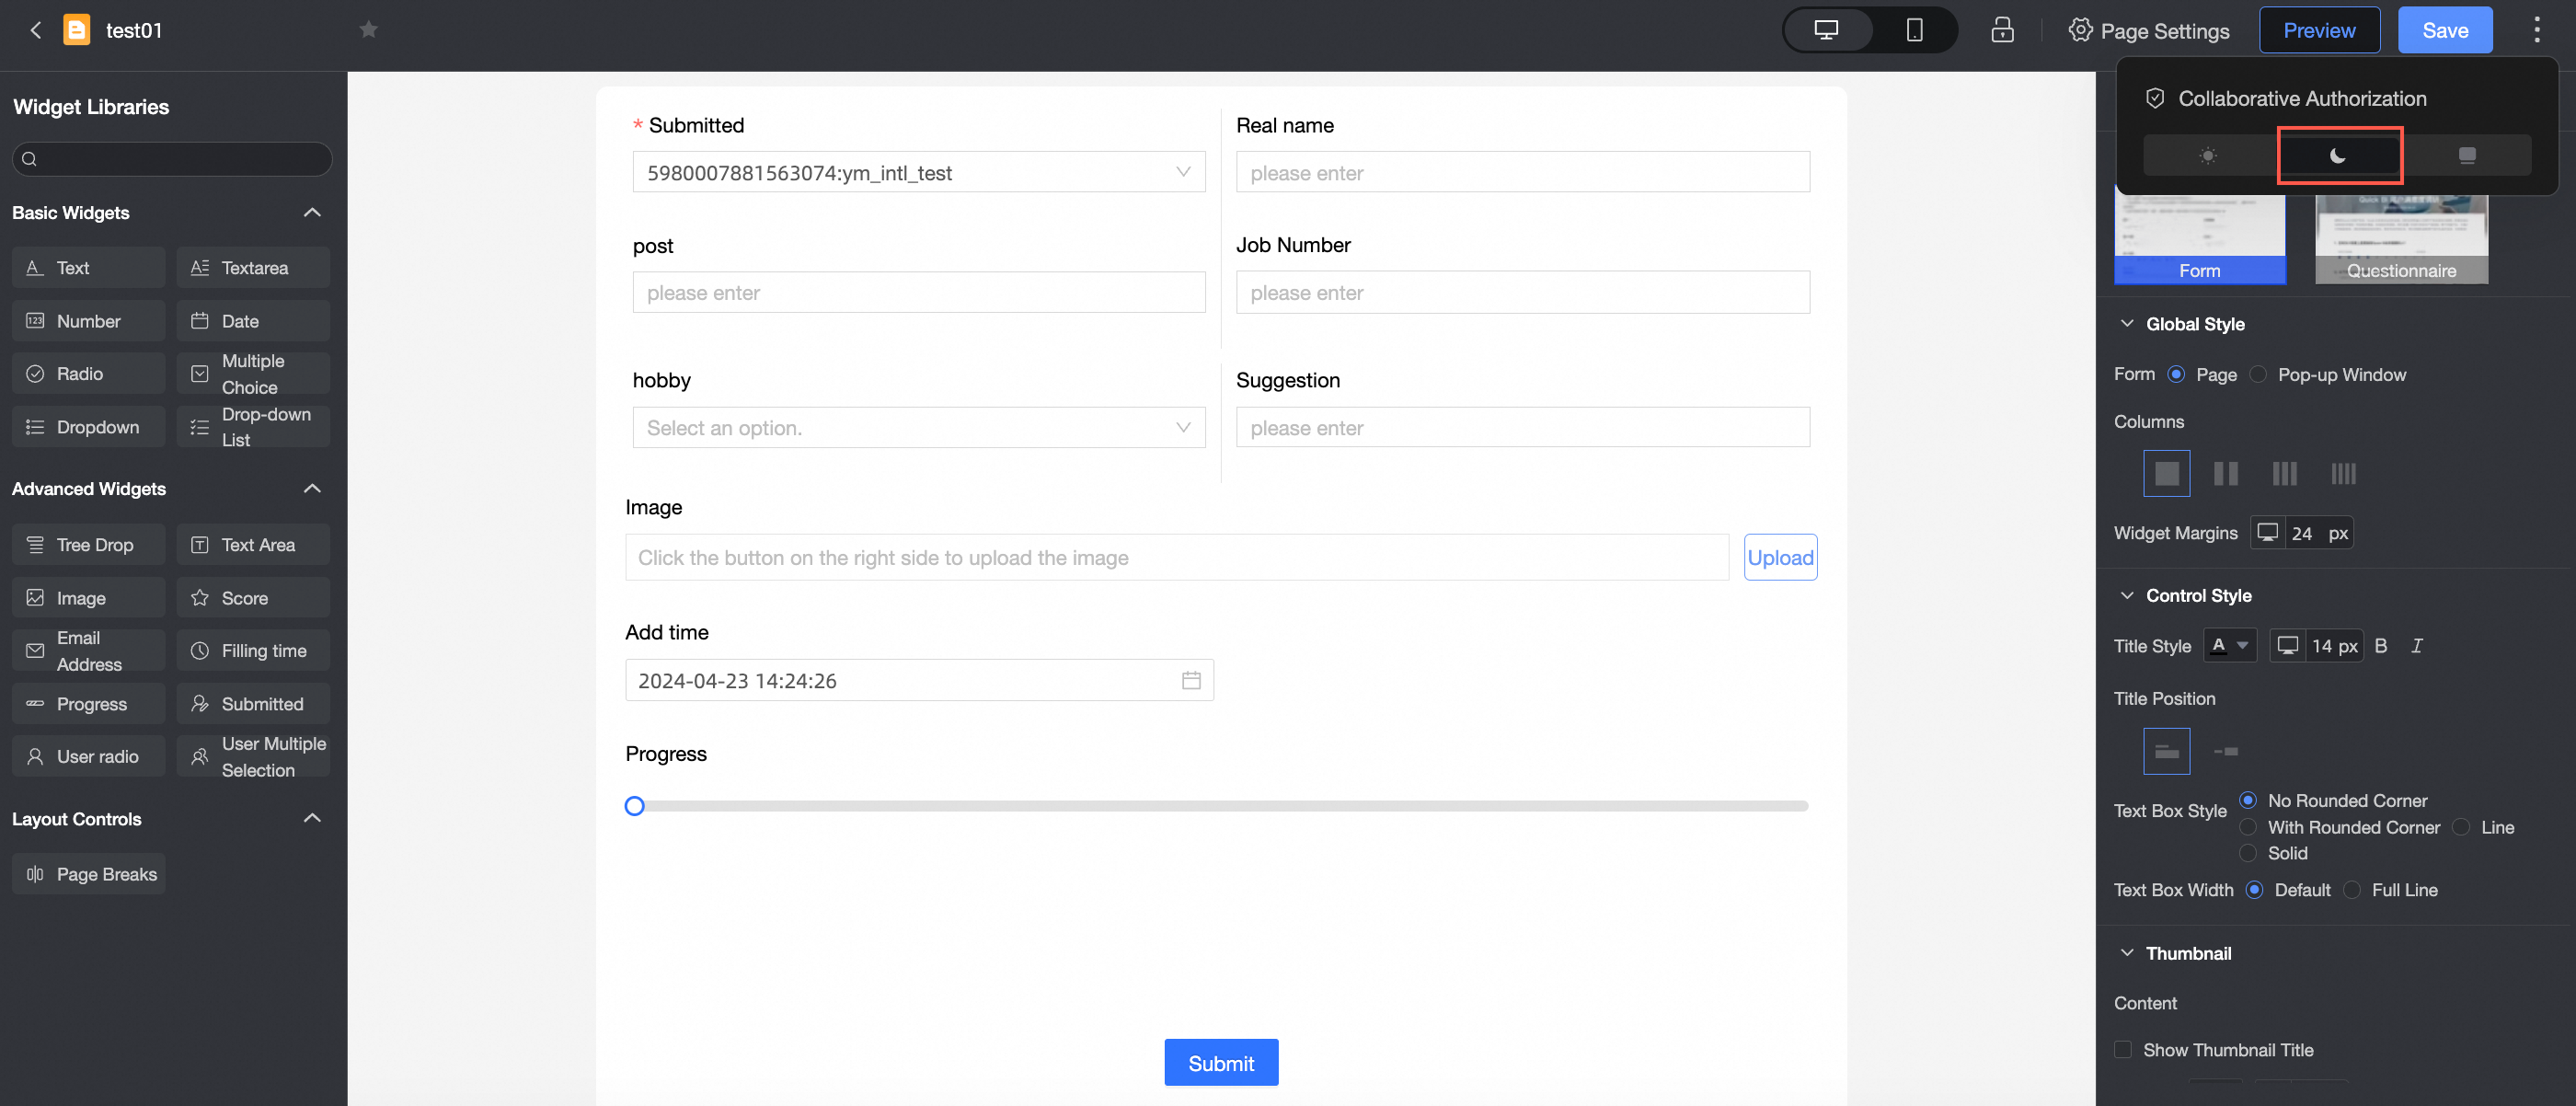
On the form editing page, click the
icon in the upper-right corner and click the theme-switching icon at the bottom to switch between light and dark themes.NoteThe theme setting takes effect at the account level, not the module level. For example, if you switch a form to light mode, other modules that support themes, such as dashboards and spreadsheets, also switch to light mode.
①Light mode
②Dark mode
③Follow system
The theme follows the system style that is defined in the custom configuration.
For more information, see Customize the system theme.
NoteOnly an organization administrator can set the system style in the custom configuration. Module-level theme settings take precedence over organization-level settings.
 icon in the upper-right corner and click the theme-switching icon at the bottom to switch between light and dark themes.