
本文为您介绍云消息队列 Confluent 版实例消息收发时实现Schema格式校验的整体流程和操作。通过Schema格式校验,可以确保生产者发送的消息符合预定义的数据结构,从而提高数据一致性和系统可靠性。
操作流程

步骤一:购买和部署实例
购买实例
登录云消息队列 Confluent 版控制台,在左侧导航栏,单击实例列表。
在顶部菜单栏,选择地域,然后单击购买实例。
在请选择您要创建的实例的付费方式面板,选择实例系列为Confluent 版实例,然后单击确定。
在创建 Confluent页面,根据自身业务需求设置以下参数,然后单击创建集群,根据页面提示完成支付。
部署实例
登录云消息队列 Confluent 版控制台,在左侧导航栏,单击实例列表。
在顶部菜单栏,选择地域,然后在实例列表页面,找到未部署的实例,单击右侧操作列的部署。
在部署实例面板,配置以下参数,然后单击确定。
实例部署说明
参数
说明
示例
部署模式
集群支持单/多可用区部署。
单可用区
可用区
选择可用区。
可用区a
选择专有网络
选择专有网络。
vpc-bp17fapfdj0dwzjkd****
选择交换机
如果之前没有创建过交换机,需要首先创建对应可用区的交换机,同时为了保证集群的顺利拉起,每个交换机的可用IP数建议设置在64个以上。
vsw-bp1gbjhj53hdjdkg****
SLB服务
默认开通。
无
挂载公网
是否开启公网访问。
开启
登录名
Control Center登录默认使用root用户。
root
登录密码
设置Control Center登录密码。
******
确认密码
再次输入密码。
******
实例进入部署中状态。实例部署预计需要10分钟~30分钟。
步骤二:登录Control Center
登录云消息队列 Confluent 版控制台,在左侧导航栏,单击实例列表。
-
在顶部菜单栏,选择地域,然后在实例列表页面,单击目标实例名称。
-
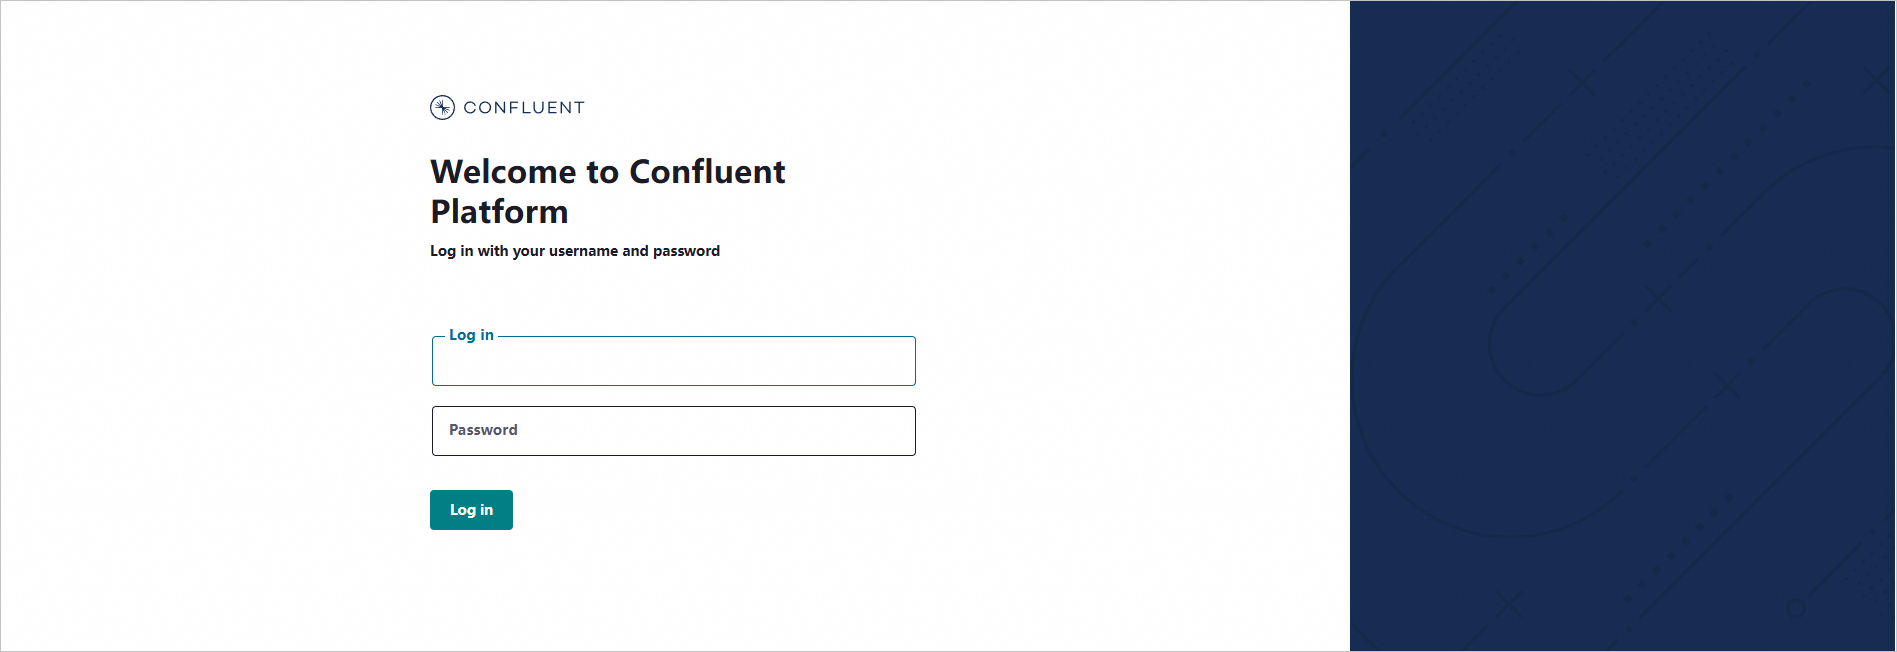
在实例详情页面,单击右上角的登录控制台进行Control Center登录。
说明Control Center控制台的登录用户名和密码为部署实例时配置名为root的用户名和密码。
-
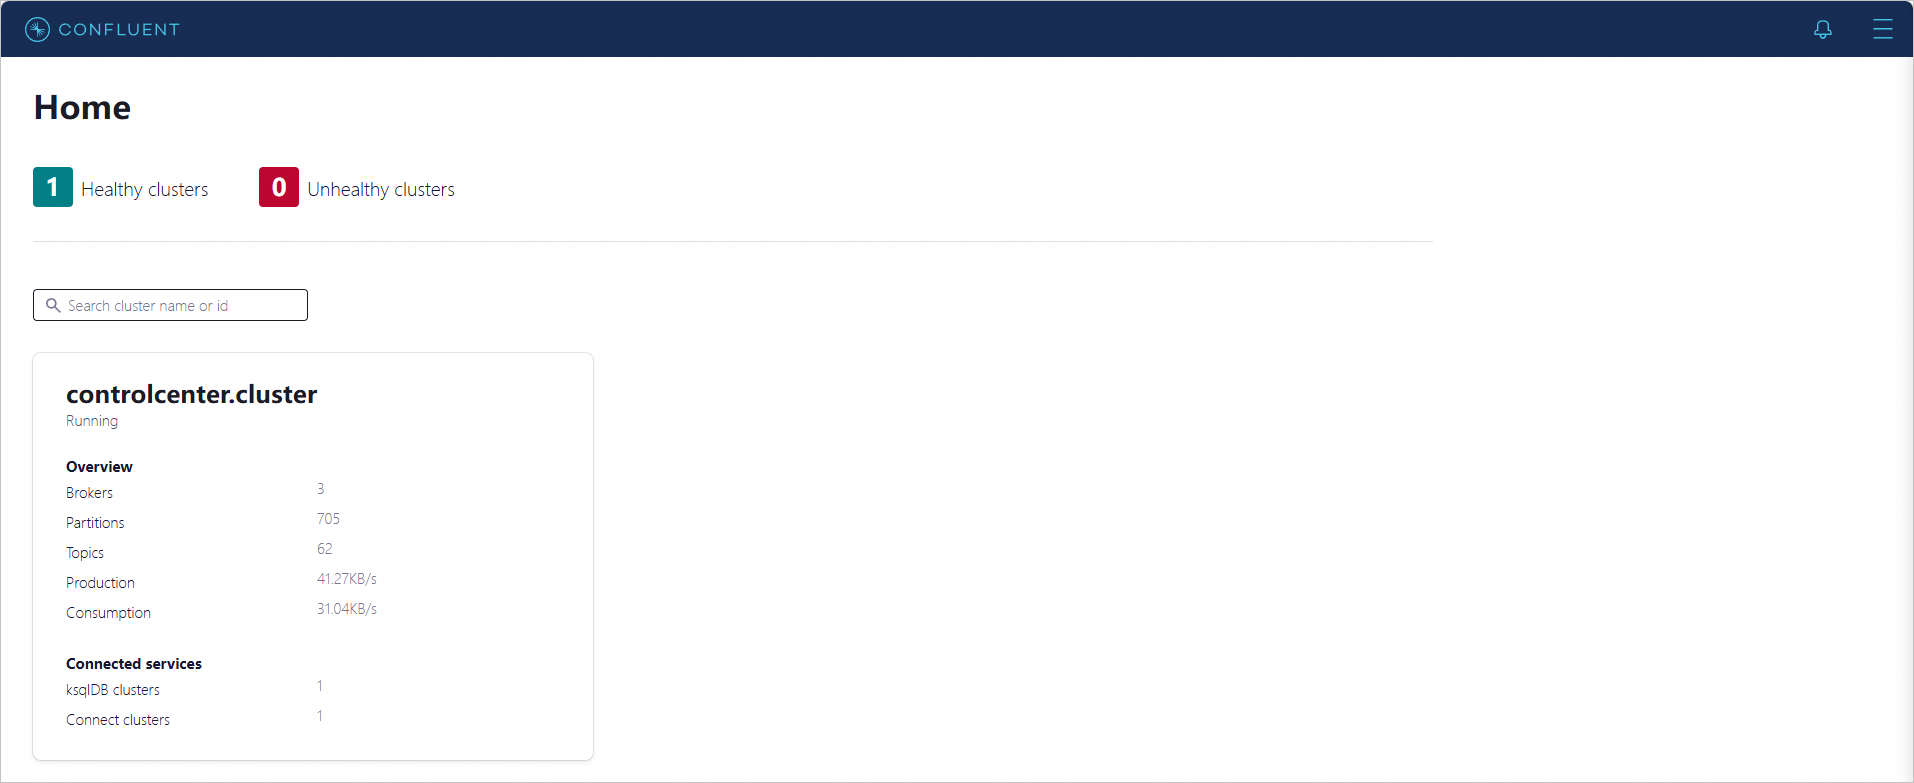
登录完成后,进入Control Center控制台的Home页面。
步骤三:(可选)Connector插件安装
如果需要使用Connector相关功能,需要购买Connect组件资源并安装Connector插件。
-
企业版可以添加由客户提供的不在Connector分类中的Connector。您需要提交工单,并准备和提供经过客户验证的Connector包。
-
云消息队列 Confluent 版根据实例版本的不同,支持安装不同类型的Connector插件,具体详情请参见Connector插件管理。
-
Connector使用请参见Connector使用案例。
步骤四:创建Topic
-
登录Control Center控制台,在Home页面单击controlcenter.clusterk卡片,进入到Cluster overview页面。
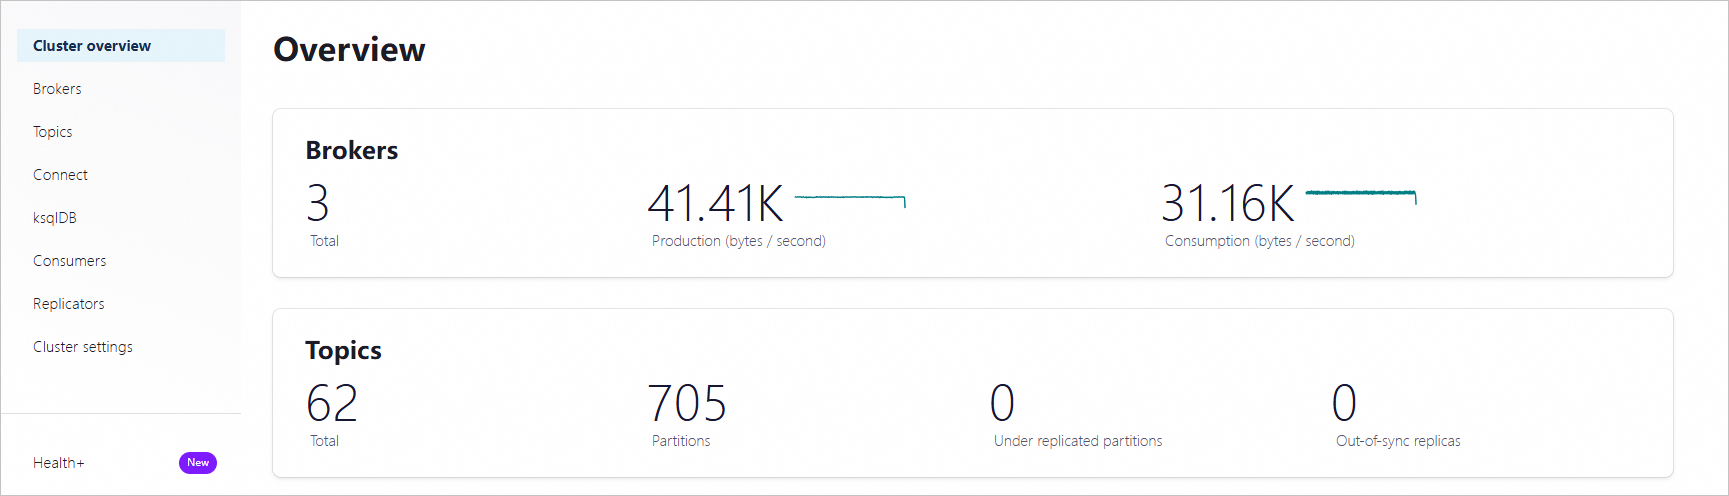
-
在左侧导航栏,单击Topics,然后在Topic列表页面单击+ Add topic。

-
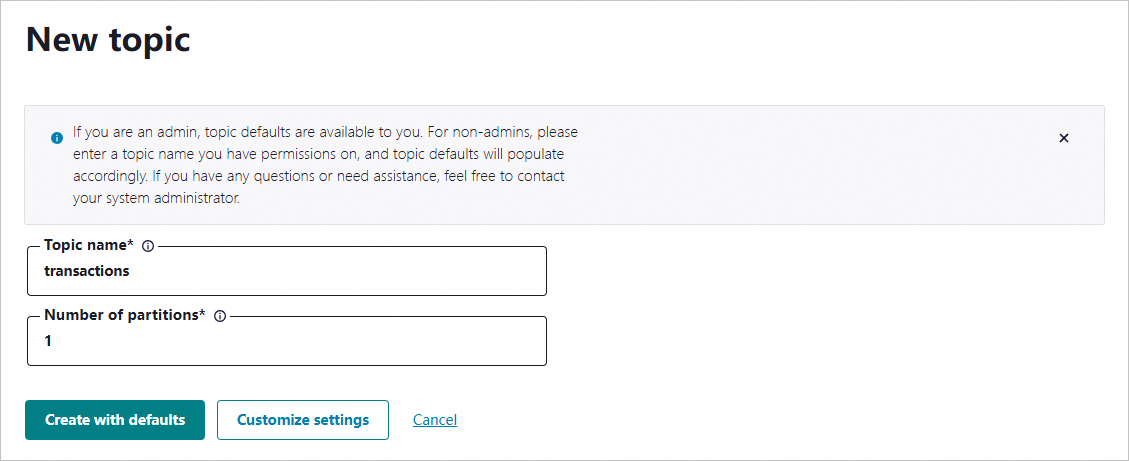
在New topic页面,设置Topic名称和分区数,然后单击Create with defaults。

-
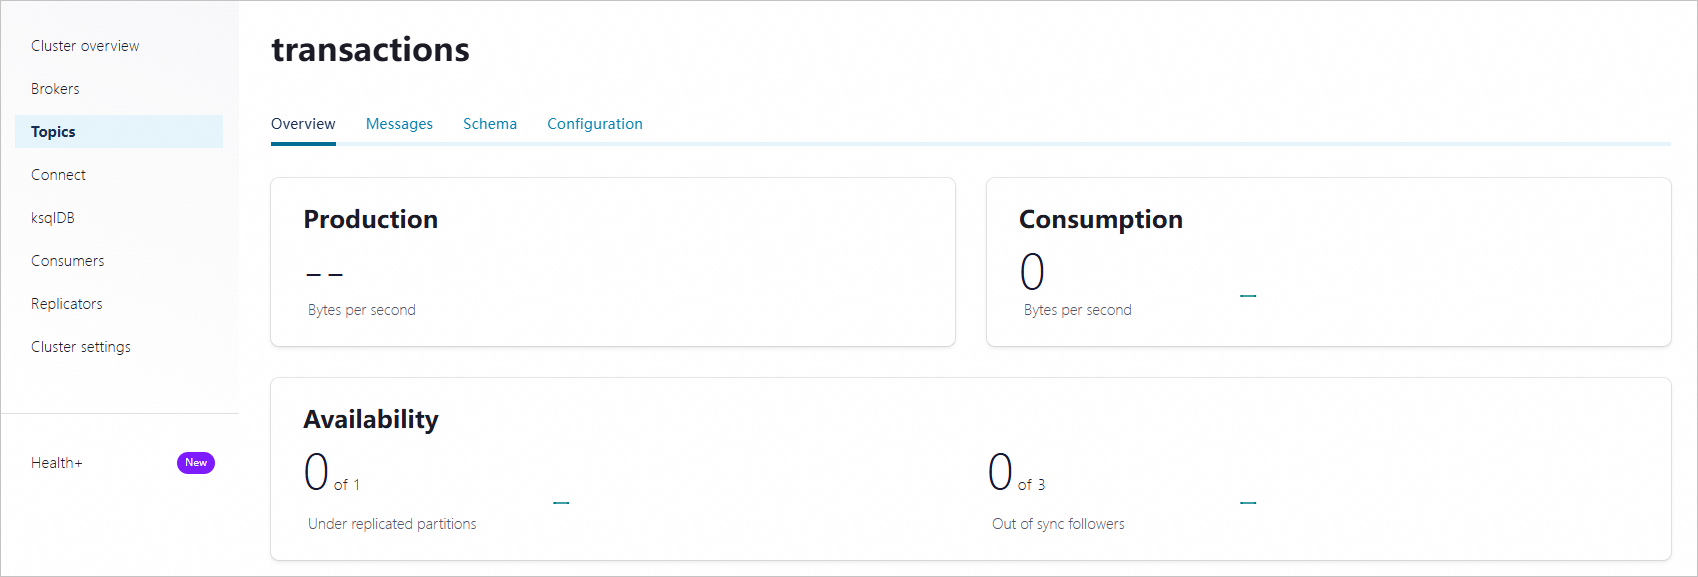
创建完成后,进入到Topic详情页面。
步骤五:开启Schema格式校验
-
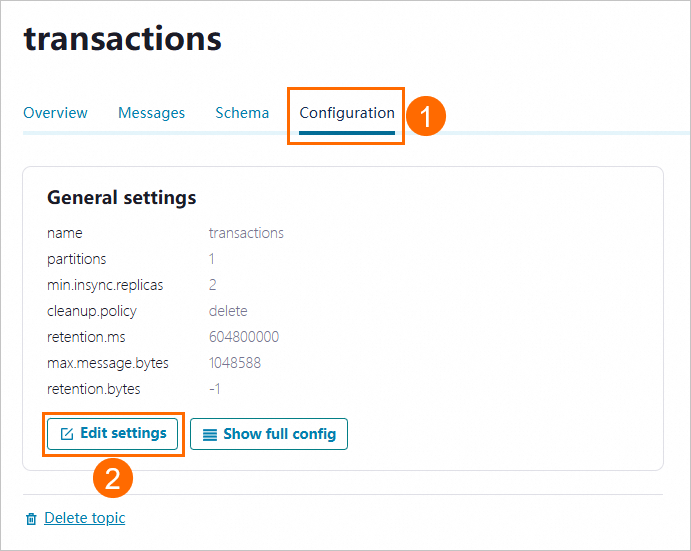
在Topic详情页面,单击Configuration页签,然后单击Edit settings。
-
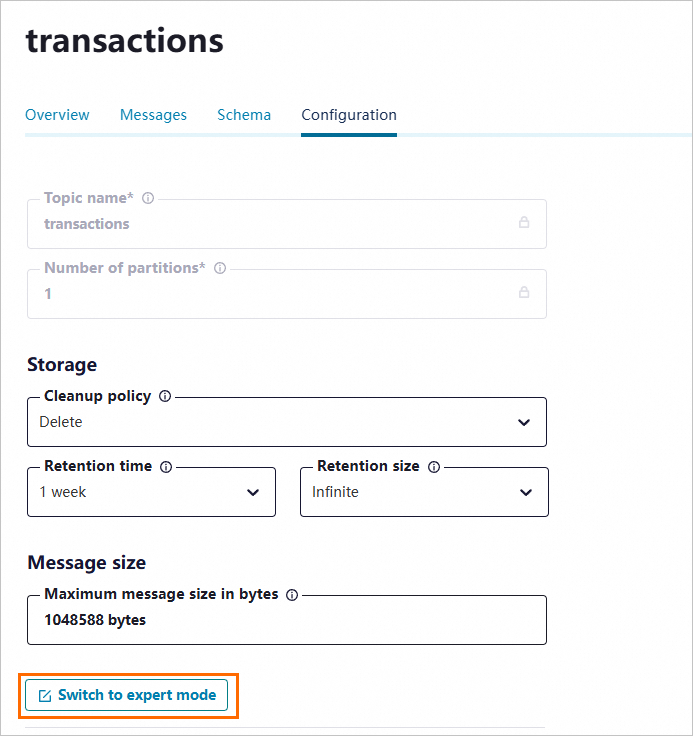
然后单击Switch to expert mode。
-
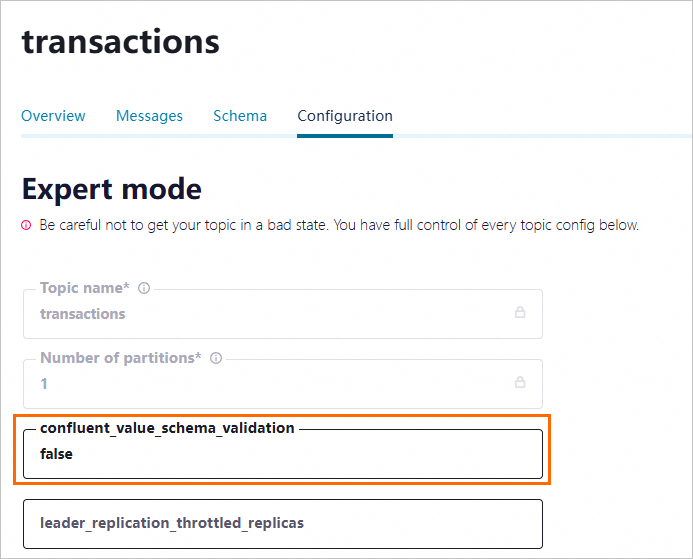
将confluent_value_schema_validation字段设置为true,然后单击Save changes,启用Schema验证消息内容格式。启用后发送和消费数据时将进行格式校验。
步骤六:用户管理和授权
如需使用其他LDAP用户,则需要在云消息队列 Confluent 版控制台添加LDAP用户后并进行授权。详情请参见用户管理和授权。
步骤七:网络访问和安全设置
在收发消息时,需要提供服务的链接地址,并为使用的LDAP用户授予服务对应的权限。
步骤八:发送/消费消息
1.环境准备
-
本文以在Linux服务器中使用示例代码接入云消息队列 Confluent 版进行消息收发为例进行说明。
-
安装Java 8 或 11,关于Java版本支持情况,请参见Confluent Platform中Java版本支持。
-
安装Maven 3.8及以上版本,具体操作,请参见安装Maven。
-
-
执行以下命令,克隆示例代码,并切换到
7.9.0-post分支。git clone https://github.com/confluentinc/examples.git cd examples/clients/avro git checkout 7.9.0-post -
在
$HOME/.confluent/路径下创建客户端配置文件java.config。其中$HOME为您的用户主目录。在配置文件中,配置如下配置项。# Required connection configs for Kafka producer, consumer, and admin bootstrap.servers={{ BROKER_ENDPOINT }} security.protocol=SASL_SSL sasl.jaas.config=org.apache.kafka.common.security.plain.PlainLoginModule required username='{{ CLUSTER_API_KEY }}' password='{{ CLUSTER_API_SECRET }}'; sasl.mechanism=PLAIN # Required for correctness in Apache Kafka clients prior to 2.6 client.dns.lookup=use_all_dns_ips # Best practice for higher availability in Apache Kafka clients prior to 3.0 session.timeout.ms=45000 # Best practice for Kafka producer to prevent data loss acks=all # Required connection configs for Confluent Cloud Schema Registry schema.registry.url=https://{{ SR_ENDPOINT }} basic.auth.credentials.source=USER_INFO basic.auth.user.info={{ SR_API_KEY }}:{{ SR_API_SECRET }}参数
描述
示例值
BROKER_ENDPOINT
KAFKA服务的链接地址。
服务地址在云消息队列 Confluent 版控制台访问链接和接口页面查看。若需要使用公网访问,则需要开启公网,其他安全访问配置请参见网络访问与安全设置。
pub-kafka-xxxxxxxxxxx.csp.aliyuncs.com:9092
CLUSTER_API_KEY
云消息队列 Confluent 版控制台用户管理页面中LDAP用户名和密码。
在测试过程中,可以暂时使用root账号及其密码。如需使用其他用户,则需在云消息队列 Confluent 版控制台中创建该用户,并为其授予Kafka cluster相应的权限。创建用户和授权,请参见用户管理和授权。
root
CLUSTER_API_SECRET
******
SR_ENDPOINT
SCHEMA_REGISTRY服务的链接地址。
服务地址在云消息队列 Confluent 版控制台访问链接和接口页面查看。若需要使用公网访问,则需要开启公网,其他安全访问配置请参见网络访问与安全设置。
pub-schemaregistry-xxxxxxxxxxx.csp.aliyuncs.com:443
SR_API_KEY
云消息队列 Confluent 版控制台用户管理页面中LDAP用户名和密码。
在测试过程中,可以暂时使用root账号及其密码。如需使用其他用户,则需在云消息队列 Confluent 版控制台中创建该用户,并为其授予Schema Registry相应的权限。创建用户和授权,请参见用户管理和授权。
root
SR_API_SECRET
******
-
示例代码中的Topic参数值设定为
transactions。在测试时,可以直接创建名为transactions的Topic。如果需要使用其他的Topic,则需相应更改代码中的参数值。示例代码如下,更多详情请参见Confluent Platform示例代码。
2.创建Schema
-
进入项目的examples/clients/avro目录下,执行以下命令,查看
Payment.avsc文件内容。cat src/main/resources/avro/io/confluent/examples/clients/basicavro/Payment.avsc返回结果
{ "namespace": "io.confluent.examples.clients.basicavro", "type": "record", "name": "Payment", "fields": [ {"name": "id", "type": "string"}, {"name": "amount", "type": "double"} ] } -
在Control Center控制台Topic详情页面,单击Schema,然后单击Set a schema。
-
在Schema页签,单击Avro,将上述Payment.avsc文本填入文本框,单击Create。
3.发送消息
-
进入项目的examples/clients/avro目录下,执行以下命令编译项目。
mvn clean compile package -
编译完成后,执行以下代码,发送消息。
mvn exec:java -Dexec.mainClass=io.confluent.examples.clients.basicavro.ProducerExample \
  -Dexec.args="$HOME/.confluent/java.config"
执行发送命令后,如下结果则表明发送成功。
... Successfully produced 10 messages to a topic called transactions [INFO] ------------------------------------------------------------------------ [INFO] BUILD SUCCESS [INFO] ------------------------------------------------------------------------ ... -
在Control Center控制台可以查看到已发送的消息。
在 Topics 页面选择 transactions 主题,进入 Messages 标签页,可查看到共 10 条消息。每条消息的 Key 为
"id0"至"id9",Value 为 JSON 格式,例如{"id":"id9","amount":1000}。
4.消费消息
-
进入项目的examples/clients/avro目录下,执行以下命令编译项目。
mvn clean compile package -
执行以下代码,消费消息。
mvn exec:java -Dexec.mainClass=io.confluent.examples.clients.basicavro.ConsumerExample \ -Dexec.args="$HOME/.confluent/java.config" -
运行消费命令后,如下结果则表明消息已被成功消费。
...
key = id0, value = {"id": "id0", "amount": 1000.0}
key = id1, value = {"id": "id1", "amount": 1000.0}
key = id2, value = {"id": "id2", "amount": 1000.0}
key = id3, value = {"id": "id3", "amount": 1000.0}
key = id4, value = {"id": "id4", "amount": 1000.0}
key = id5, value = {"id": "id5", "amount": 1000.0}
key = id6, value = {"id": "id6", "amount": 1000.0}
key = id7, value = {"id": "id7", "amount": 1000.0}
key = id8, value = {"id": "id8", "amount": 1000.0}
key = id9, value = {"id": "id9", "amount": 1000.0}
...