This article introduces Salesforce SSO configuration on IDaaS.
App Introduction
Salesforce is a SaaS software which provides customer relationship management software and applications focused on sales, customer service, marketing automation, analytics, and application development.
Configuration Steps
1. Create Application
Please direct to Applications - Add Application - Marketplace and find Salesforce template. After confirming the application's name, a new app would be created.

You will be automatically redirected to SSO configuration page.
Below, IDaaS provides a series of attributes needed on Salesforce side.

Download the certificate to be uploaded on Salesforce later.
2. Configure Salesforce SSO
2.1. Go to SSO Settings
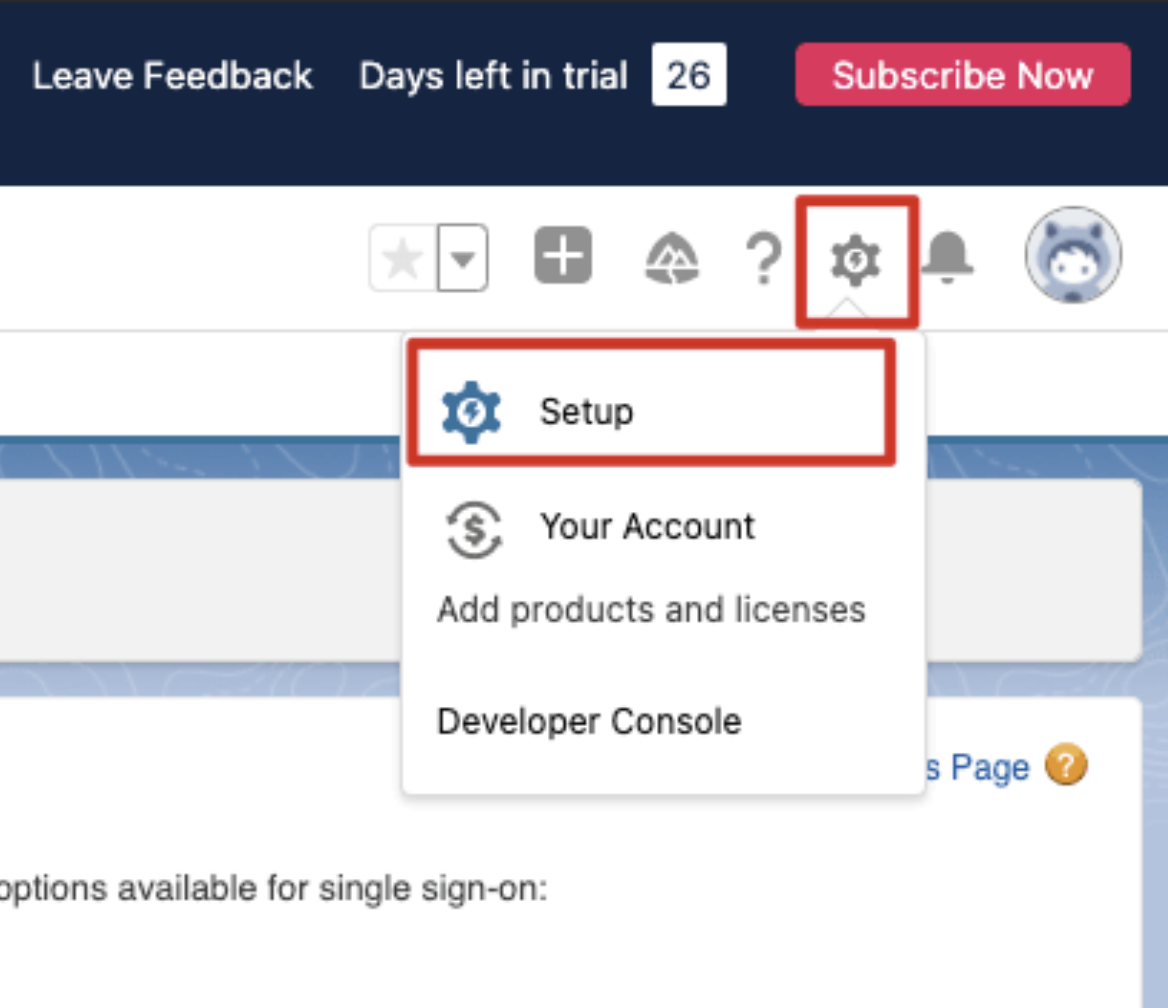
Please login salesforce admin panel. Visit Settings from the gear icon at the top right.

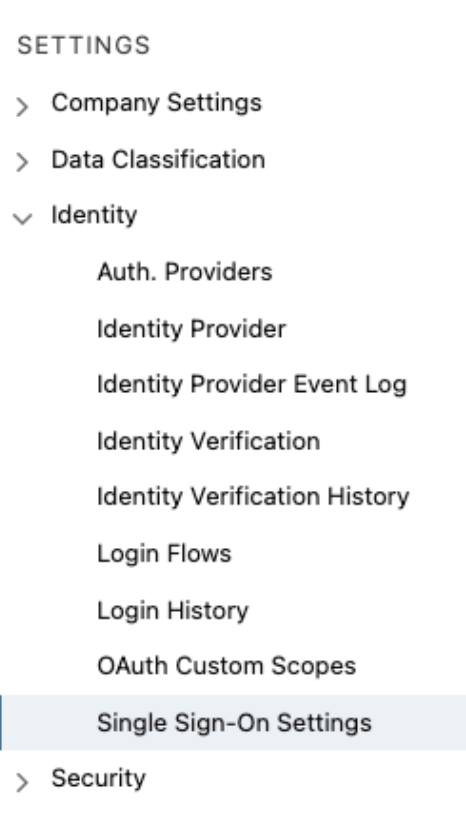
Navigate to SETTINGS - Identity - Single Sign-on Settings.

If this page is not responsive, please try another browser. Some browsers forbids cross site cookies, which might cause display problems. When that happens, you may switch to Salesforce Classic as the page would suggest.
2.2. SAML Configuration
Click New.

There are quite a few things an the form, but we only need to pay attention to the following:
Attribute | Alias | Comments |
Name | - | Fixed Value: IDaaS。You may enter as you wish. |
API Name | - | Fixed Value: IDaaS。You may enter as you wish. |
Issuer | IDP Entity ID | AKA IDP Entity ID. Retrieved from IDaaS Application Settings. |
Entity ID | ESP Entity ID | AKA SP Entity ID. Retrieved from IDaaS Application Settings. |
Identity Provider Certificate | Public Key Certificate | Retrieved from IDaaS Application Settings. |
Identity Provider Login URL | Also called IdP Sign-in URL、SAML SSO URL etc. | Retrieved from IDaaS Application Settings. |
After you successfully save, it redirects to settings page. Please copy the Login URL and later paste it into IDaaS.

2.3. Enable SAML SSO
You need to go back into the Salesforce SSO configuration and enable this setting.
Clieck on Edit on the SSO main page, and enable SAML SSO.
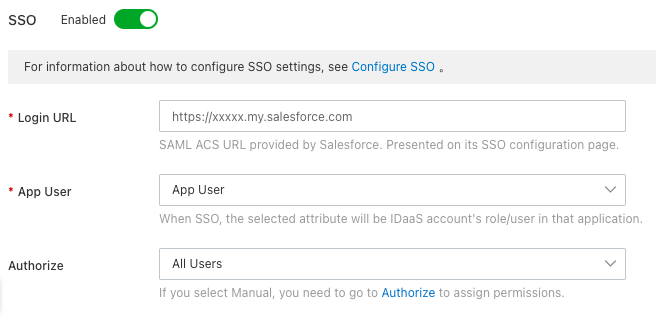
3. Configure SSO in IDaaS
Go back to IDaaS page.
Paste the Login URL from Salesforce.

For ease of testing, choose All Users for Authorization.
Save to complete all configurations.
4. Try
You may now try to SSO Salesforce.
Please use an authorized user to login IDaaS user portal. Click on the Salesforce icon to initiate SSO.
