Push management enables the distribution of governance results through text messages, emails, or internal messages. This topic outlines the procedures for initiating, editing, deleting pushes, and other related operations.
Enter the push management page
-
Navigate to the Dataphin home page, select Administration > Resource Administration from the top menu bar.
-
In the left-side navigation pane, choose Administration Item Management > Push Management to access the Push Management page.
-
On the Push Management page, you can view both My and All push entries.
Filter quickly by typing the push name into the search box or by selecting from the filter
 icon options such as All, Online, Pause, Unpublish.
-
Push Name: The name of the push.
-
Owner: The owner of the push.
-
Start Date: The start date of the push.
-
End Date: The end date of the push.
-
Push Status: Includes statuses such as Online, Pause, Unpublish.
-
Create a push
-
On the Push Management page, click the + Initiate Push button located in the upper right corner.
-
On the Push Configuration page, fill in the parameter settings as instructed.
-
Push Name: Enter the name for the push.
-
Effective Date: Set the effective date for the push.
-
Push Frequency: Choose the frequency of the push, which can be either a scheduled or periodic event.
-
Scheduled Push: Select the specific date for the scheduled push.
-
Periodic Push: Define the policy and timing for the periodic push. Options include Daily, Weekly, Monthly.
-
-
Push Channel: Select the delivery method for the push, which can be Email, Text Message, or Internal Message.
-
Edit Push Data:
-
If you have not yet created any administration items, click Create New Administration Item to access the new administration item creation page. For detailed information on parameter configuration, see or Create new administration item.
-
If you already have administration items:
-
Click Add Administration Item to open the addition dialog box. In the administration item list, click the
 icon next to the desired item to add it to the selection on the right.
Filter quickly by typing the administration item name into the search box or by selecting from the filter
icon options such as Type, Owner, Administration Object.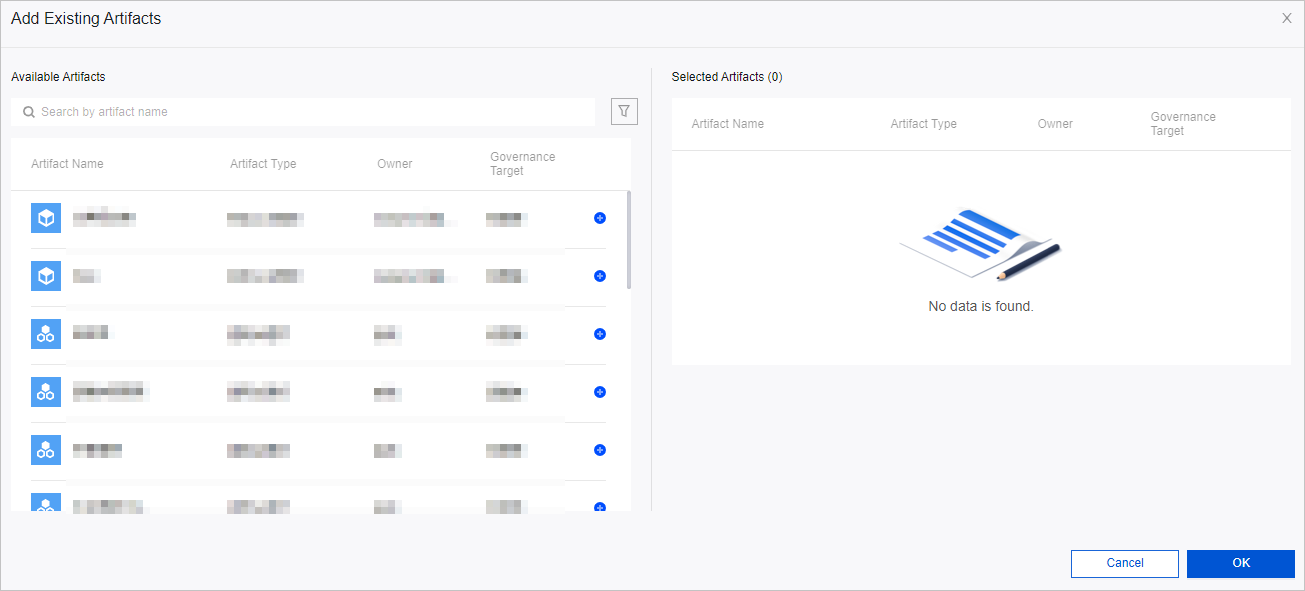 Note
NoteOnly enabled administration items are displayed in the list within the addition dialog box.
-
Once added, click Confirm.
-
-
-
-
In the Edit Push Data section, click Next.
-
Select the project, perform a Send Test, and upon receiving the Send Successful notification, click Submit.
-
In the Submit Confirmation dialog box, click Confirm Submit to finalize the push creation.
By default, the Push Status for a new push is set to Online.
Manage push
Within the push management page, you can perform actions such as viewing, editing, pausing, changing the owner of, and deleting push tasks.
-
View: To examine the parameter configuration, administrative details, and push data of a push task, click the Actions icon in the corresponding column of the target push task.View
-
Edit: Click the Actions icon in the target push task's column to modify the effective date, push frequency, push channel, and push data information. For details, see EditCreate a push.
-
Pause push: To pause the push task, single click the Actions icon in the Pause push column.
-
Change owner: This can be done individually or in batches. For a single task, click the Change owner icon, select an active tenant member, and confirm with Confirm. For multiple tasks, select them, click Batch change owner at the bottom, choose an active tenant member, and confirm with Confirm.
NotePost-change, the original owner will not be able to modify the administration item's configuration.
-
Delete: To remove a push task, single click the Actions icon, select the More option, and then choose Delete. Note that this action is irreversible.