Yida is a low-code application development platform from Alibaba. You can use it to quickly build data applications by dragging and dropping elements. This topic describes how to add and use a Yida data source in DataV and explains the parameter settings.
Prerequisites
You have logged on to the Yida console through DingTalk and created a data form for a Yida application. For more information, see Create a Yida data form.Background information
Permissions for calling data from a Yida data source follow the principle of least privilege. When you call a data source in DataV, an account can only call form data from applications that the same account built in Yida. The account cannot call form data created by other accounts.Add a Yida data source
Log on to the DataV console.
On the My Data tab, select Data Source Management and click Add Data.
- In the Add Data Source dialog box, set Type to Yida Data Source.
- Enter the information for the Yida data source.
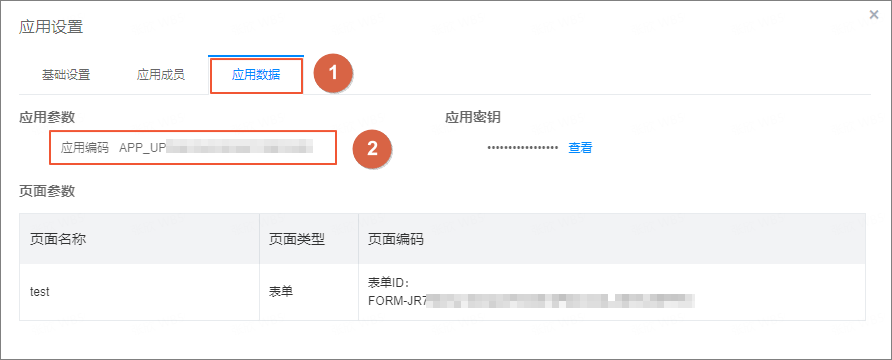
Parameter Description Custom Data Source Name (Required) The display name of the data source. Application Code (Required) The code of the application for which you have created a form in the Yida platform. In the Application Settings of a Yida application, obtain the application code from the Application Data tab, as shown in the following figure.
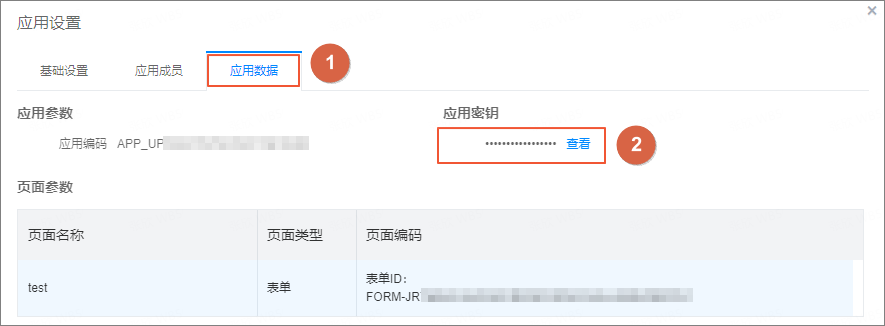
Application Key (Required) The key of the application for which you have created a form in the Yida platform. In the Application Settings of the Yida application, obtain the application key from the Application Data tab, as shown in the following figure.
Form ID (Optional) The ID of the form that you have created in the Yida platform. After you enter the Application Code, you can select the corresponding form from the list. - After you enter the information, click OK.
The new data source is automatically added to the data source list.
Use a Yida data source
This section describes how to connect a widget to a Yida data source.
Log on to the DataV console.
On the My Visualization page, hover the pointer over the visualization application that you want to edit, and then click Edit.
ImportantIf you do not have any visualization applications on the My Visualization page, create one. For more information, see Create a PC visualization application using a template.
On the canvas editor page, click a widget on the canvas.
If the canvas does not have any widgets, add one. For more information, see Add an asset.
In the configuration panel for the widget on the right, click the Data tab, and then click Configure Data Source.
- On the Set Data Source page, set Data Source Type to Yida Data Source.
- From the Select Existing Data Source list, select a configured Yida data source.
- Click Configure below to open the Chart Data Configuration dialog box.
- In the Dataset list in the upper-left corner of the dialog box, select a dataset. The fields in the selected dataset are automatically displayed in the Fields list below.
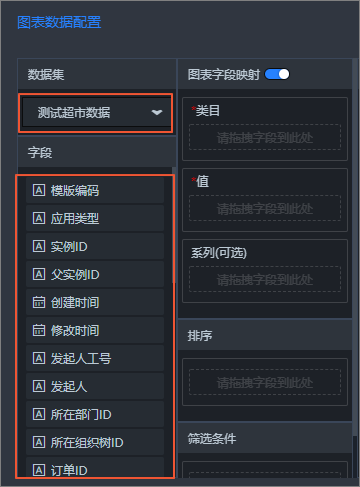
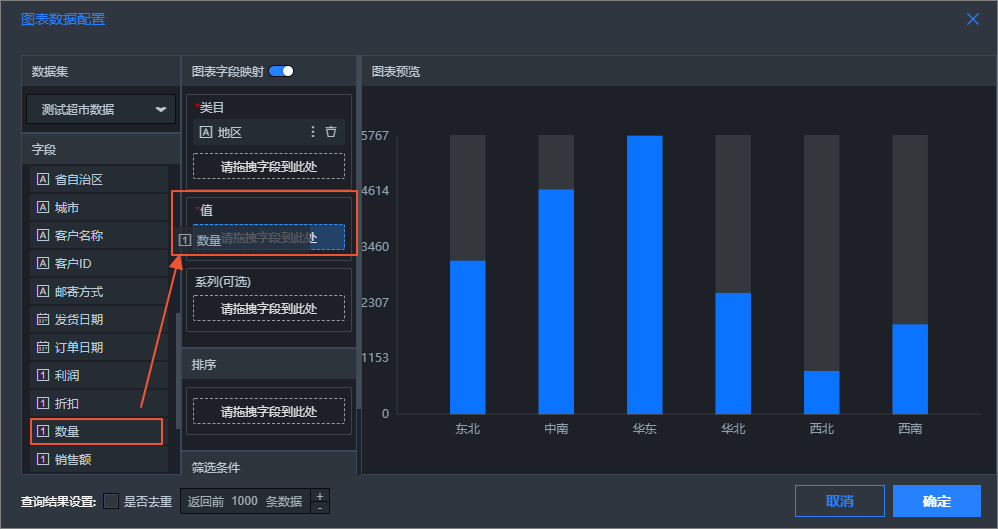
- Drag a data field to a mapping field in the Field Mapping section on the right.
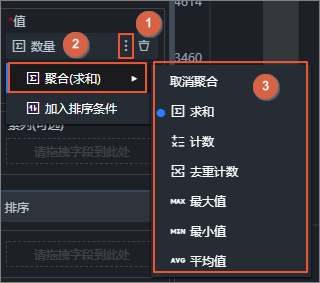
- Click the
 icon next to the mapping field to configure the aggregation method for the data field. The default method is Sum.

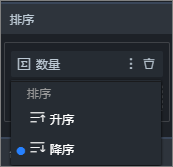
- Optional:Click the icon next to the mapping field and select Add to Sort Conditions. The field is added to the Sorting list. You can set the sort order to Descending (default) or Ascending.
- After you configure the data mapping, a real-time preview of the chart appears in the Chart Preview area on the right.
- Click OK in the lower-right corner of the dialog box to complete the data mapping configuration.
- After the configuration is complete, you can view the data response in the data configuration pane of the widget.