Layer configuration items
This topic describes the configuration items for layers in a 3D Urban Builder project scenario.
Overview of configuration items
In the scene editor, click a layer in the layer panel on the left. The configuration panel for the layer appears on the right and includes the Style and Data tabs.
On the Style tab, you can configure the style of layers in the scene. The configuration items vary for each layer. For specific configuration methods, see the documentation for each widget in this chapter.
On the Data tab, the configuration options vary for different layers. Layers are categorized into six types: Base widgets, Data primitive widgets, Raster tiles, Terrain tiles, 3D tiles, and Others.
Base widgets: On the data panel for base widgets, you can configure the following two features.
Reselect Data: Click Reselect Data on the data panel to open the Select Range dialog box. You can then reselect the data range for the current layer. For more information, see the steps for selecting a scene range area under Official Base Data or selecting a spatial data project under Spatial Build Data in Create a 3D city.
Refresh Data: Click Refresh Data on the data panel to refresh the configuration data for the current layer and reload the latest data into the scene editor.
NoteIf you use spatial build base data, click Refresh Data whenever the data changes to refresh the data on the page. This keeps the layer data in the scene up to date.
Data primitive widgets, Raster tiles, Terrain tiles, 3D tiles, and Others: On the data panels for these five layer types, the data configuration is the same as for standard chart widgets. You can configure static data sources, API data sources, and spatial build data sources. You can also use the layer's data API as a block API to configure more data source types or enable data interaction with standard chart widgets in a visualization application. For more information, see Generate a block API with one click.
Configure a spatial build data source
If you created a 3D city project using the Spatial Build Data mode and the project contains spatial data for various visualization layers, you can use a Spatial Build Data Source when you configure the layer's data panel in the scene editor. The following steps use the data for an Area Column Chart as an example:
On the layer configuration panel, select the Data tab. From the Data Source Type drop-down list, select Spatial Build Data Source.
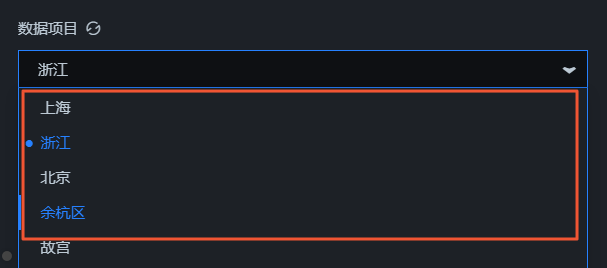
From the Data Project drop-down list, select an existing data project from the spatial build platform.
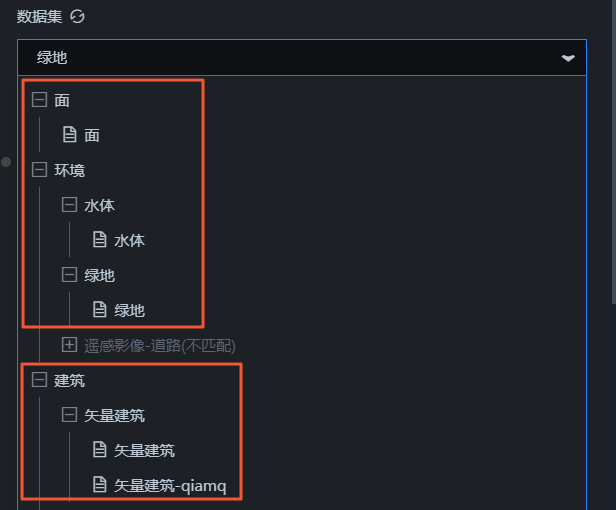
After you select a data project, select a matching dataset from the Dataset drop-down list.
 Note
NoteIf no configurable options are available for the Data Project and Dataset configuration items, click Go to Spatial Build Platform to manage data on the panel. You are then redirected to the spatial build platform to configure data. For more information, see Overview of spatial data management.
Generate a block API with one click
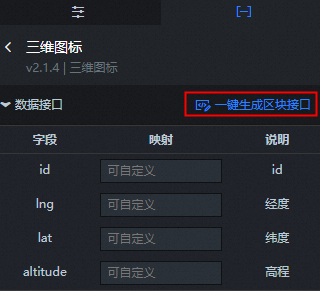
Select a layer of one of the following five types: Data primitive widgets, Raster tiles, Terrain tiles, 3D tiles, or Others. On the data panel, click Generate Block API. The following figure uses a 3D Icon layer as an example.
In the confirmation dialog box that appears, click OK in the lower-right corner. The default data API content for the current layer is quickly generated in the block API panel.
NoteAfter you generate a block API from the layer's data API, you can configure the layer's data within the visualization application.
After you generate a block API from the layer's data API, any changes that you make to the layer's data on the data panel in the scene editor are for testing purposes only. When you publish the 3D city project and use it in a visualization application, the data configured in the visualization application takes precedence.
If you generate a block API for a layer and want to cancel this action, click Data API & Block API Settings in the upper-right corner of the scene editor. Then, delete the layer's data API content from the panel to restore the previous state.
Choose a suitable data configuration method for the layer based on your business needs. If you do not need to modify the data frequently in the visualization application, you can configure the layer's data directly in the scene editor. To support more data source types or data interactions for the 3D city project layer in the visualization application, you can generate a block API for the layers that require data modification and then configure the data in the visualization application.
Click the
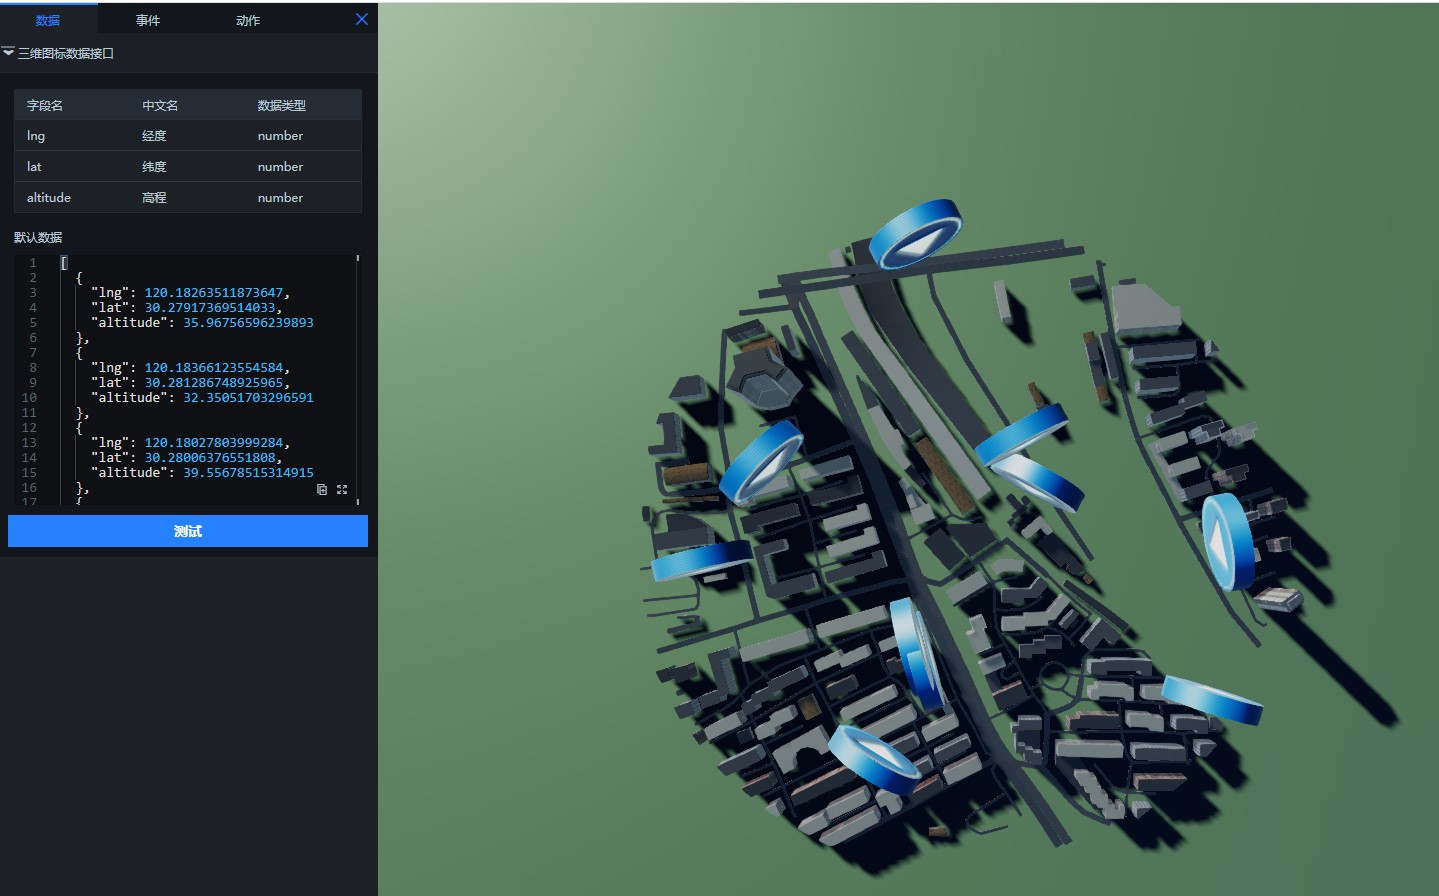
 icon in the upper-right corner of the scene editor. On the preview page, click Test Block API on the left to open the test tab. You can test the layer's data, event, and action API features. For more information about testing methods, see the section on testing data, events, and actions in Configure block APIs.