OpenLake Studio: Intelligent lakehouse data development
This guide shows you how to transition from traditional data development to a modern, accessible, and automated AI-driven paradigm. This new approach significantly improves development efficiency, lowers the technical skill required, and helps you derive value from your data faster.
Product overview
DataWorks is deeply integrated with the OpenLake architecture. Its core Agent automates data development and provides an end-to-end "Data+AI" management service, covering everything from requirements analysis and ETL processing to data analysis and Data Governance. Built on the open OpenLake architecture, DataWorks orchestrates data development workflows and leverages multi-engine collaboration across MaxCompute, EMR Serverless Spark, Hologres, and EMR Serverless StarRocks, to help you easily build and manage a modern Data Lakehouse.
Lab overview
Welcome to the OpenLake Studio Intelligent Lakehouse Data Development hands-on lab!
In this lab, you will work with a real-world e-commerce livestreaming scenario to transform raw business data into actionable insights.
Step 1: Process e-commerce livestreaming data
First, you will build a modern Data Lakehouse system by:
Syncing business data from ApsaraDB RDS to an open data lake managed by Data Lake Formation (DLF).
Leveraging multi-engine collaboration across MaxCompute, EMR Serverless Spark, EMR Serverless StarRocks, and Hologres.
Building detailed data models, performing Lightweight Aggregation, accelerating queries, and enabling AI applications.
Step 2: Automatically build a data workflow
The core highlight of this hands-on lab is the DataWorks Agent. You will act as an ETL developer and use natural language instructions, such as "Help me build a livestreaming order analysis workflow". Watch as the Agent automatically analyzes requirements, plans tasks, generates code, orchestrates the workflow, and deploys it. This step demonstrates the productivity leap that the Agent brings to ETL development.
Step 3: Notebook and ChatBI
Once the ETL process is ready, you will explore new ways to consume data:
Use a professional Notebook for interactive analysis.
Use ChatBI to get instant business insights through a conversational, Q&A-based interface.
By completing these three steps, you will understand how OpenLake Studio simplifies complex data development, making it efficient and intelligent.
Prerequisites
To ensure a smooth lab experience, your environment must meet the following requirements.
Item | Requirement |
DataWorks workspace template | Select the OpenLake template. |
Region consistency | All products, including DLF, MaxCompute, Hologres, and EMR, must be deployed in the same region. |
DLF version | Use the latest version of DLF. |
Hologres instance version | Version R3.2 or later. |
Network connectivity | We recommend deploying all resources in the same Virtual Private Cloud (VPC) to ensure network connectivity. |
Required permissions for environment setup | To prepare the environment, use a Root Account or a RAM User with the following RAM permissions to activate the required products: |
Environment preparation
External resources
Data Lake Formation (DLF): Activate DLF and create a Data Catalog.
MaxCompute: Create a MaxCompute project and bind the DLF Data Catalog.
ImportantTo create an external MaxCompute project, submit a ticket to the MaxCompute product team.
Hologres: Activate Hologres and bind the DLF Data Catalog.
EMR Serverless Spark: Activate EMR Serverless Spark, create a workspace, and bind the DLF Data Catalog.
EMR Serverless StarRocks: Activate Serverless StarRocks and bind the DLF Data Catalog.
DataWorks environment
Bind the DLF Data Catalog.
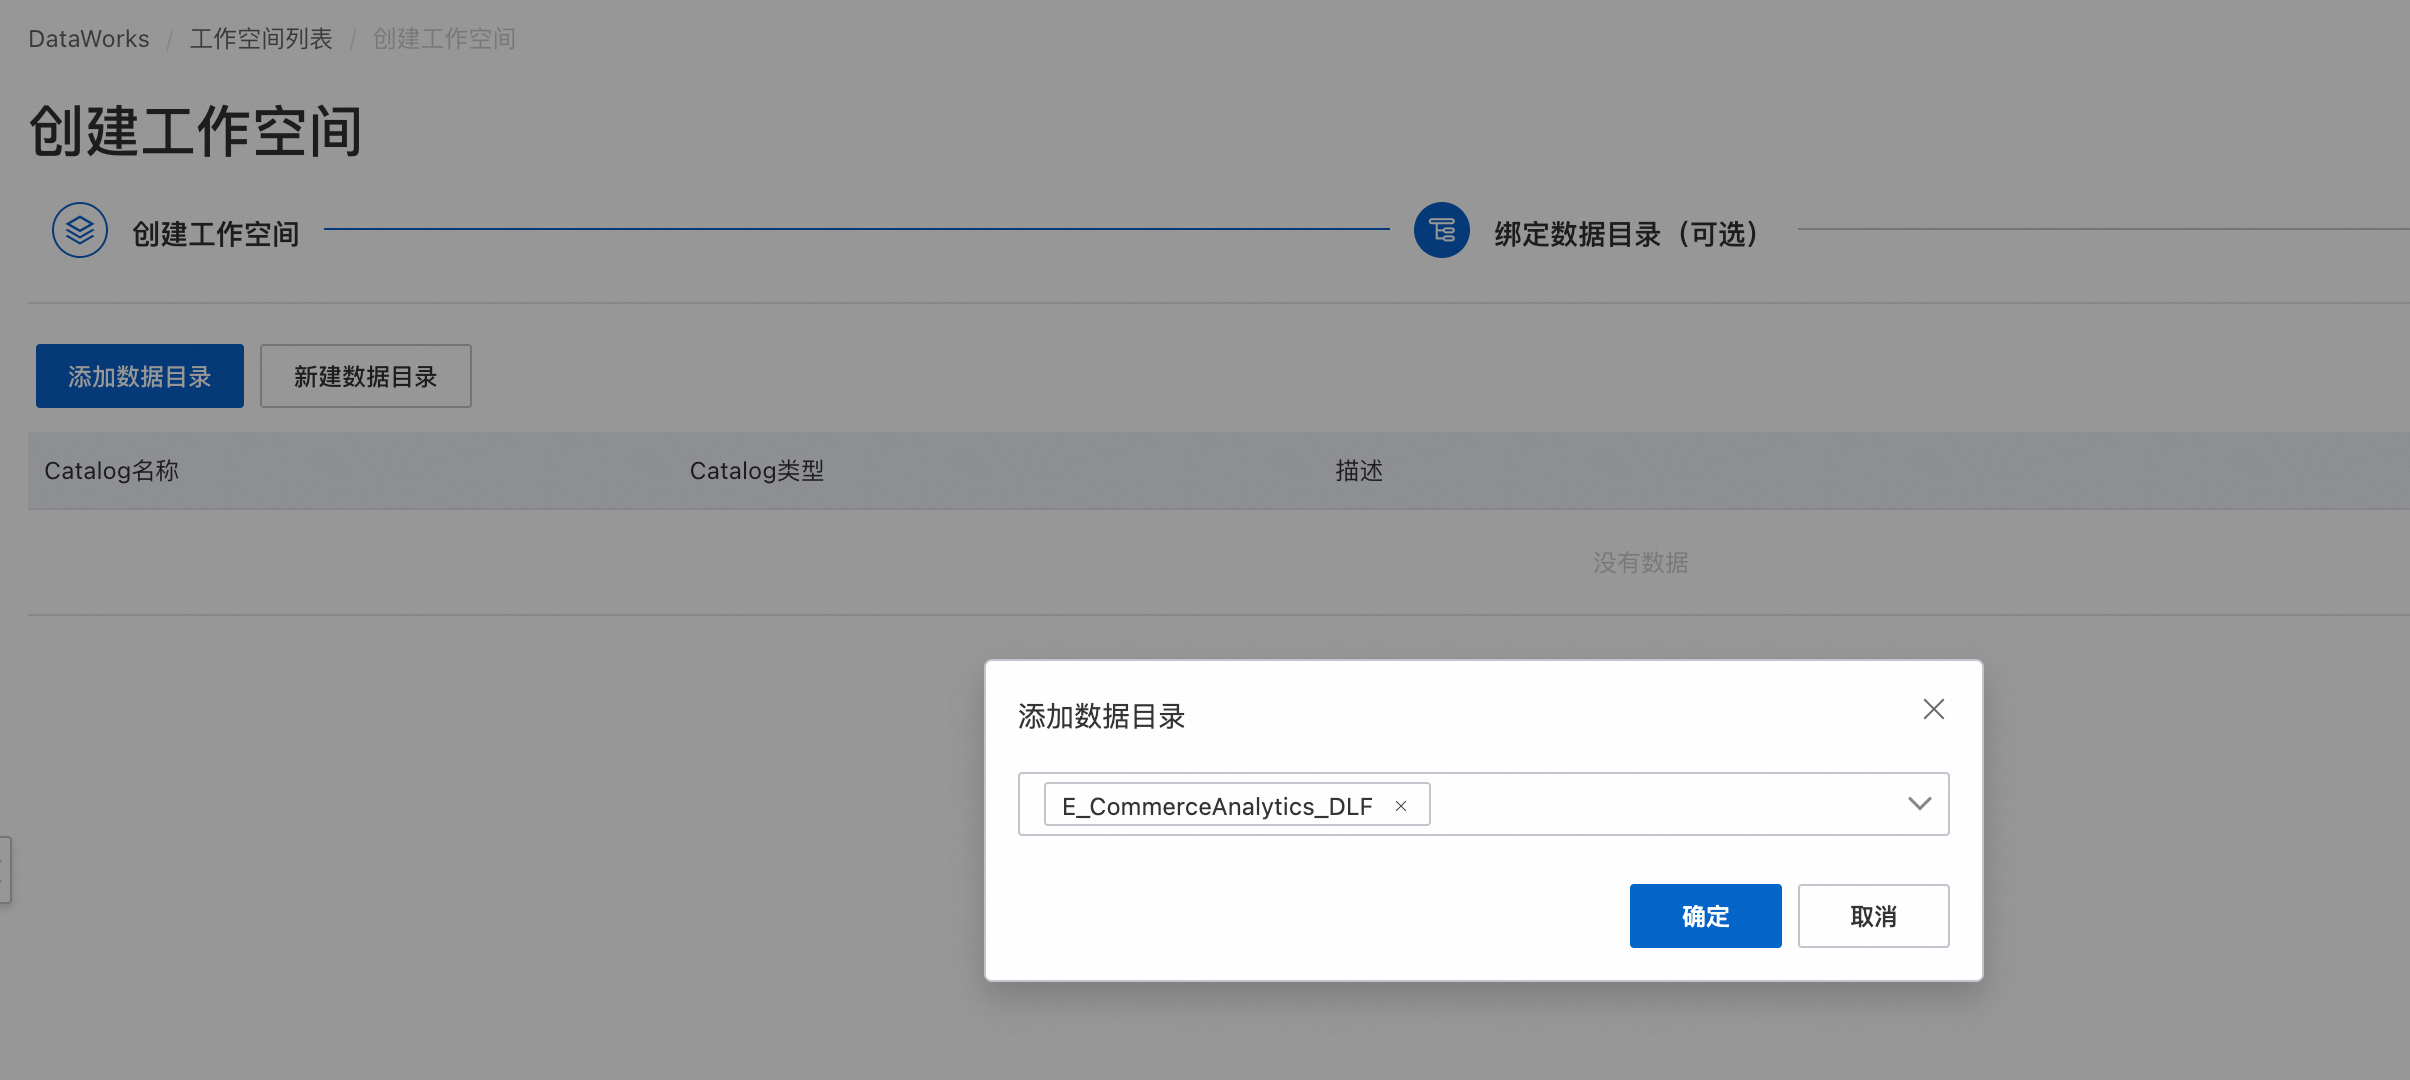
Bind the compute resources you prepared earlier: MaxCompute, Hologres, EMR Serverless Spark, and EMR Serverless StarRocks.
Create a serverless resource group.
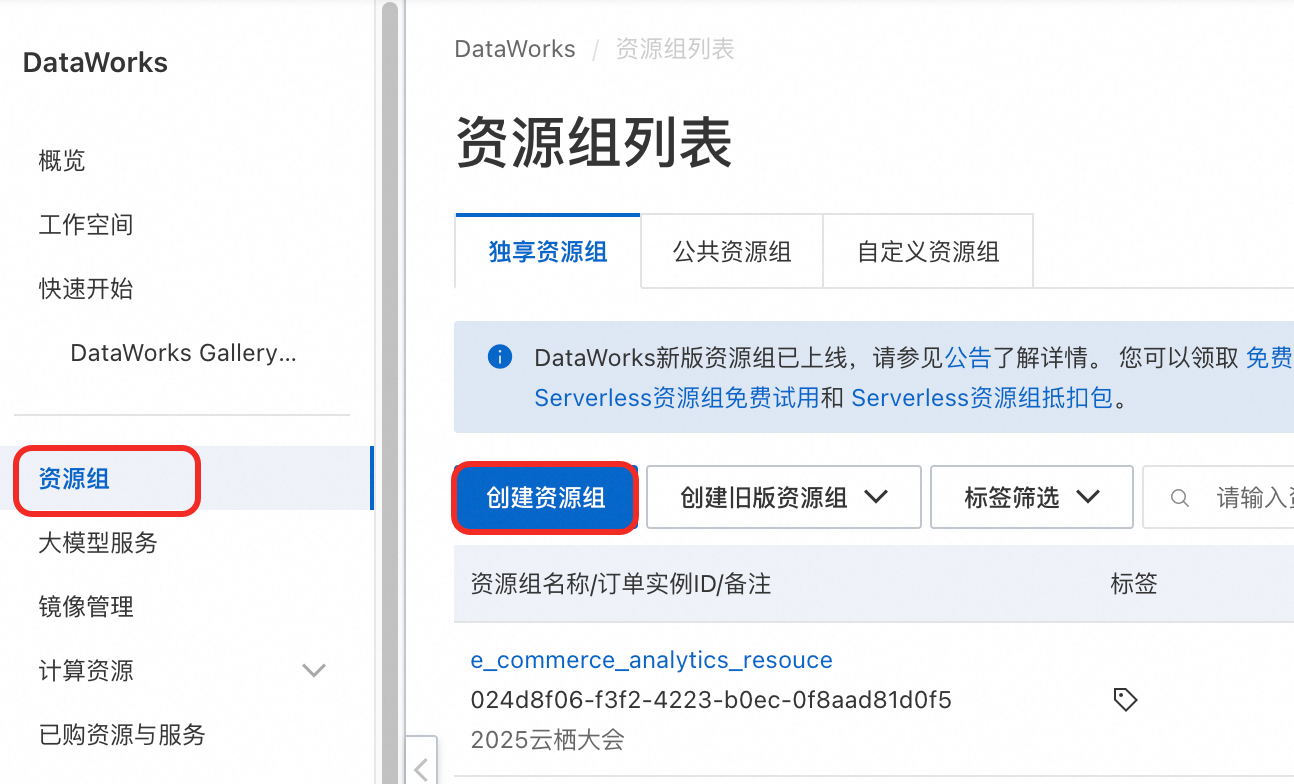
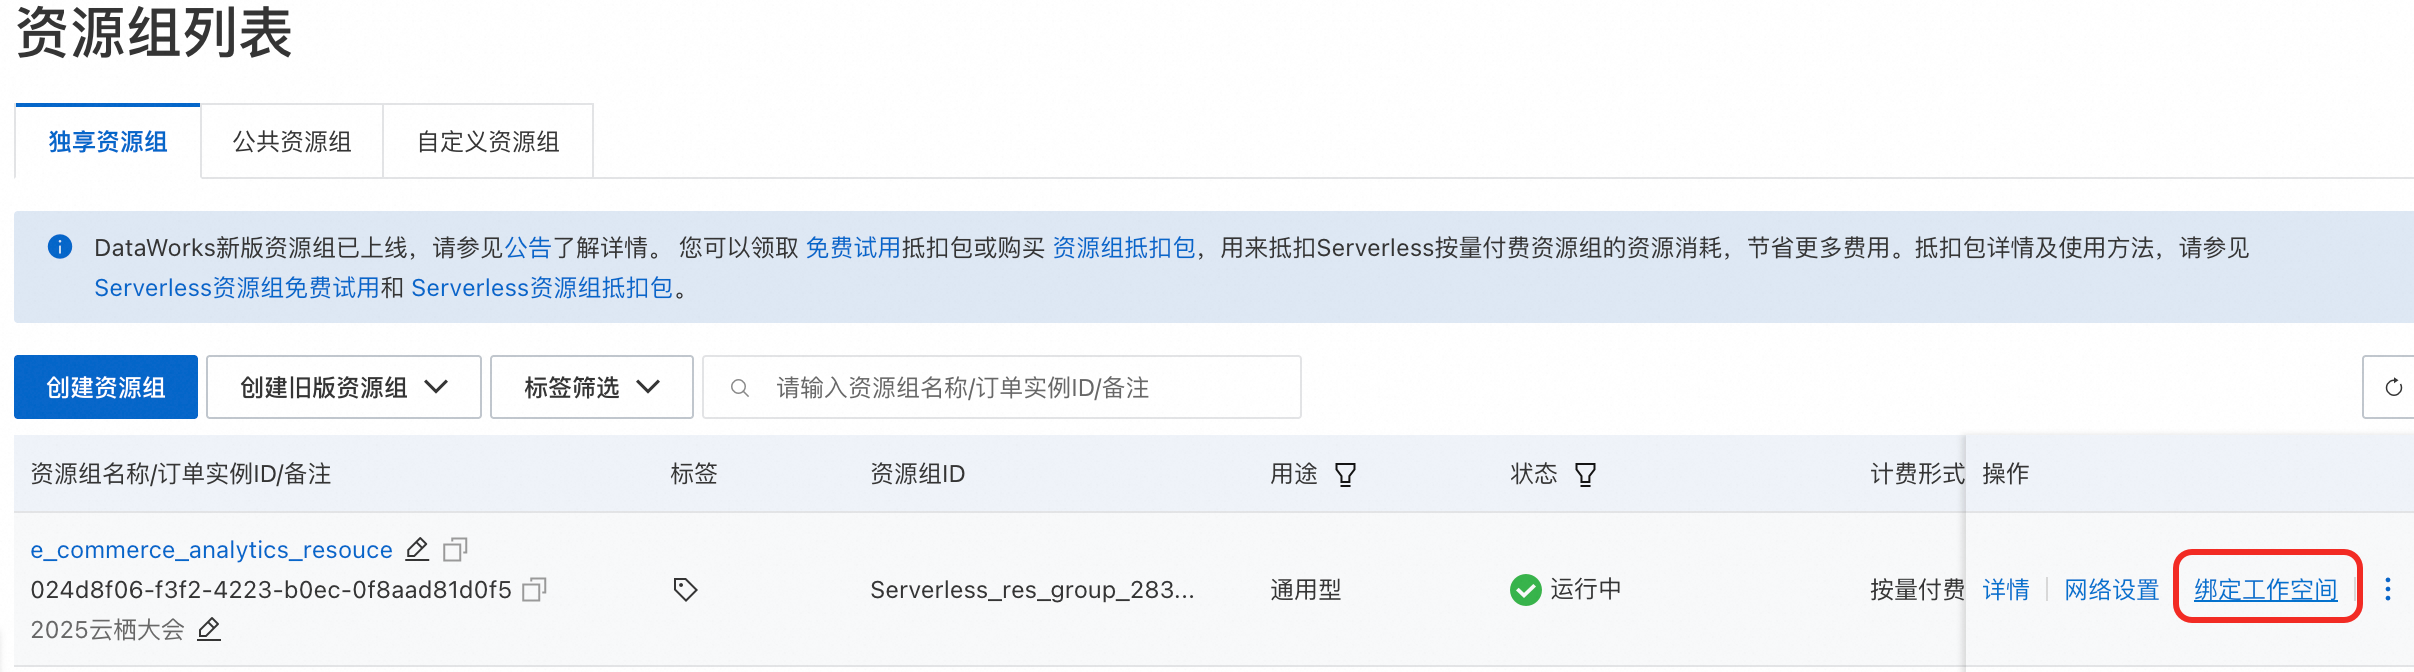
Bind the resource group to the OpenLake workspace.
DataWorks data sources
RDS data source (MySQL)
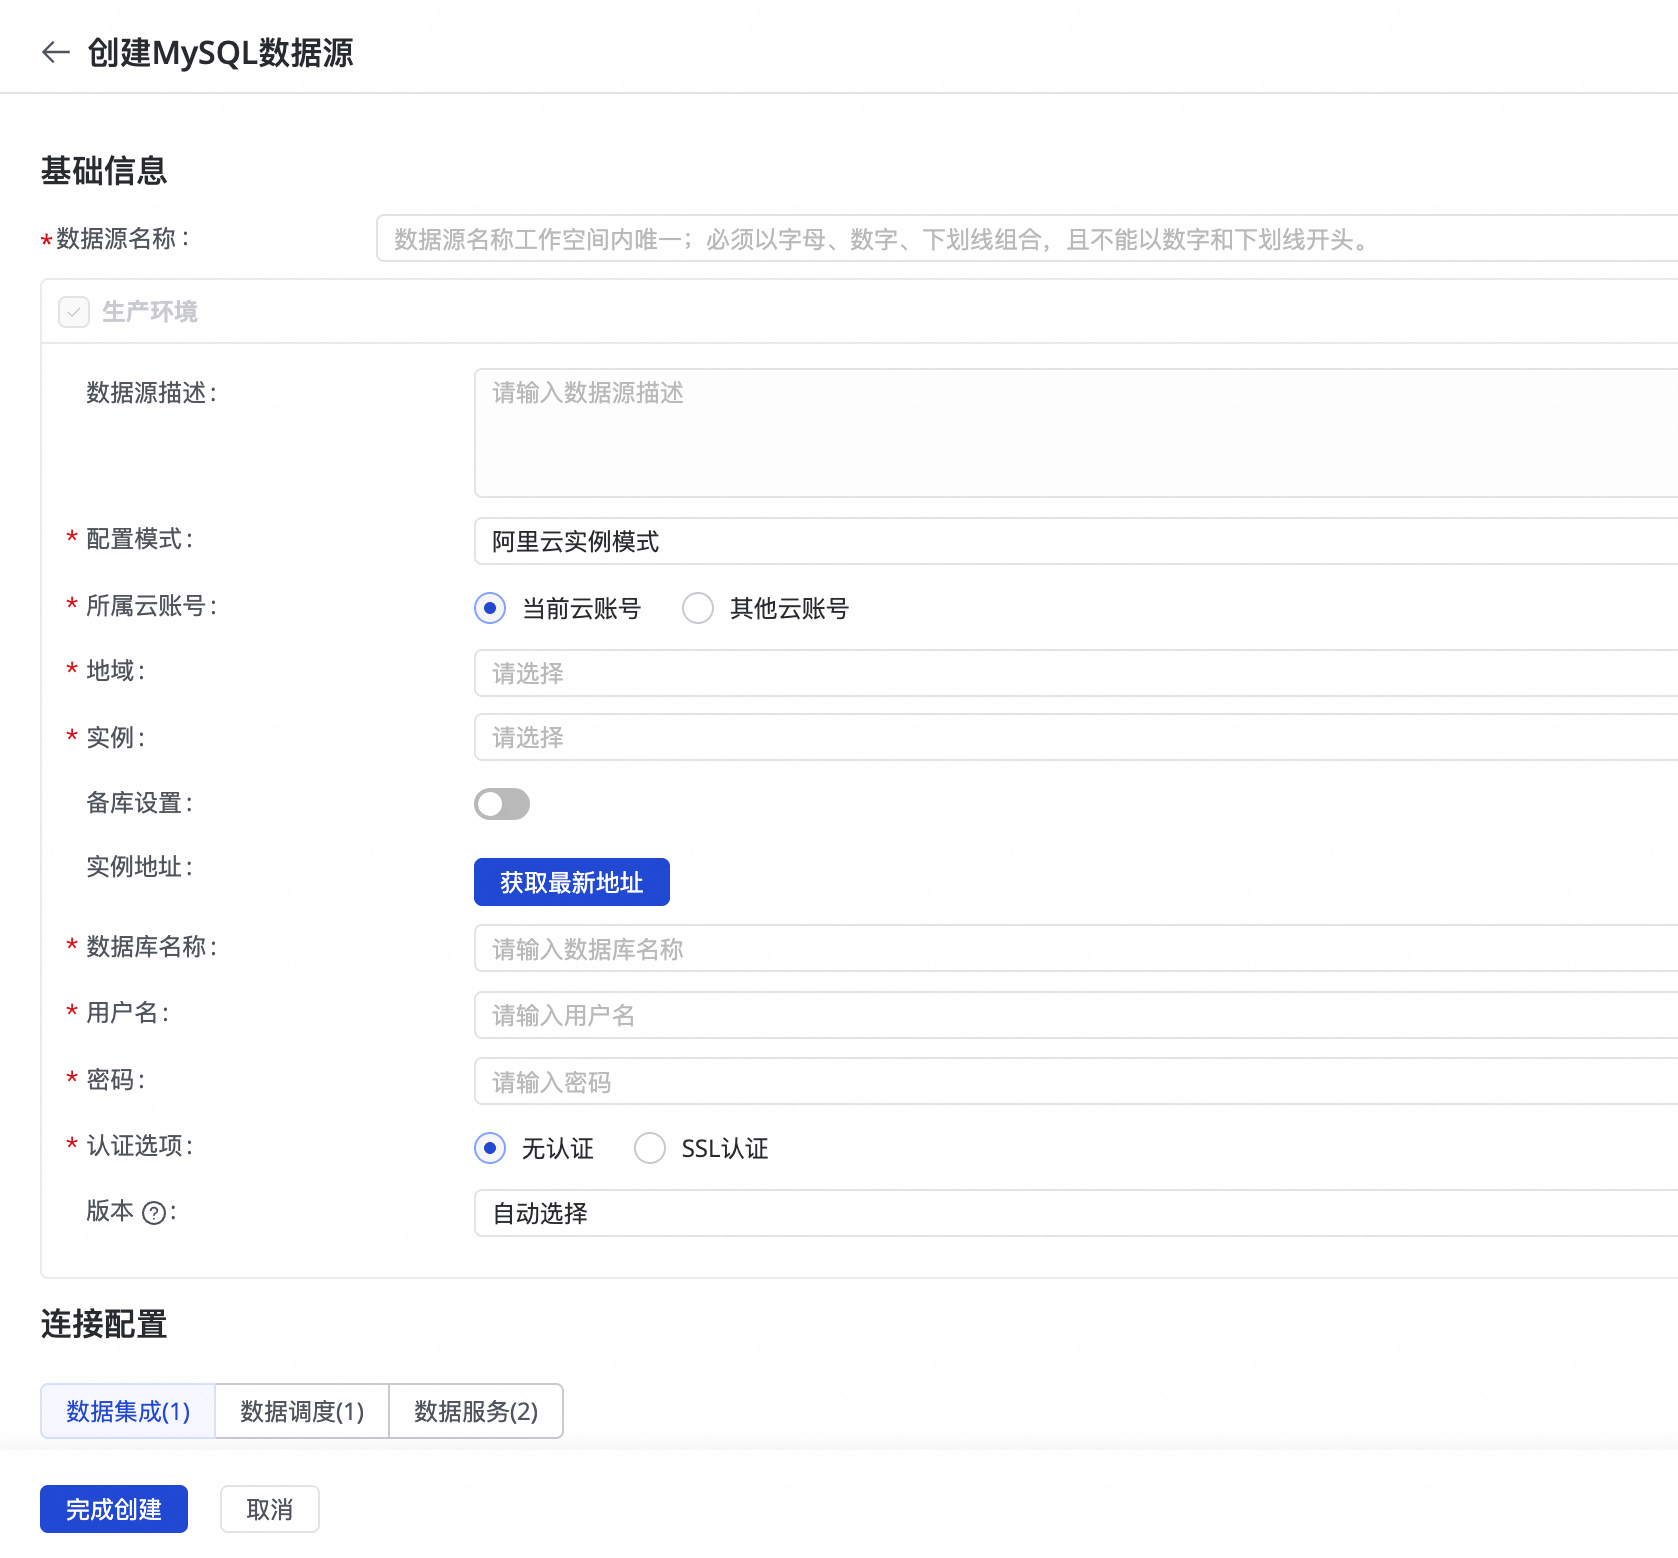
In the Management Center, navigate to the Data Sources tab and click New Data Source. Select MySQL as the data source type.
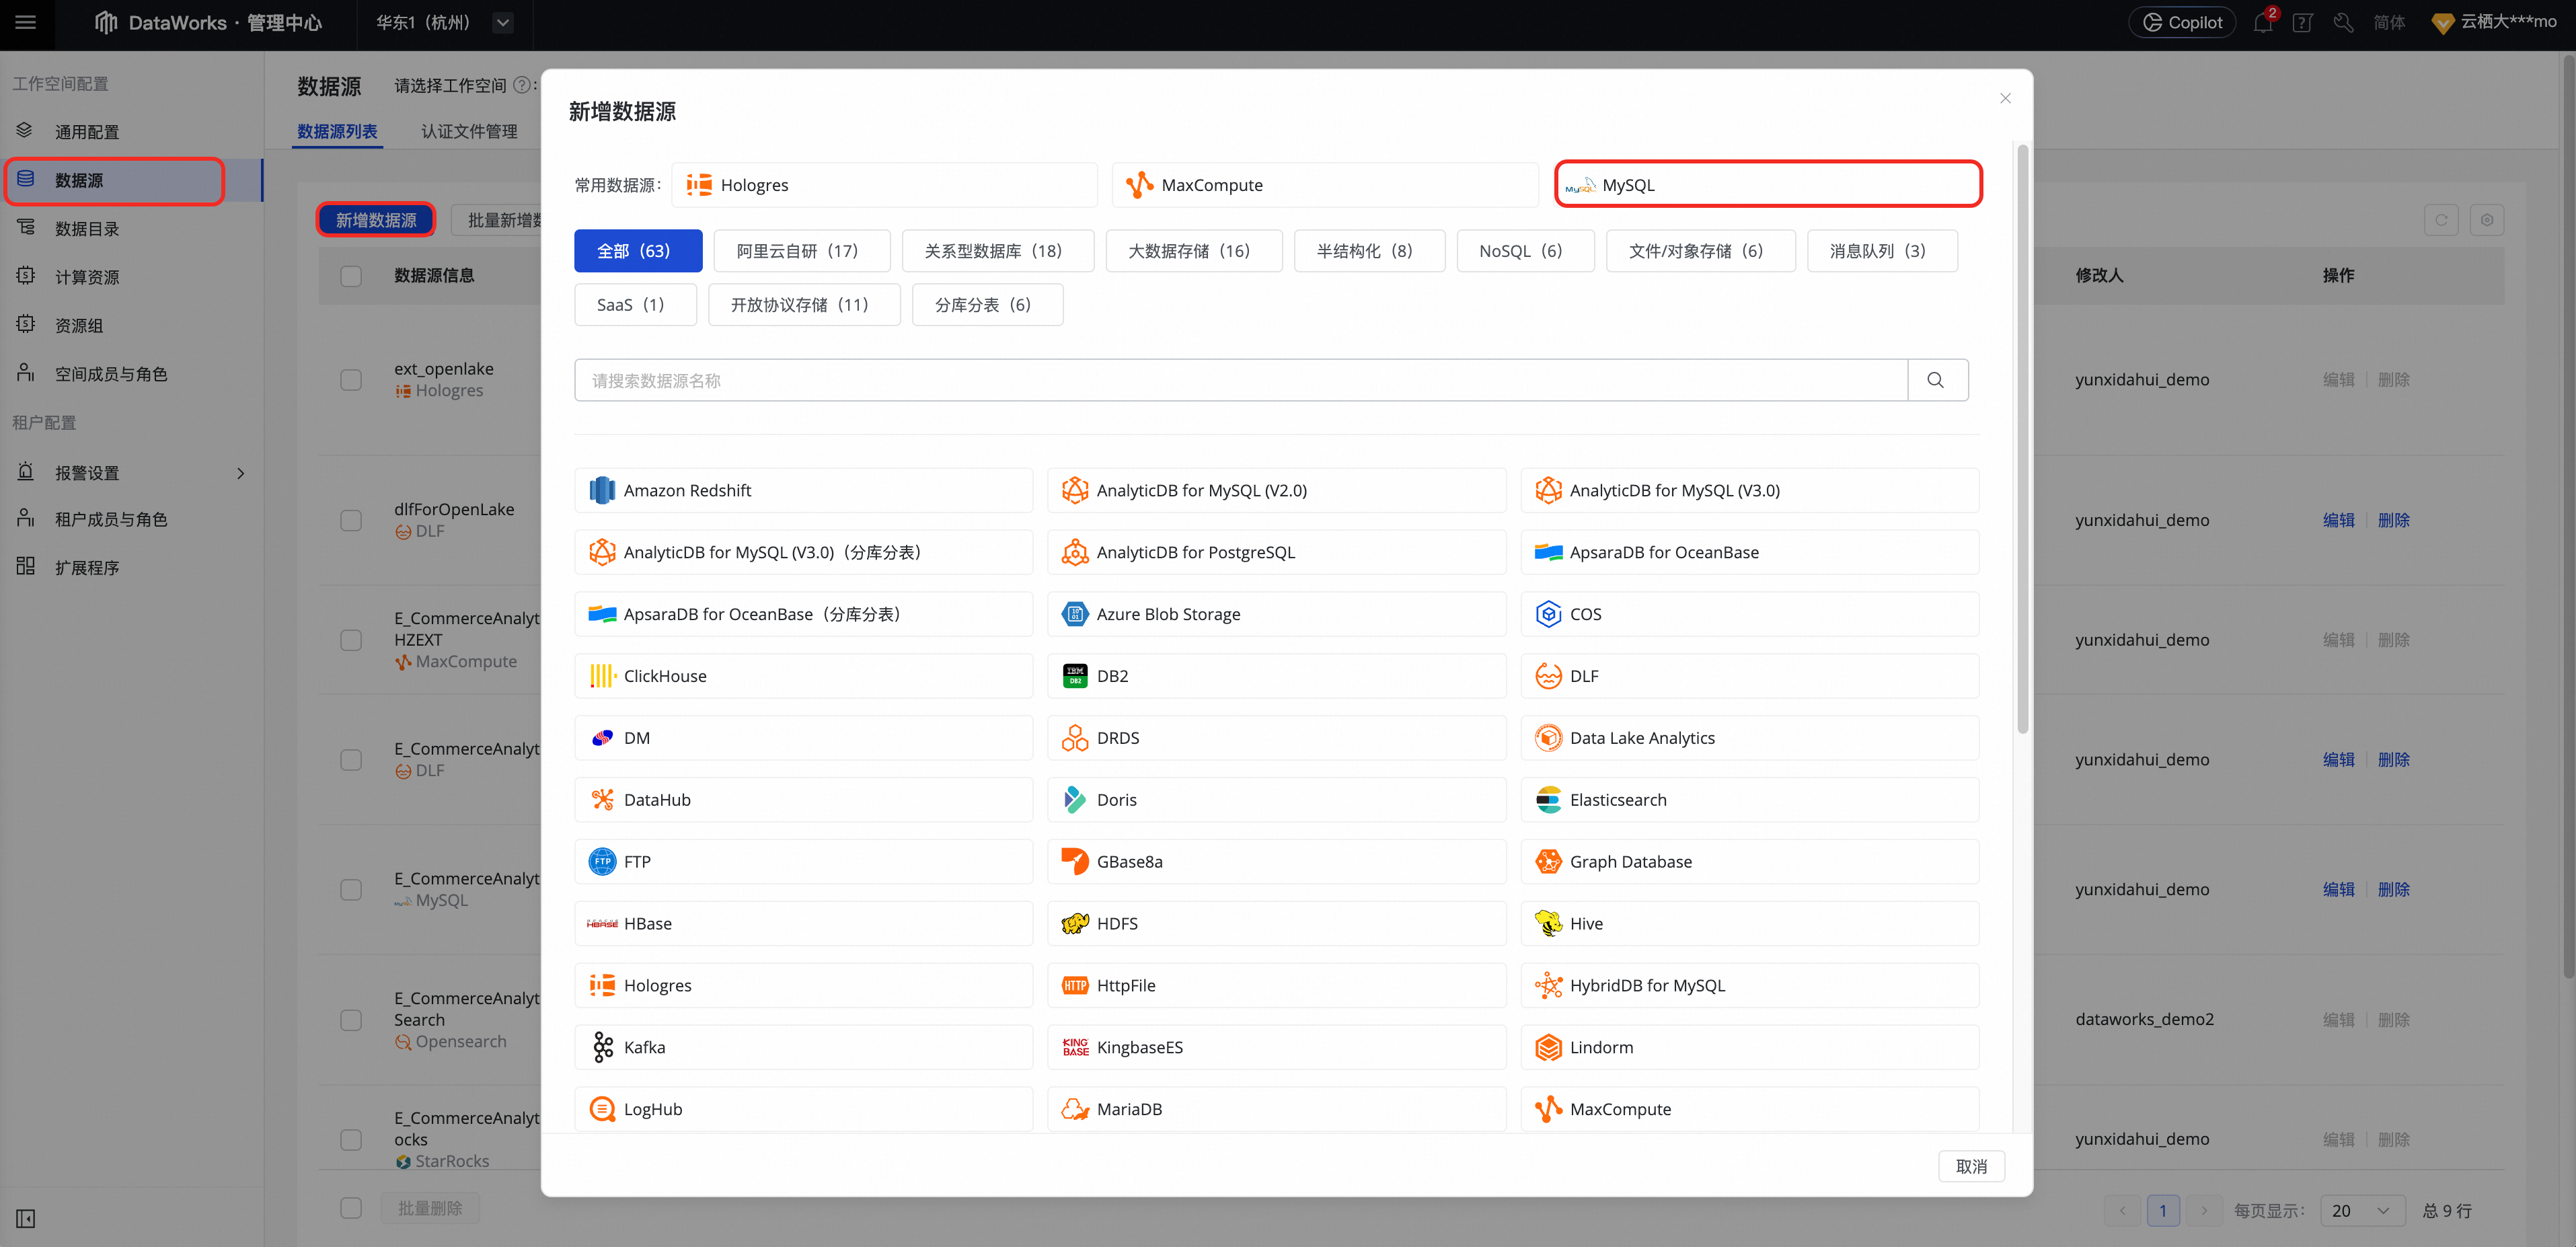
Enter the information for your activated ApsaraDB RDS instance and test the connection.
DLF data source
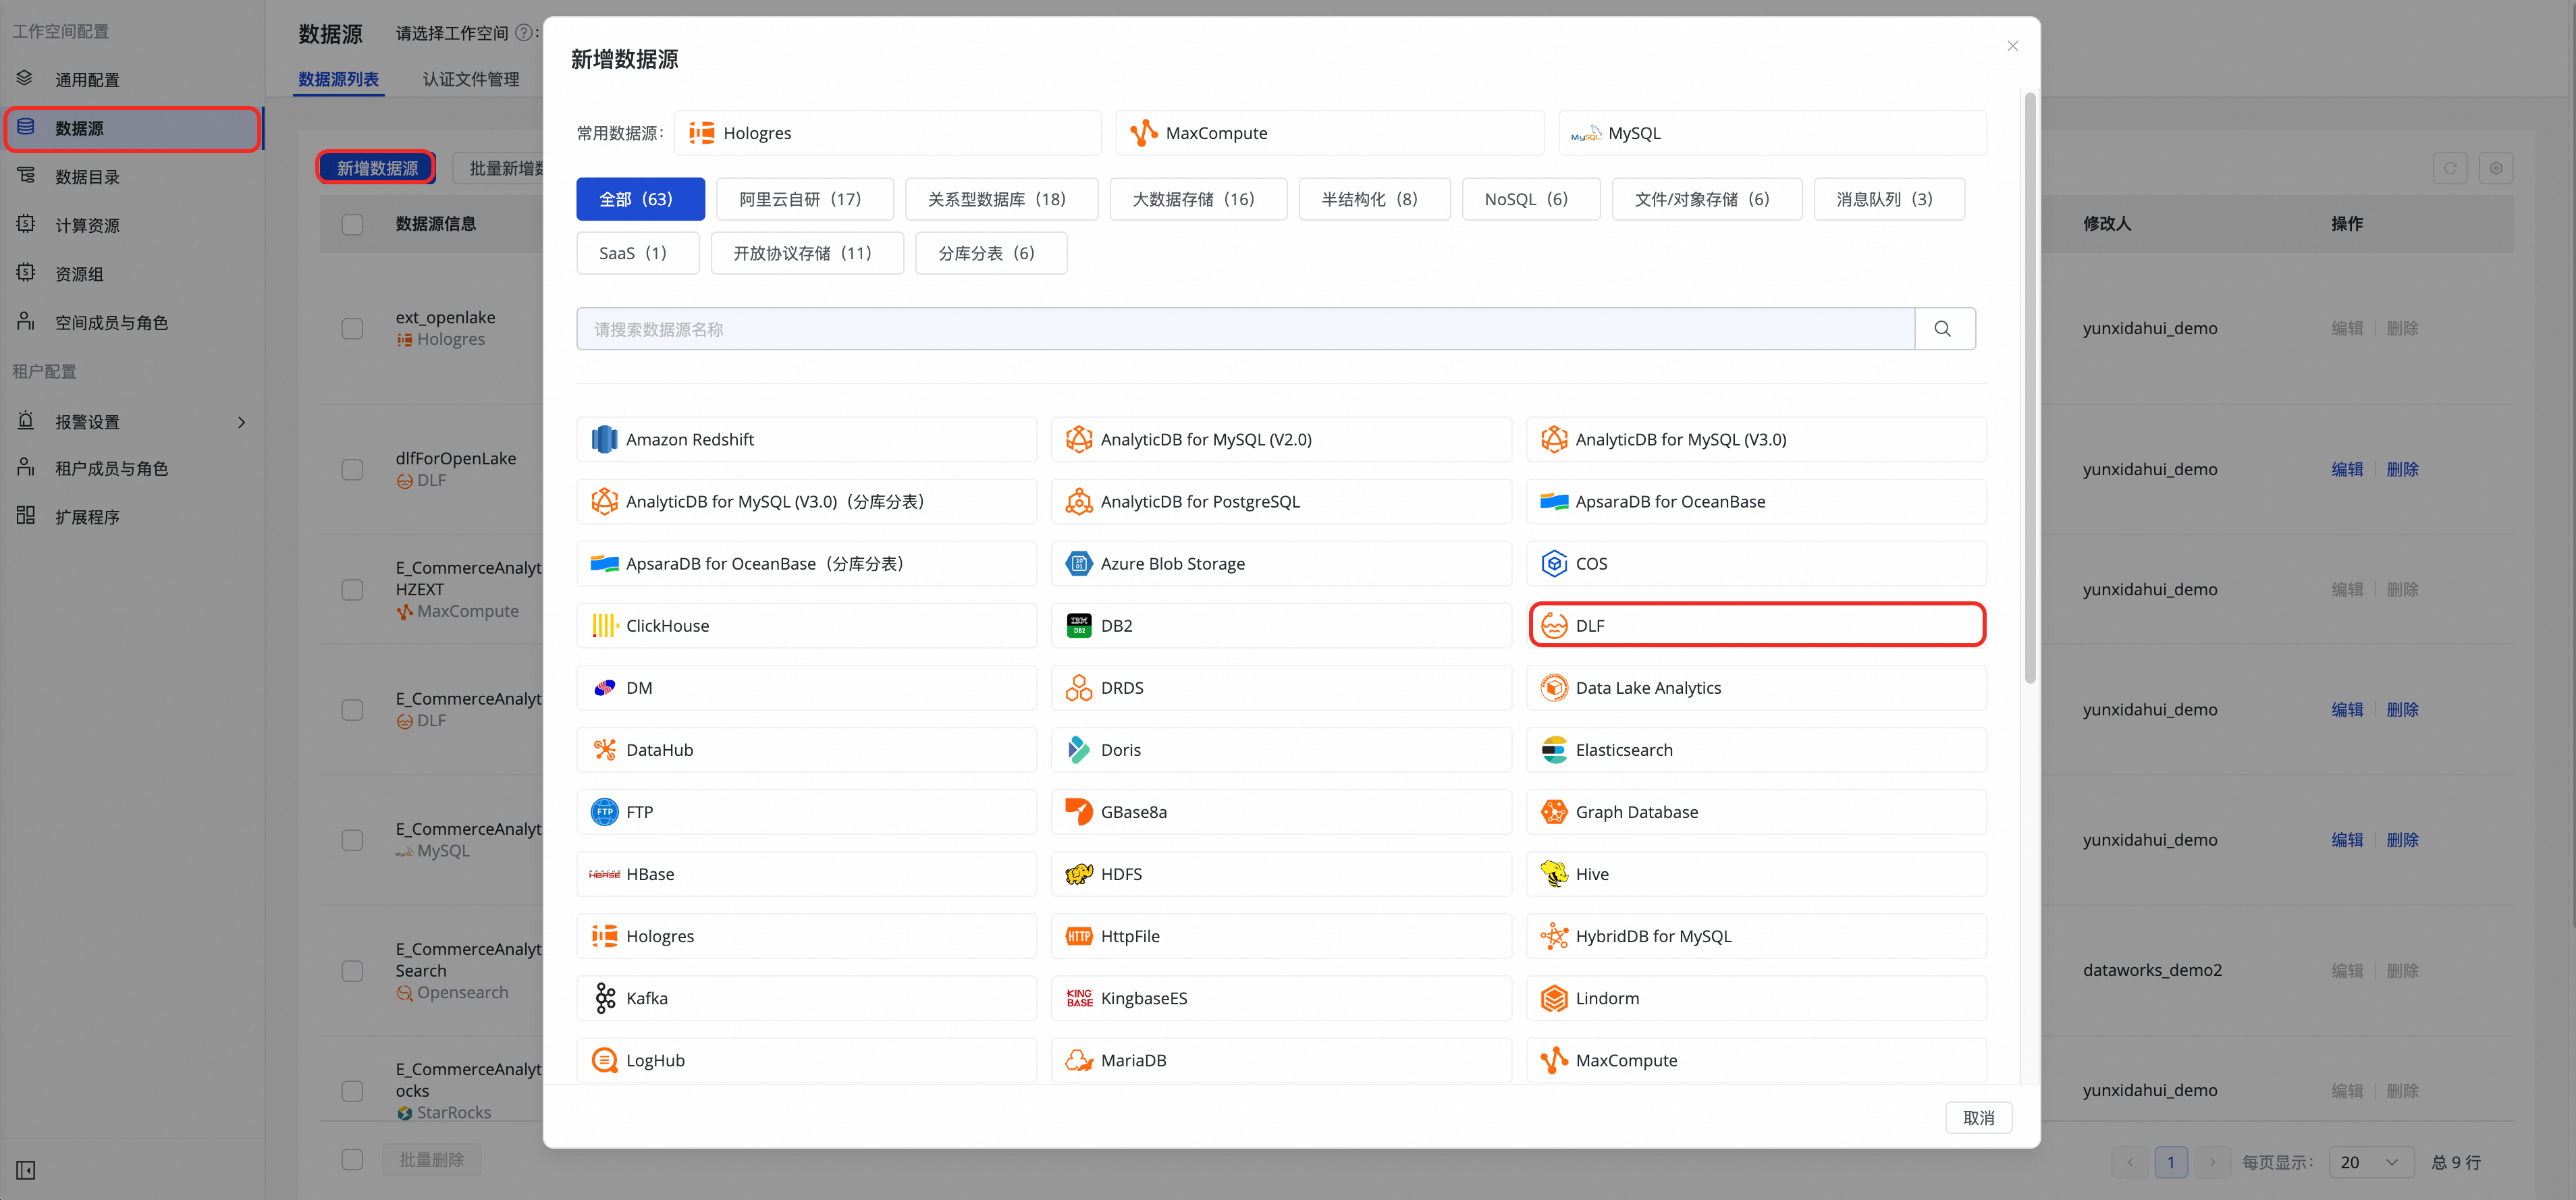
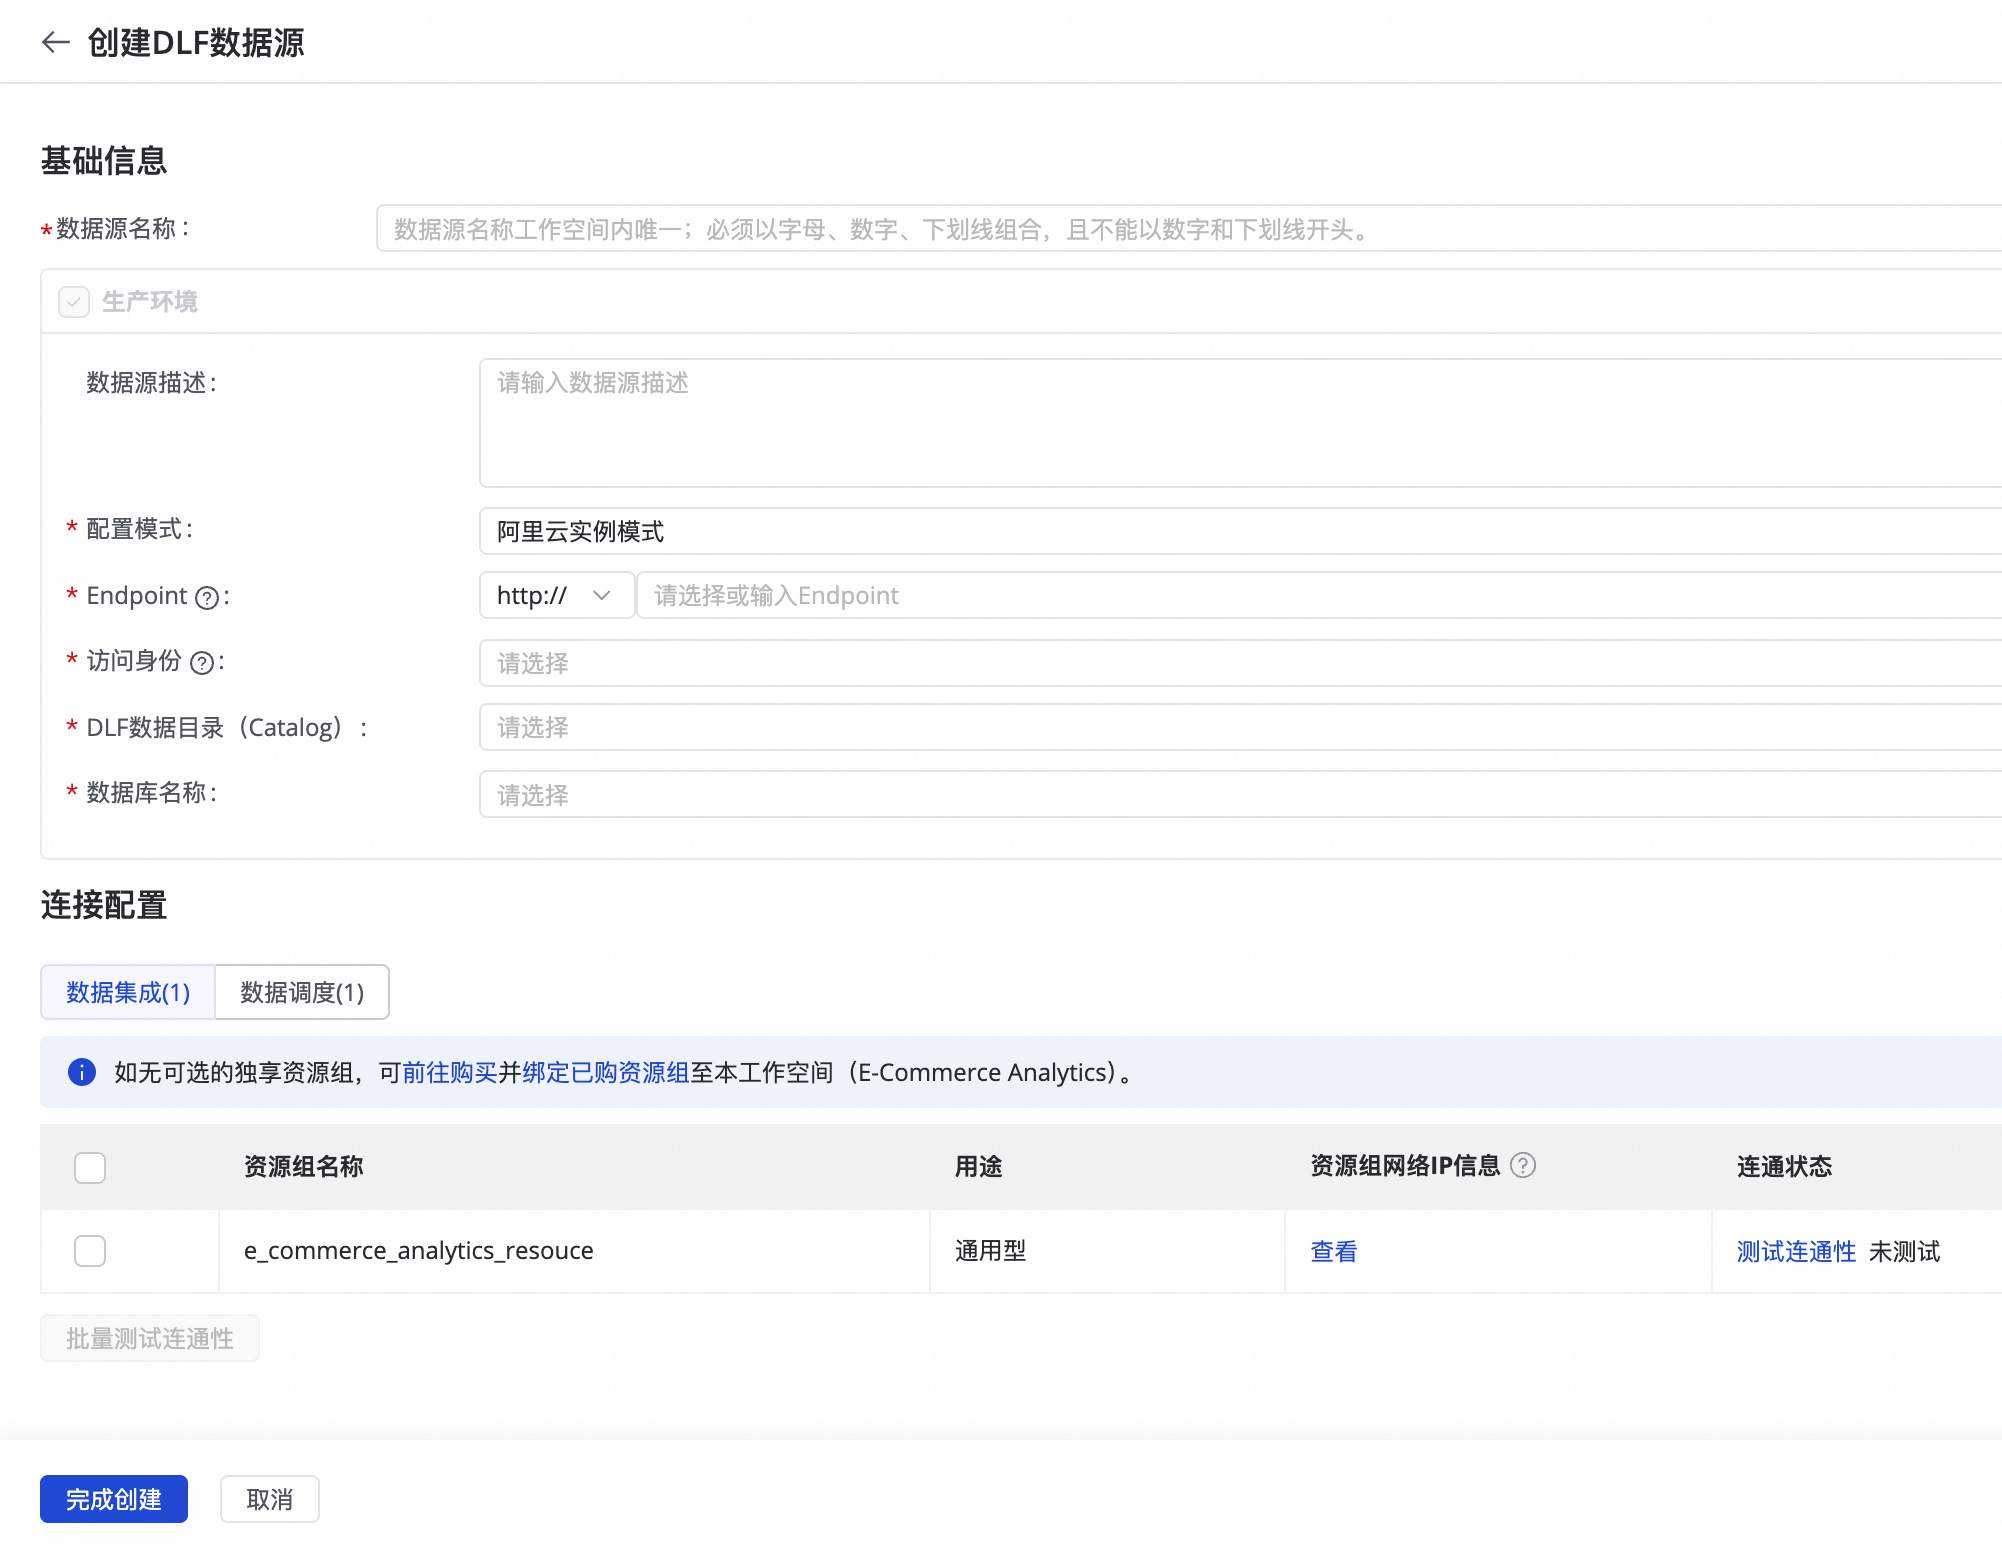
In Data Integration, navigate to the Data Sources tab and click New Data Source. Select DLF as the data source type.

Configure the DLF metadata address and permissions.
Get started
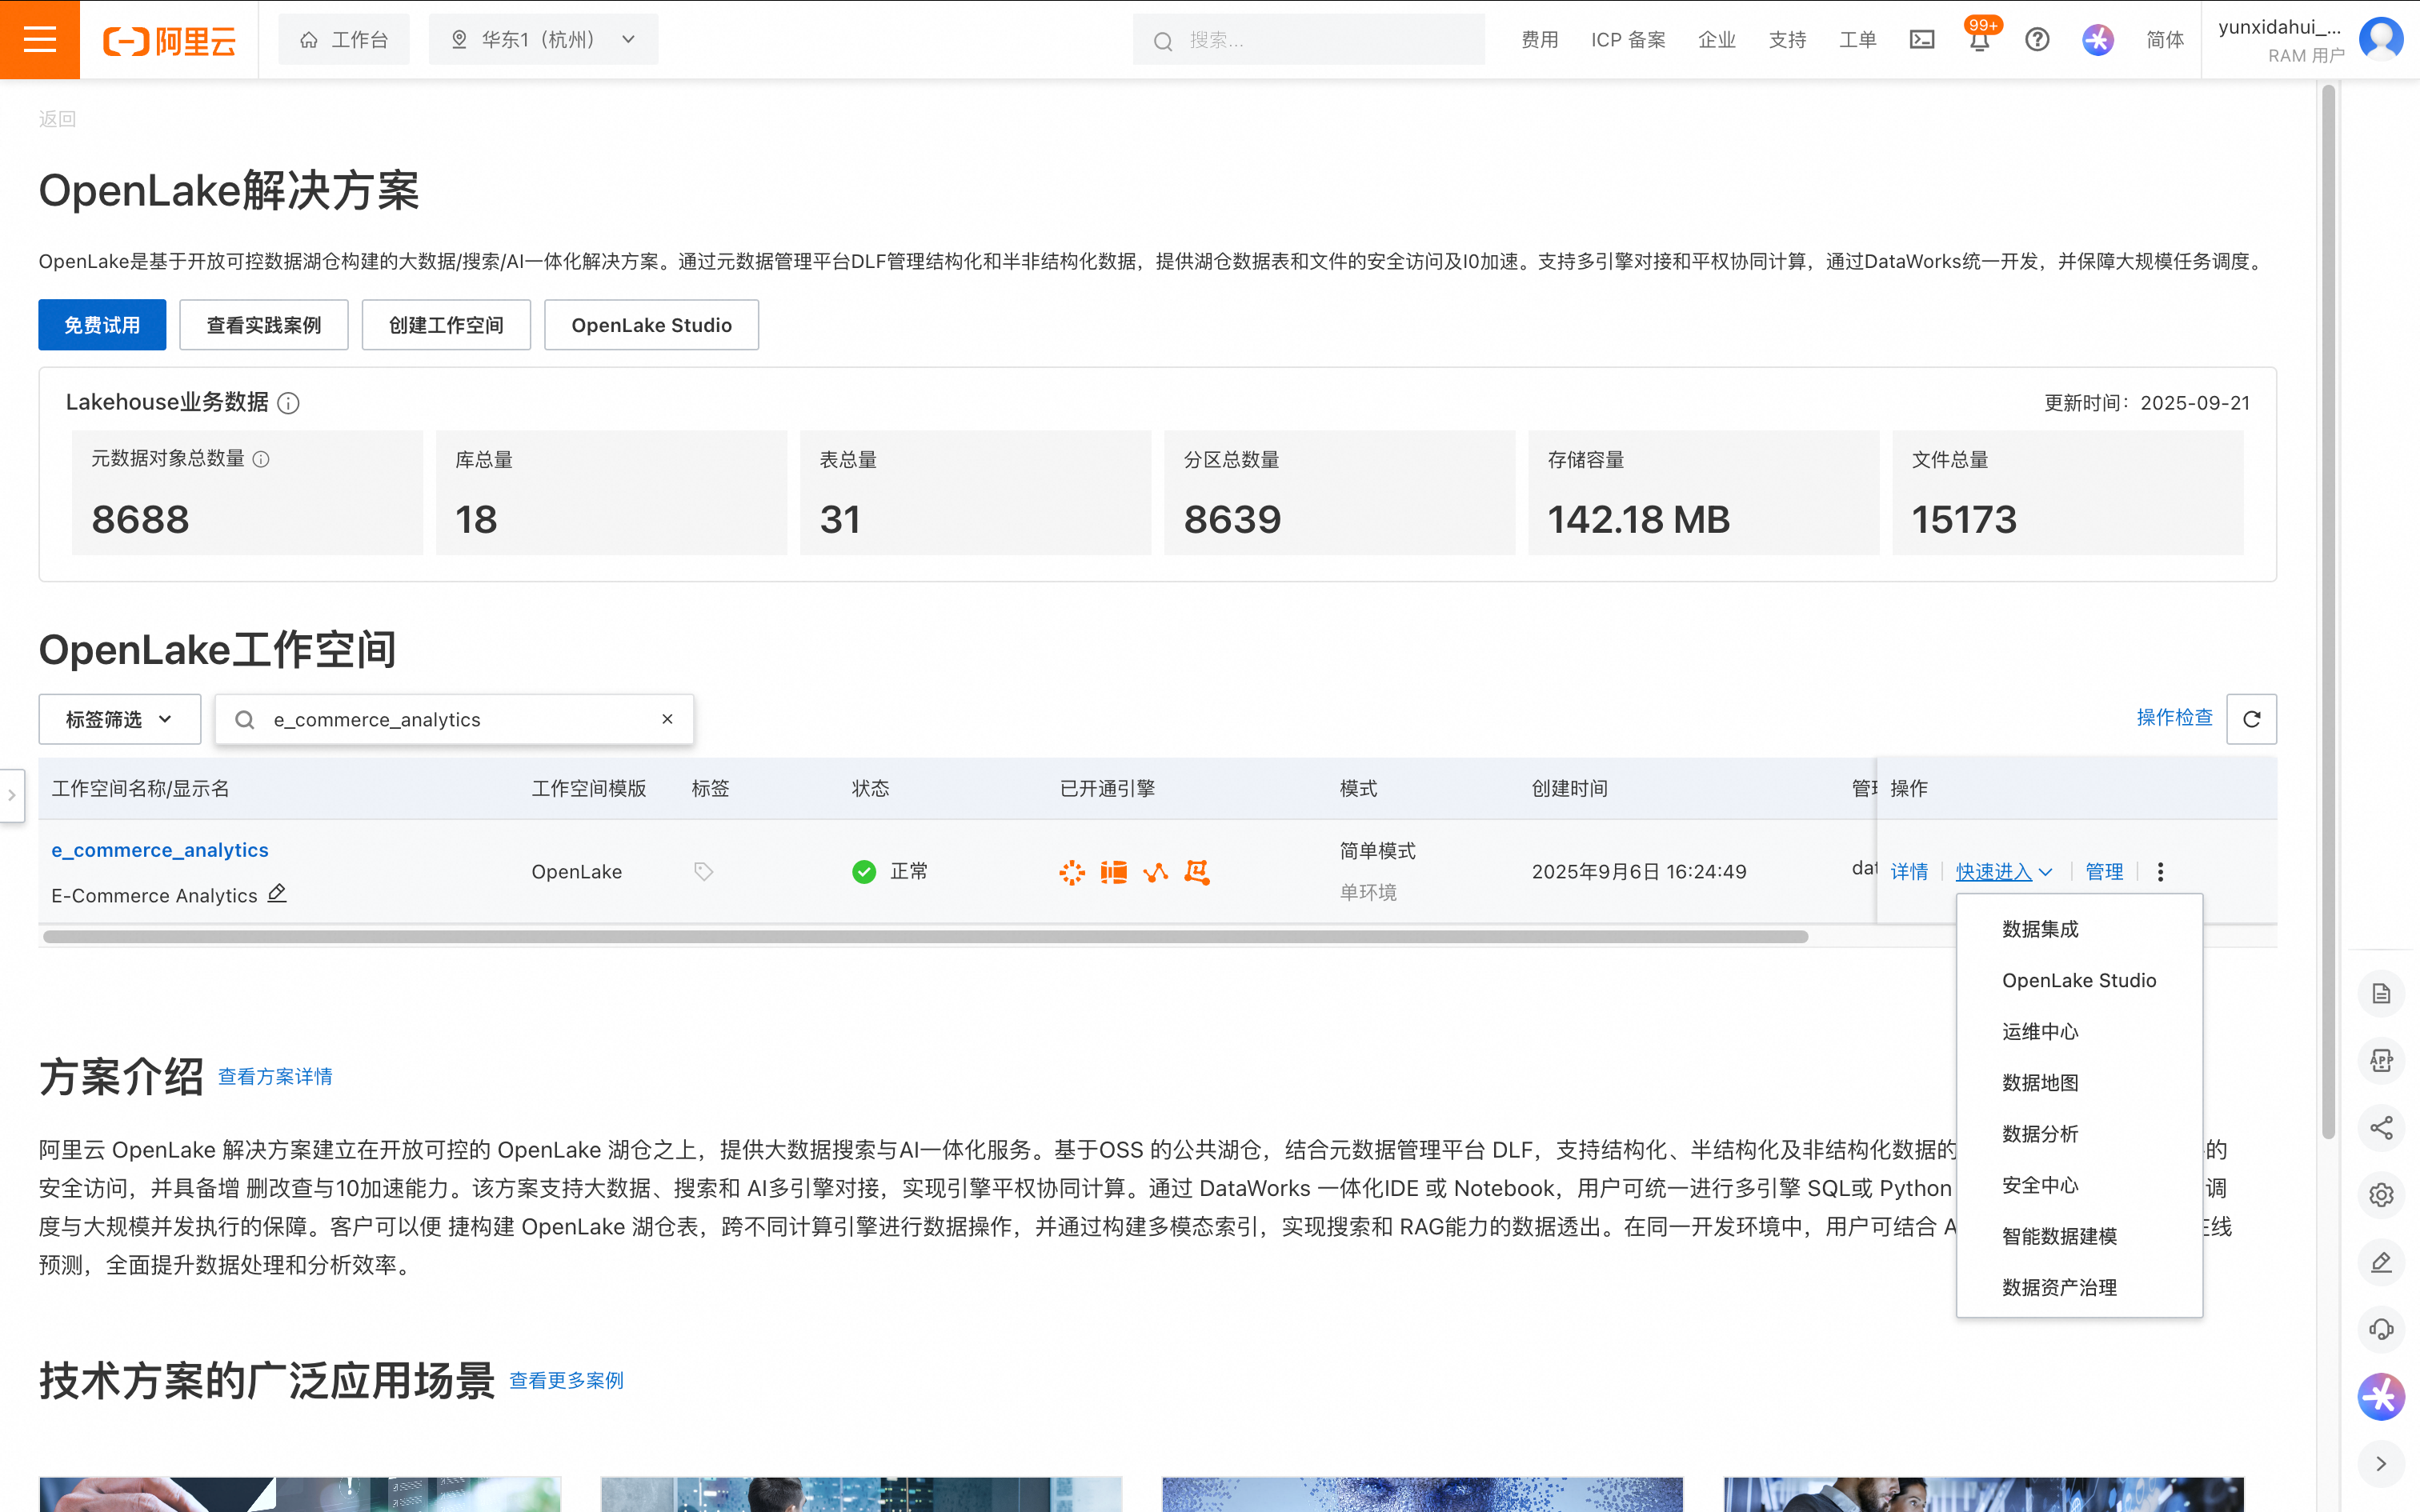
Click DataWorks OpenLake Solution and find the workspace you created in the OpenLake workspace list.
Click to open the Data Development page.
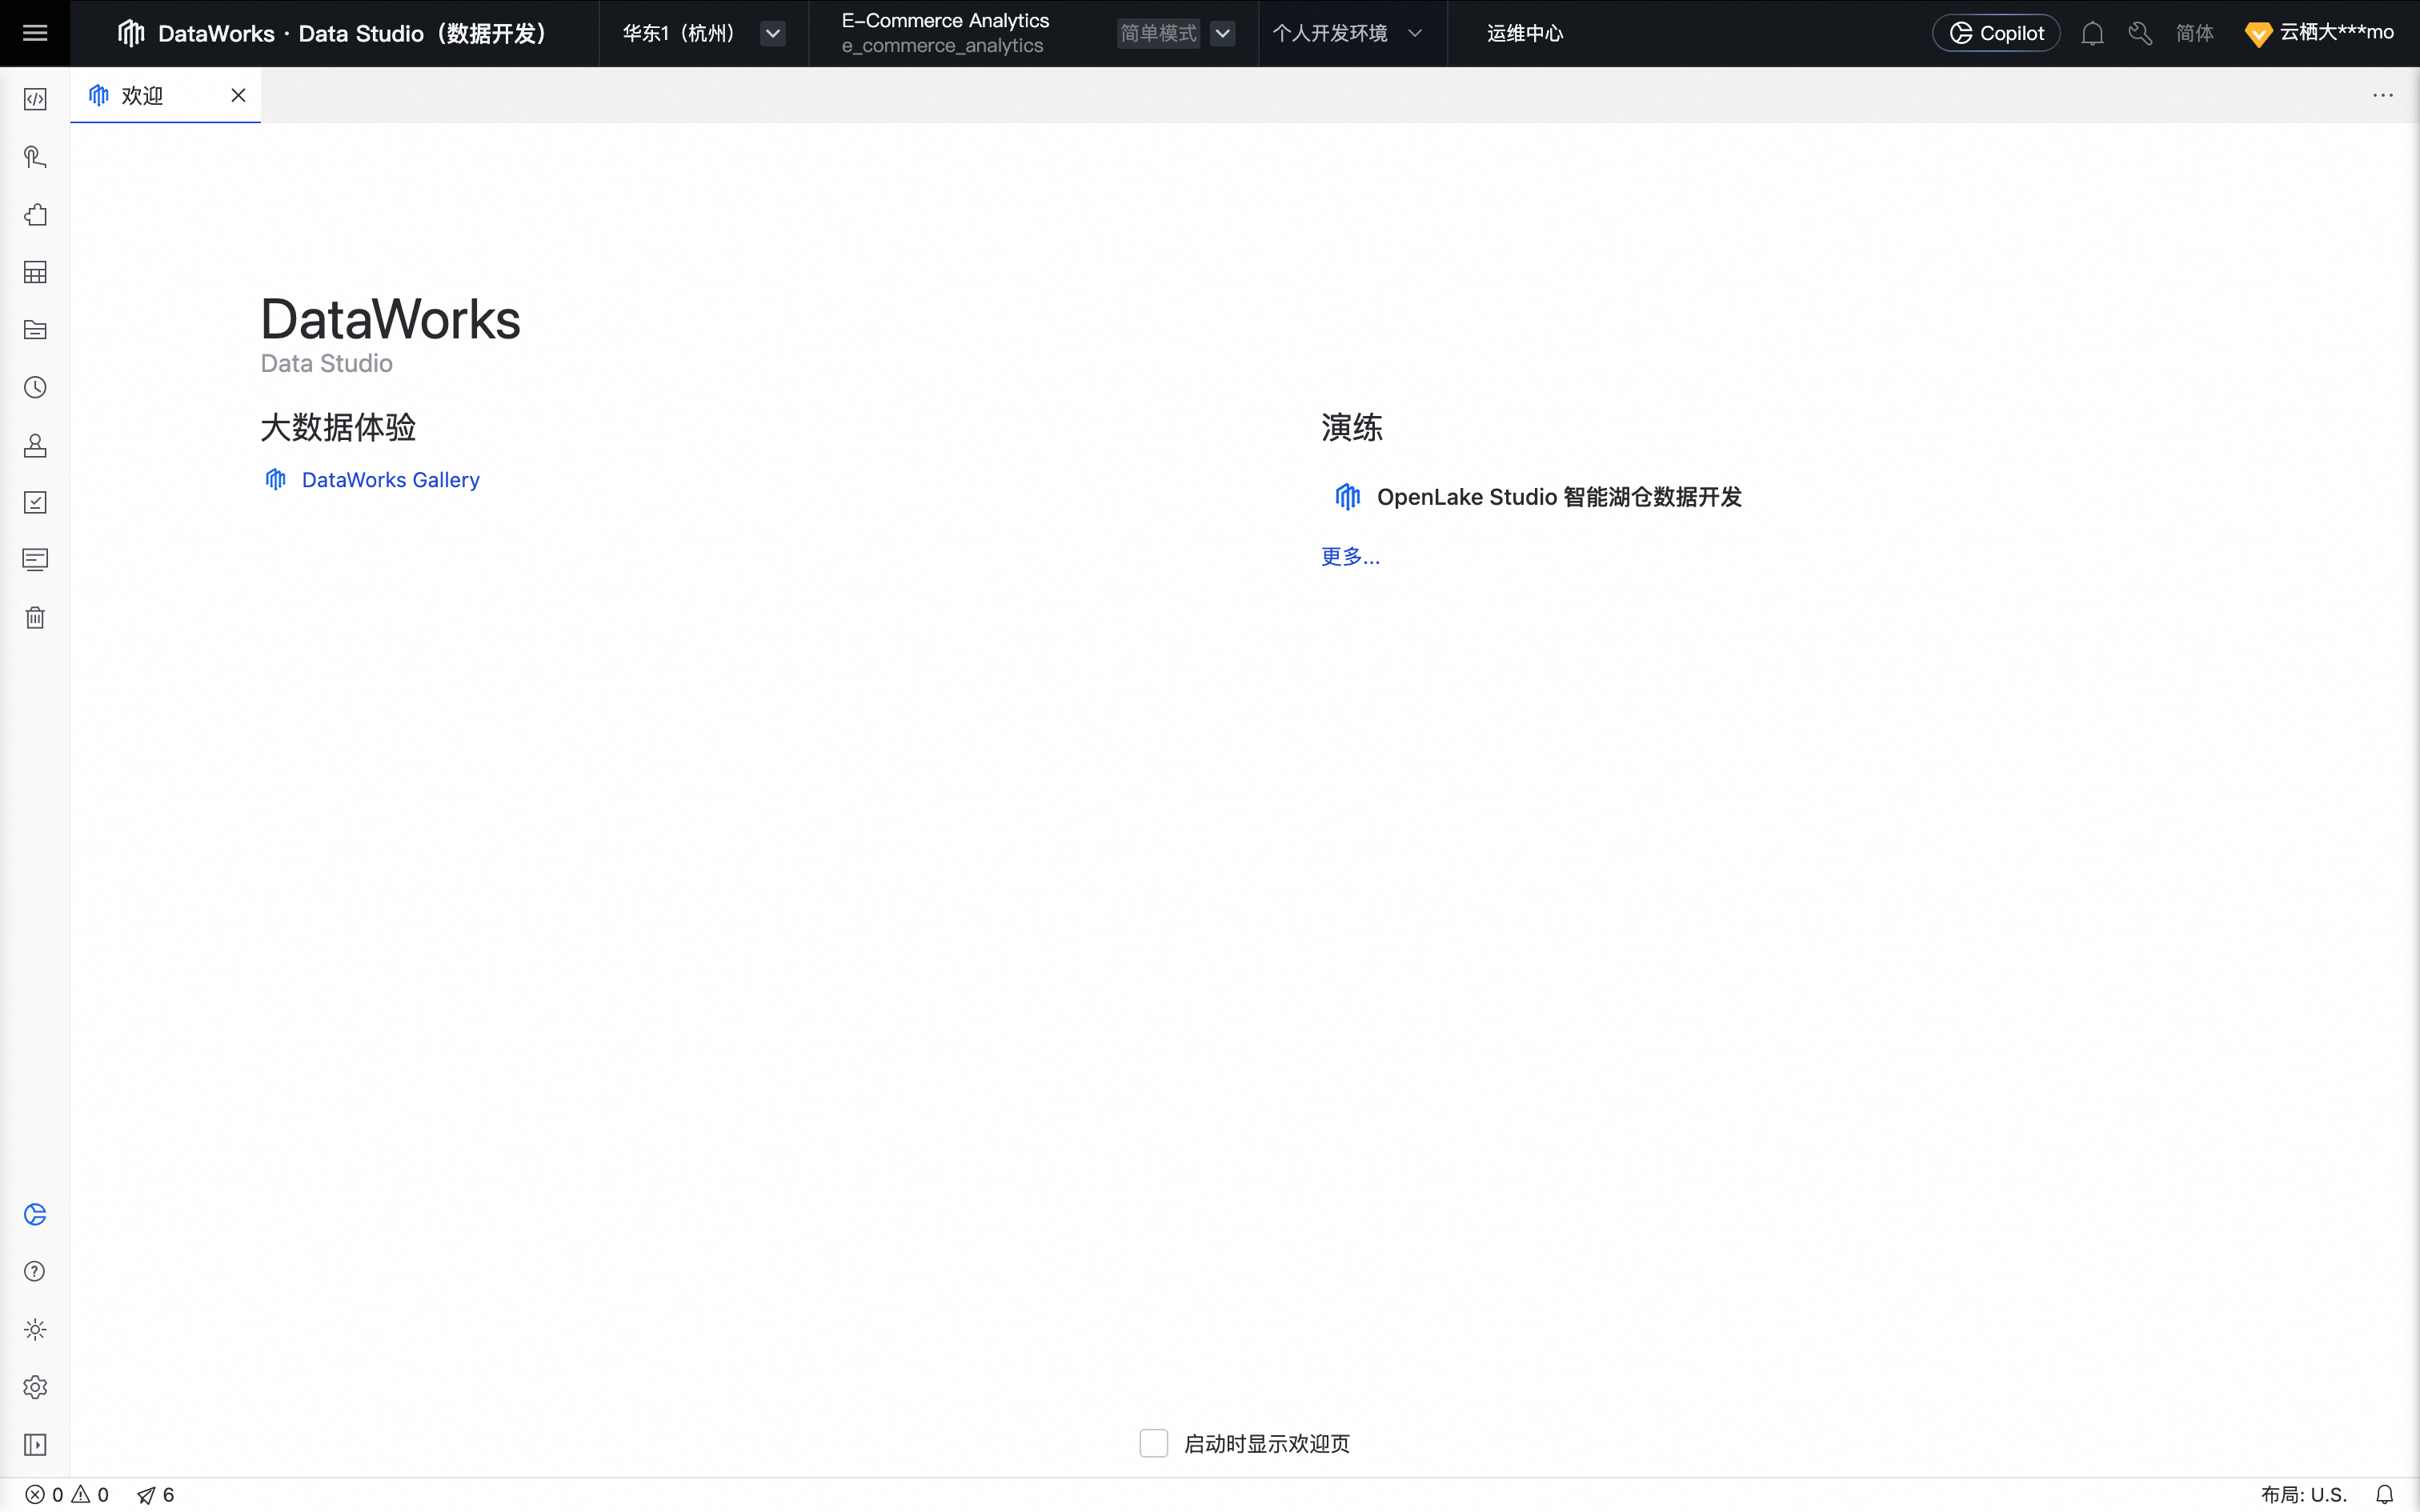
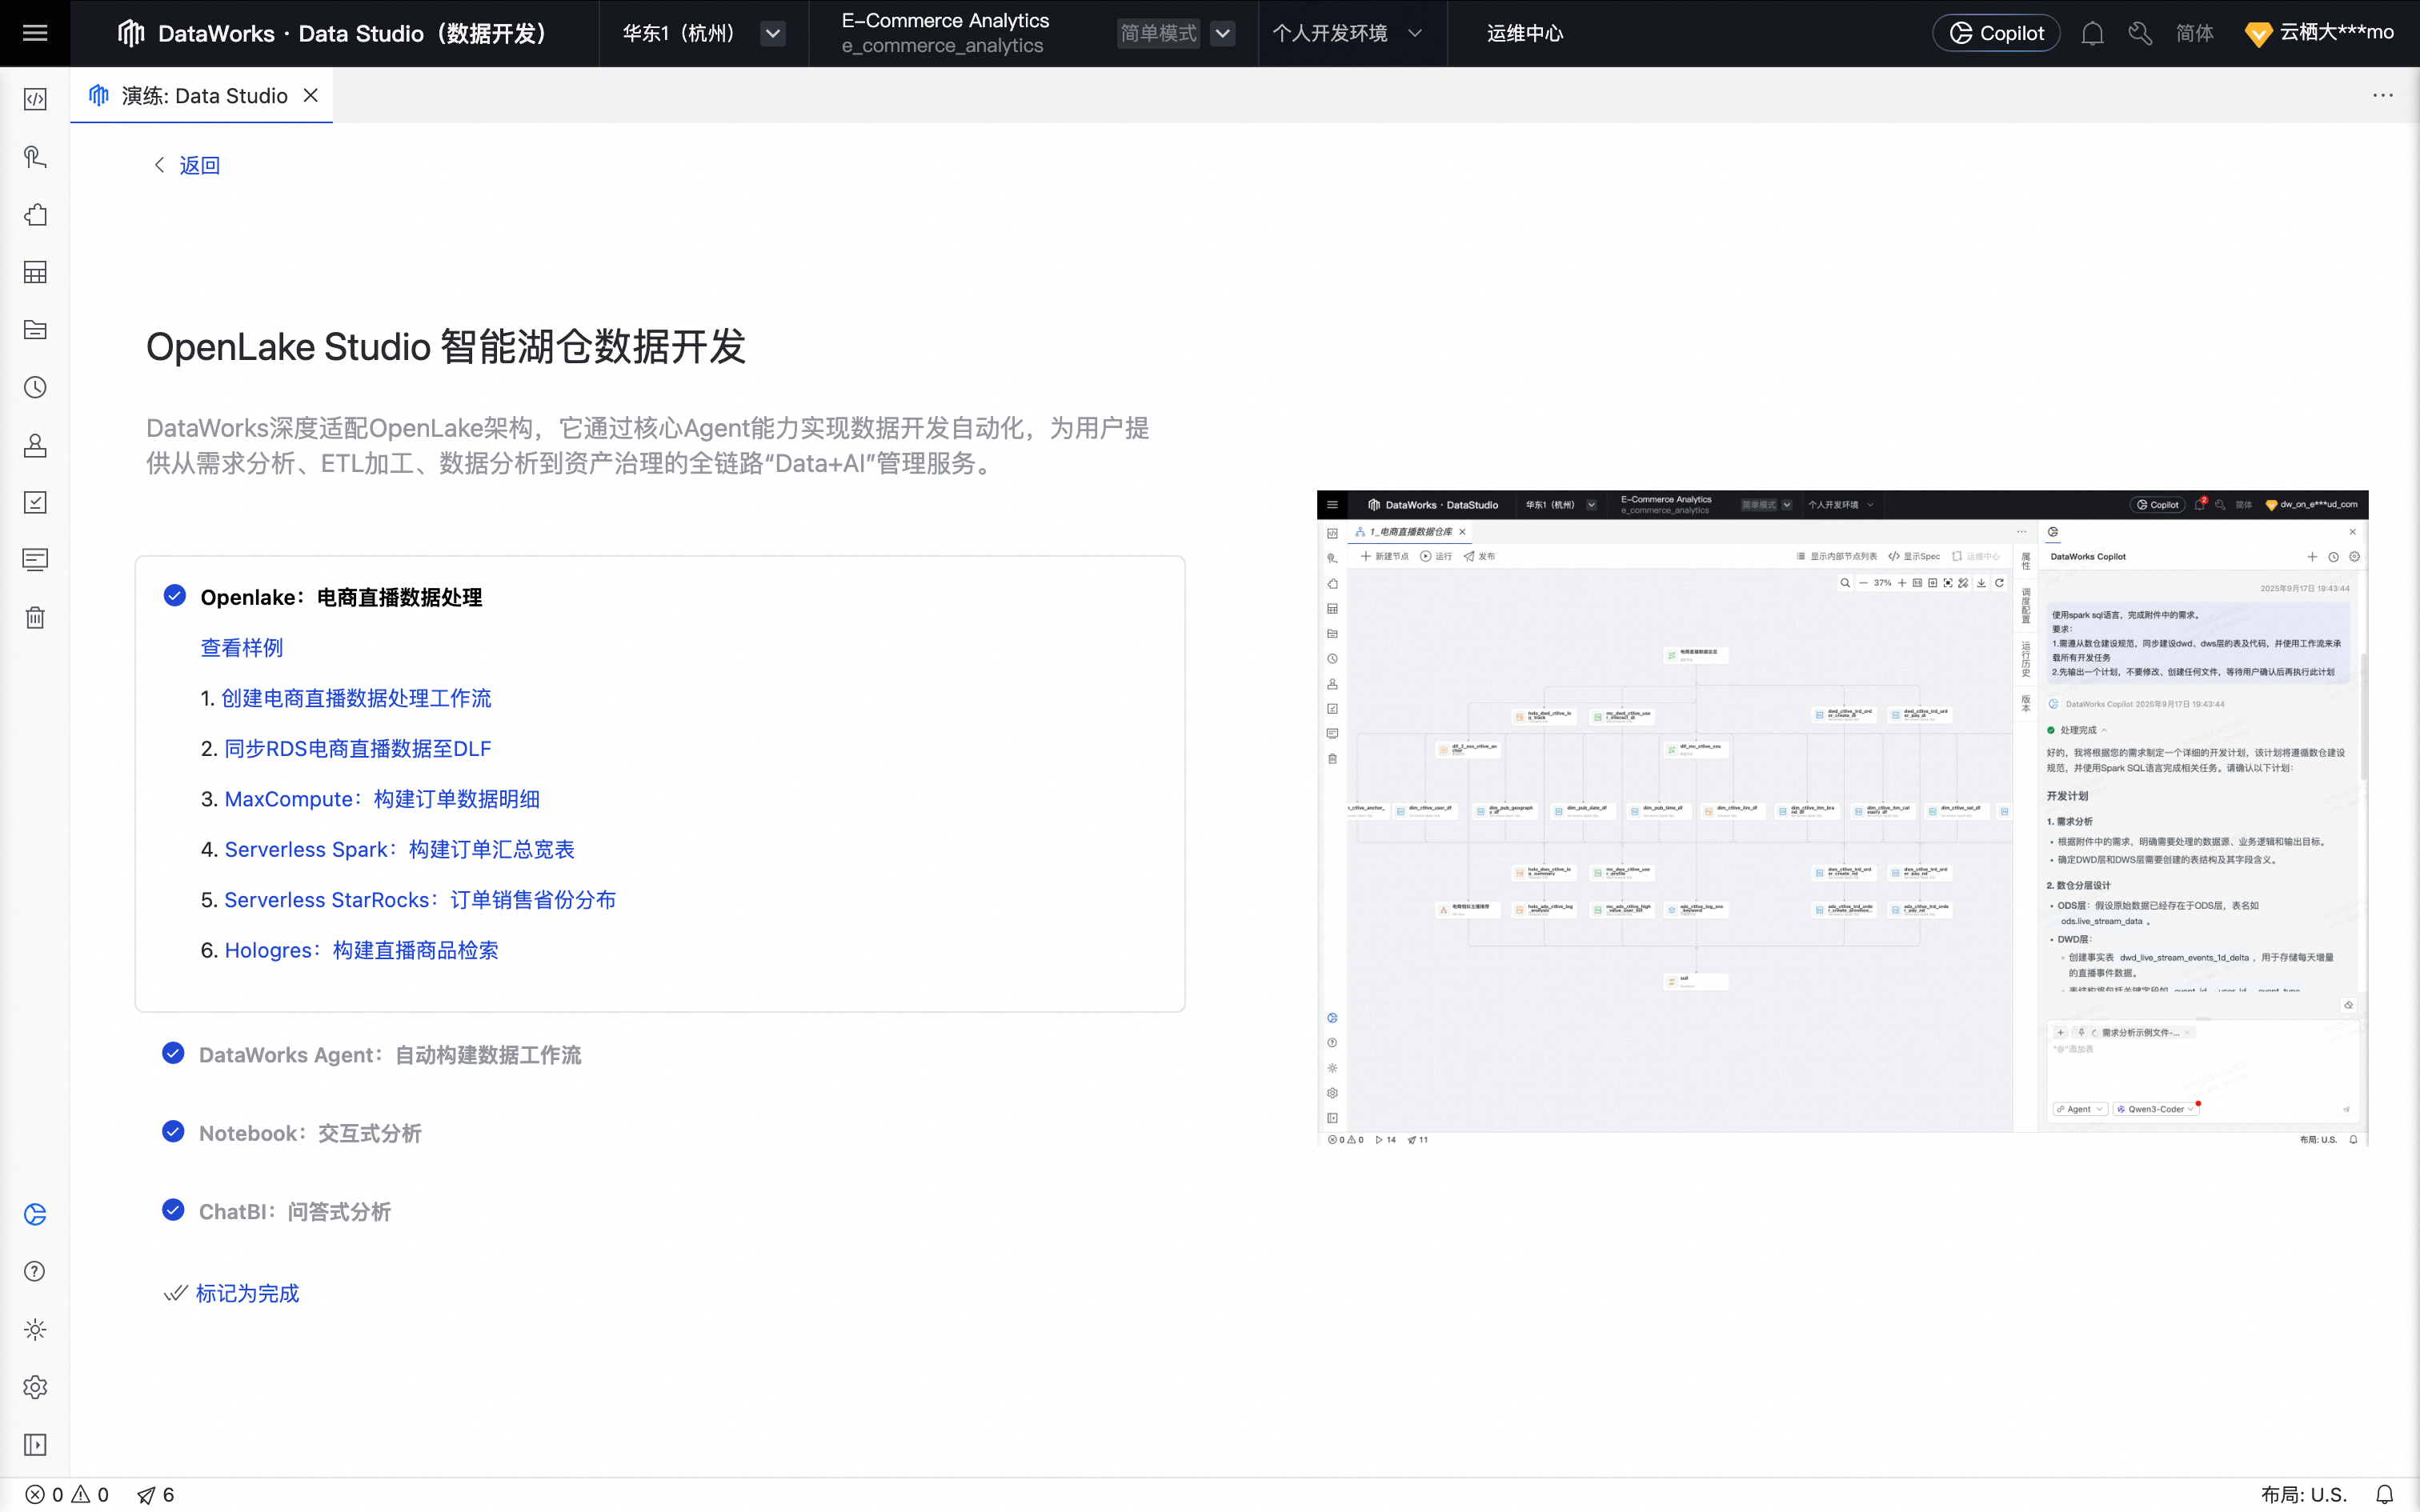
In the tutorial section, click OpenLake Studio Intelligent Lakehouse Data Development to begin the hands-on practice.
Hands-on practice
OpenLake: E-commerce livestreaming data processing
Click View Sample to preview the built-in sample workflow: "E-commerce Livestreaming Data Processing".

1. Create the data processing workflow
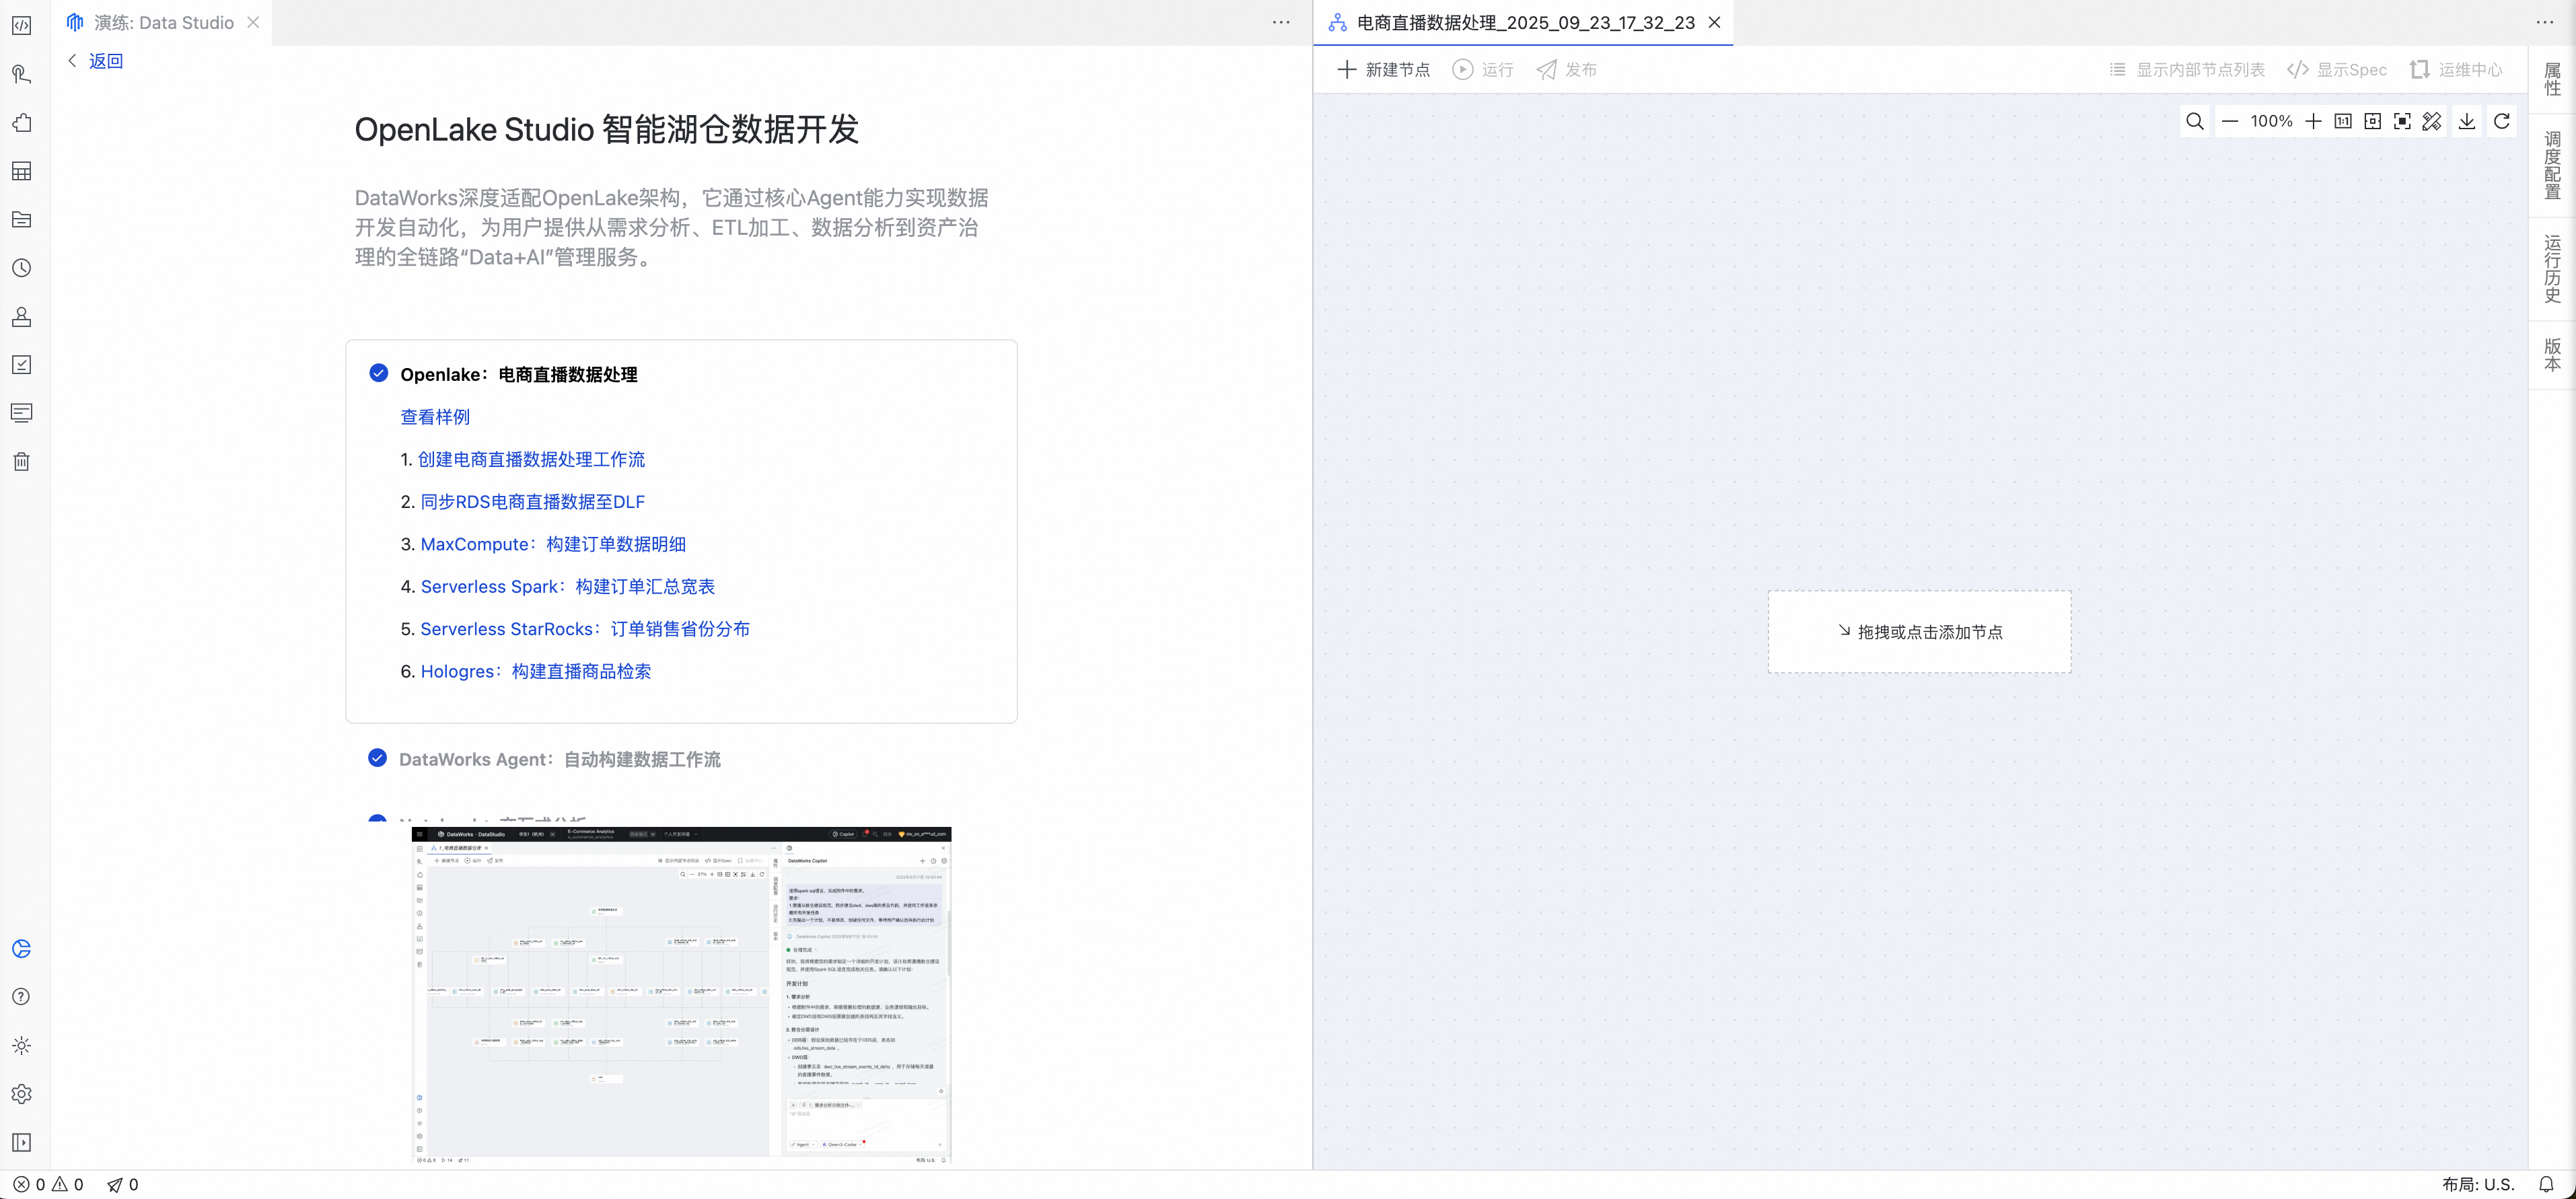
Return to the tutorial page. Click Create E-commerce Livestreaming Data Processing Workflow and confirm. The system automatically generates a new workflow container for you.
2. Sync RDS data to DLF
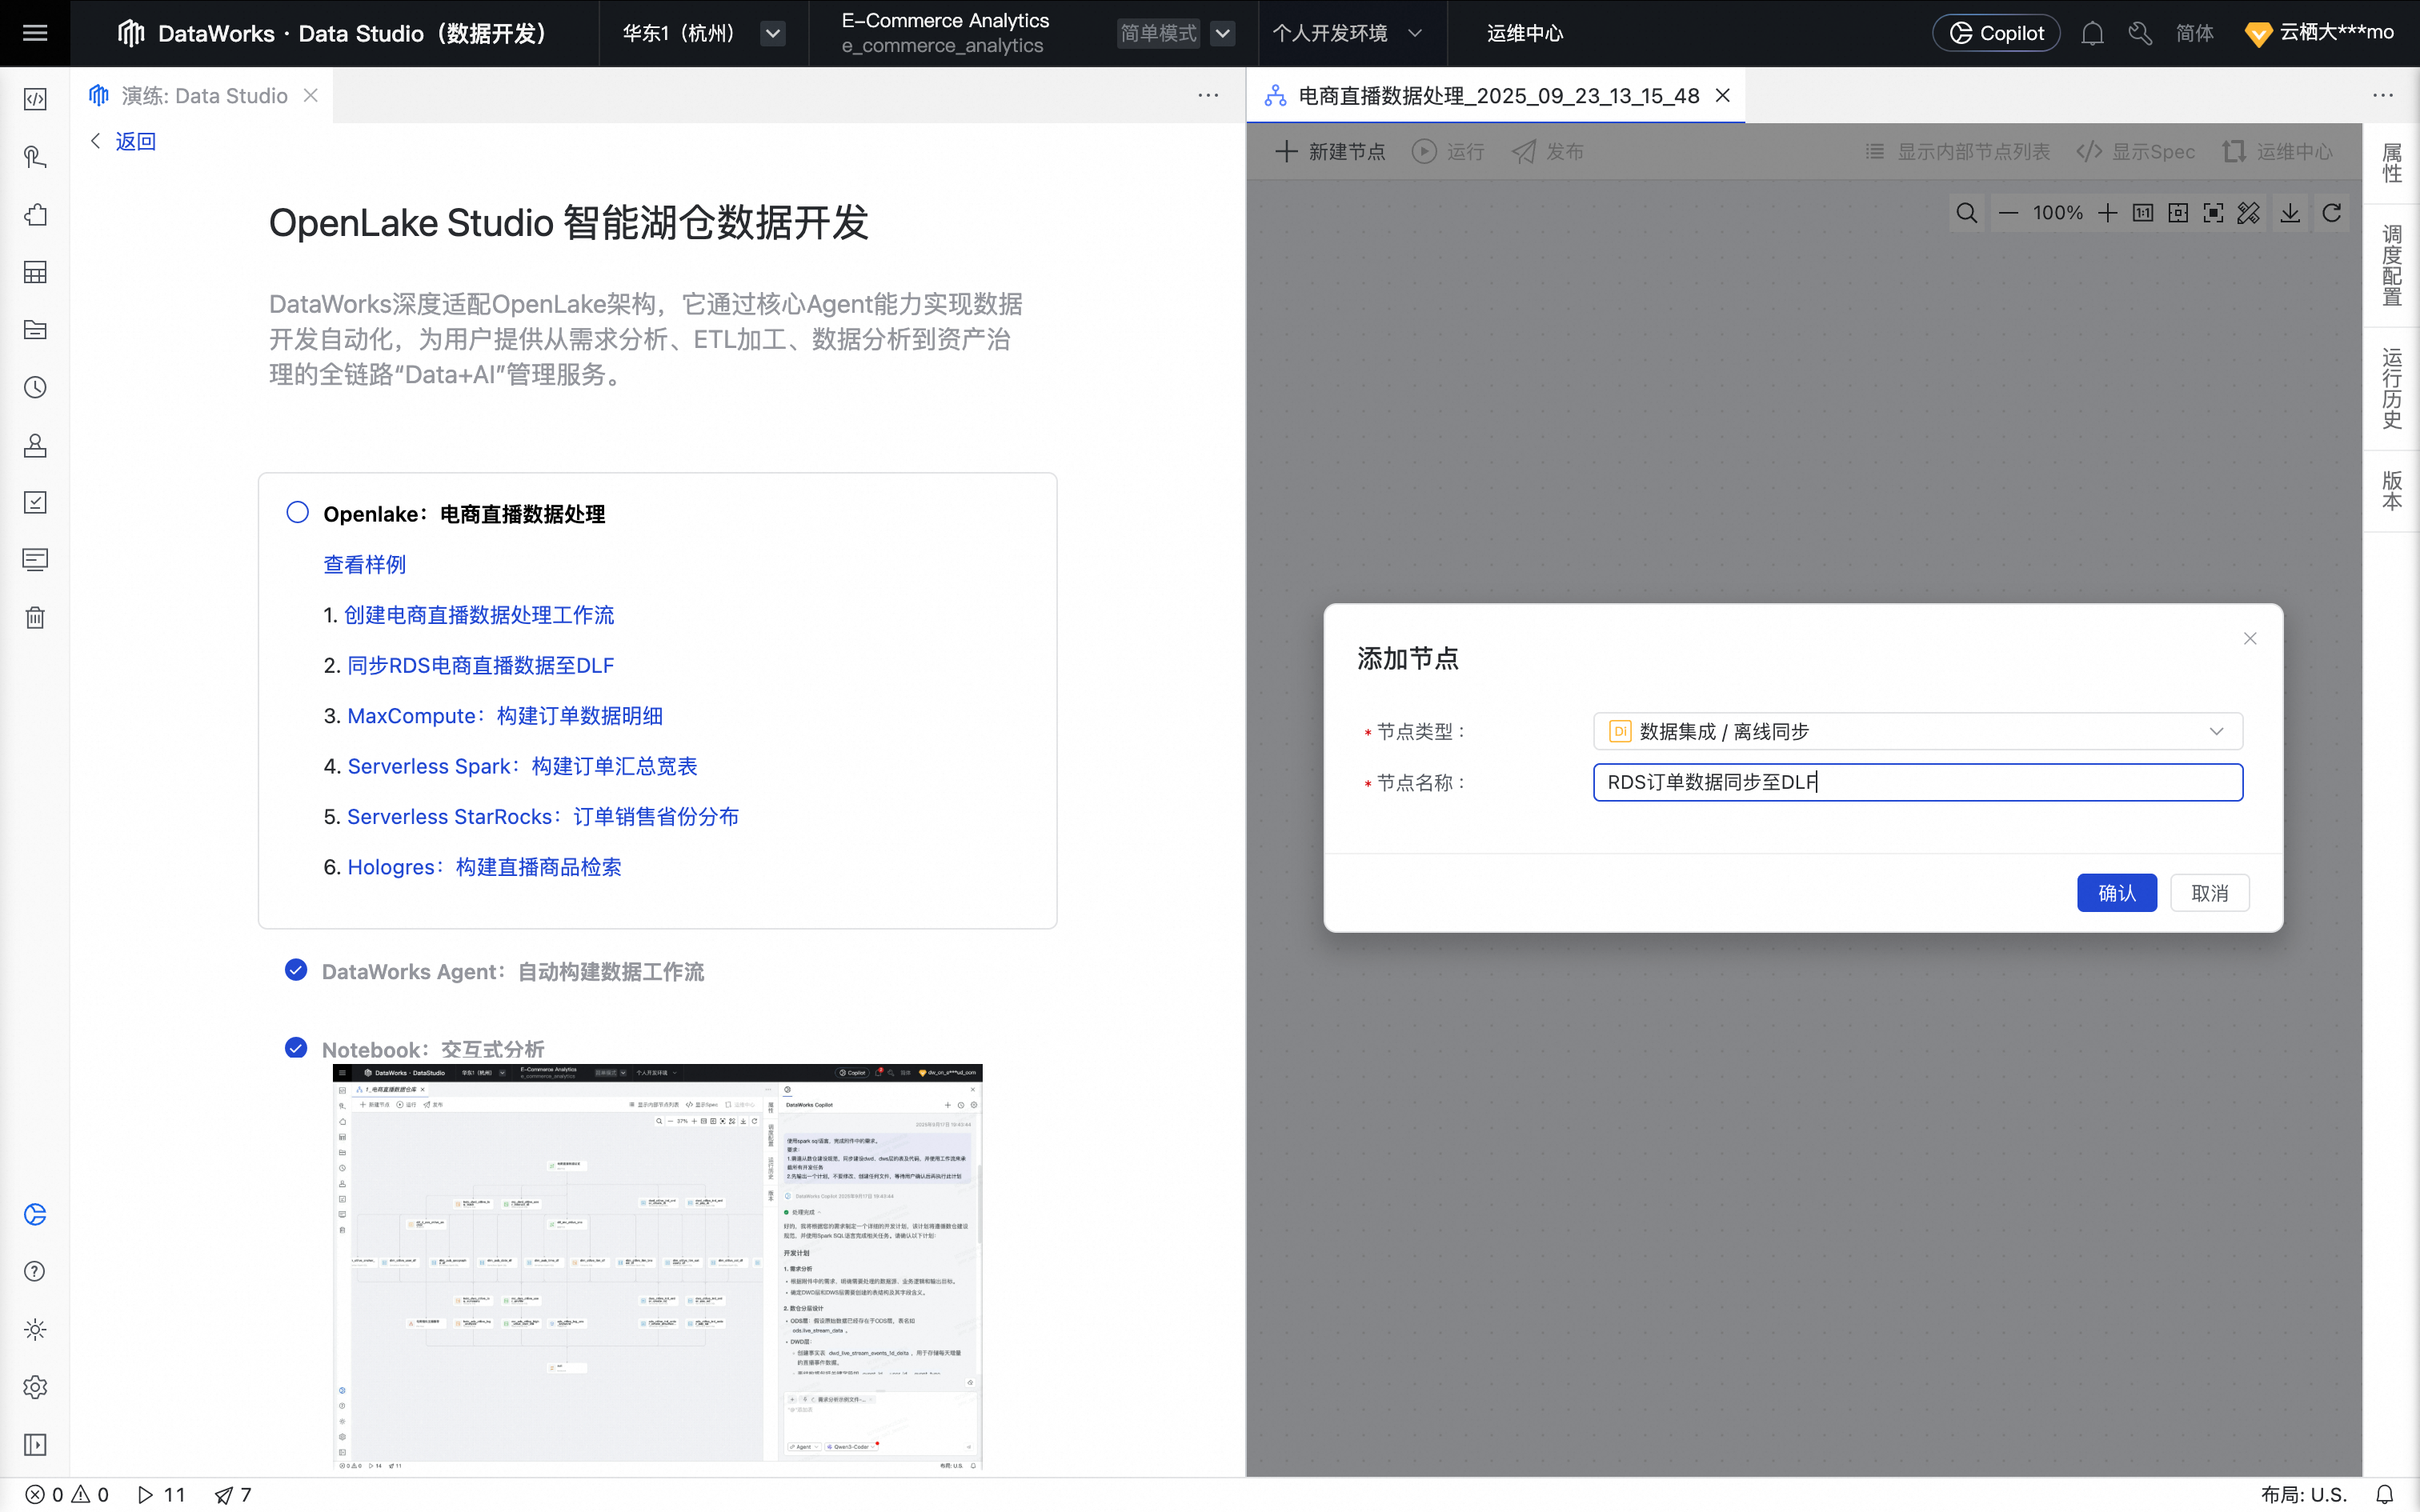
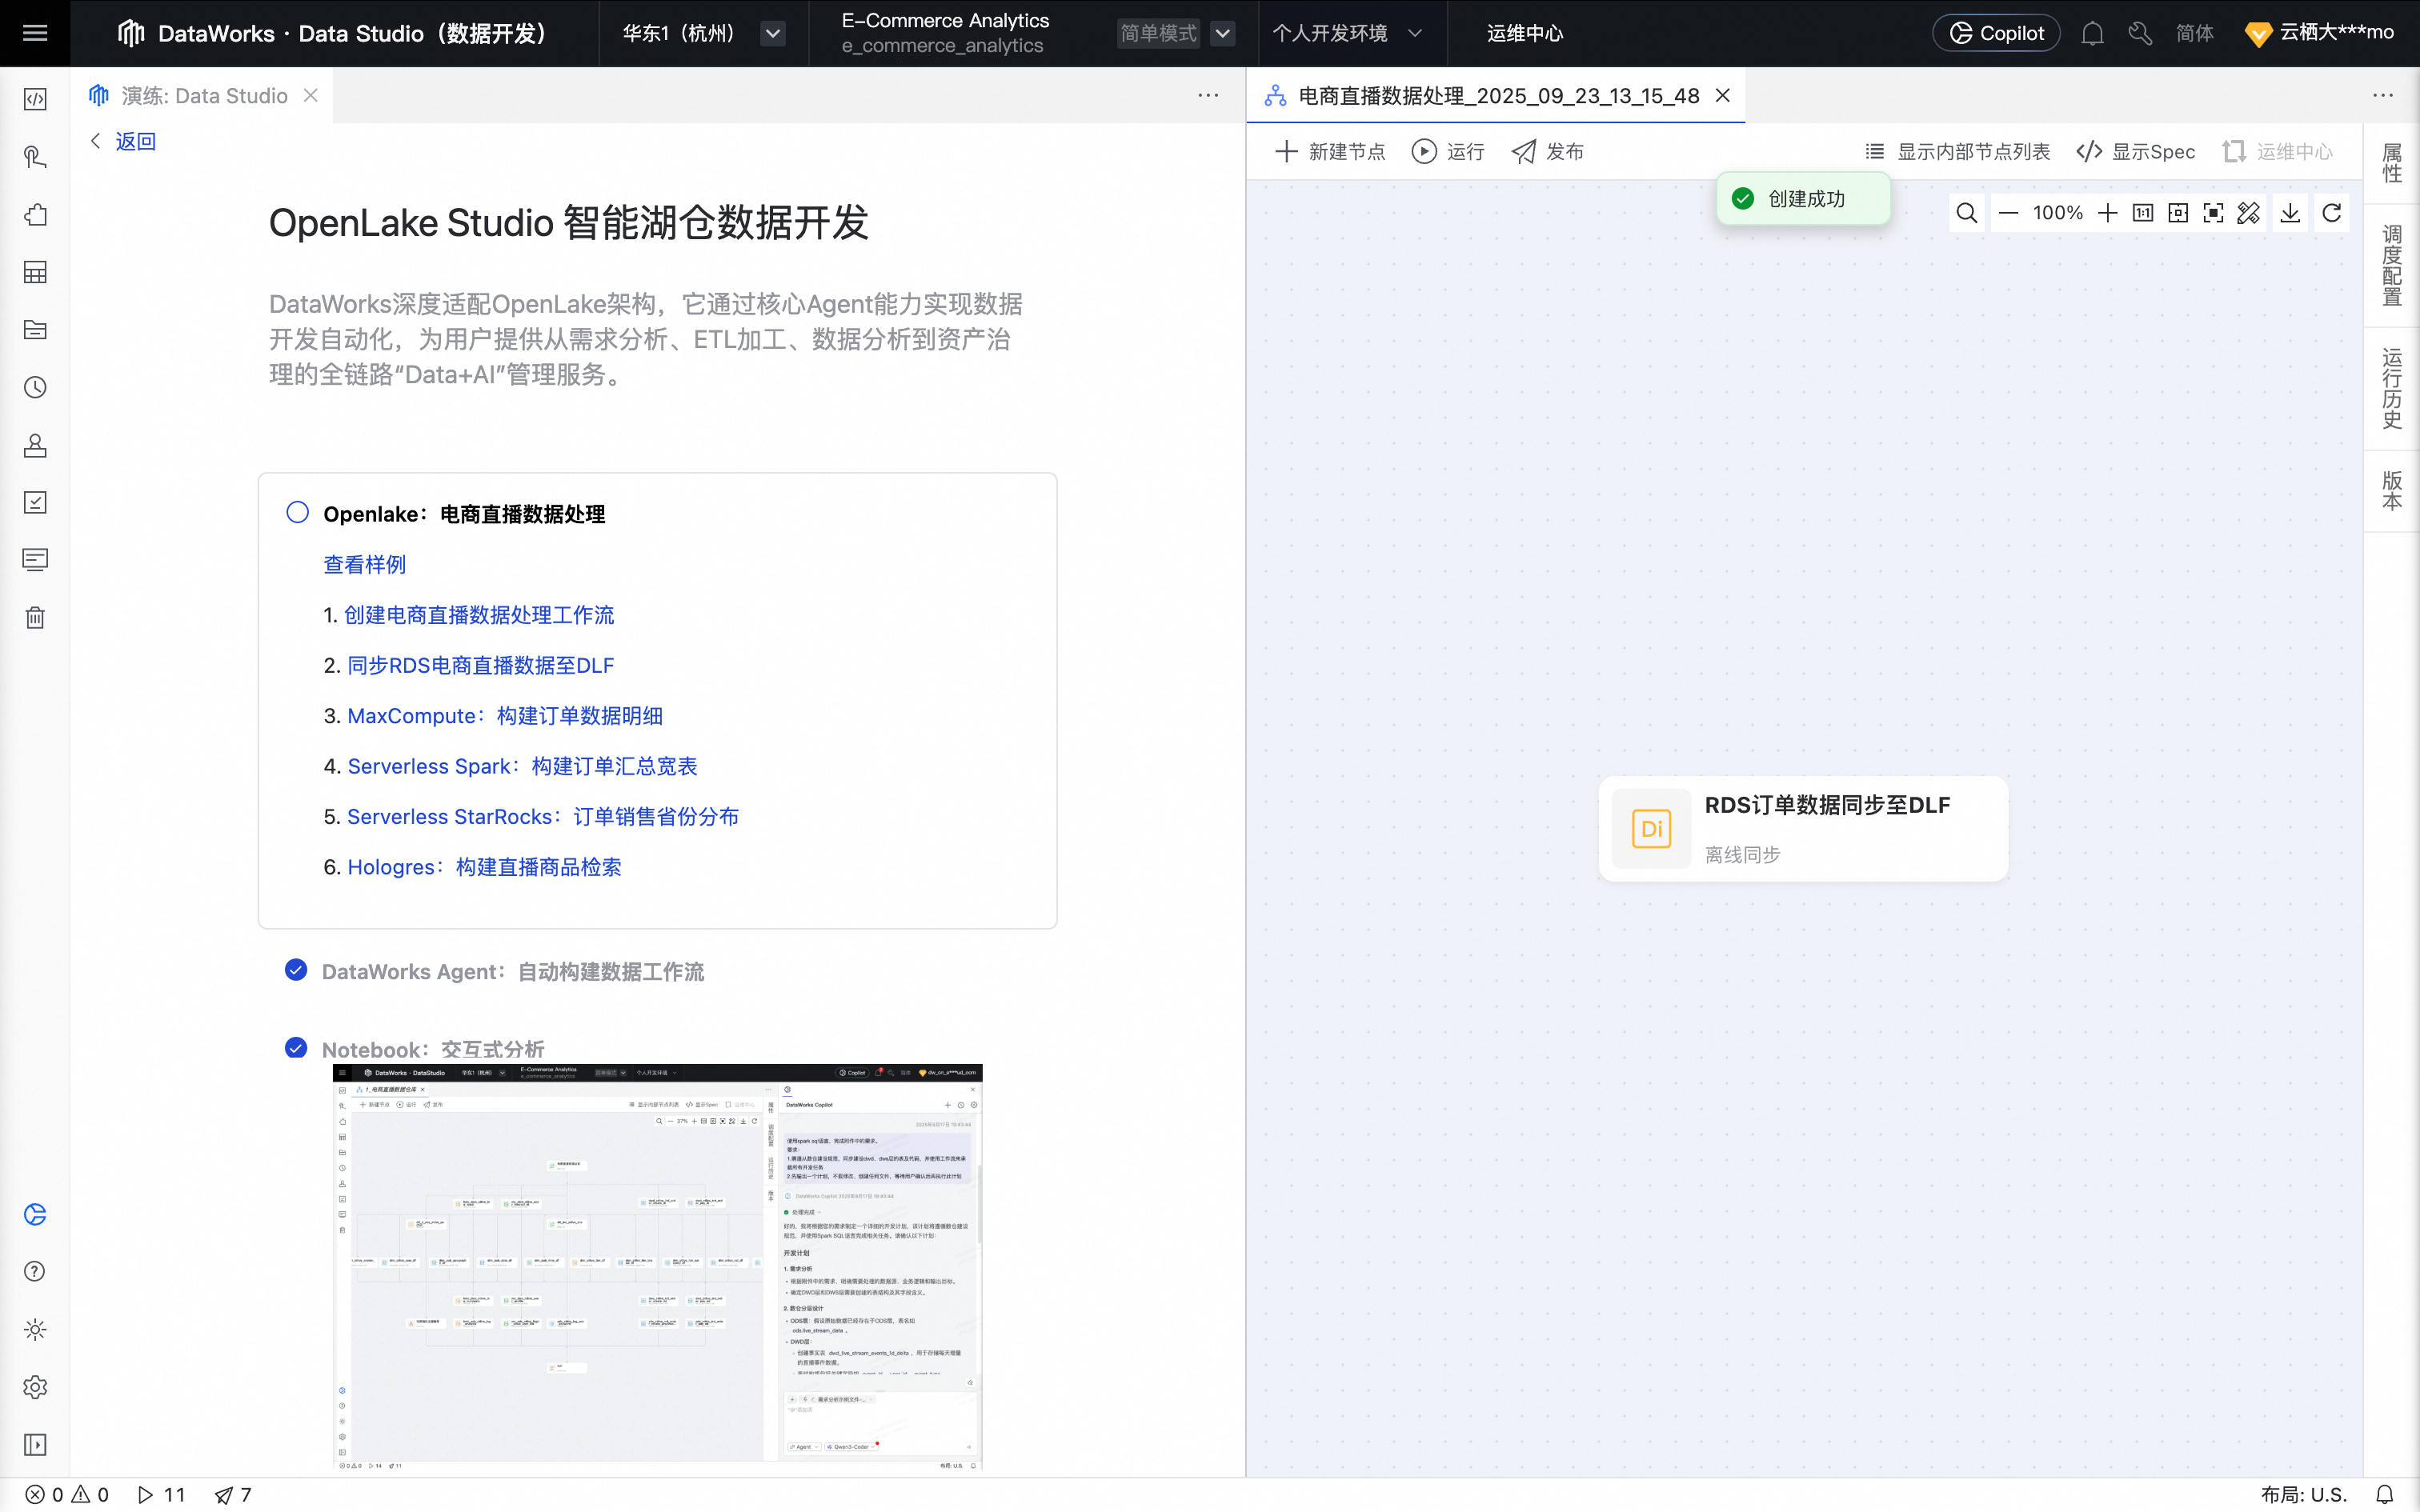
Click Sync RDS E-commerce Livestreaming Data to DLF to start creating a Data Integration/Batch Synchronization node.
Click Confirm. The system creates the node.
Hover over the node and click Open Node to open its configuration page.
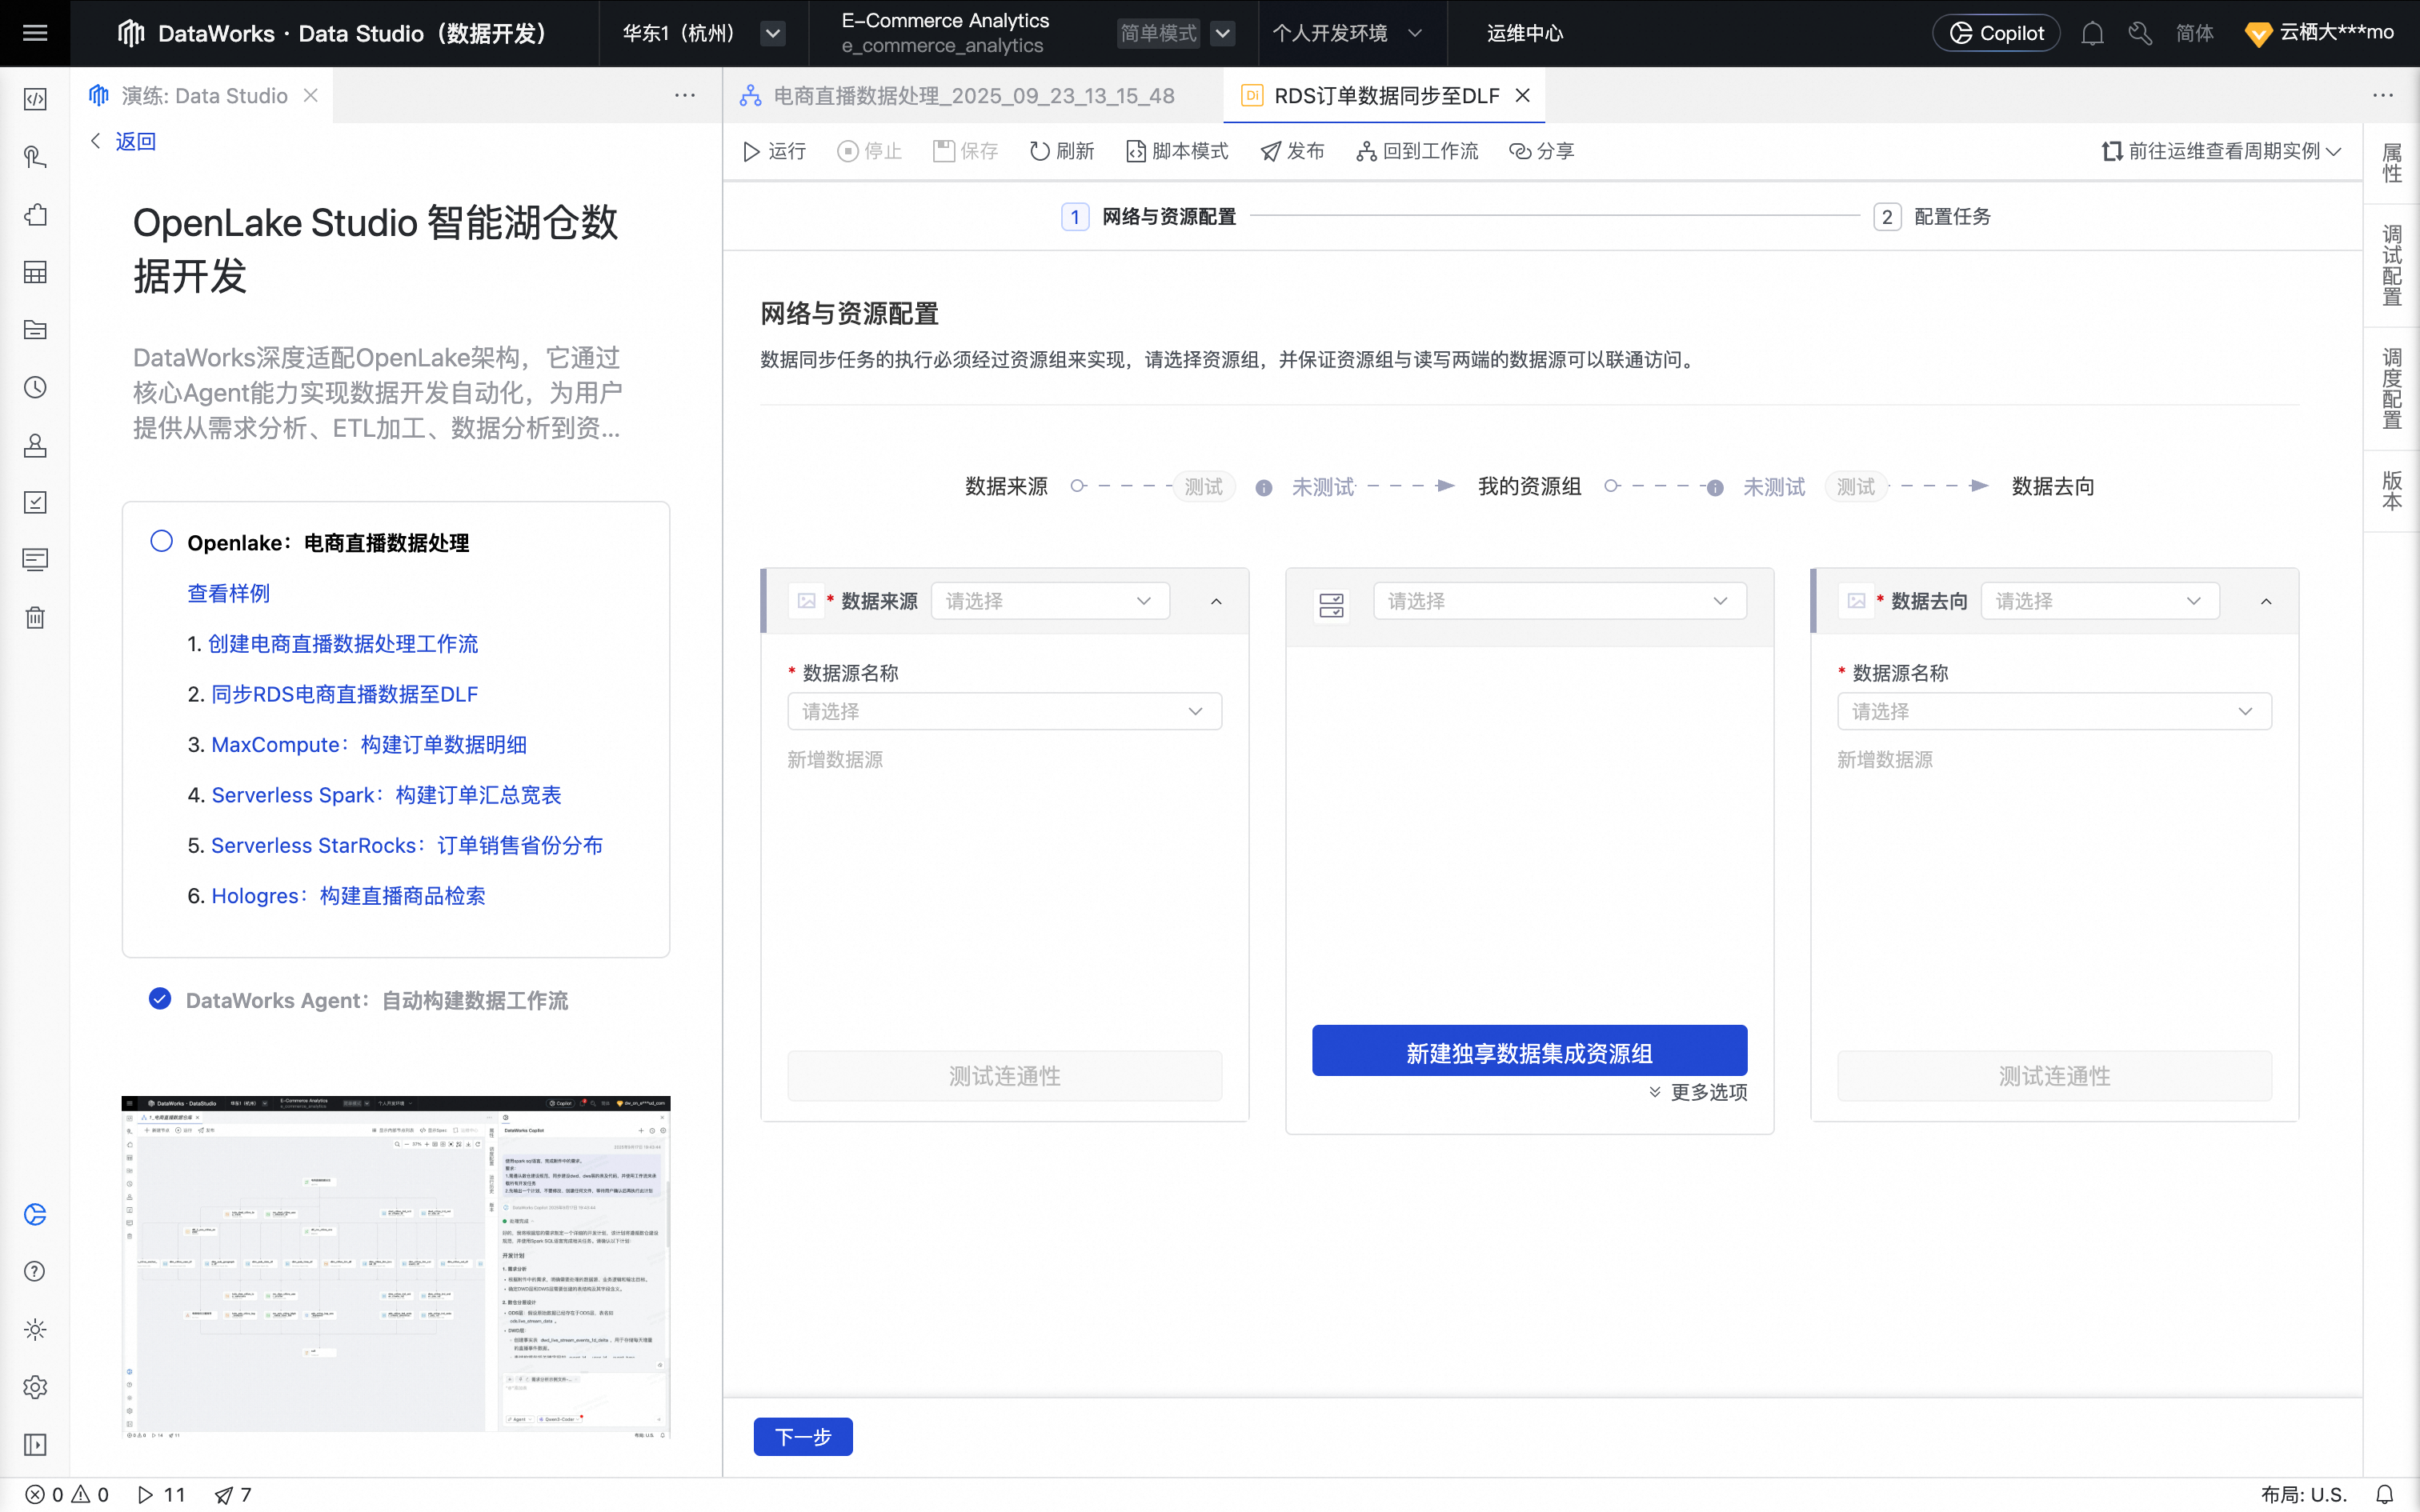
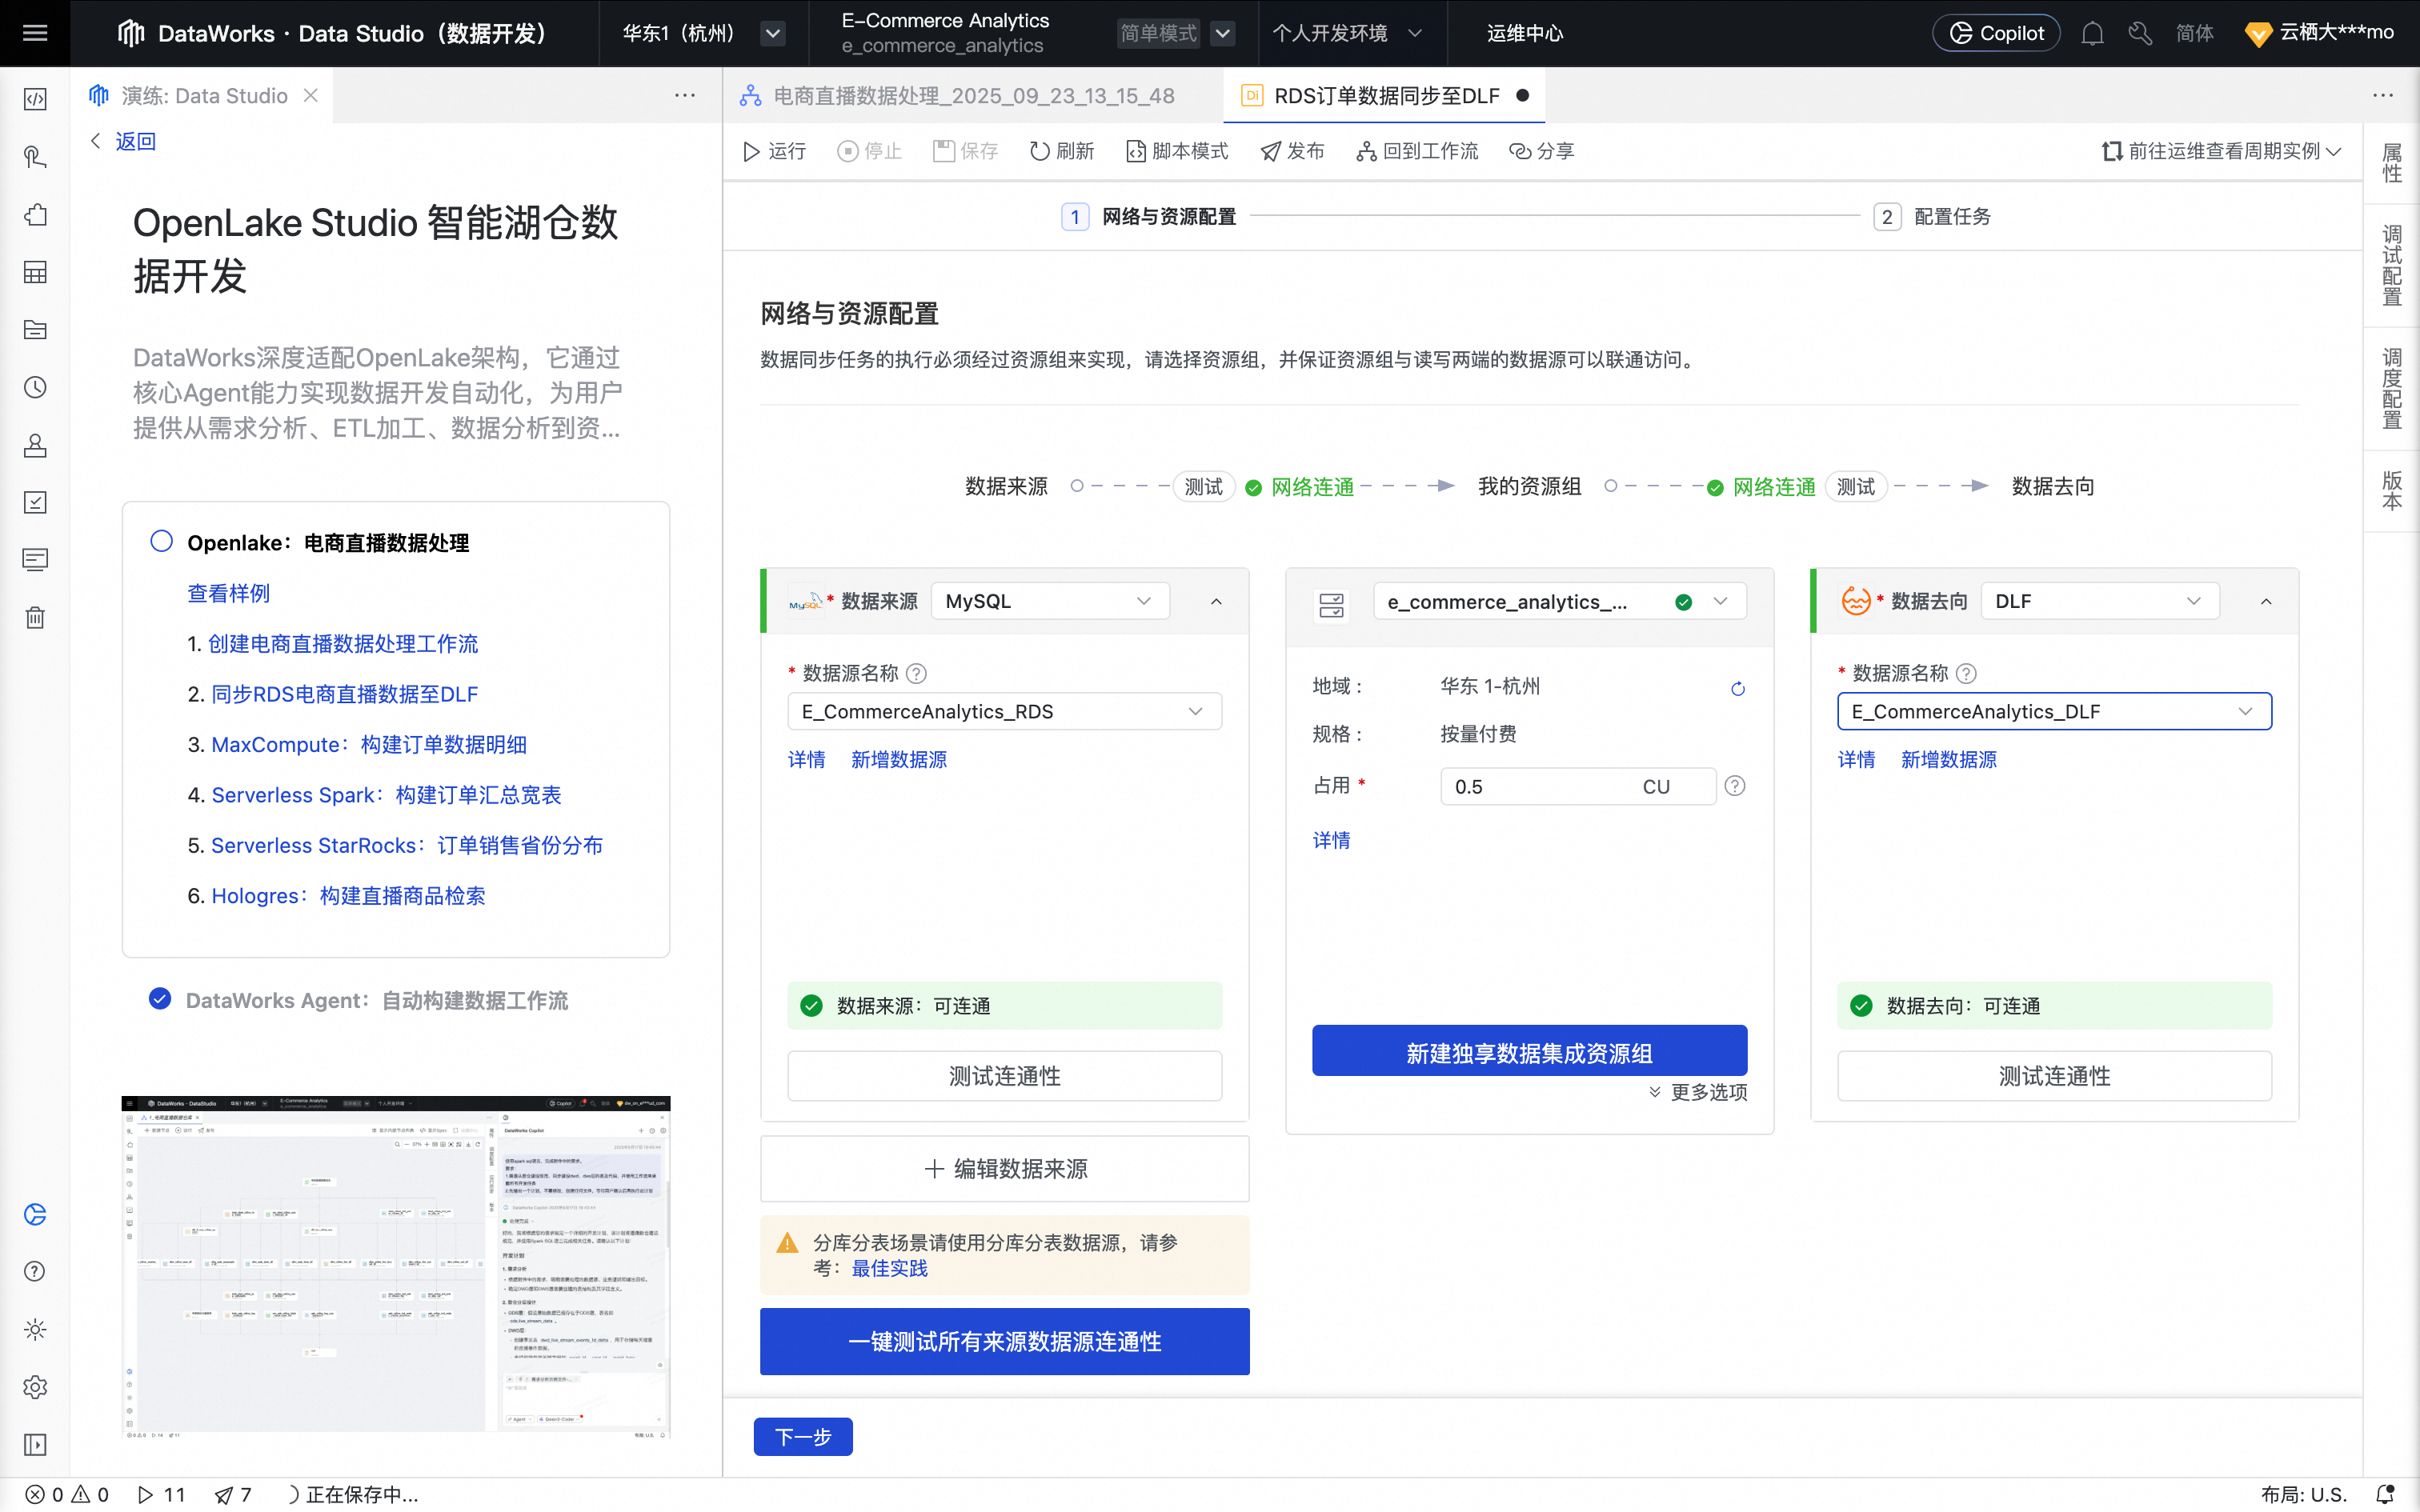
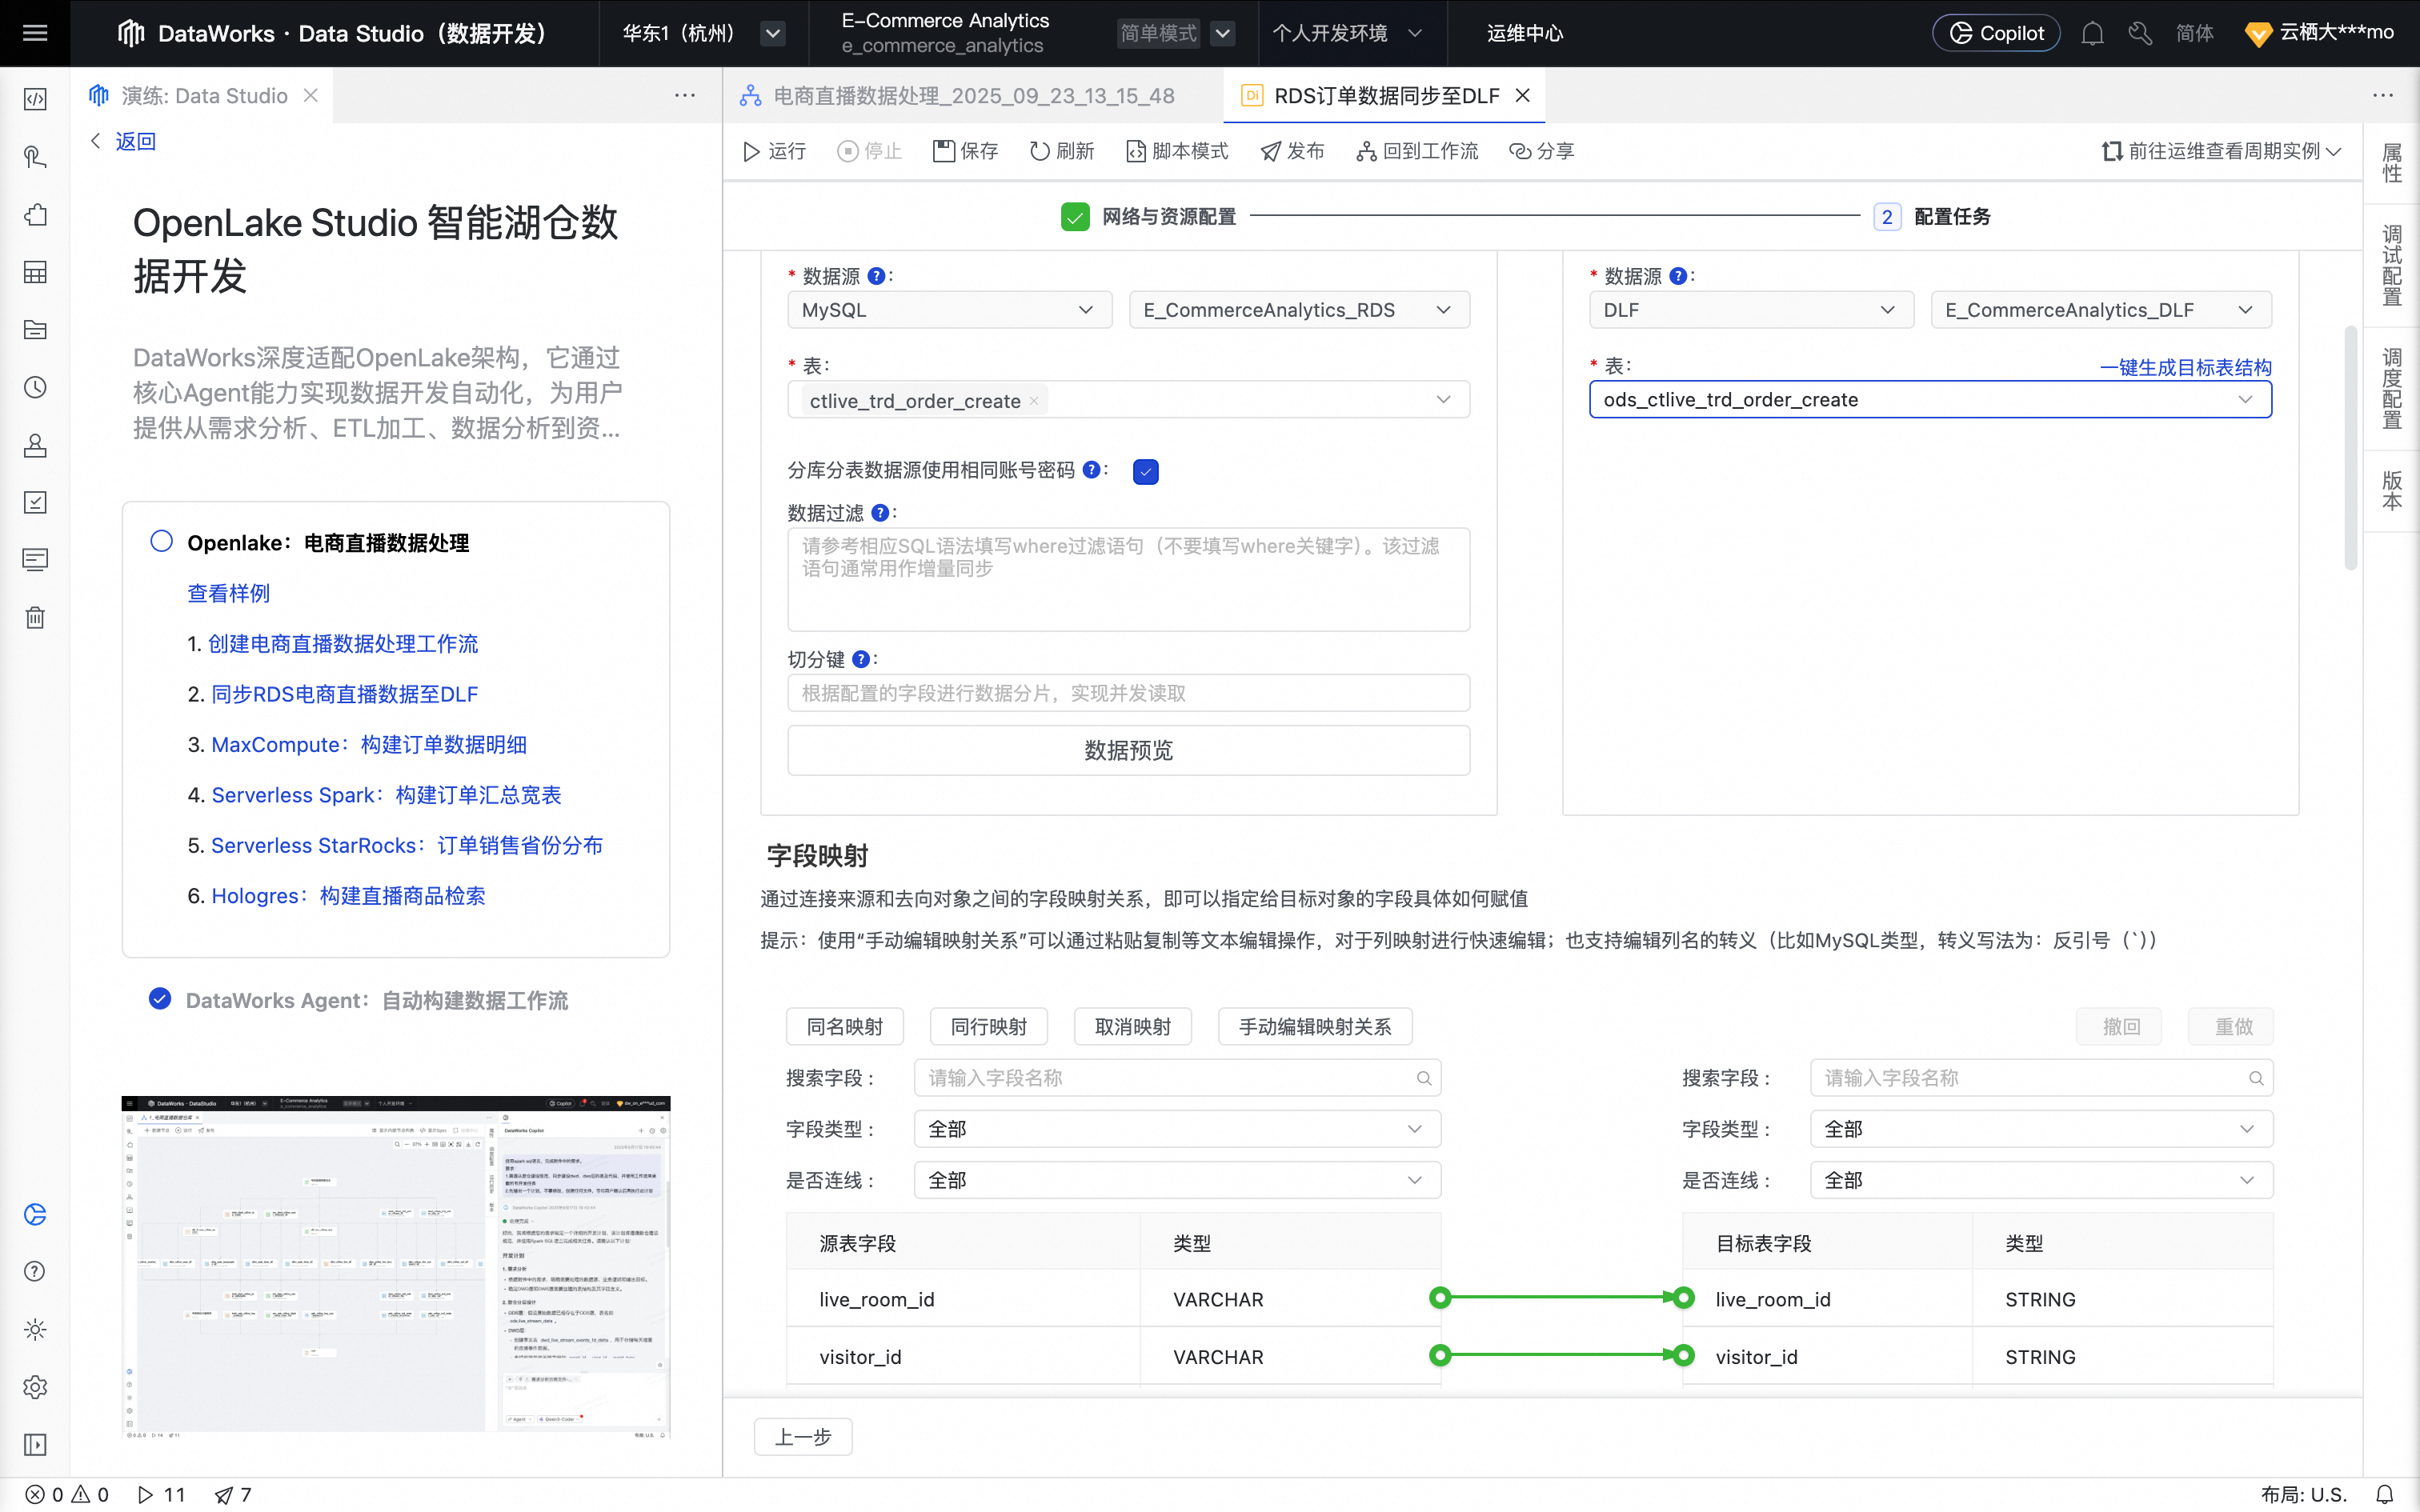
Select MySQL as the Source and DLF as the Destination. Configure the data sources and resource group.
Select the previously created ApsaraDB RDS and DLF data sources, and the resource group bound to the current workspace. Ensure that the resource group can connect to the data sources.
Click Next to configure the task.
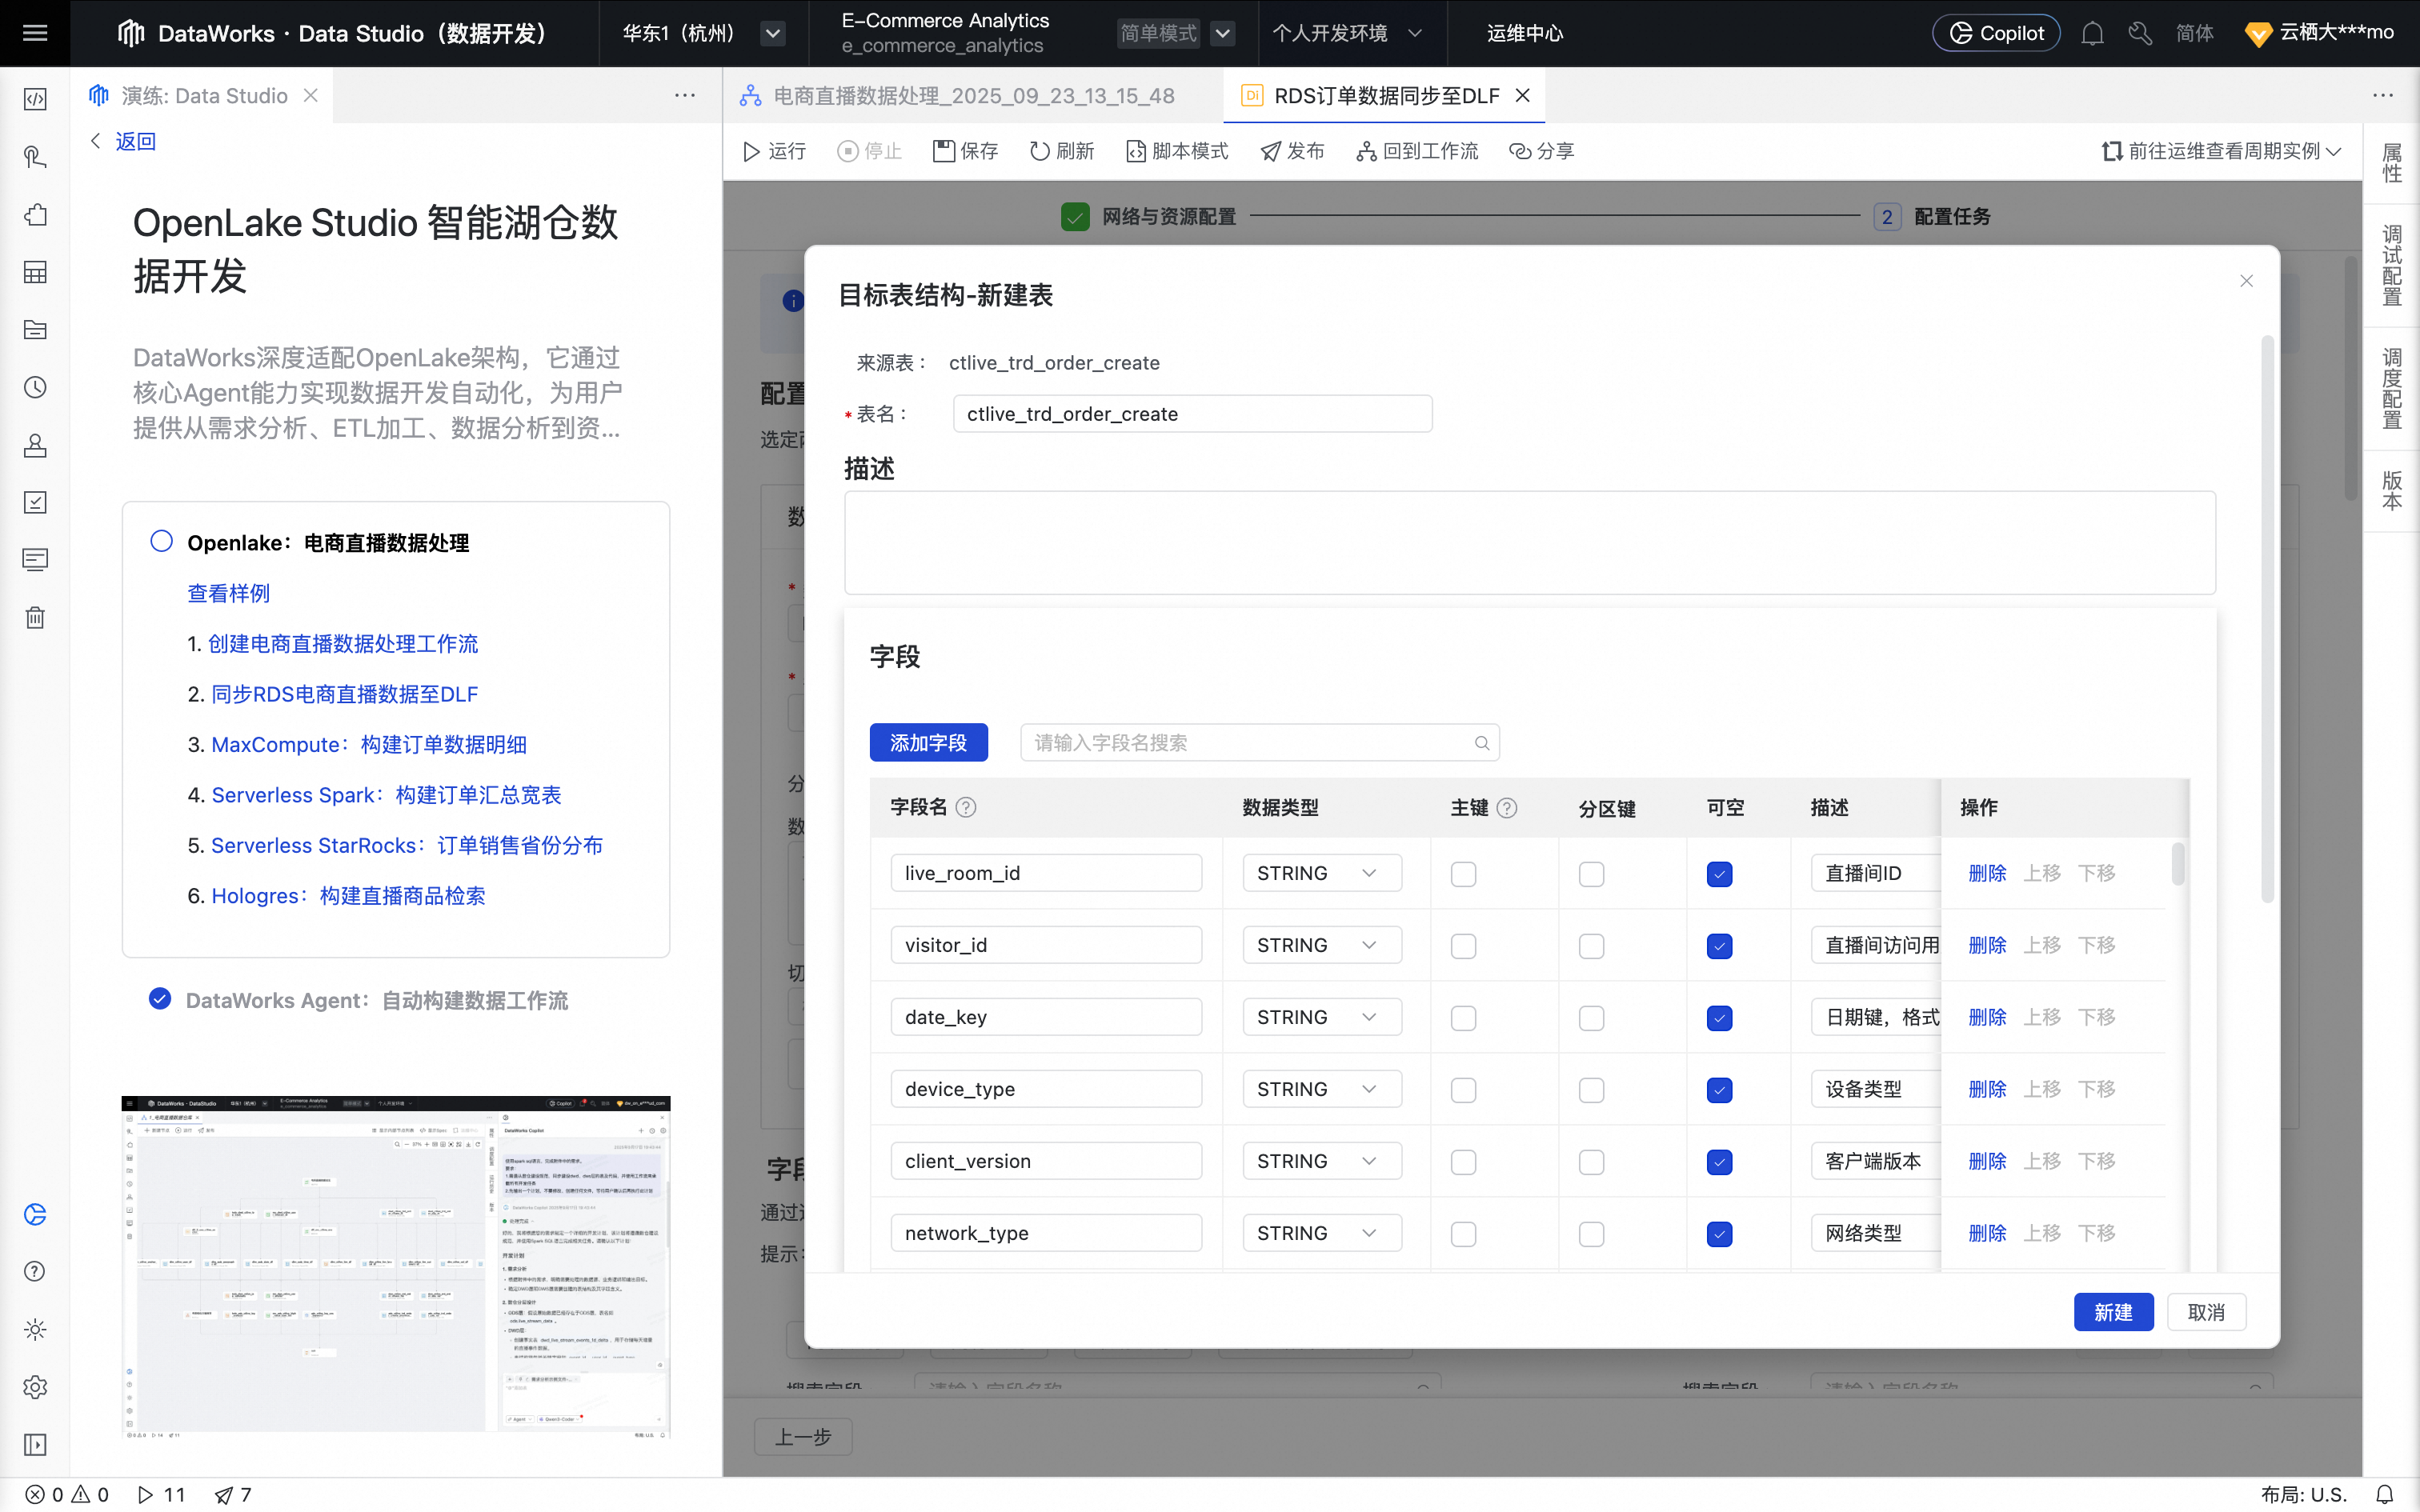
In the Source section, select the source table ctlive_trd_order_create. In the Destination section, click Generate Target Table Schema to automatically create the table.
You can select more source tables as needed.
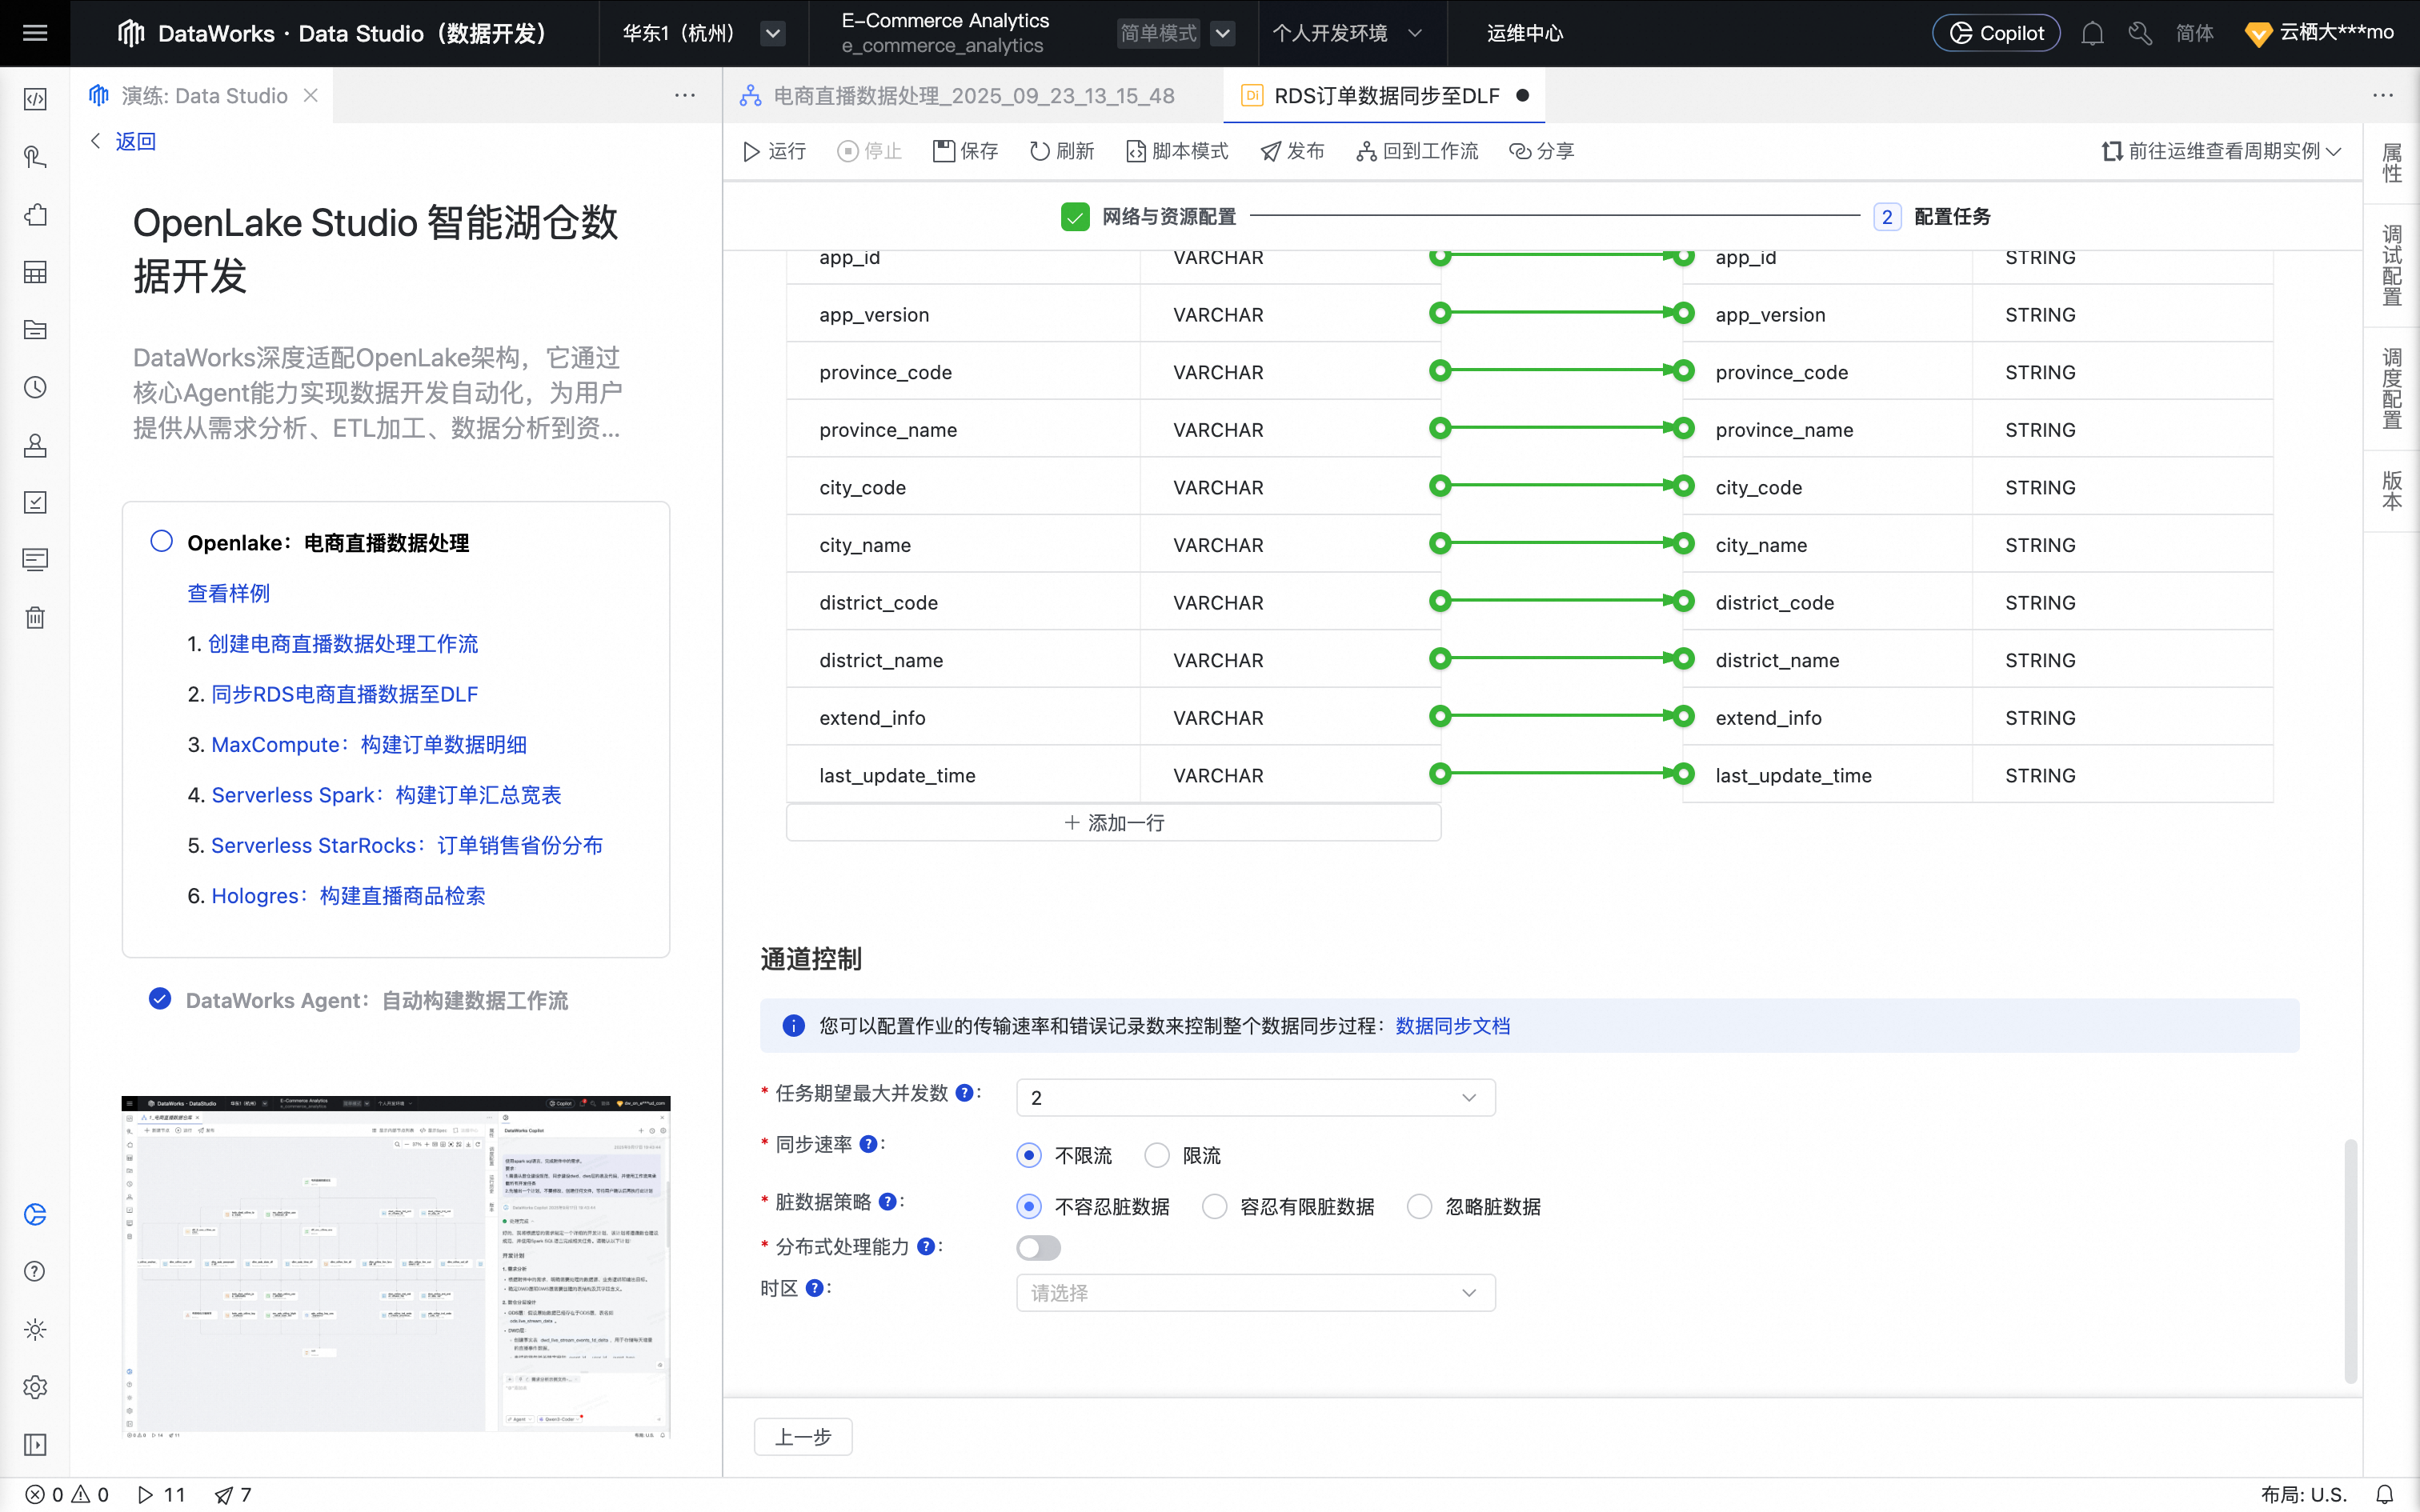
For Field Mapping, you can use the default name-based matching.
For the dirty data policy, we recommend that you select Reject dirty data.
In the right-side toolbar, click Run Configuration and configure the compute resources and resource group.
At the top of the node editor, click Save and then Run to start the data synchronization.
3. Build order data details
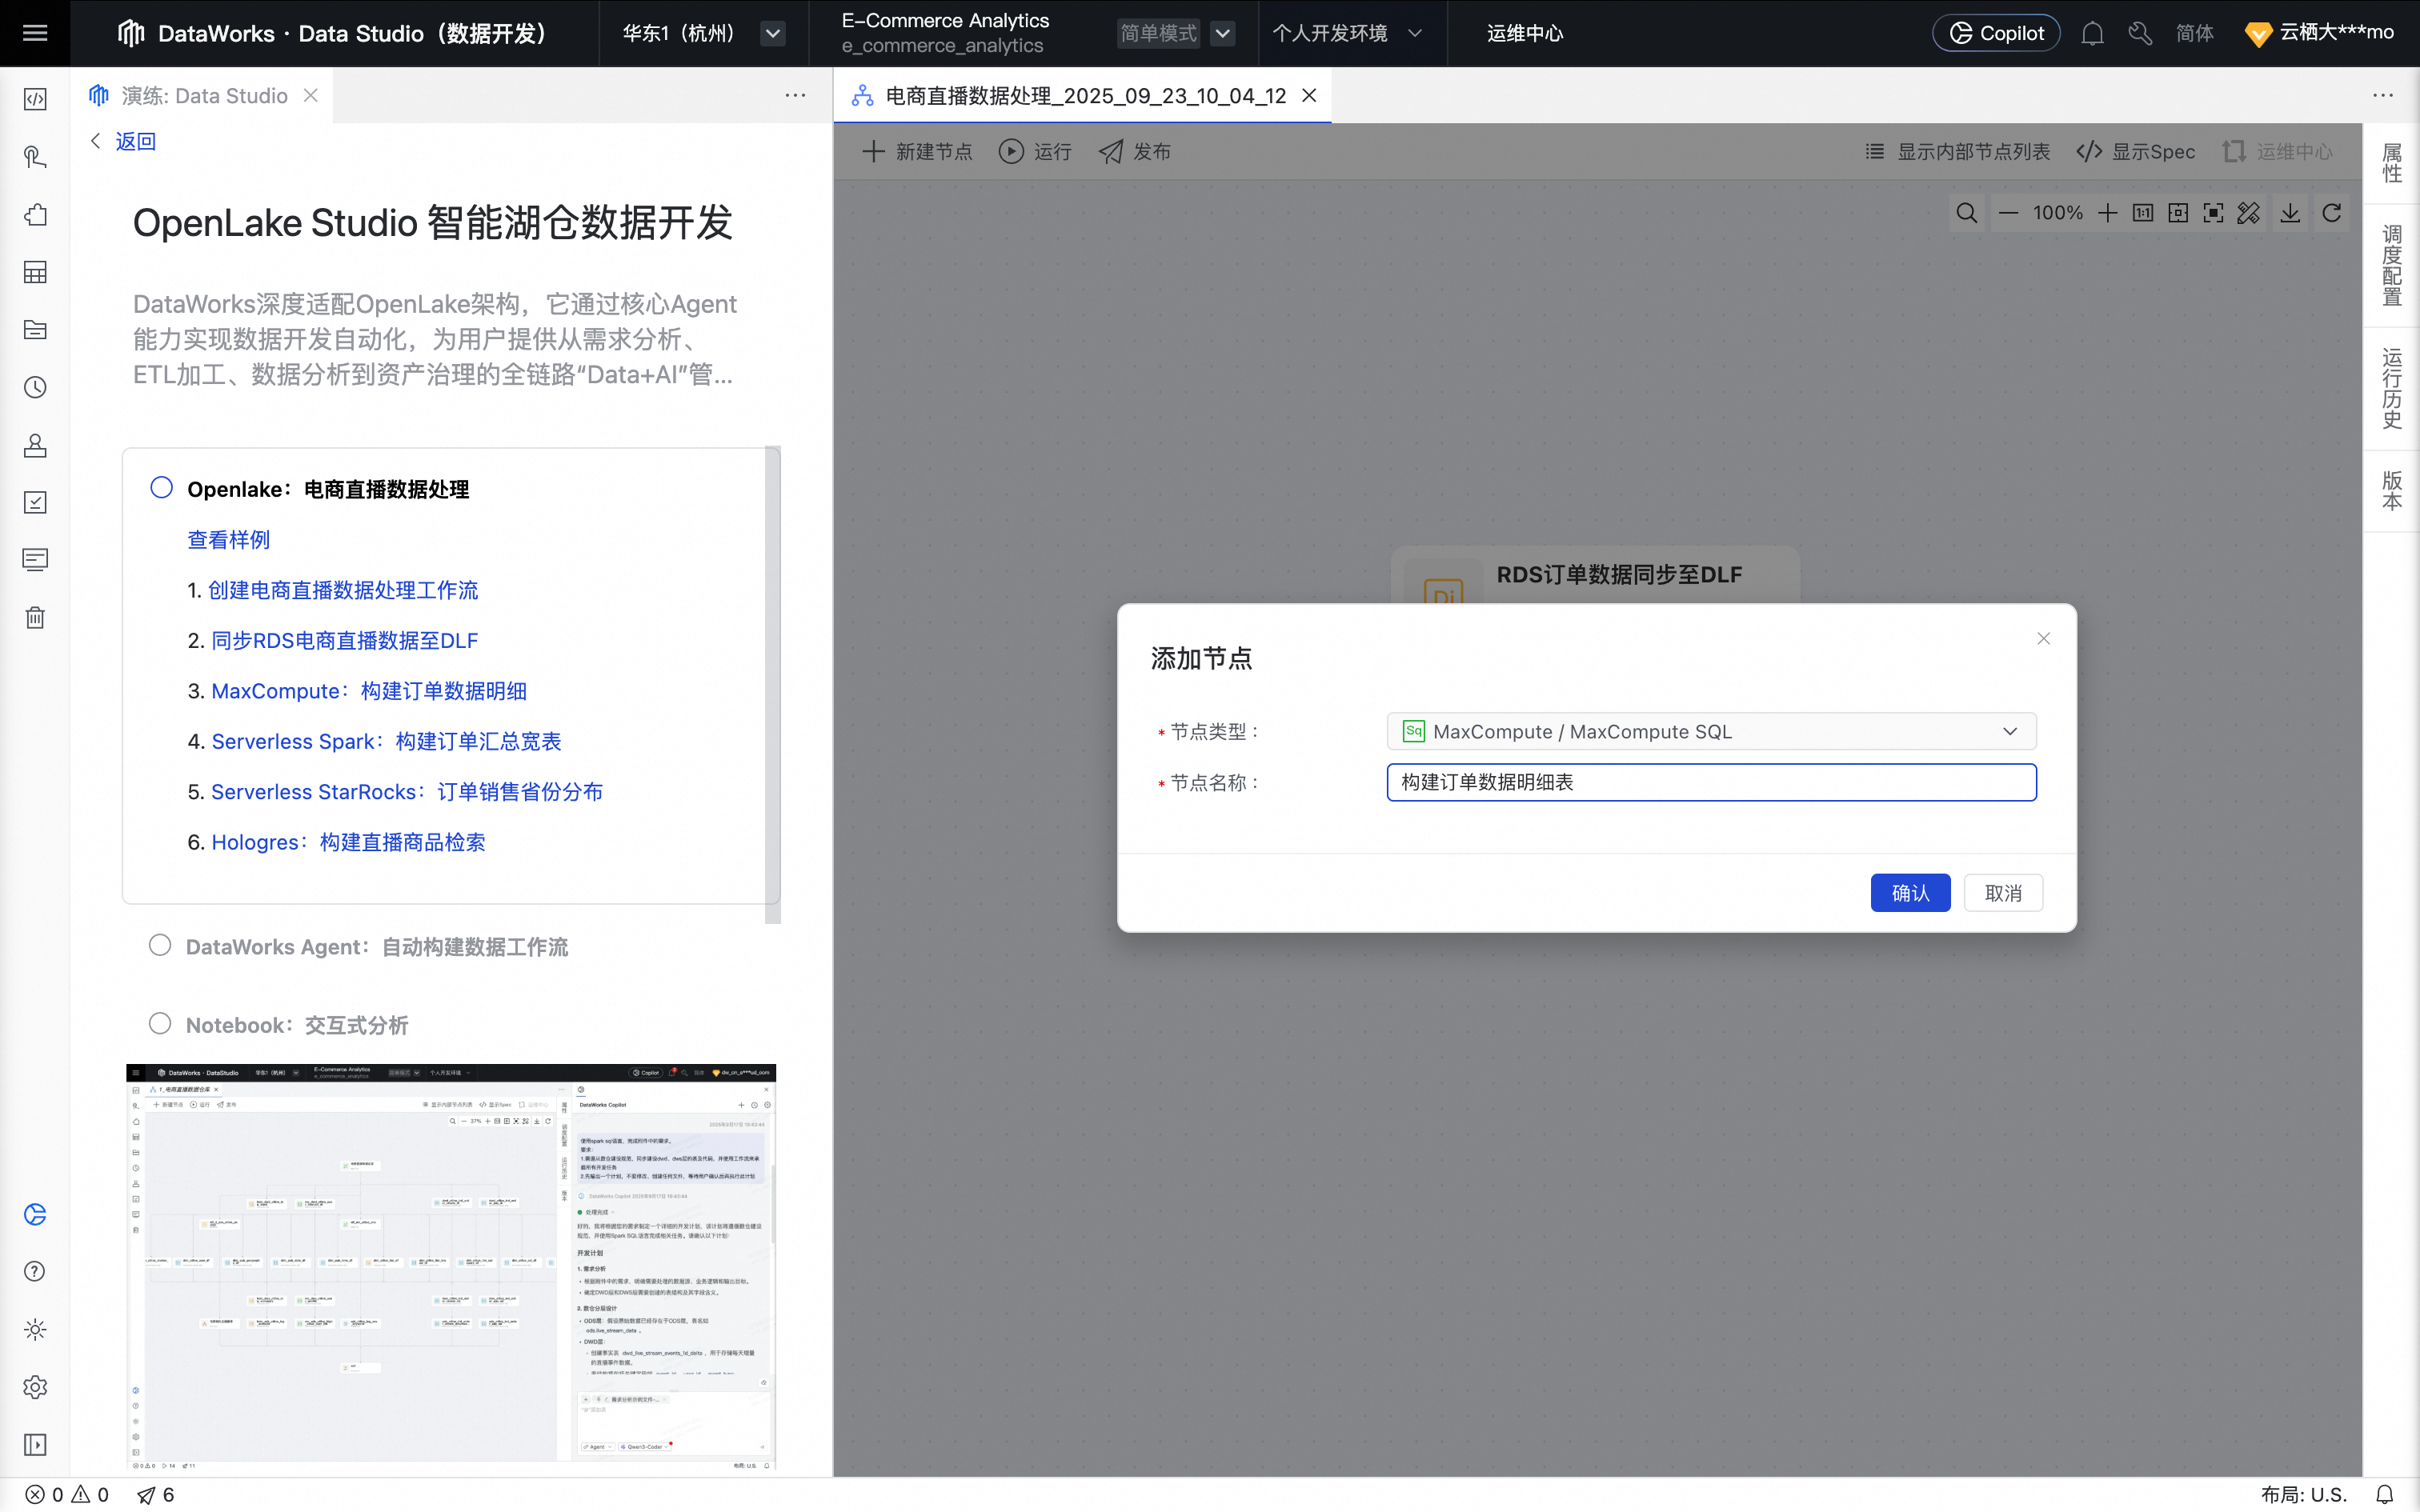
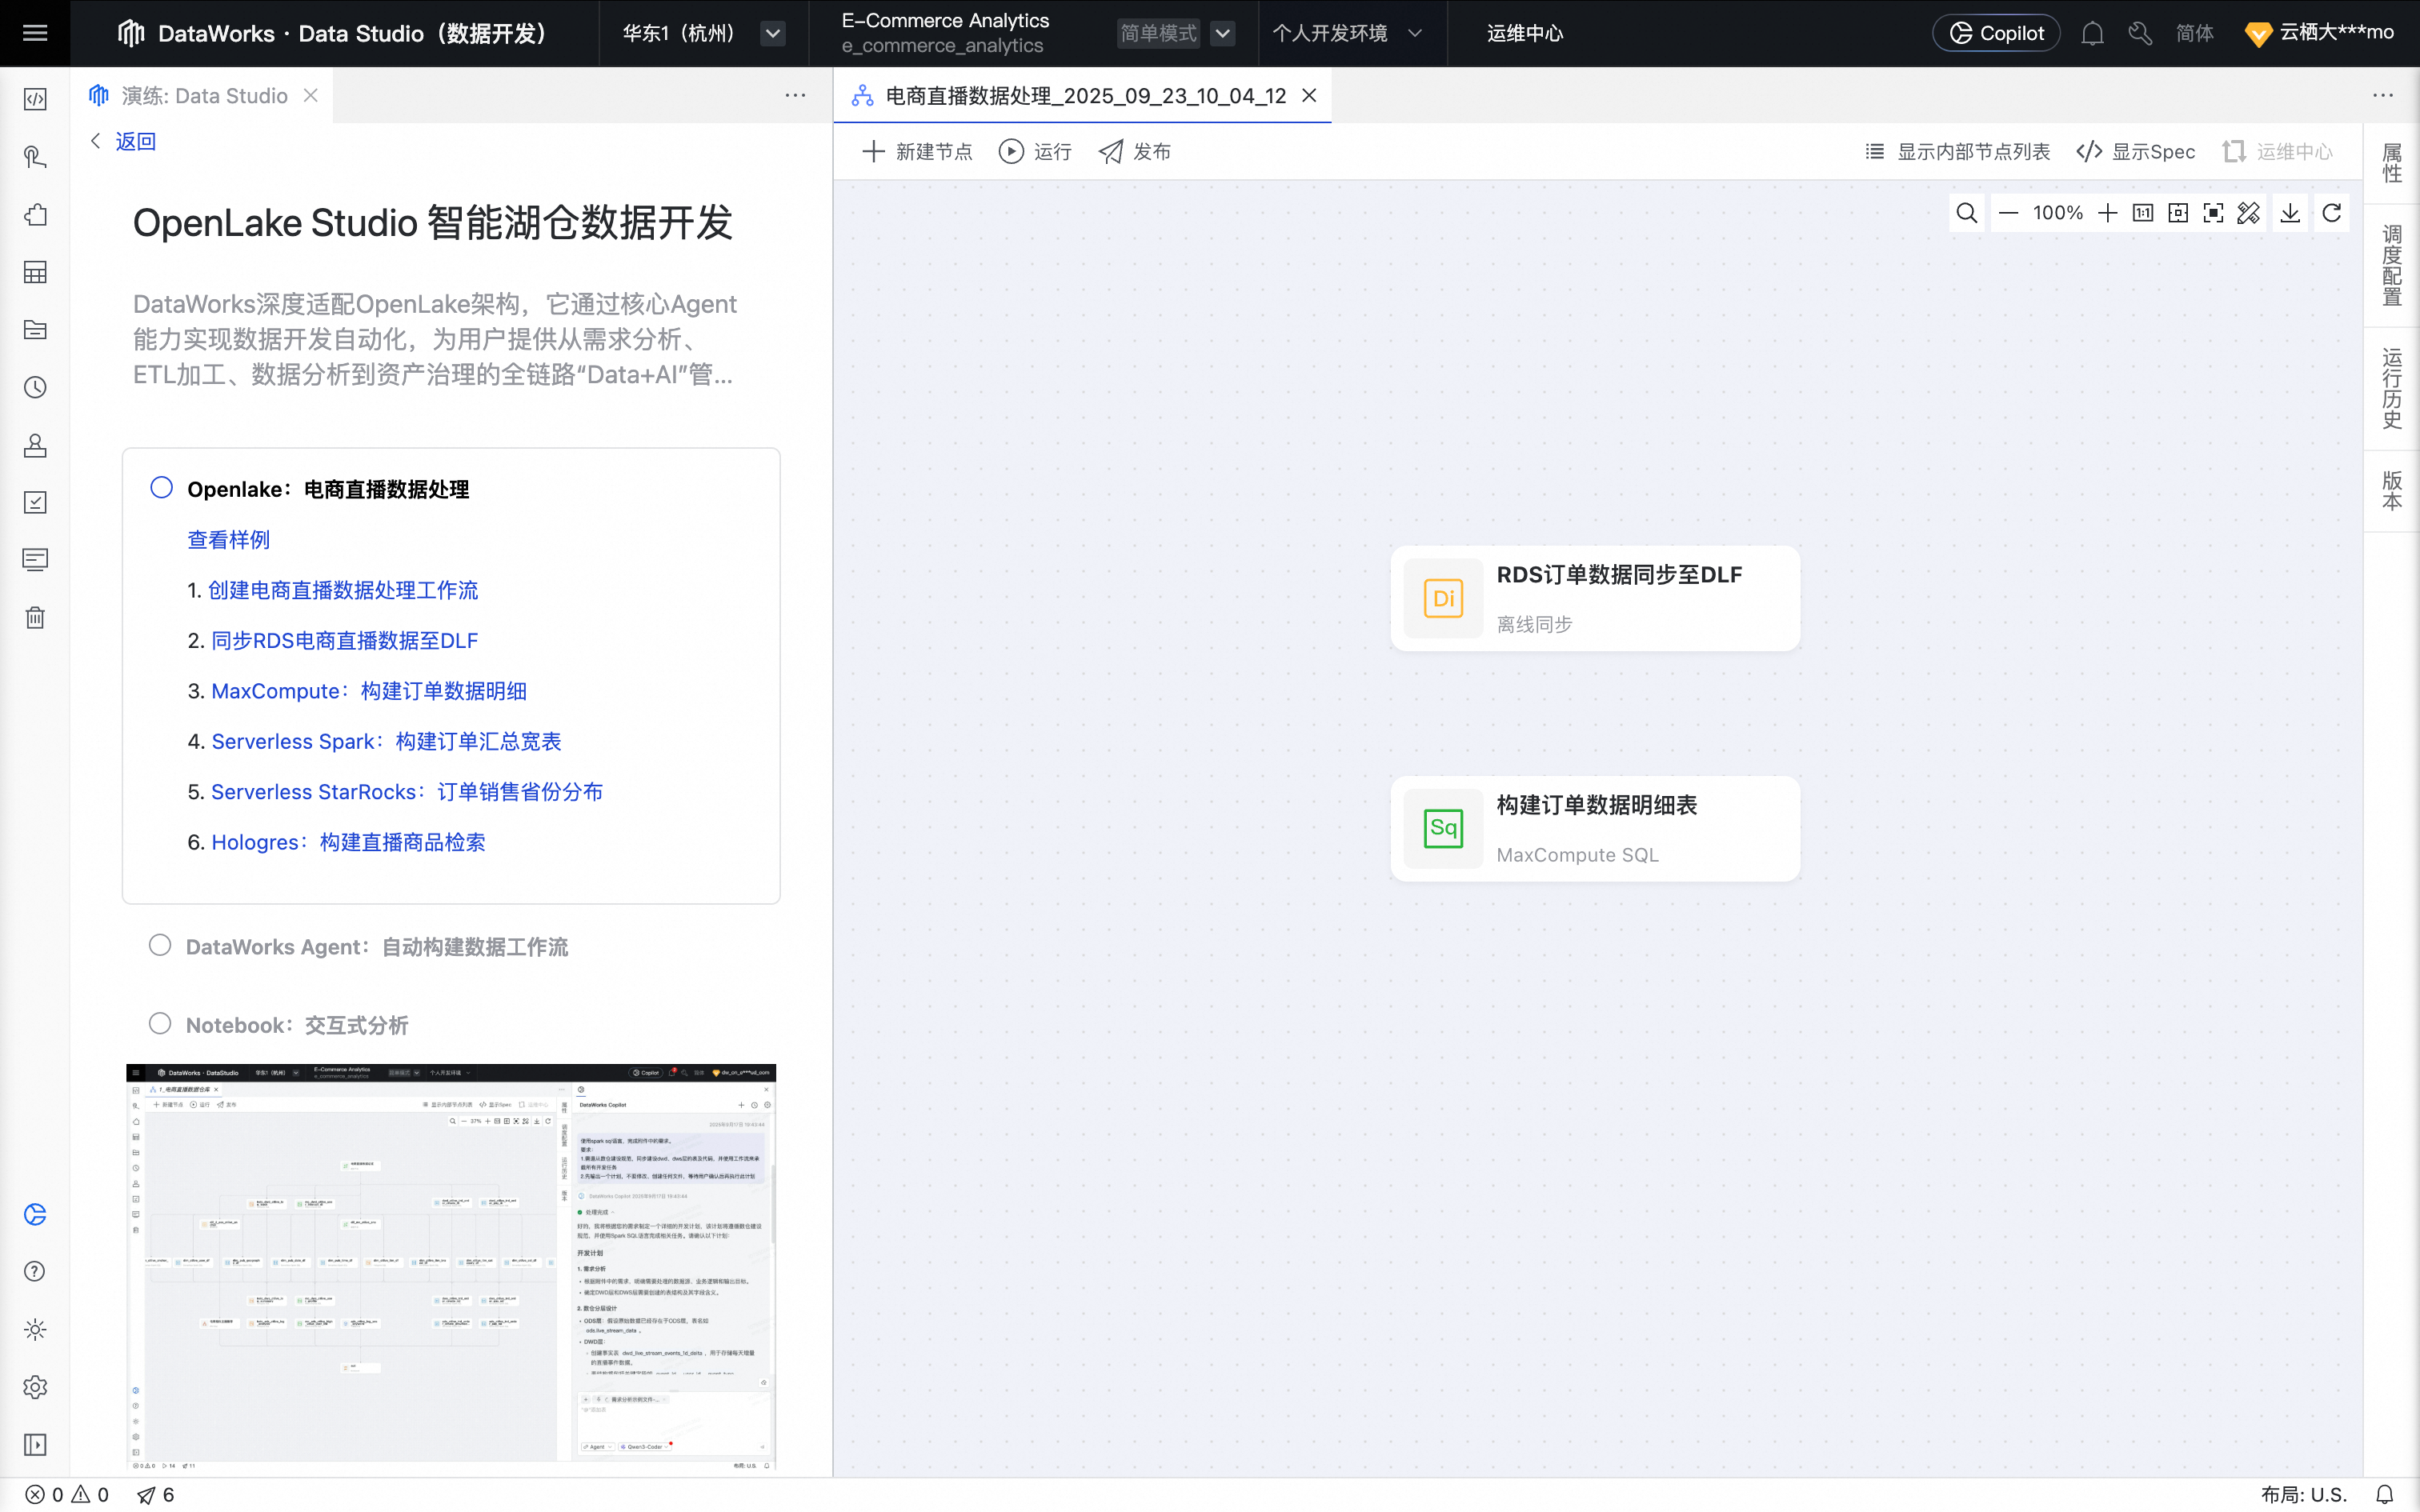
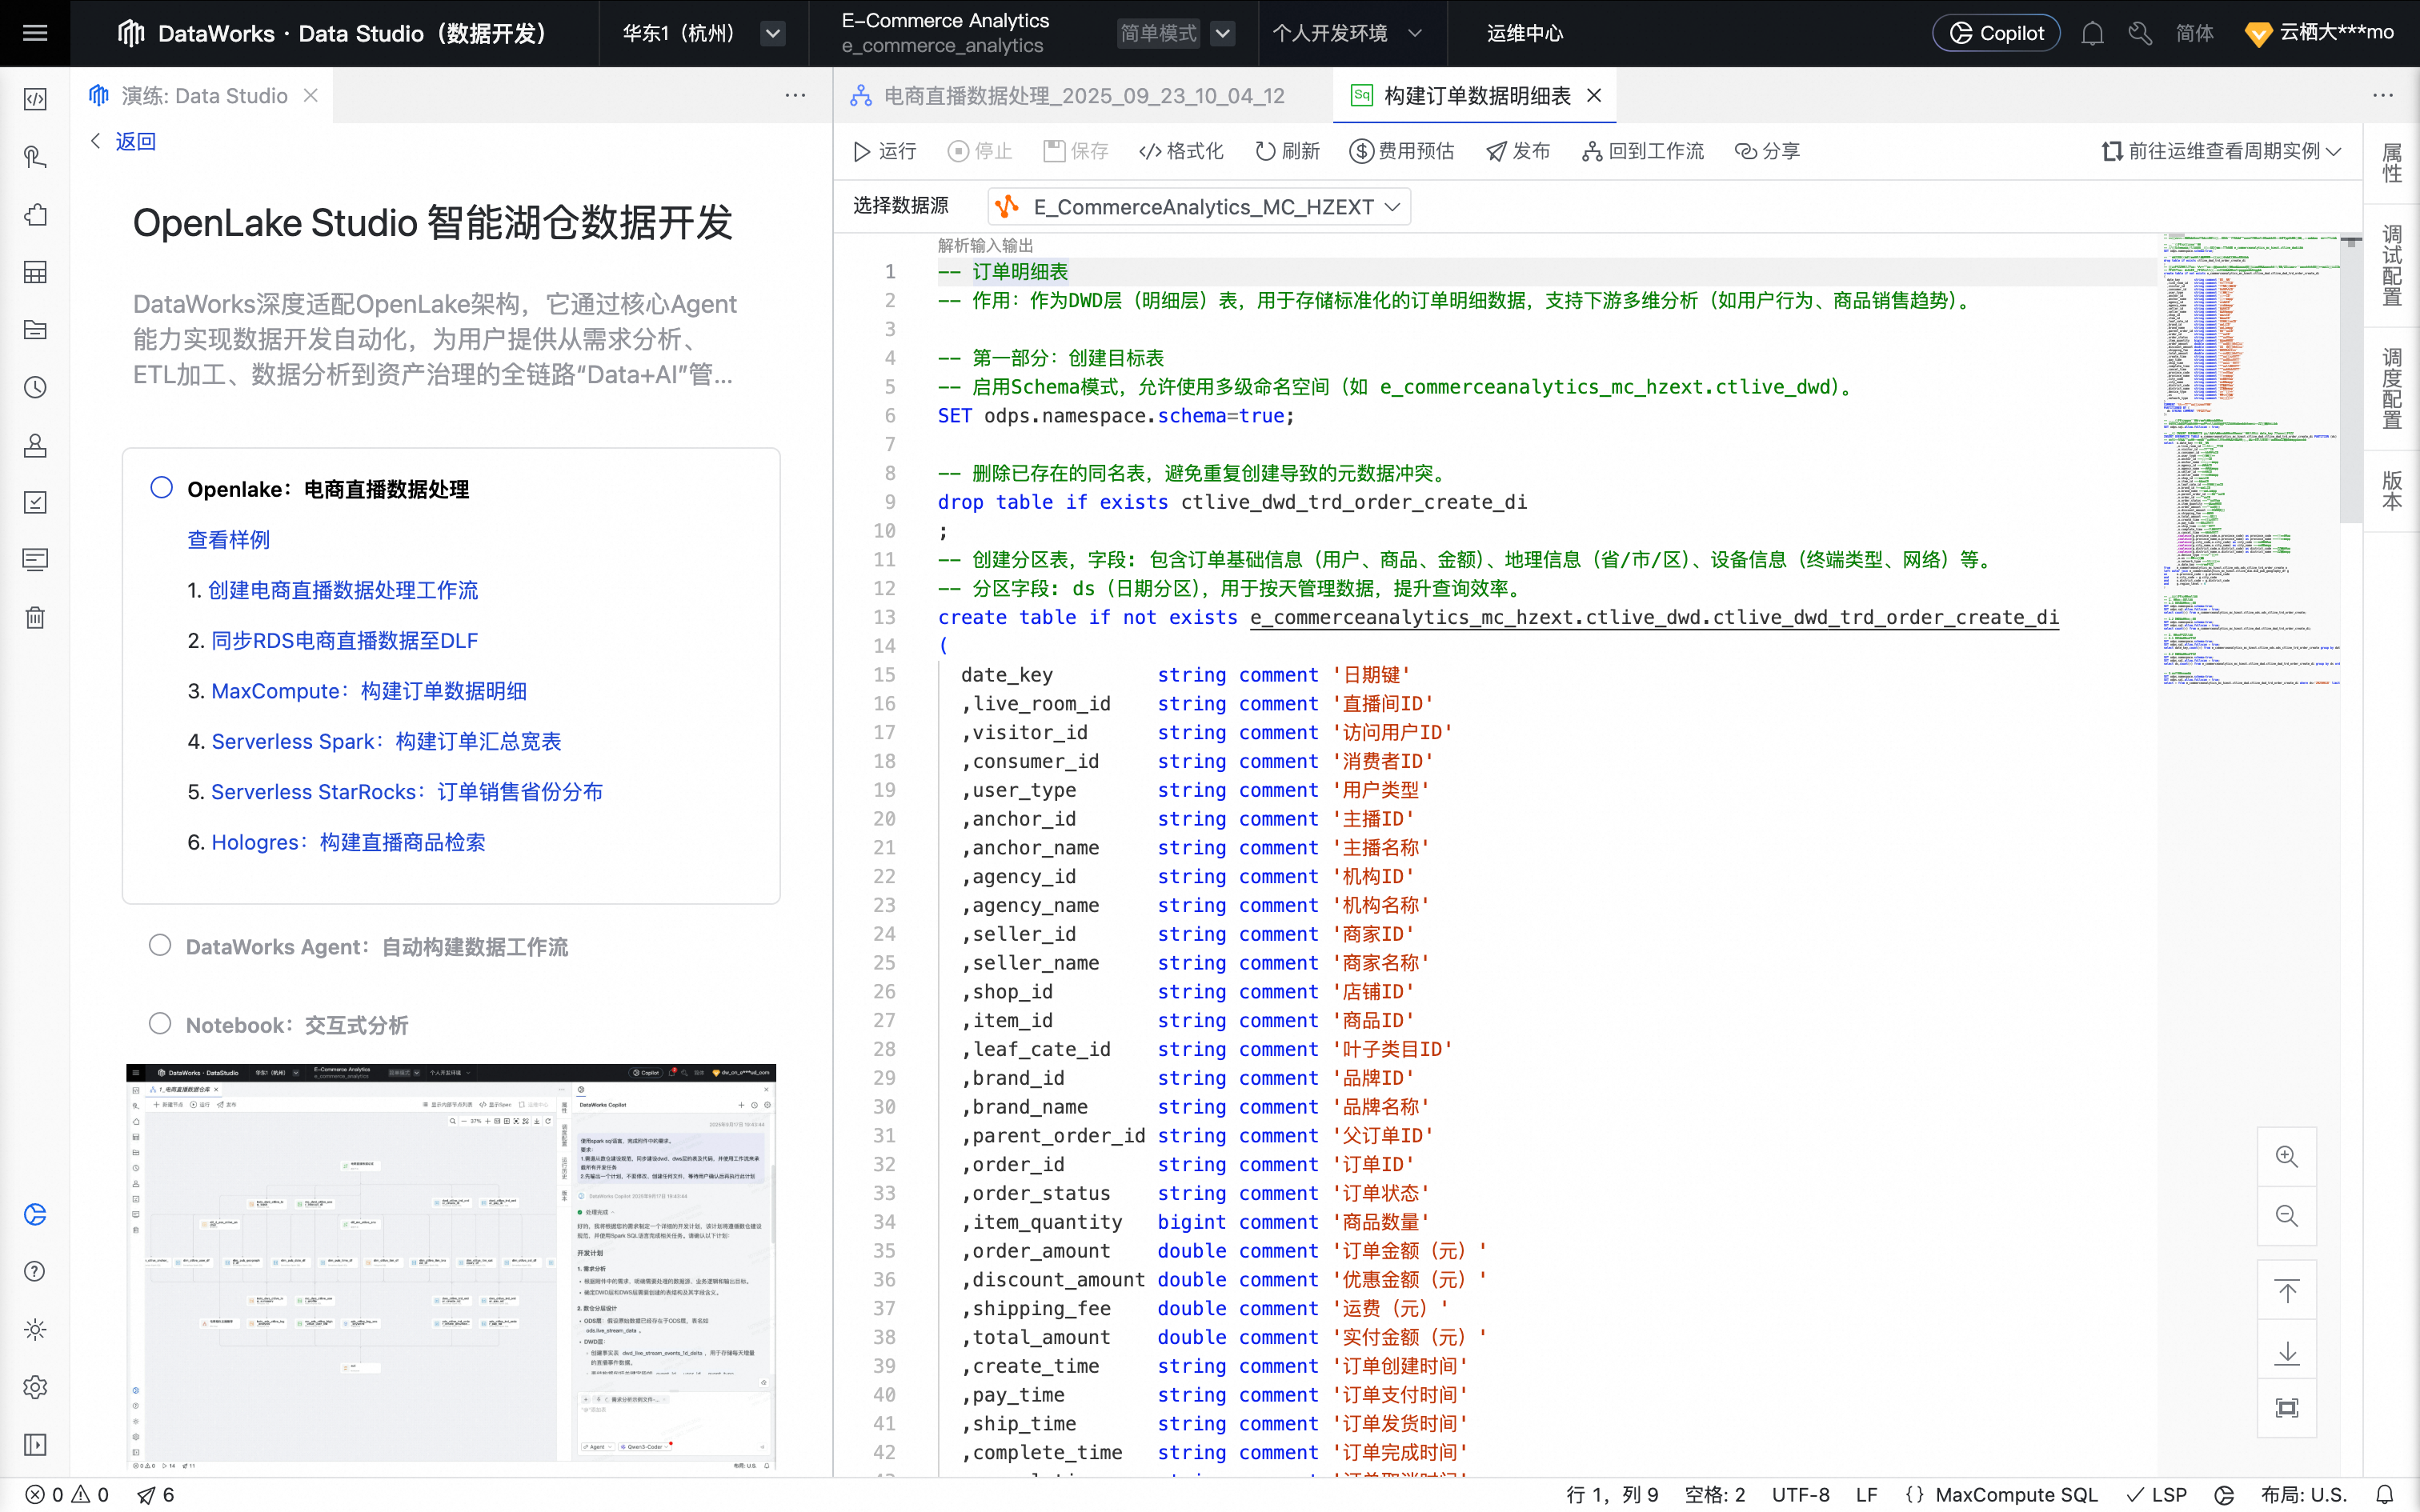
Click MaxCompute: Build Order Data Details to create a MaxCompute SQL node.
Click Confirm. The node is created successfully.
Hover over the node and click Open Node to go to the configuration page. The system automatically populates the editor with the following code.
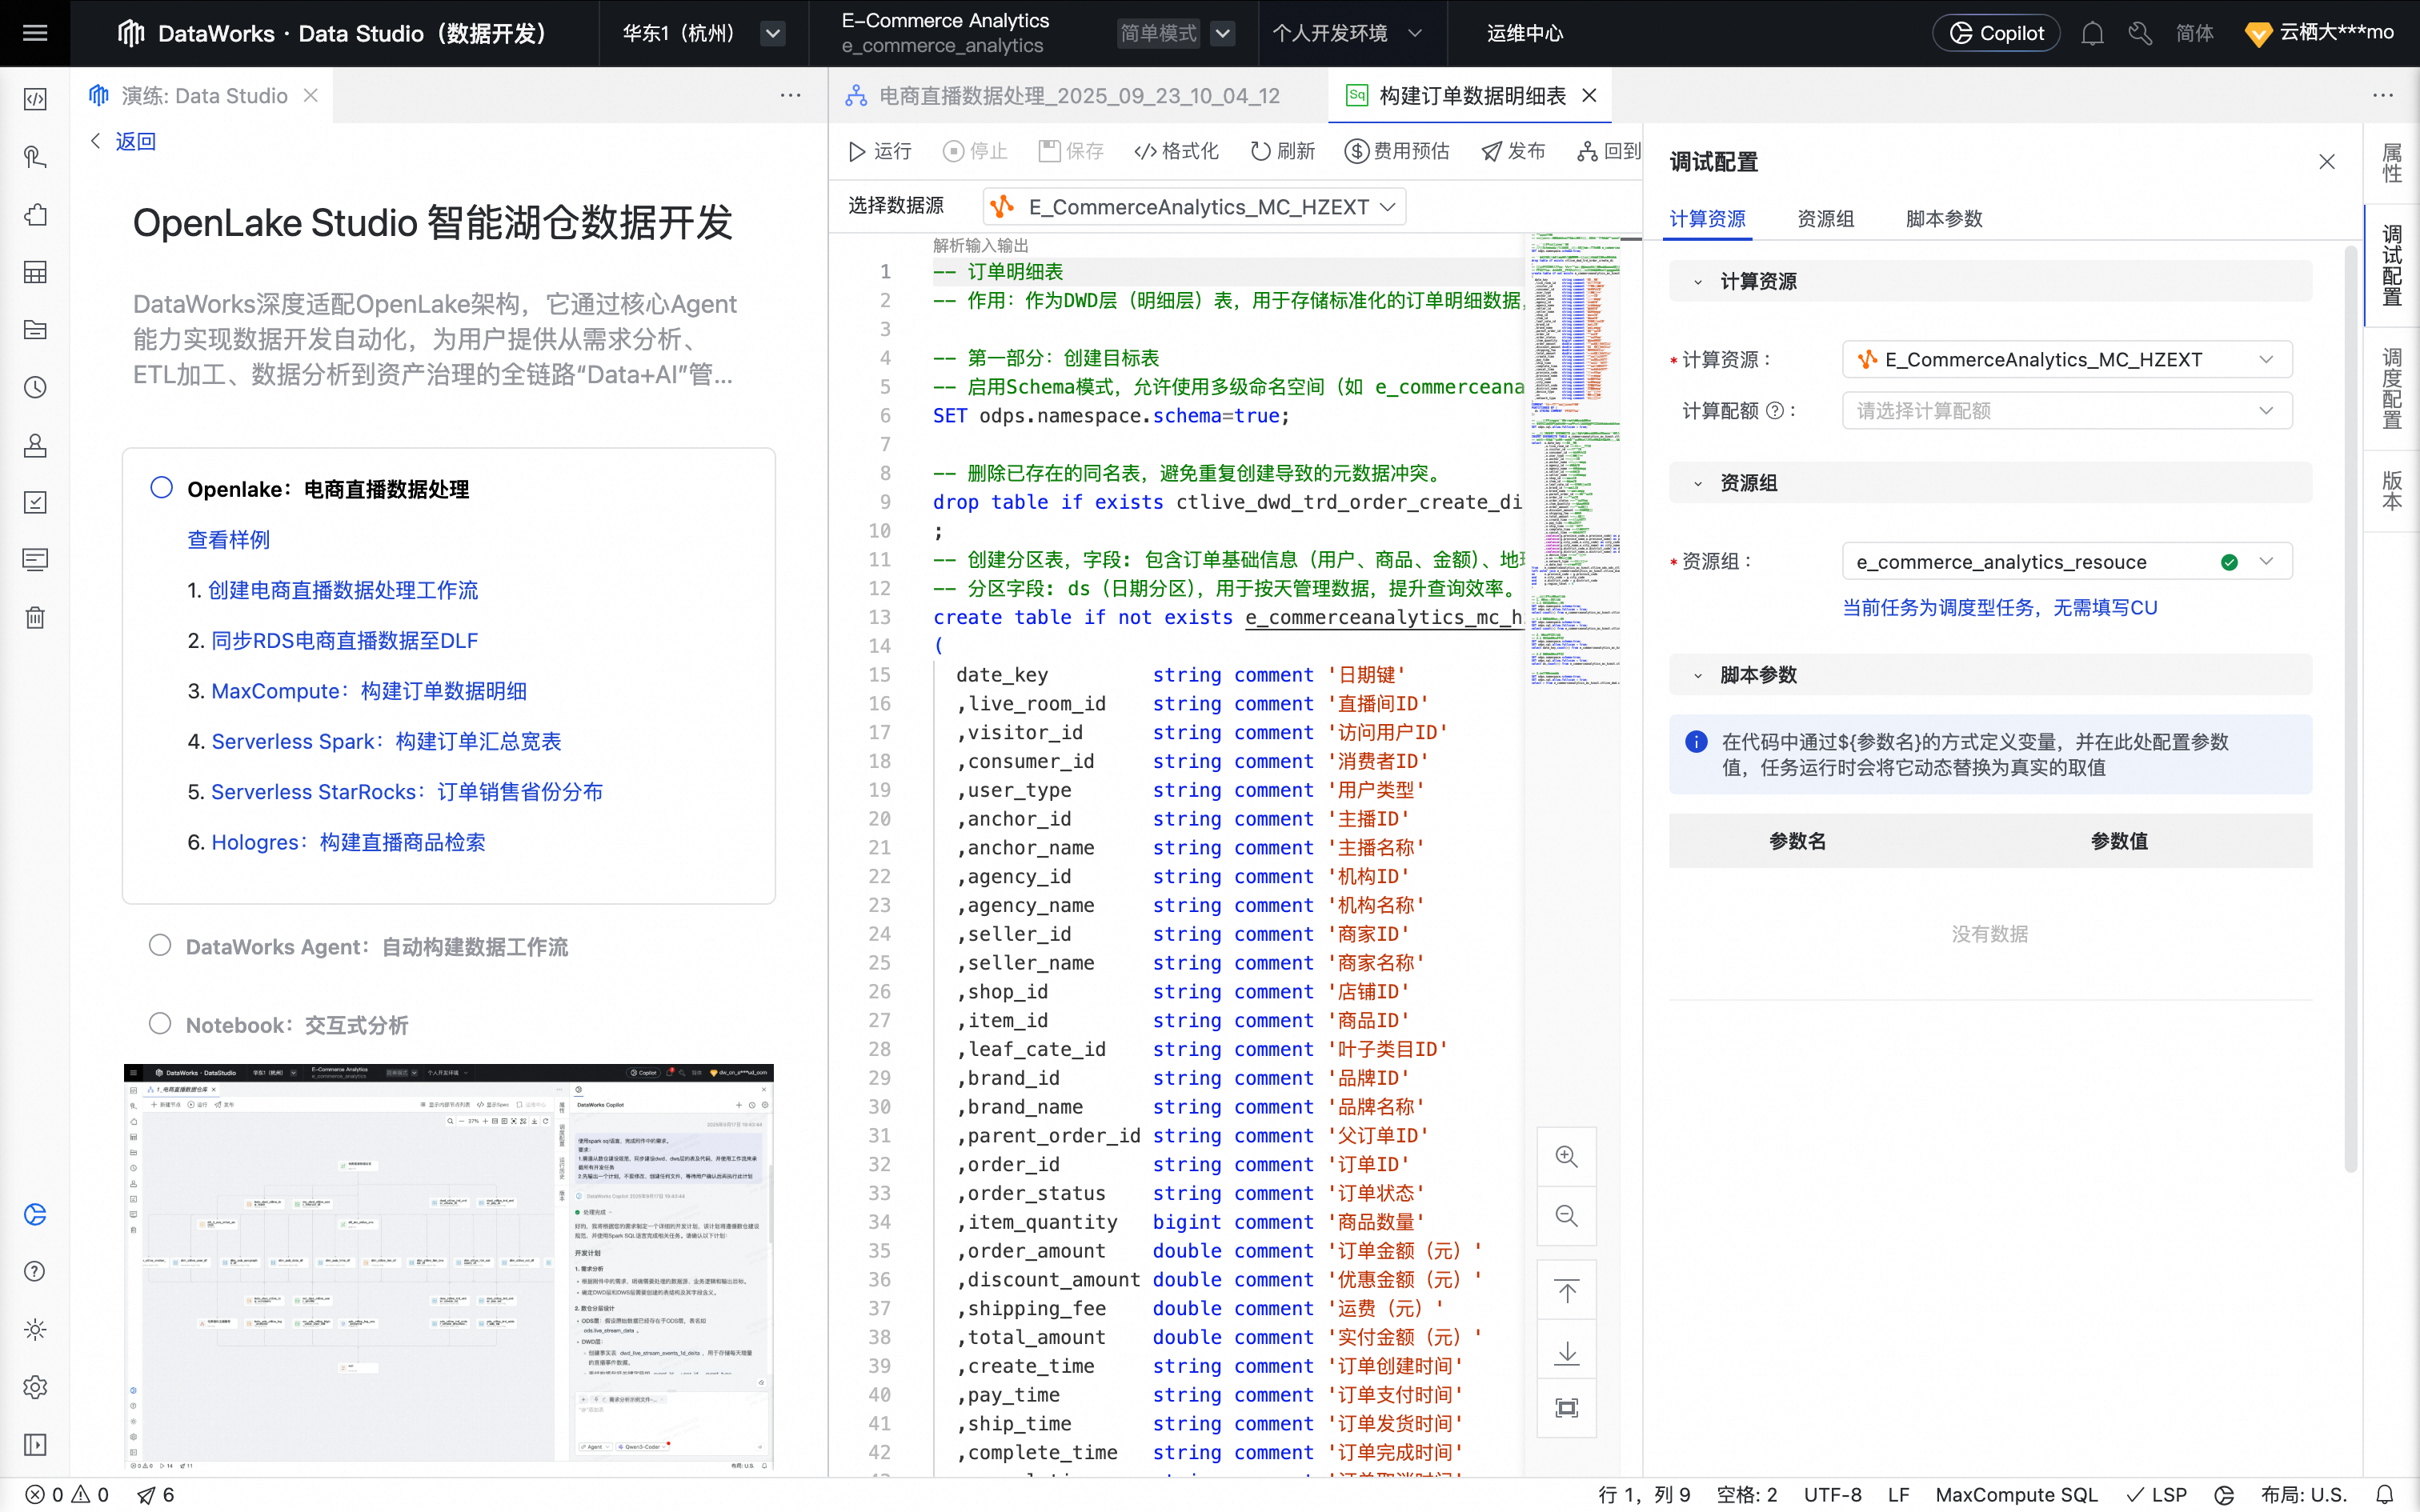
In the right-side toolbar, click Run Configuration and configure the compute resources and resource group you prepared earlier.
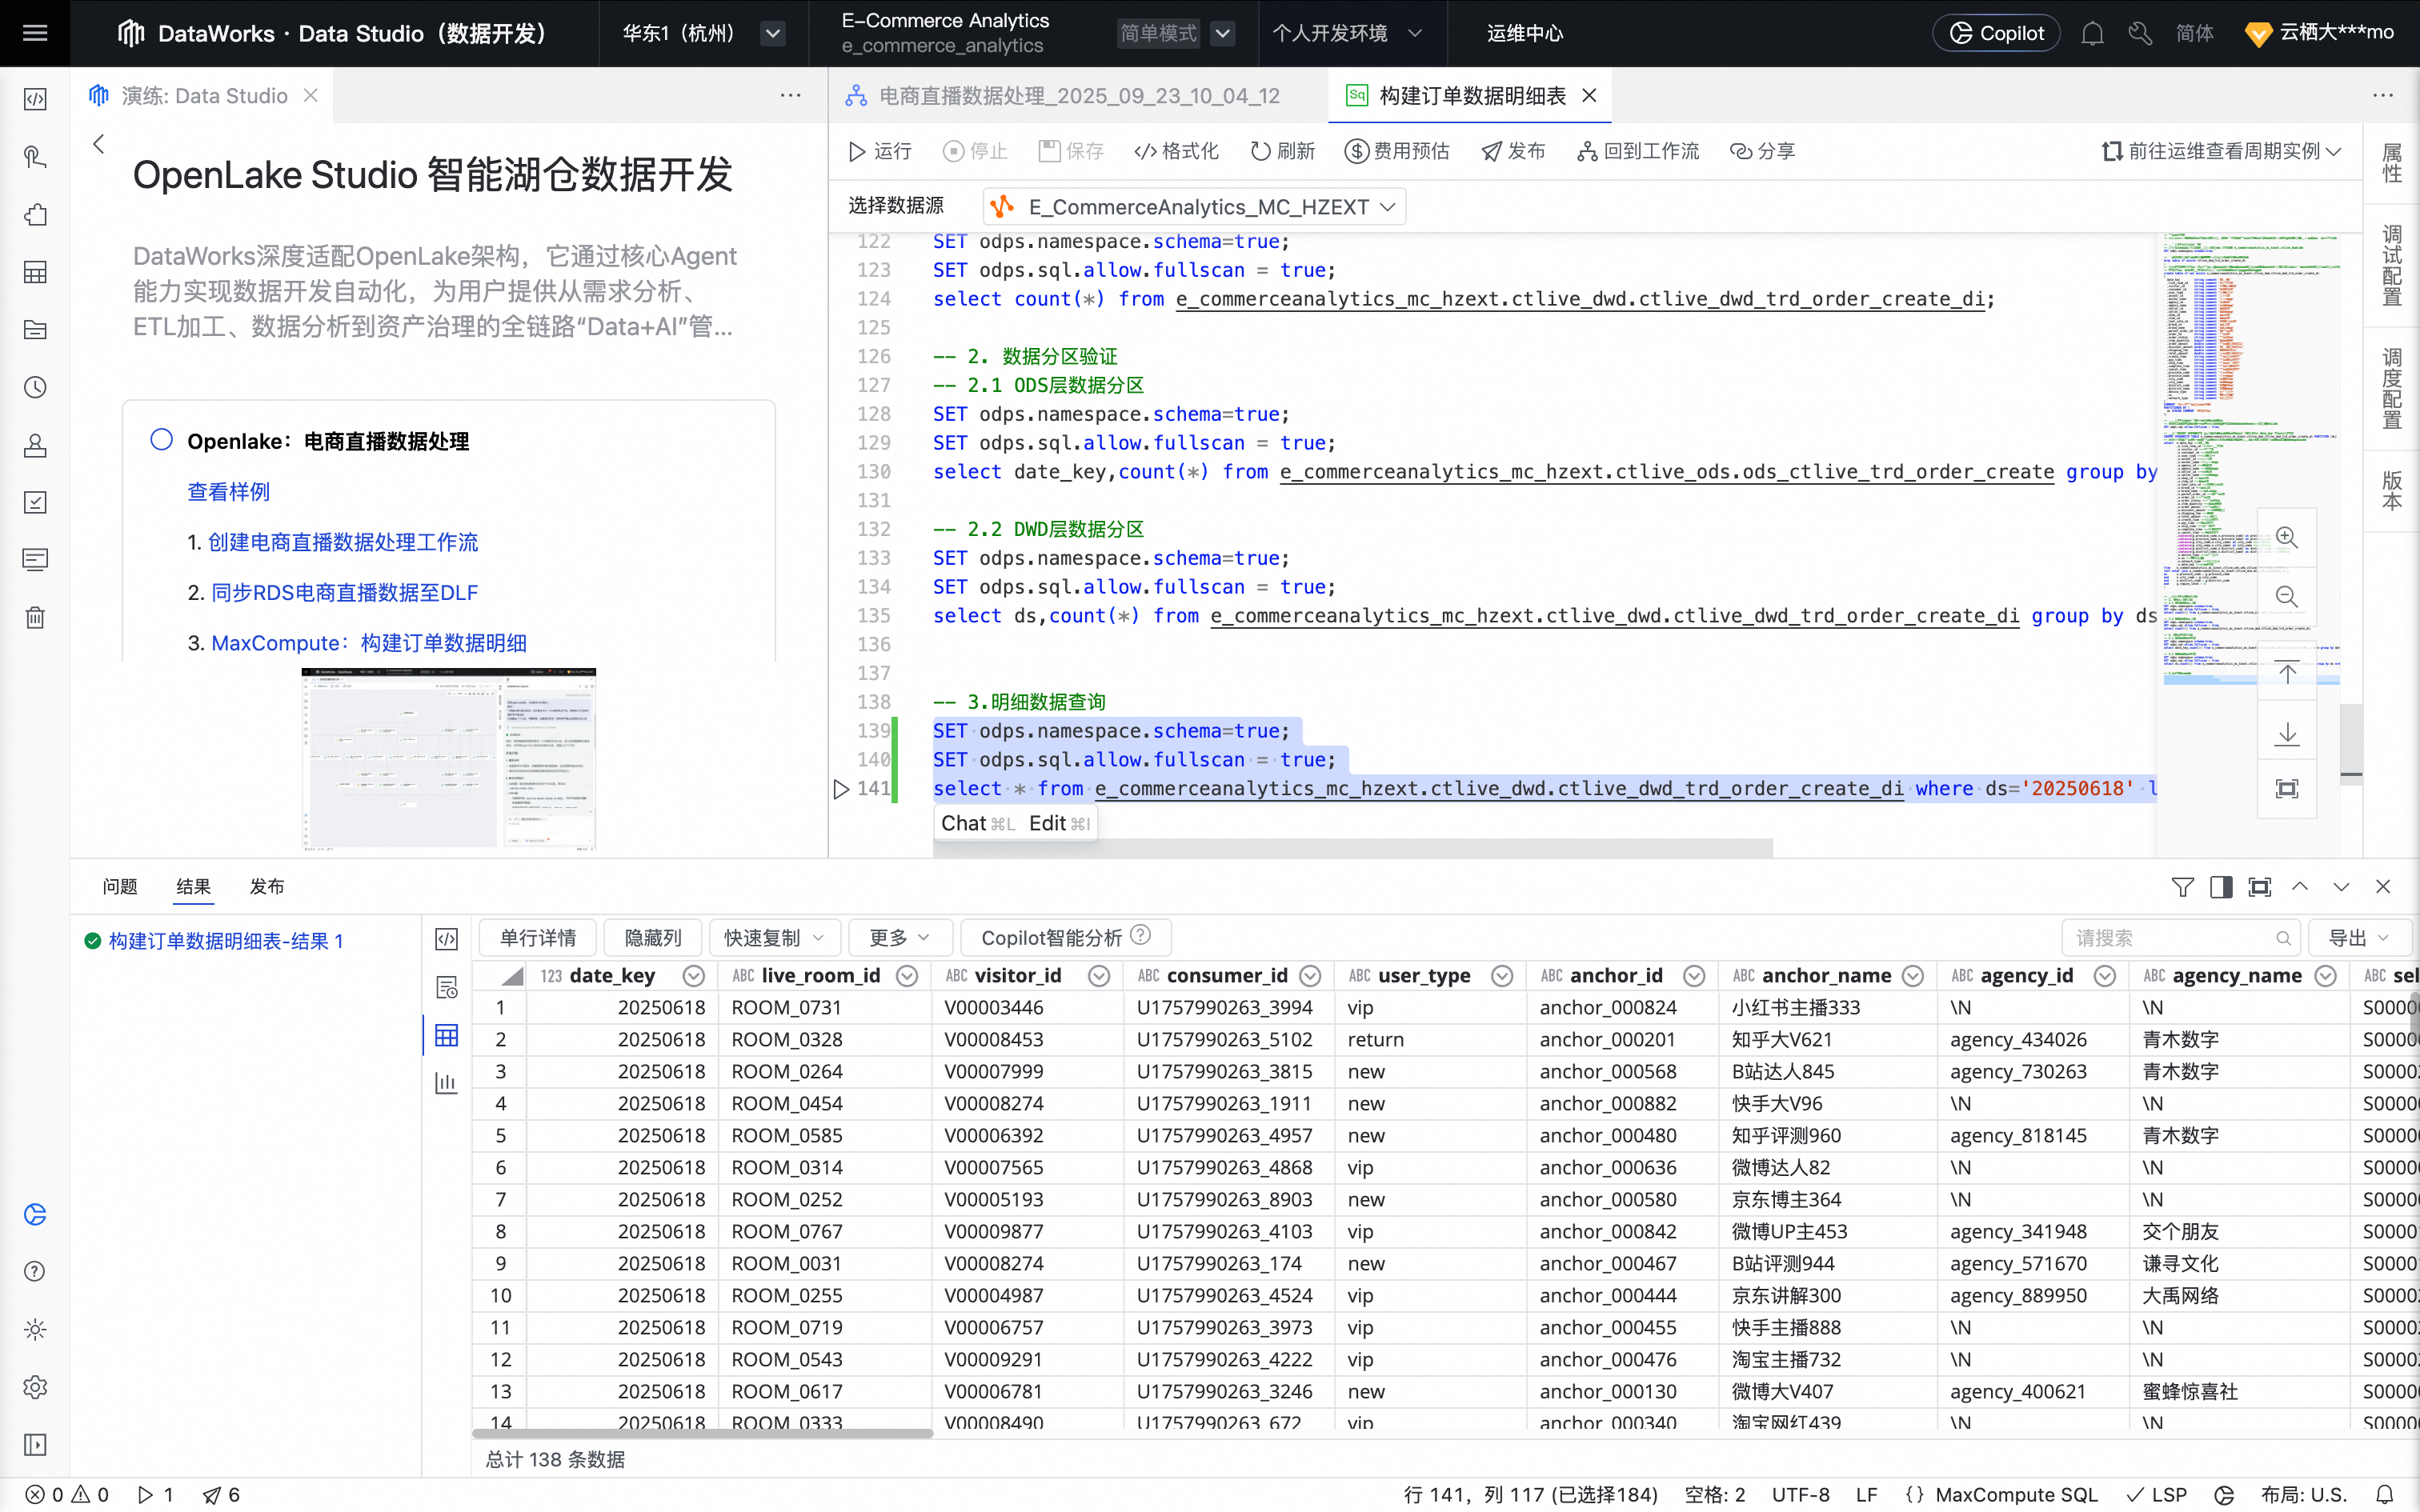
At the top of the node editor, click Run to run the task.
After the task is complete, you can view the execution results and order detail data in the query results area.
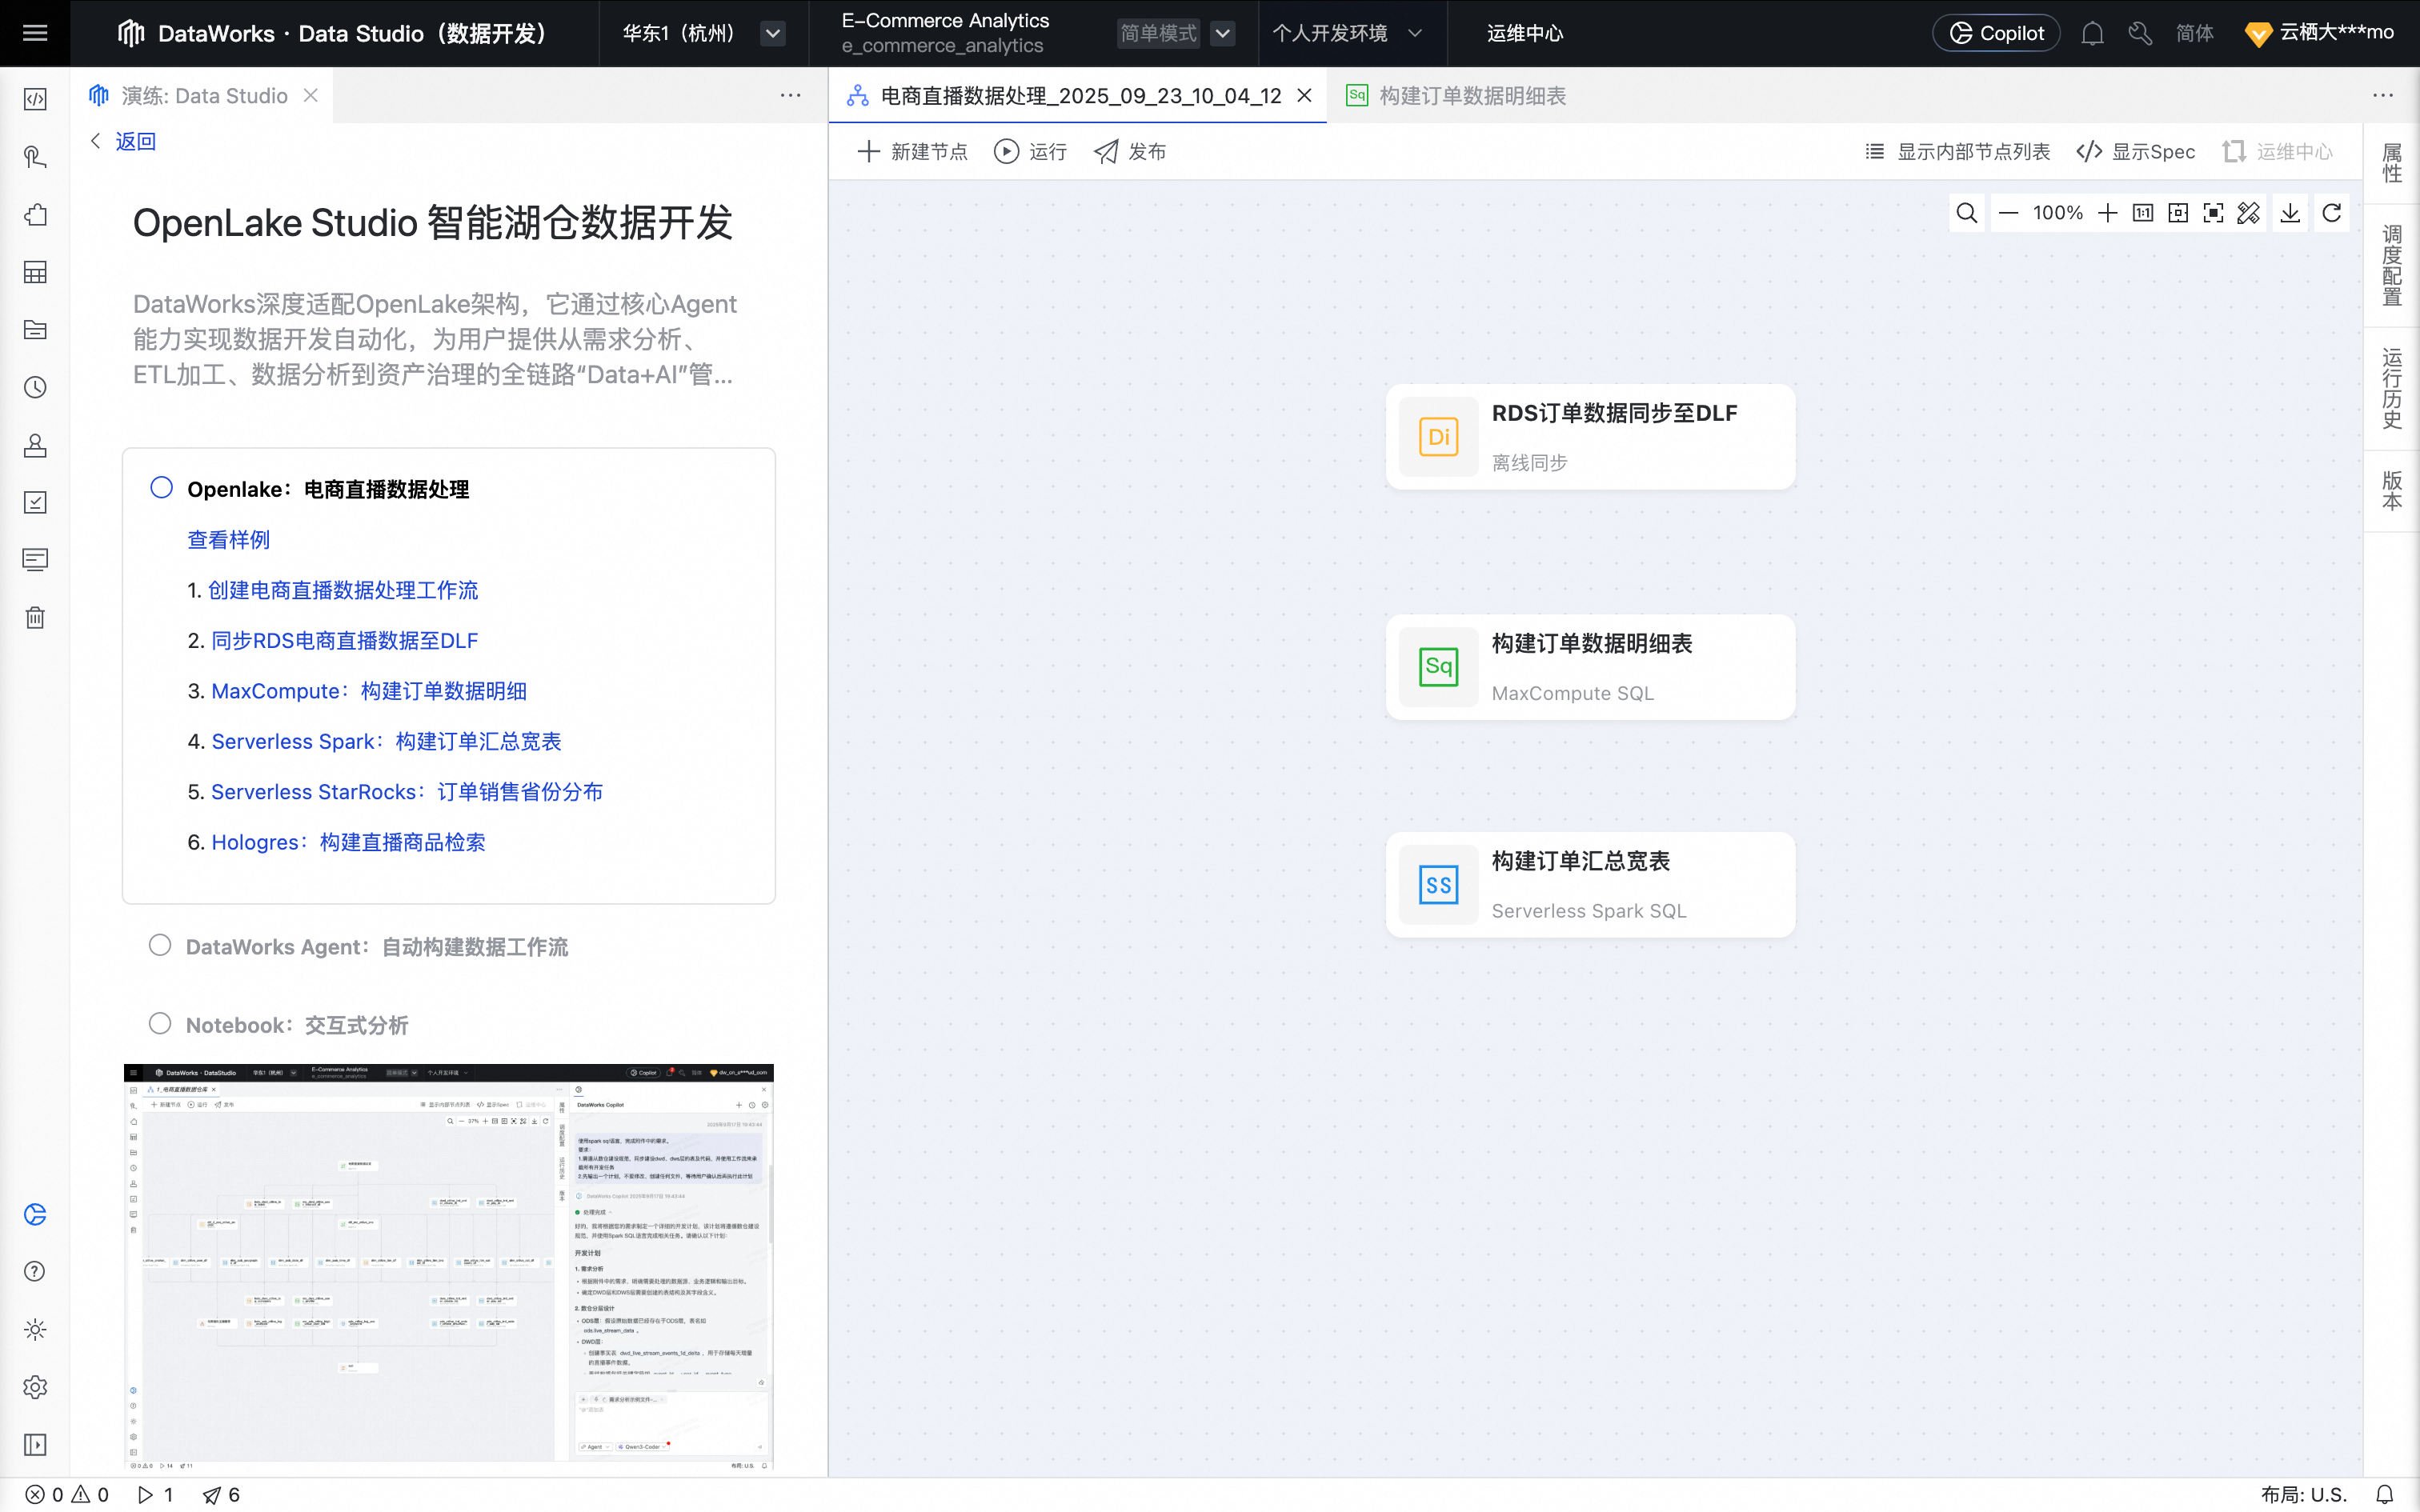
4. Build an order summary wide table
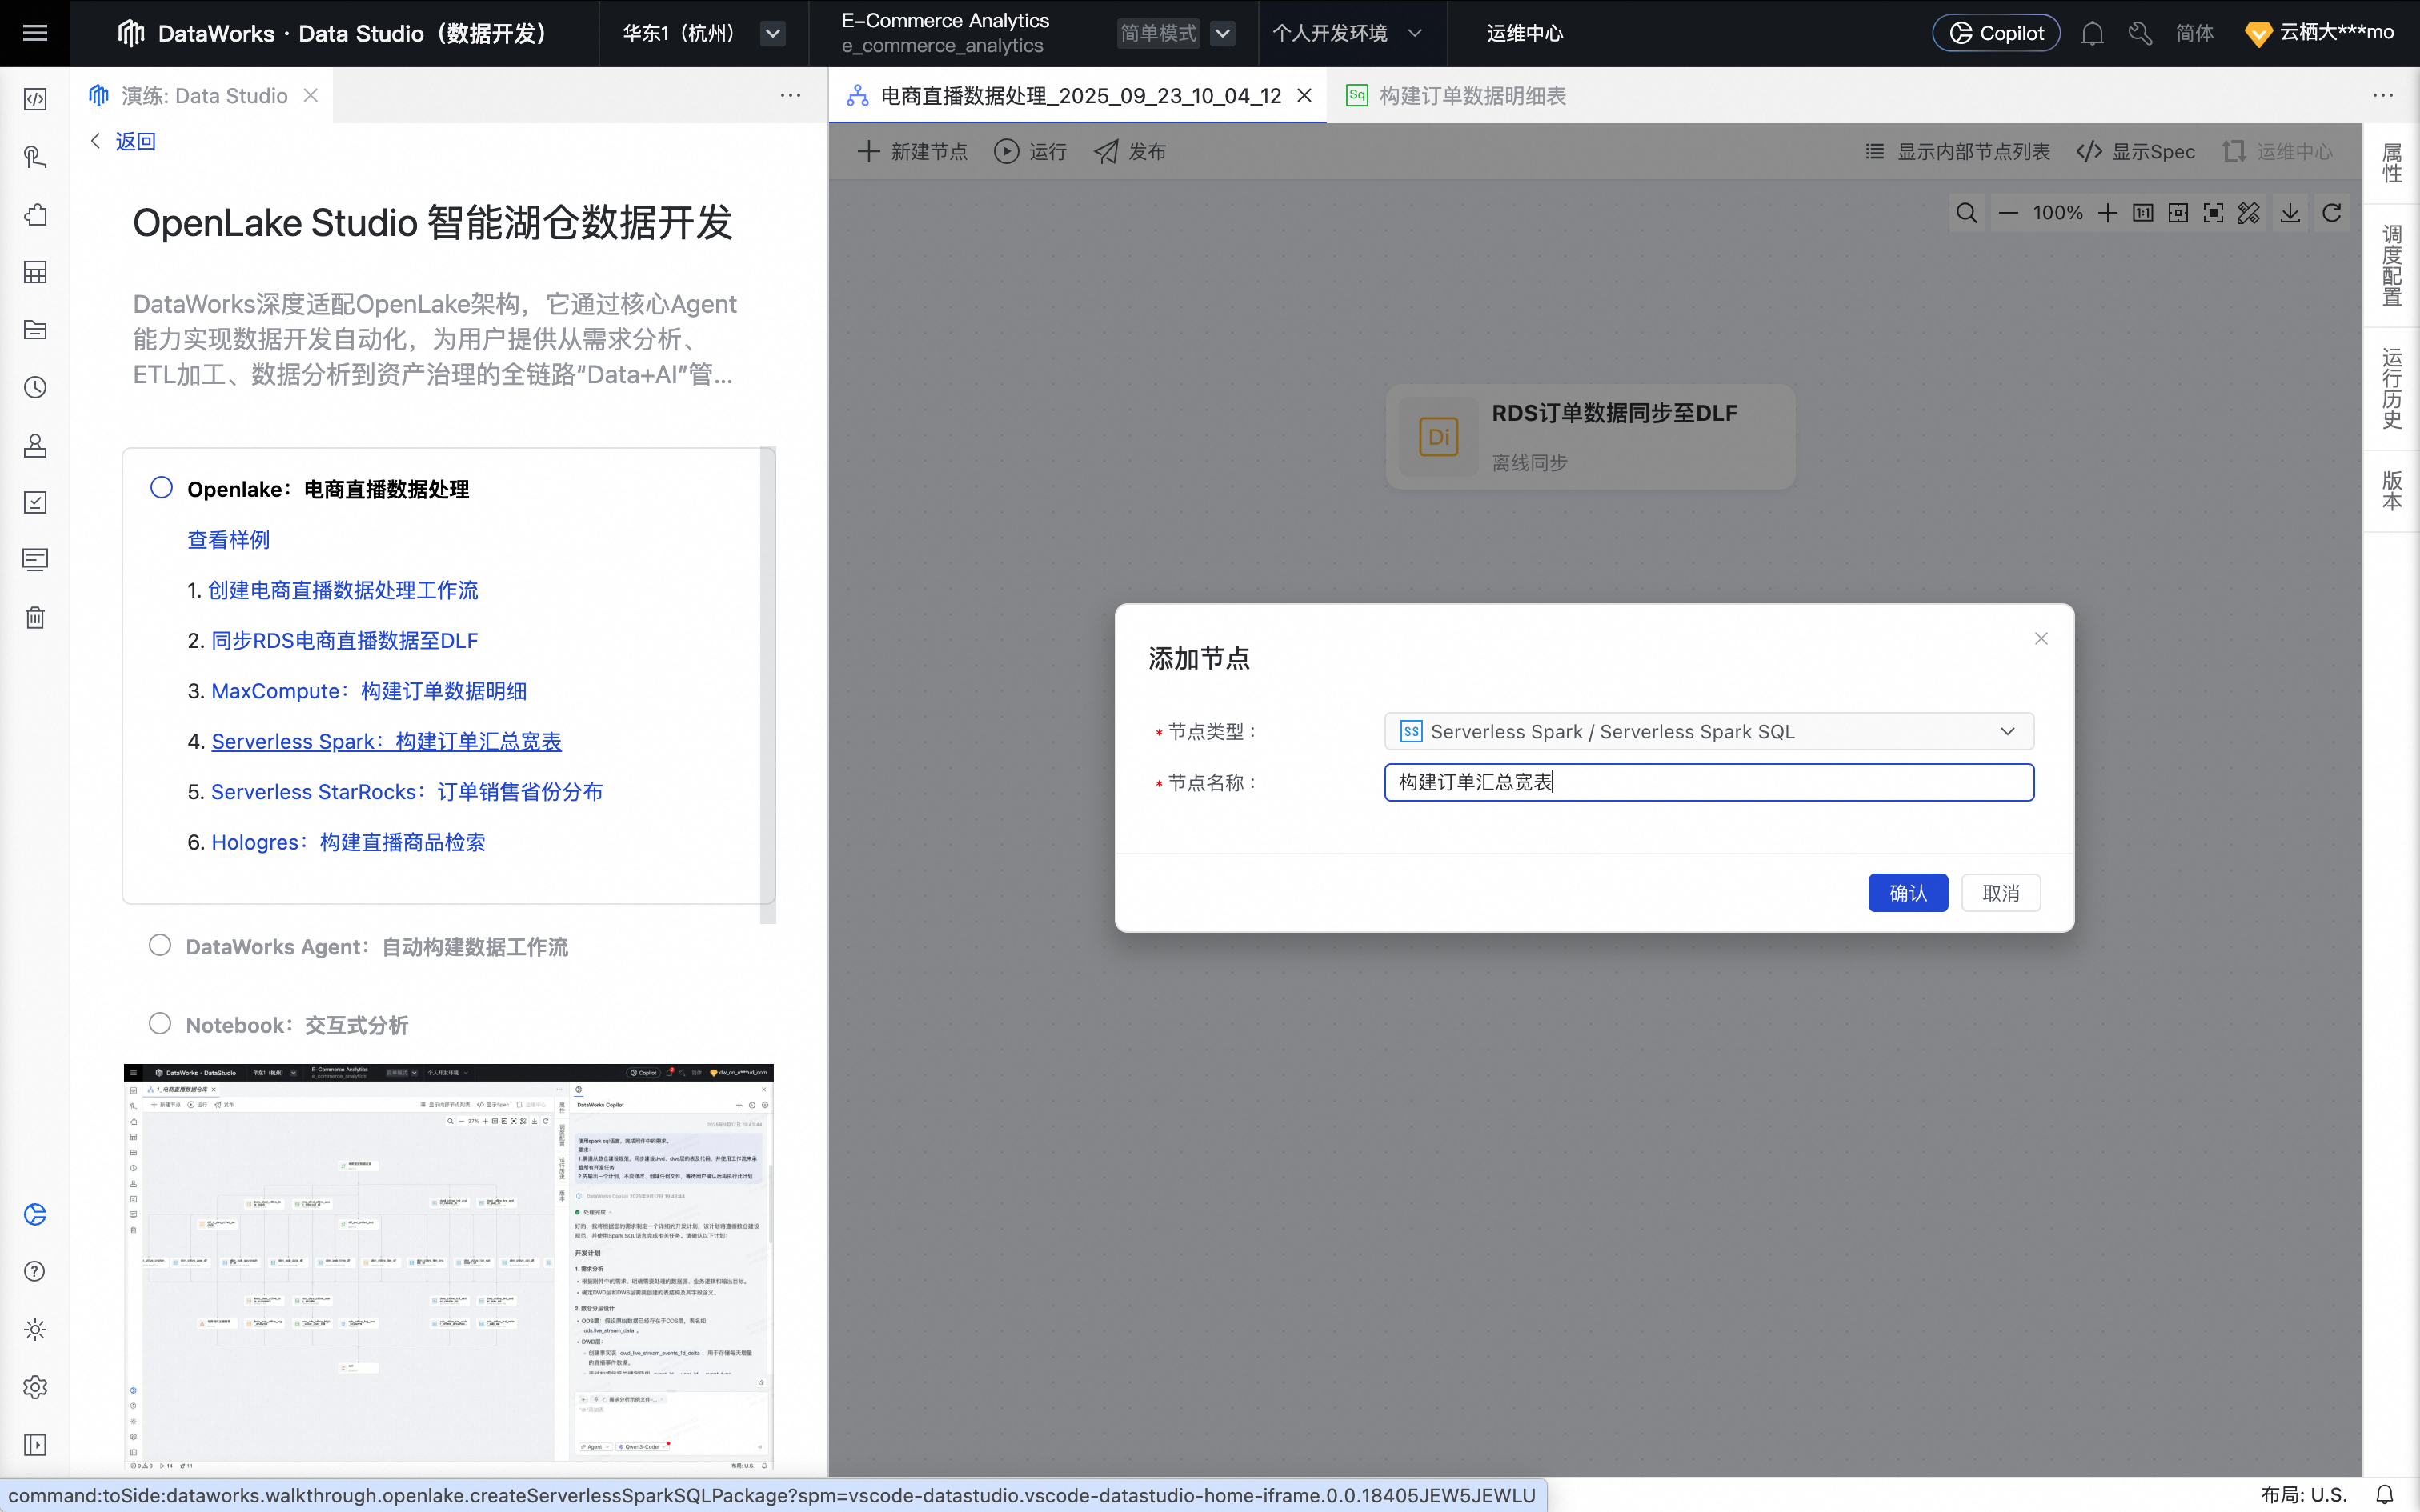
Return to the workflow page for this tutorial and click Serverless Spark: Build Order Summary Wide Table to create an EMR Serverless Spark SQL node.
Click Confirm. The node is created successfully.
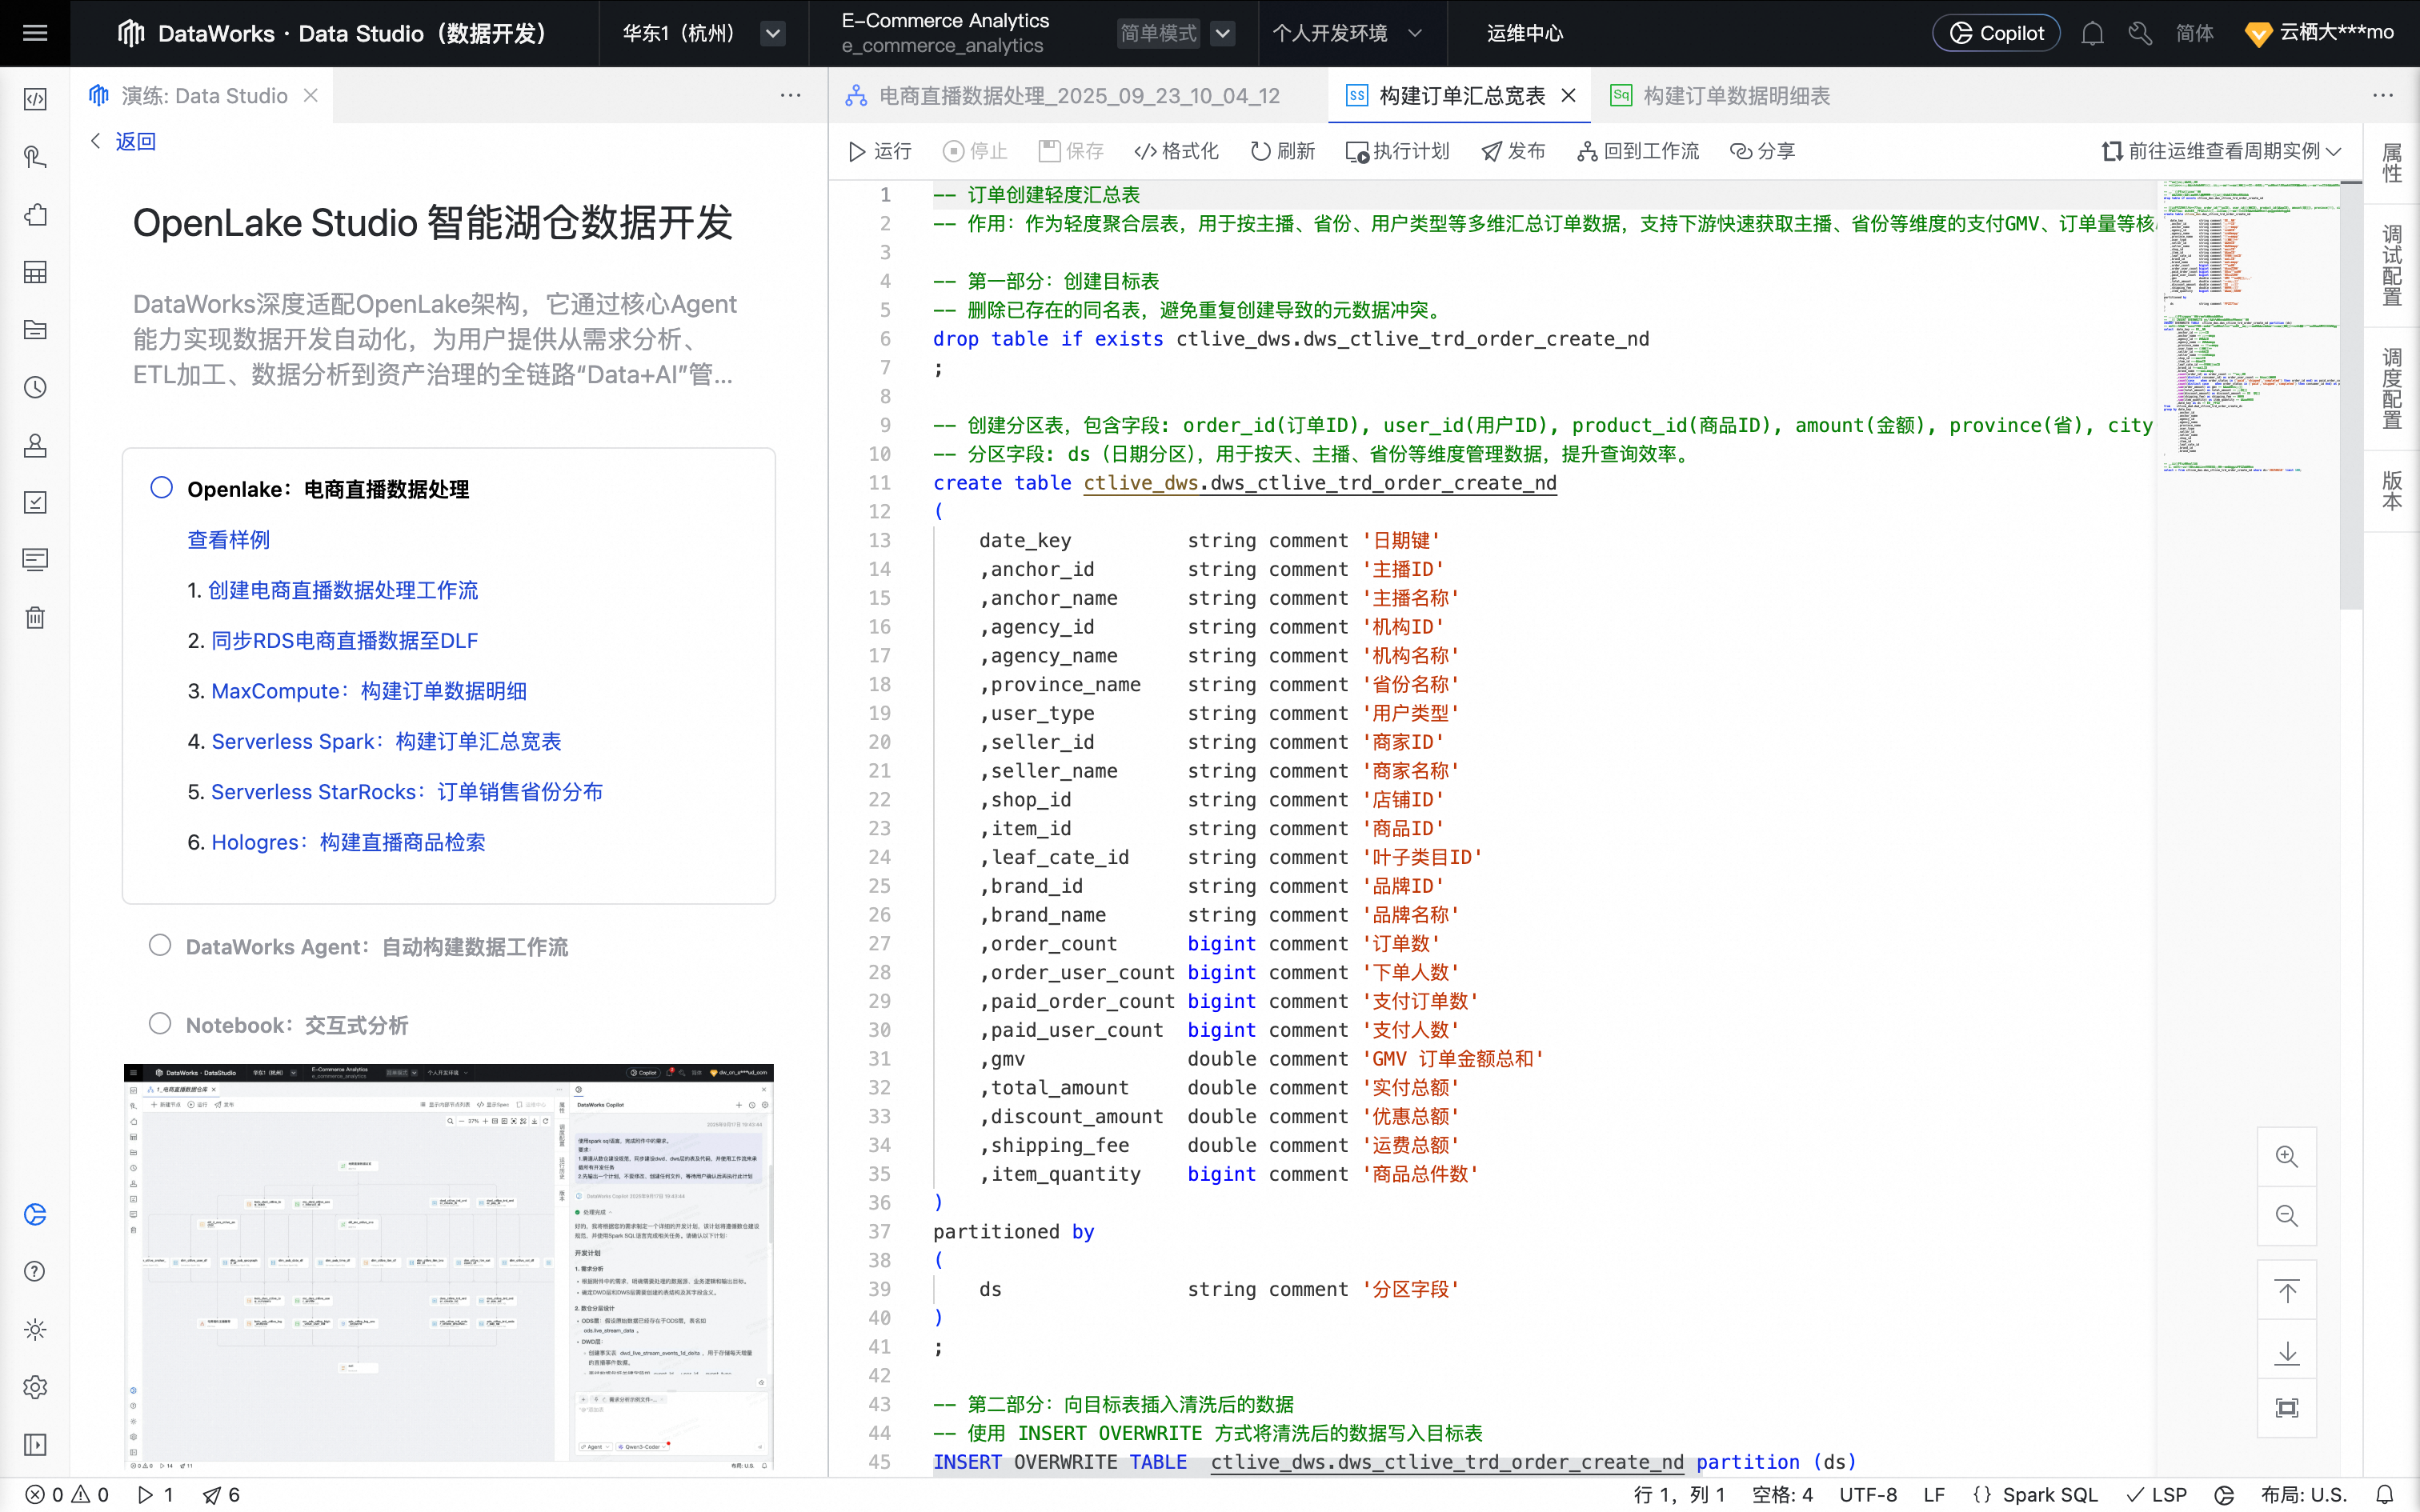
Hover over the node and click Open Node to go to the configuration page. The system automatically populates the editor with the following code.
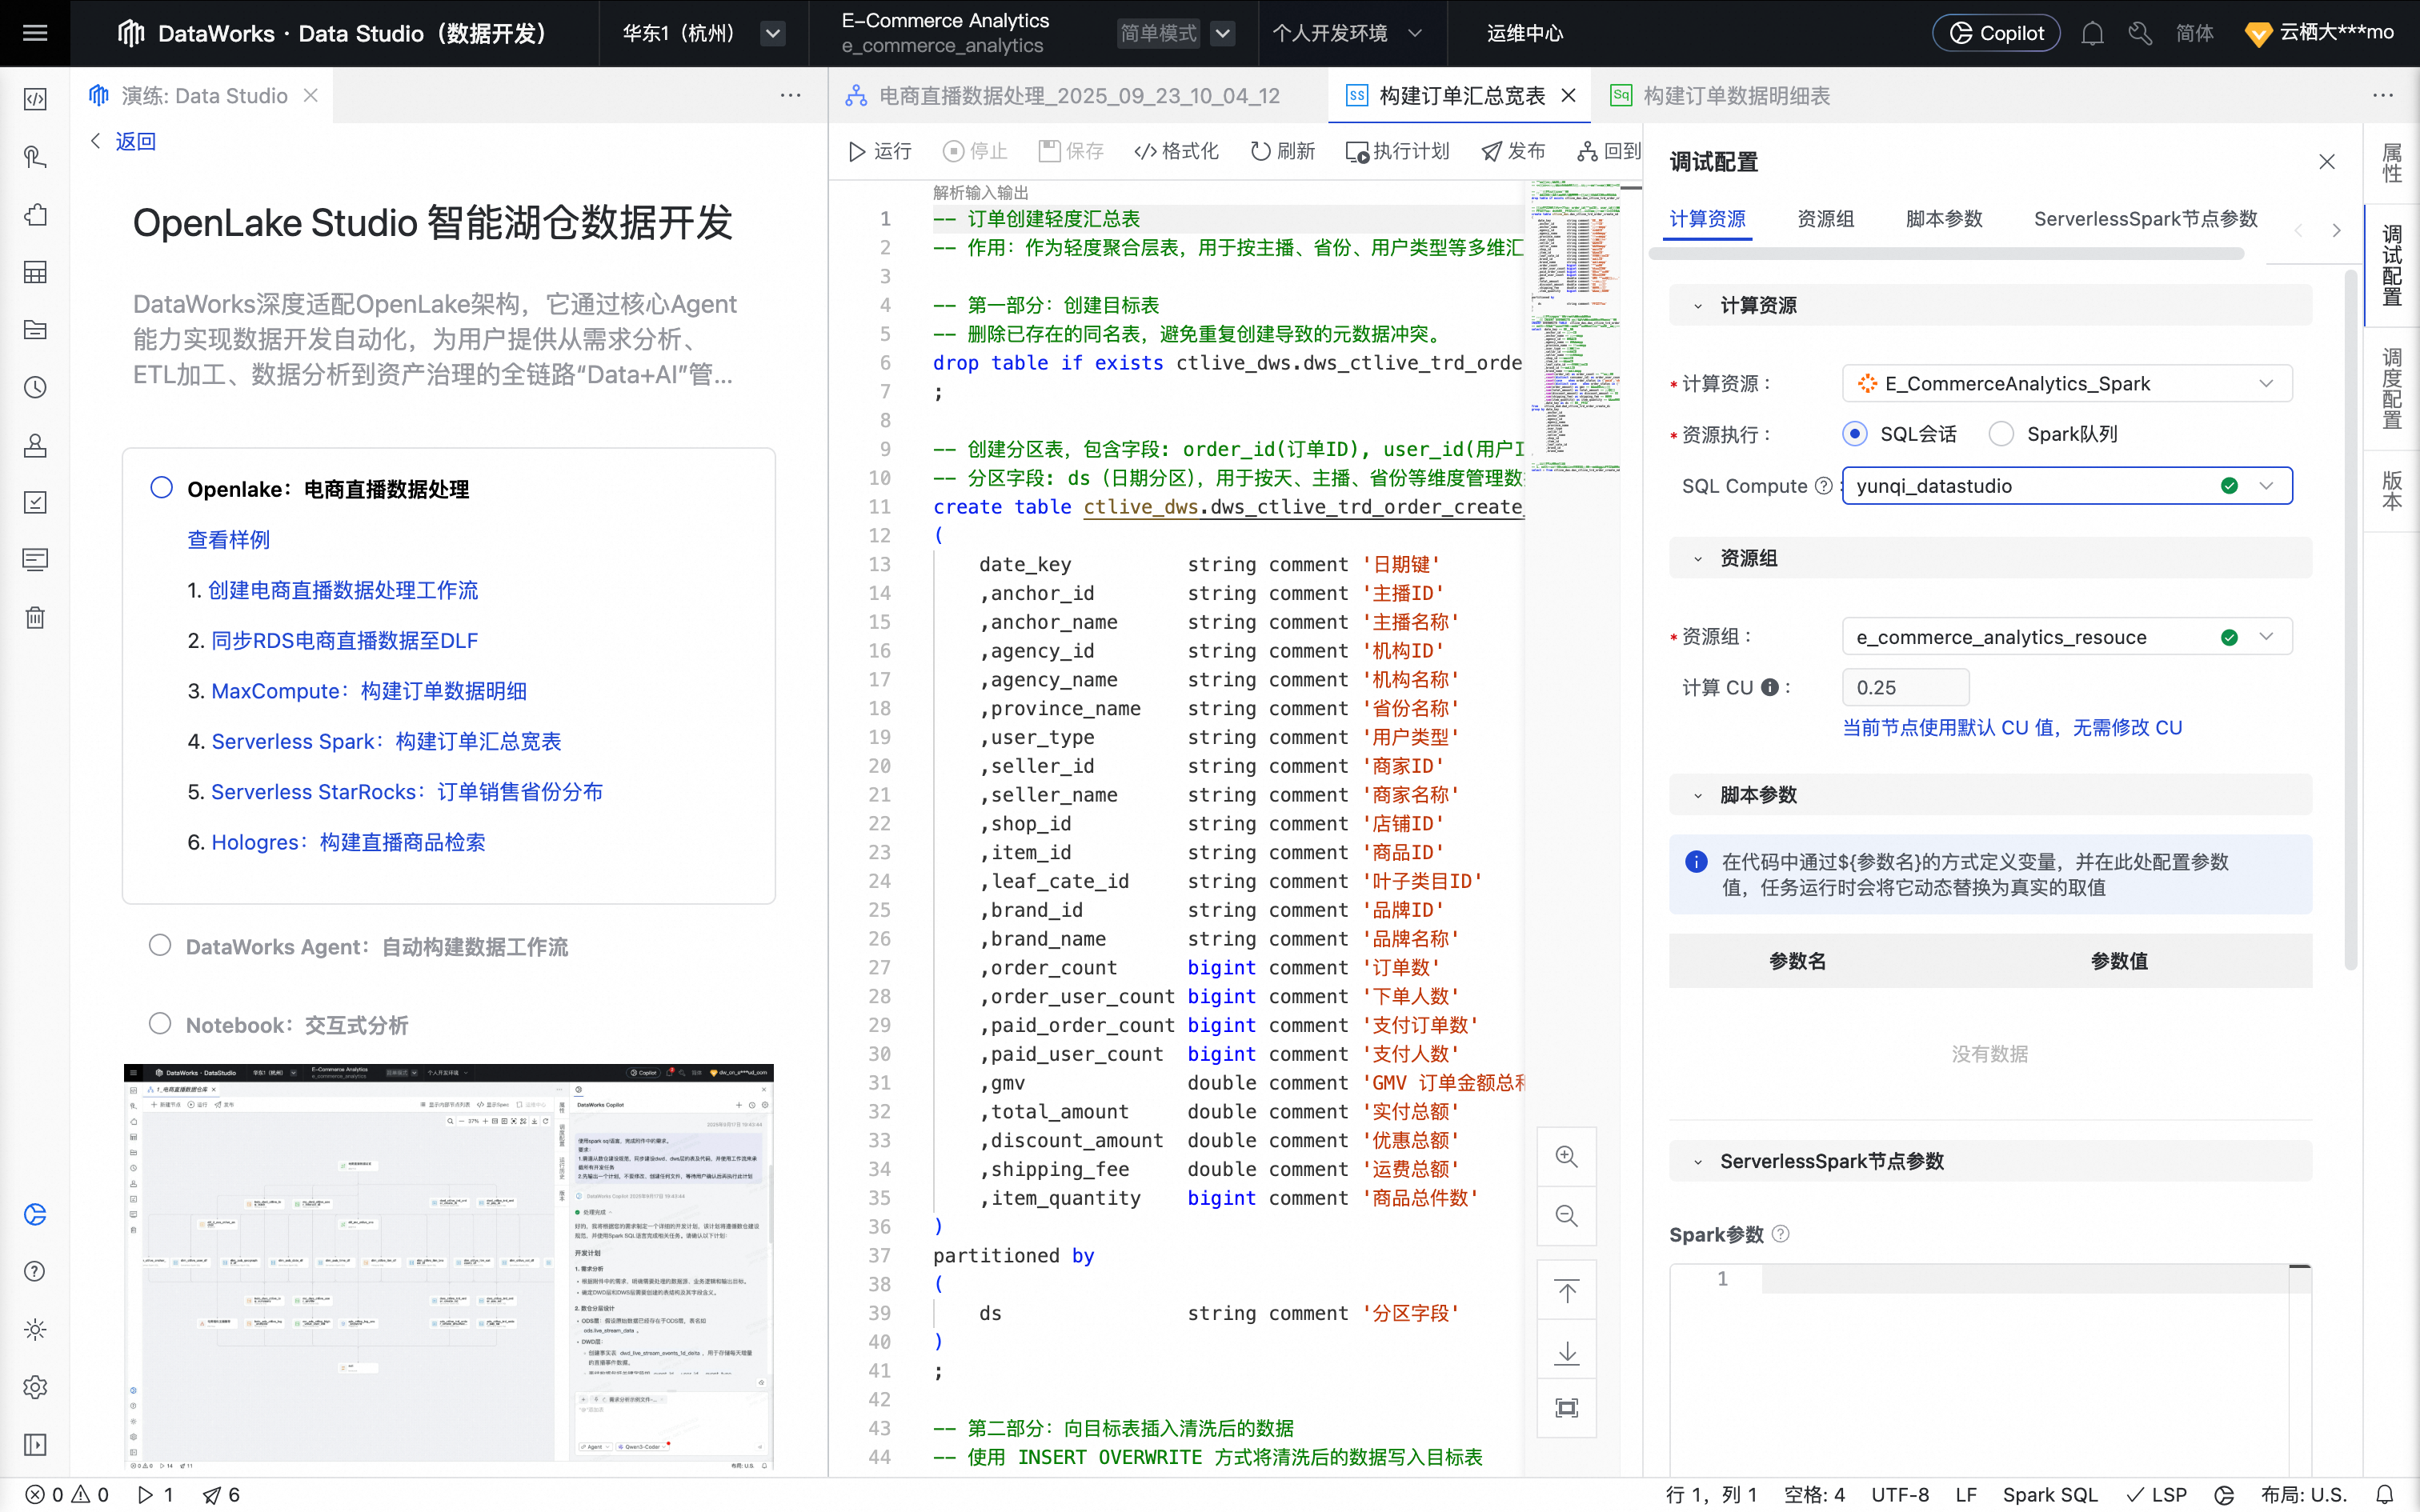
In the right-side toolbar, click Run Configuration and configure the compute resources and resource group you prepared earlier.
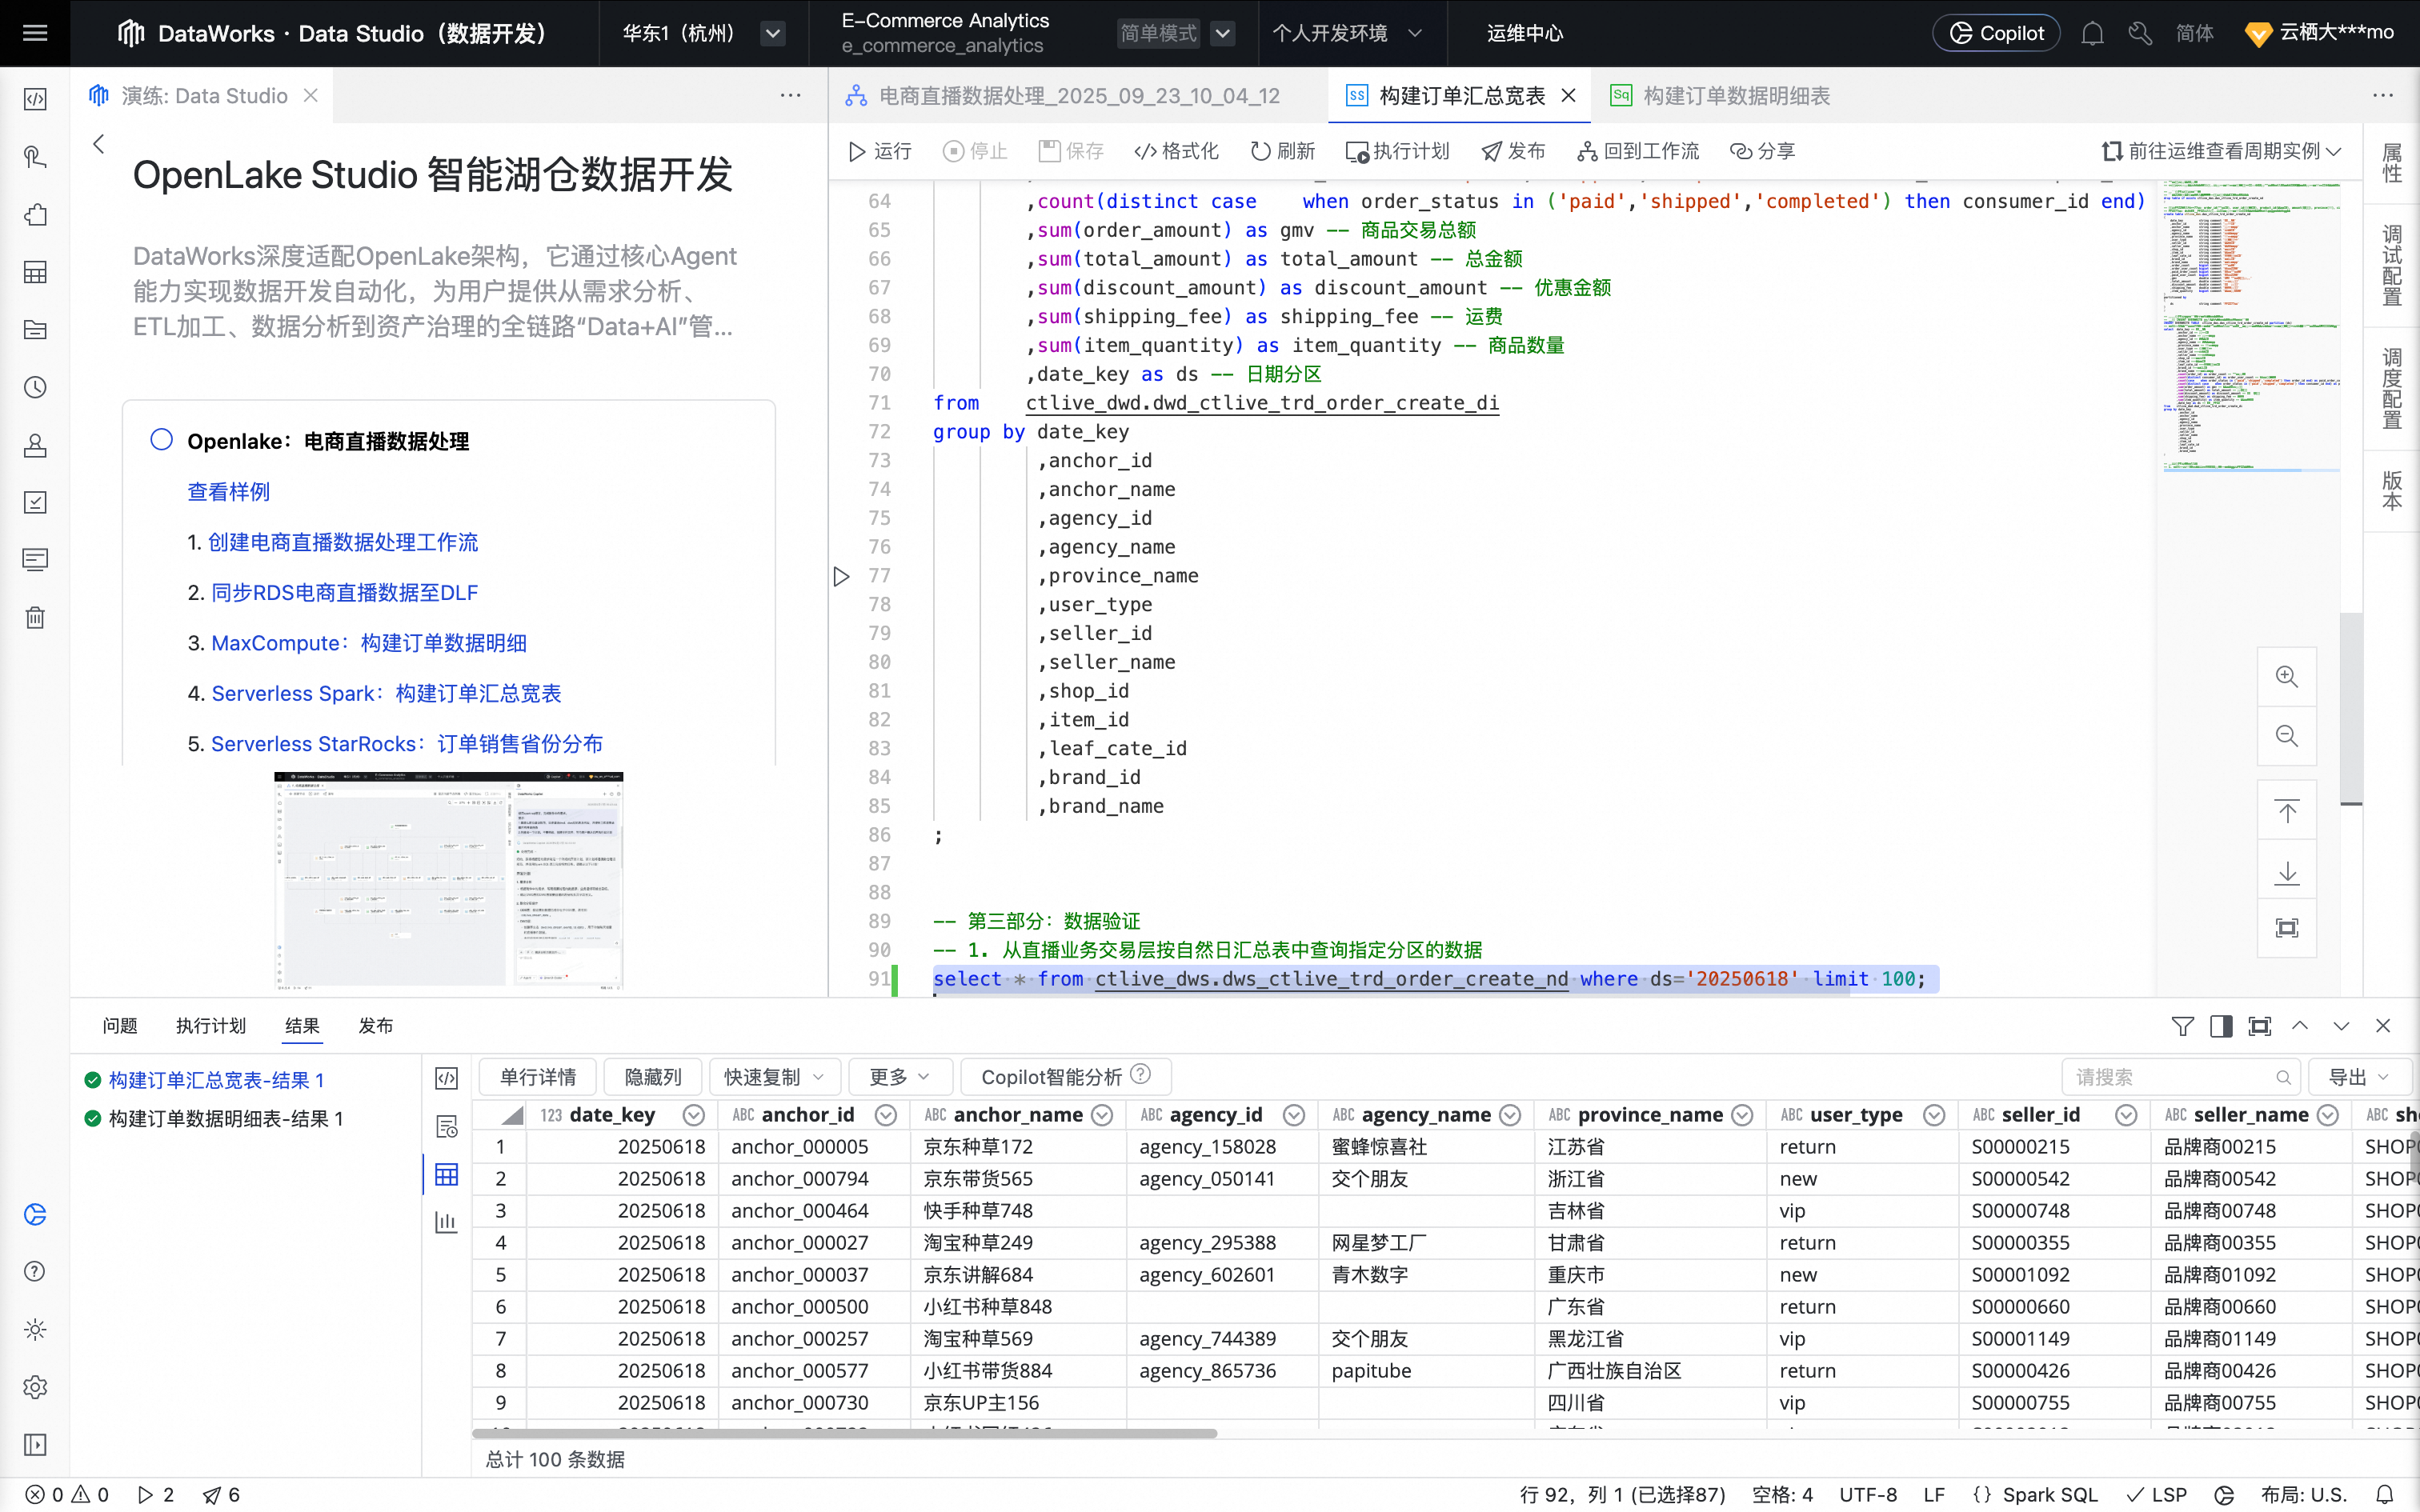
At the top of the node editor, click Run to run the task.
We recommend that you run only the final
SELECTstatement in the code.After the task is complete, you can view the execution results and order summary wide table data in the query results area.
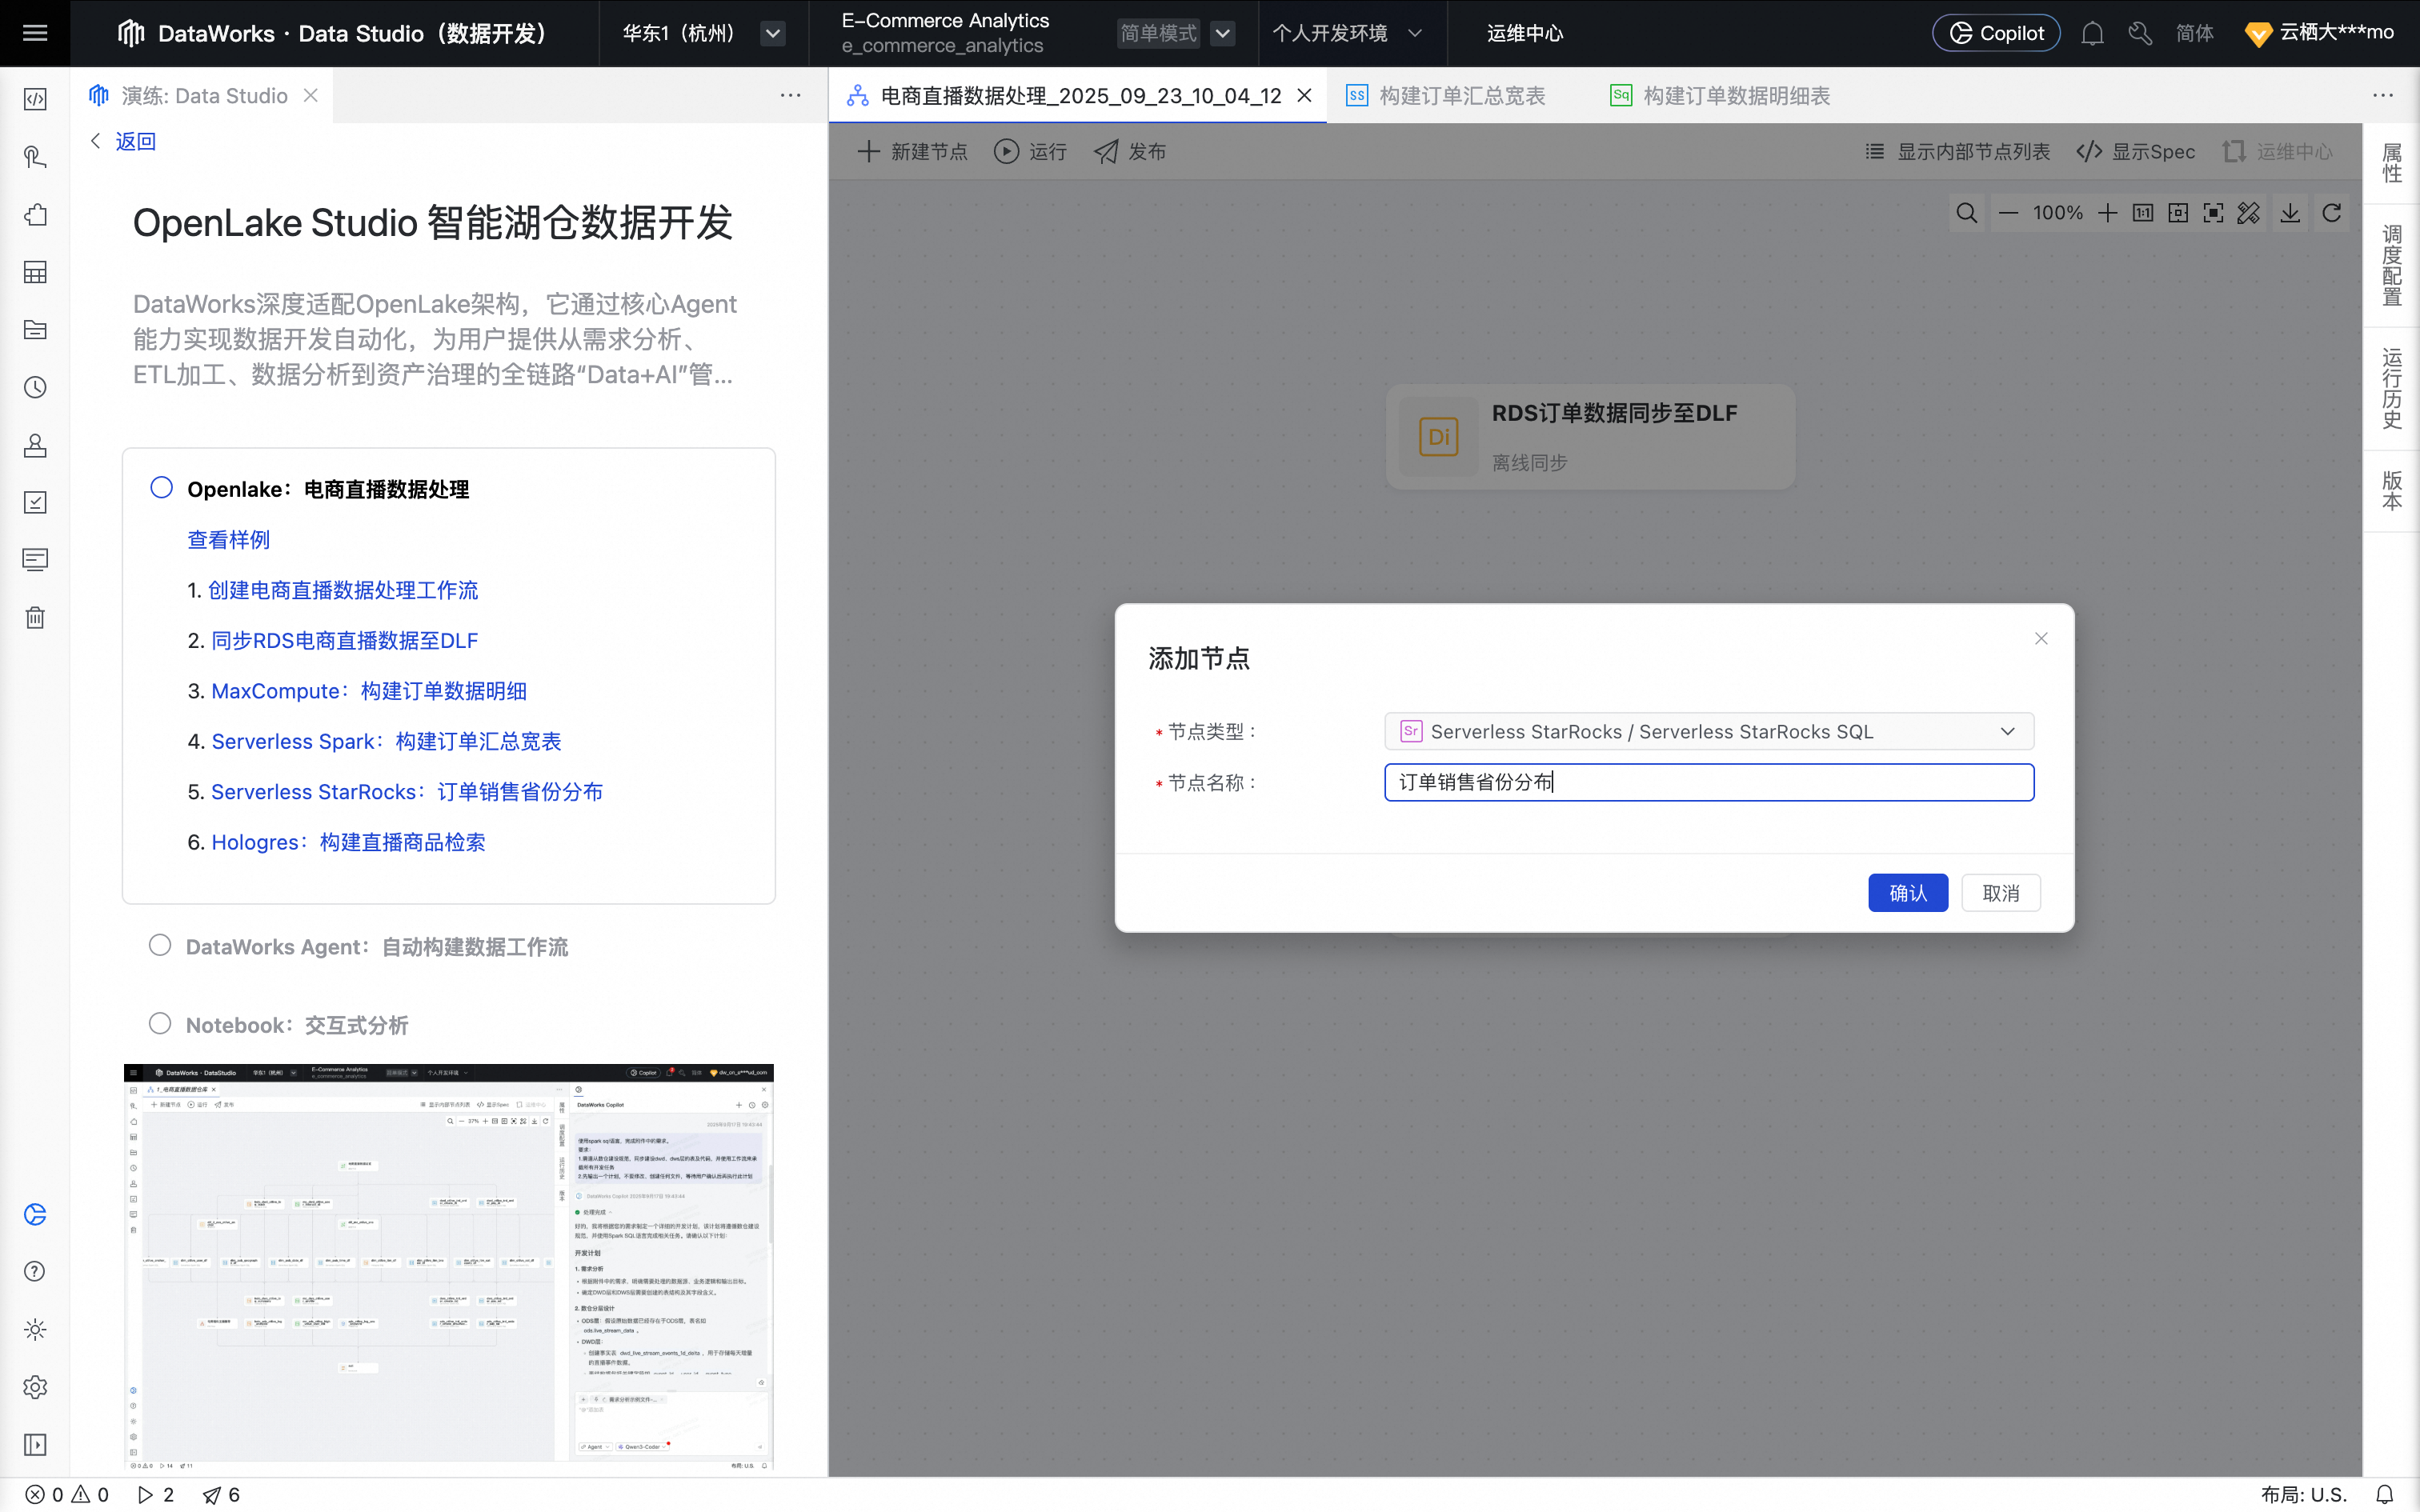
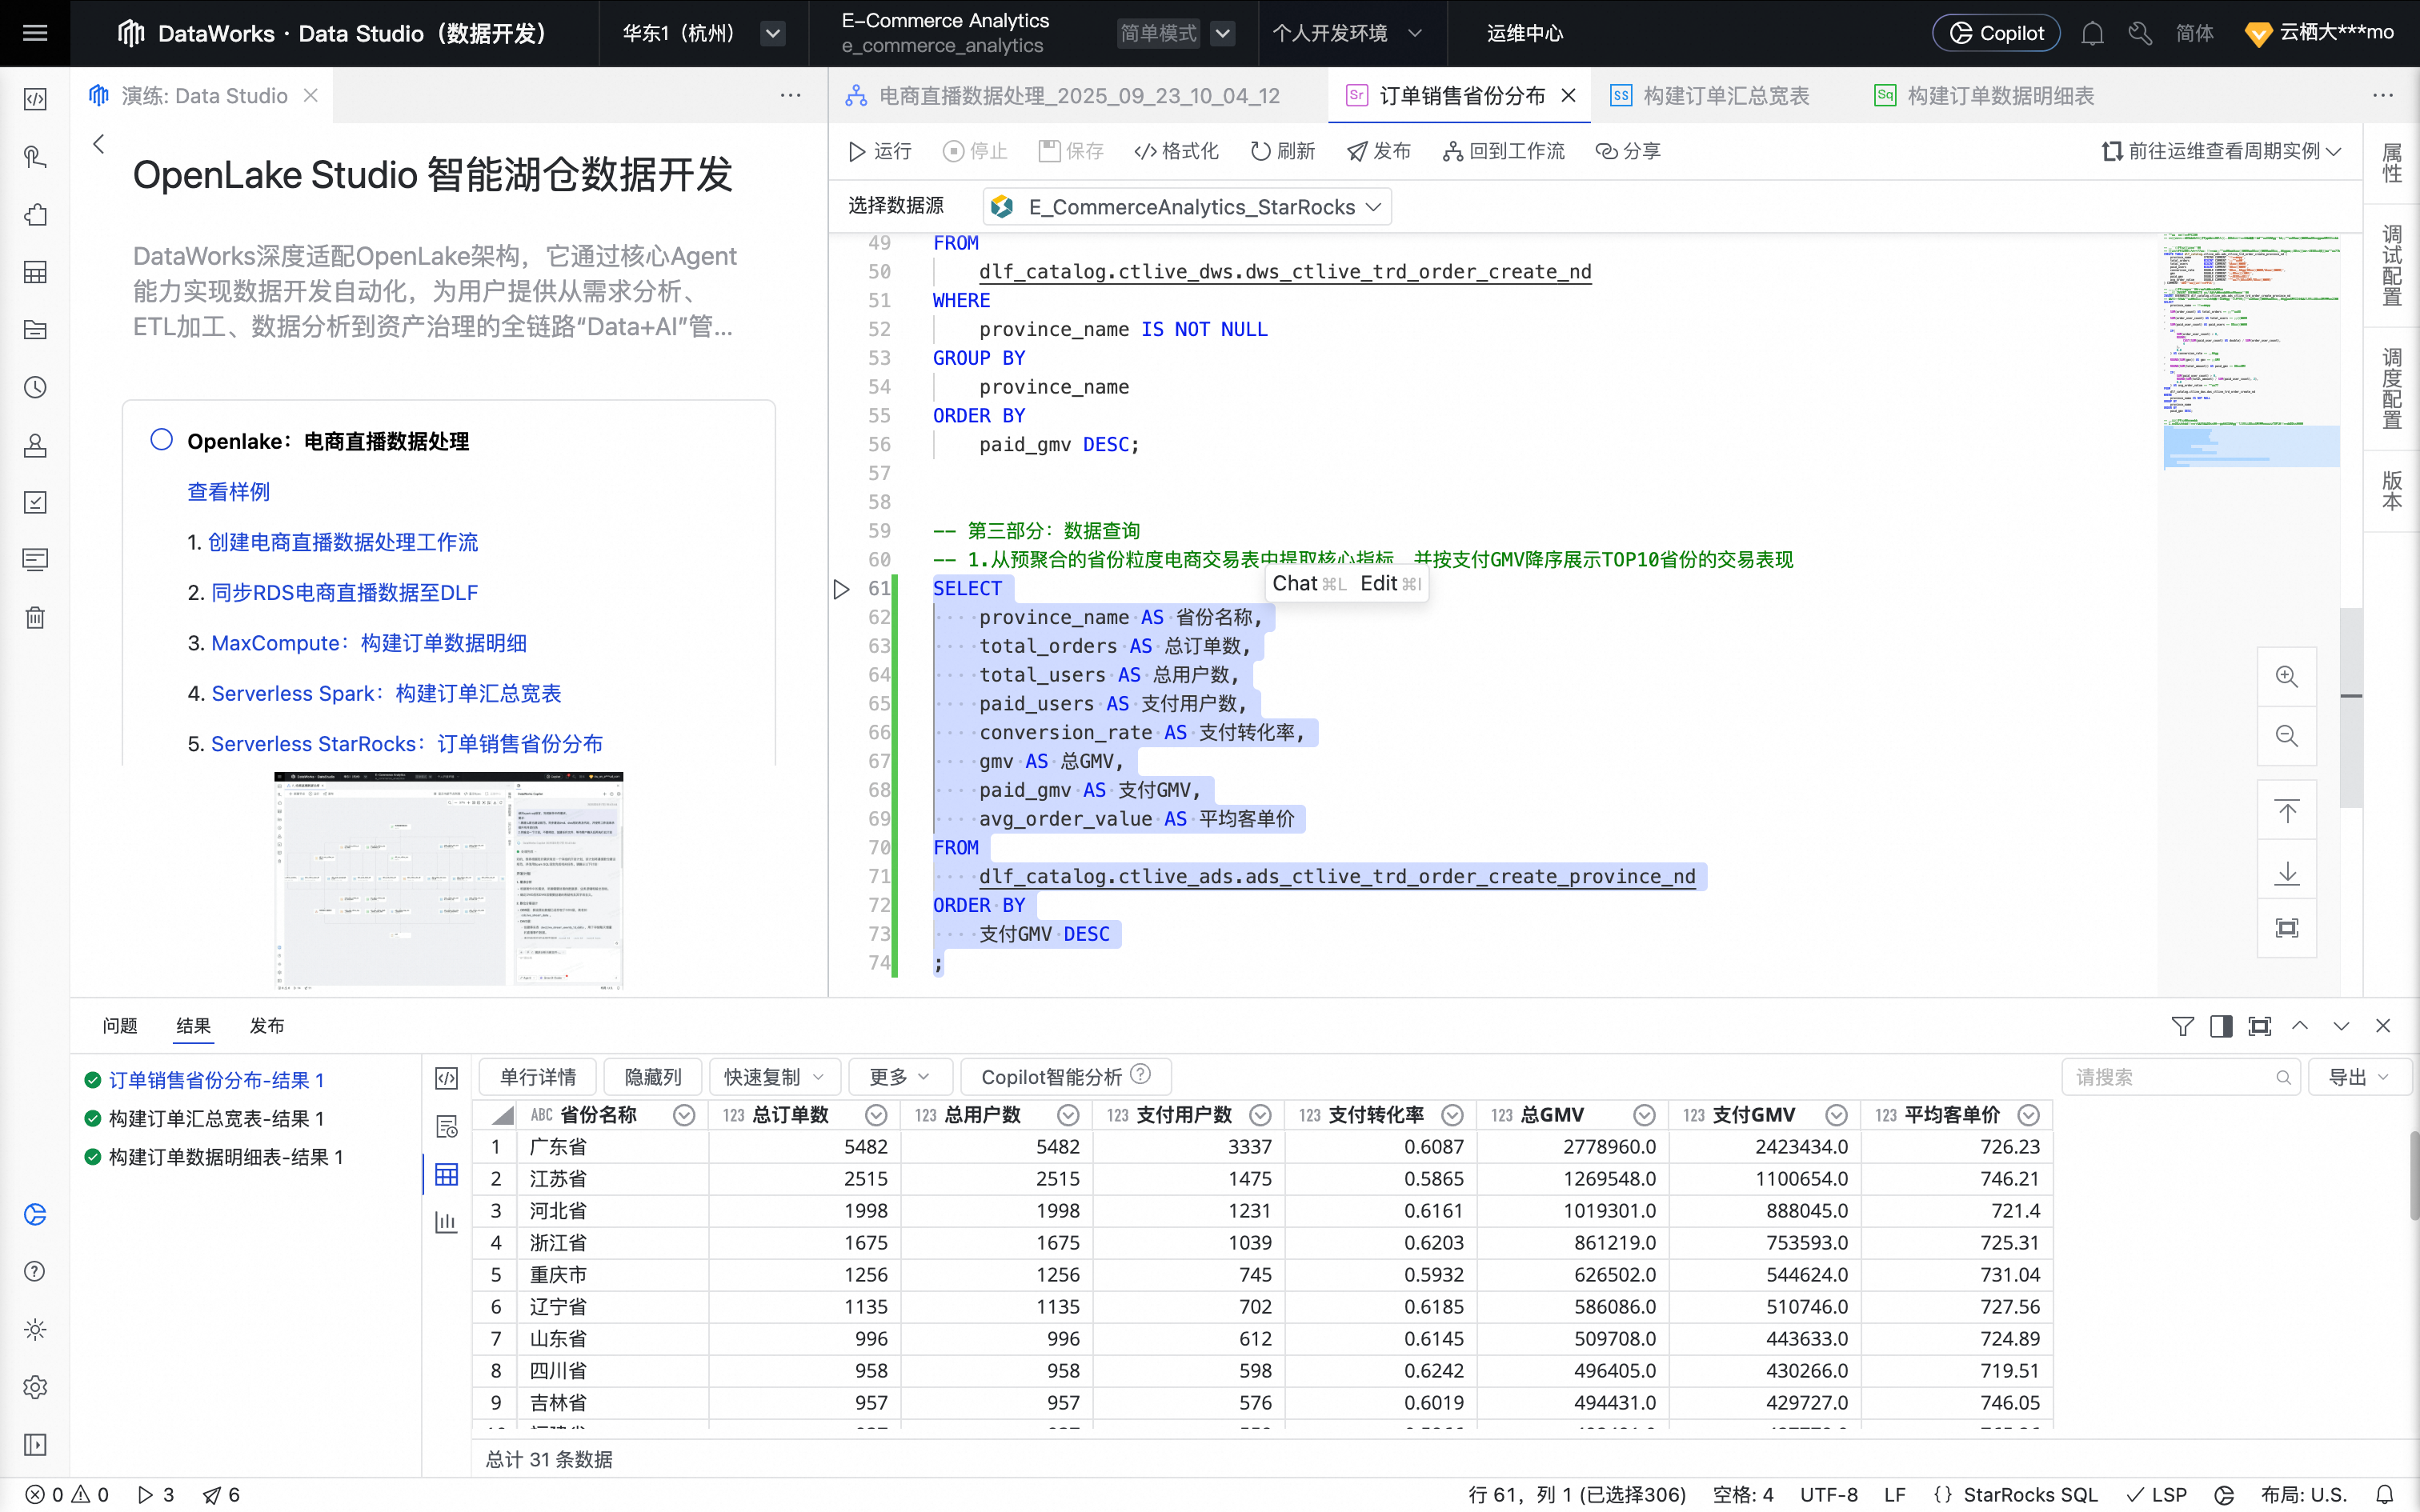
5. Analyze order sales distribution by province
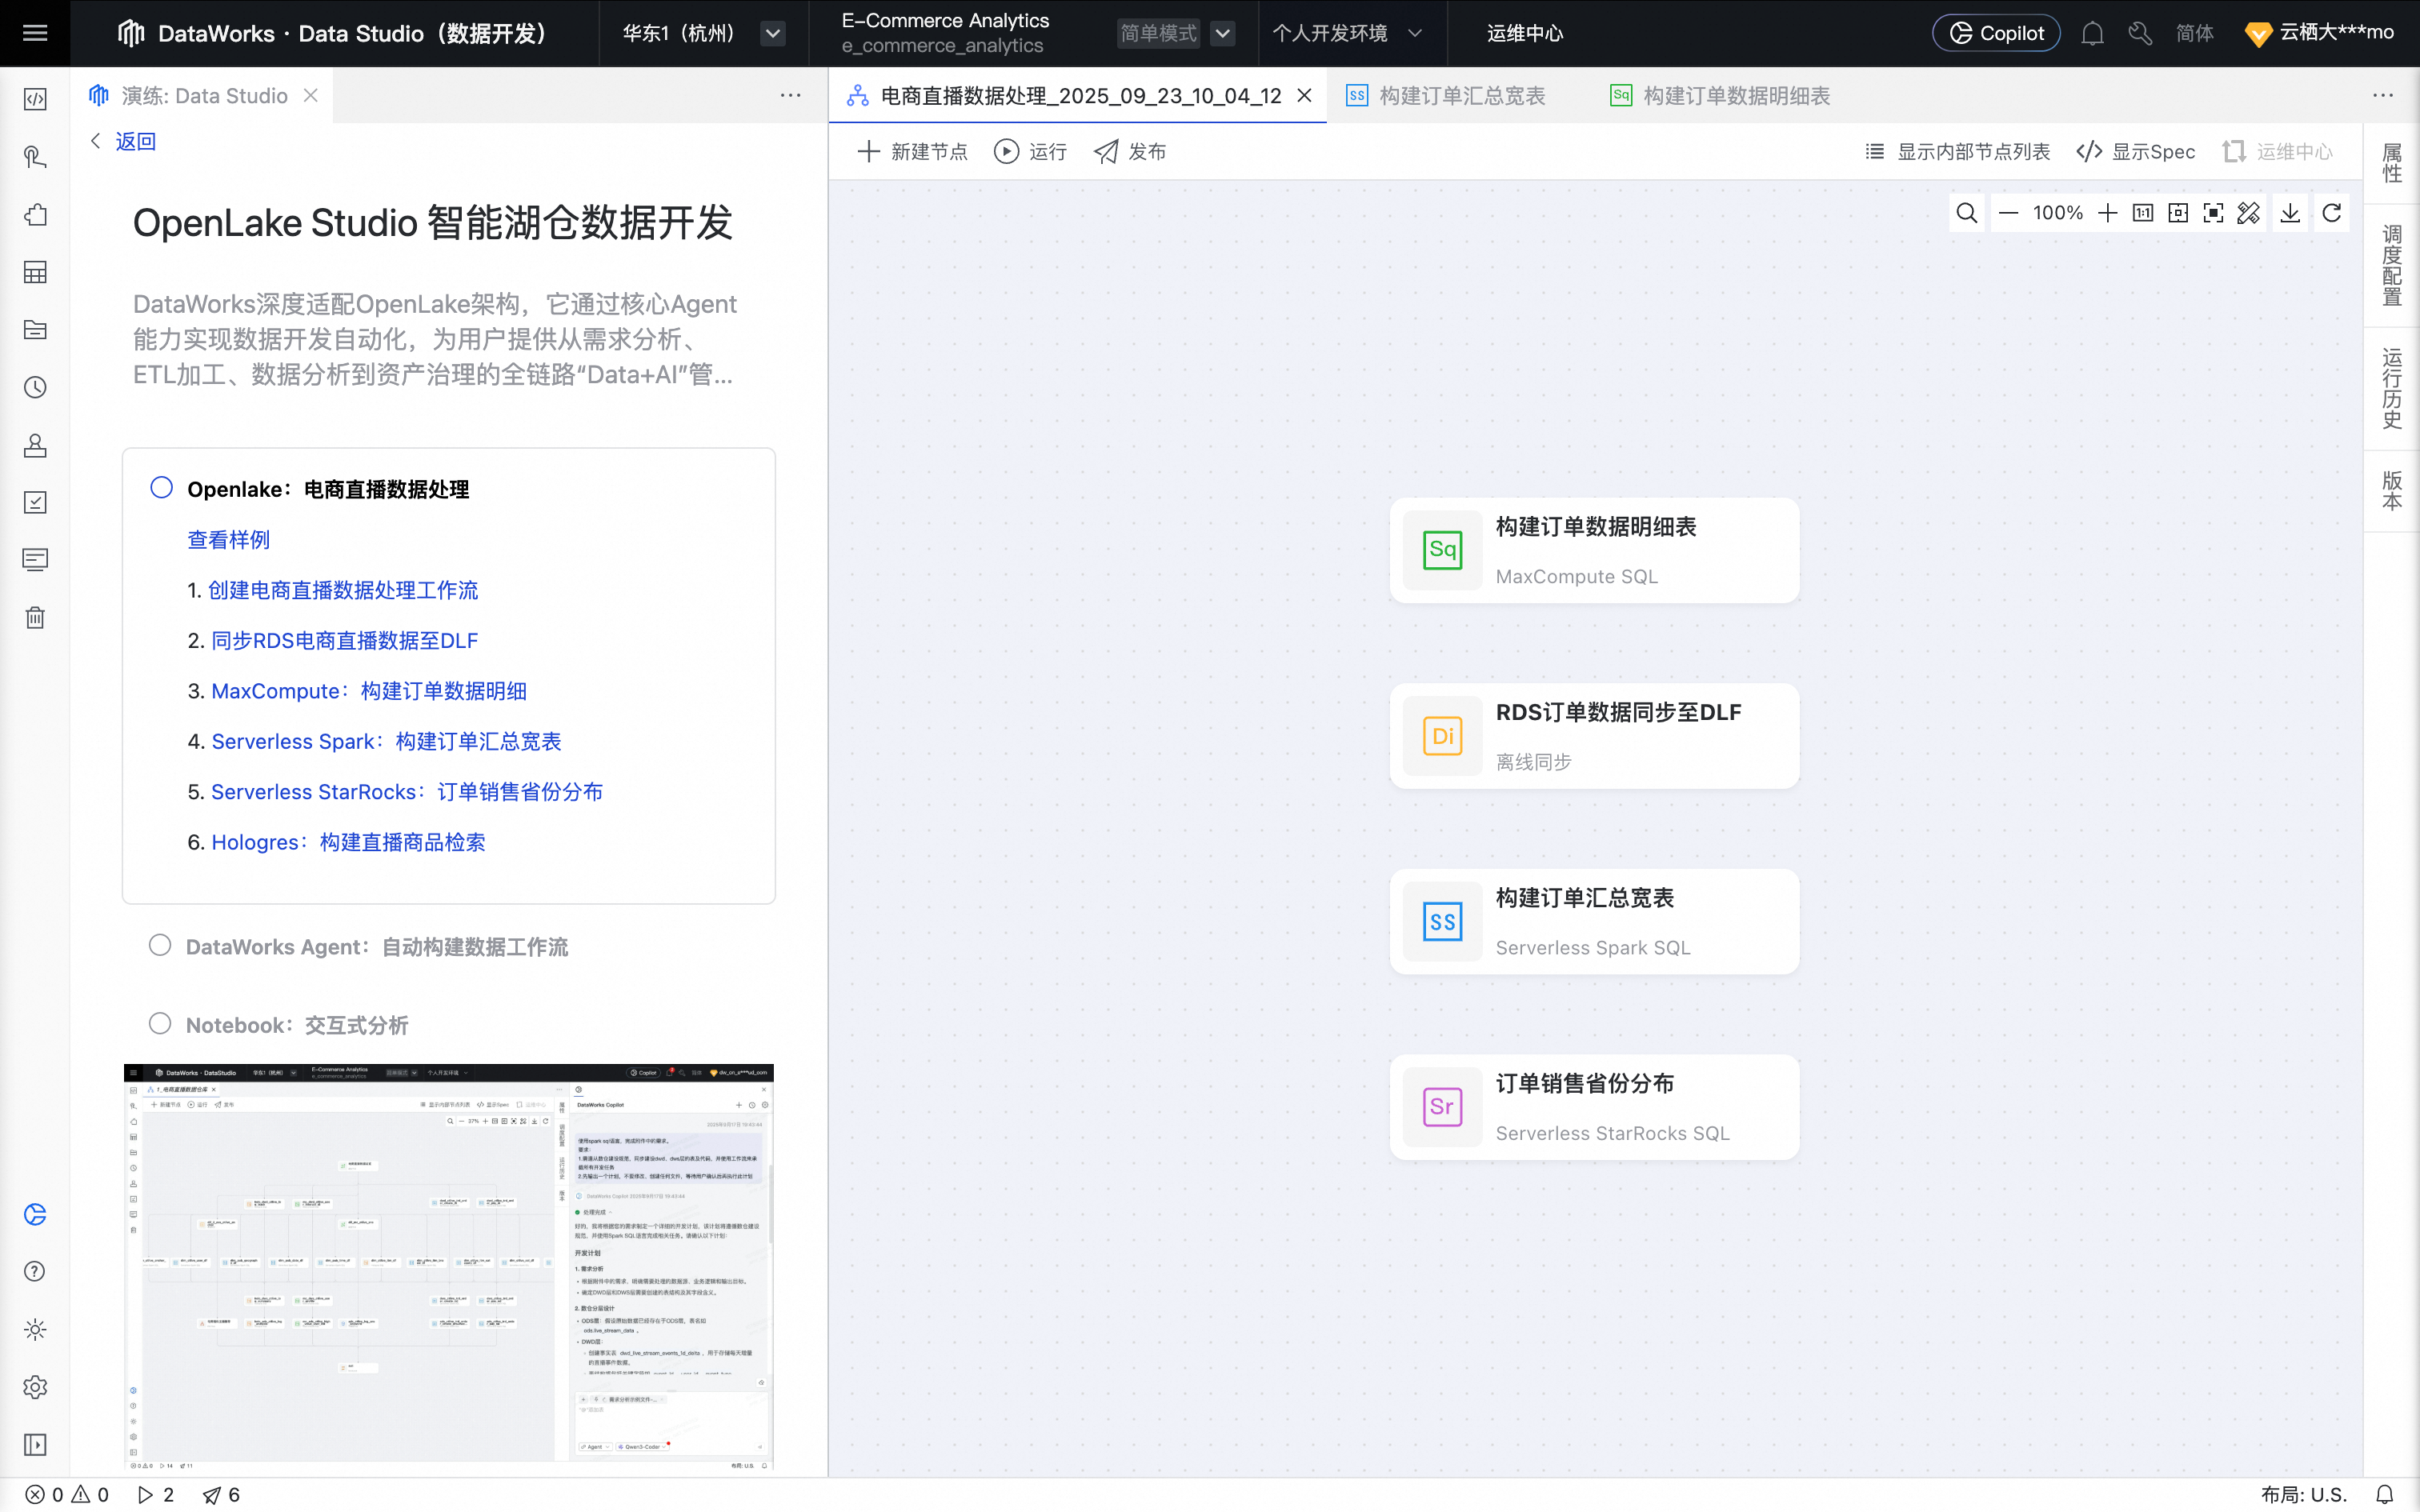
Return to the workflow page for this tutorial and click Serverless StarRocks: Order Sales by Province to create a StarRocks SQL node.
Click Confirm. The node is created successfully.
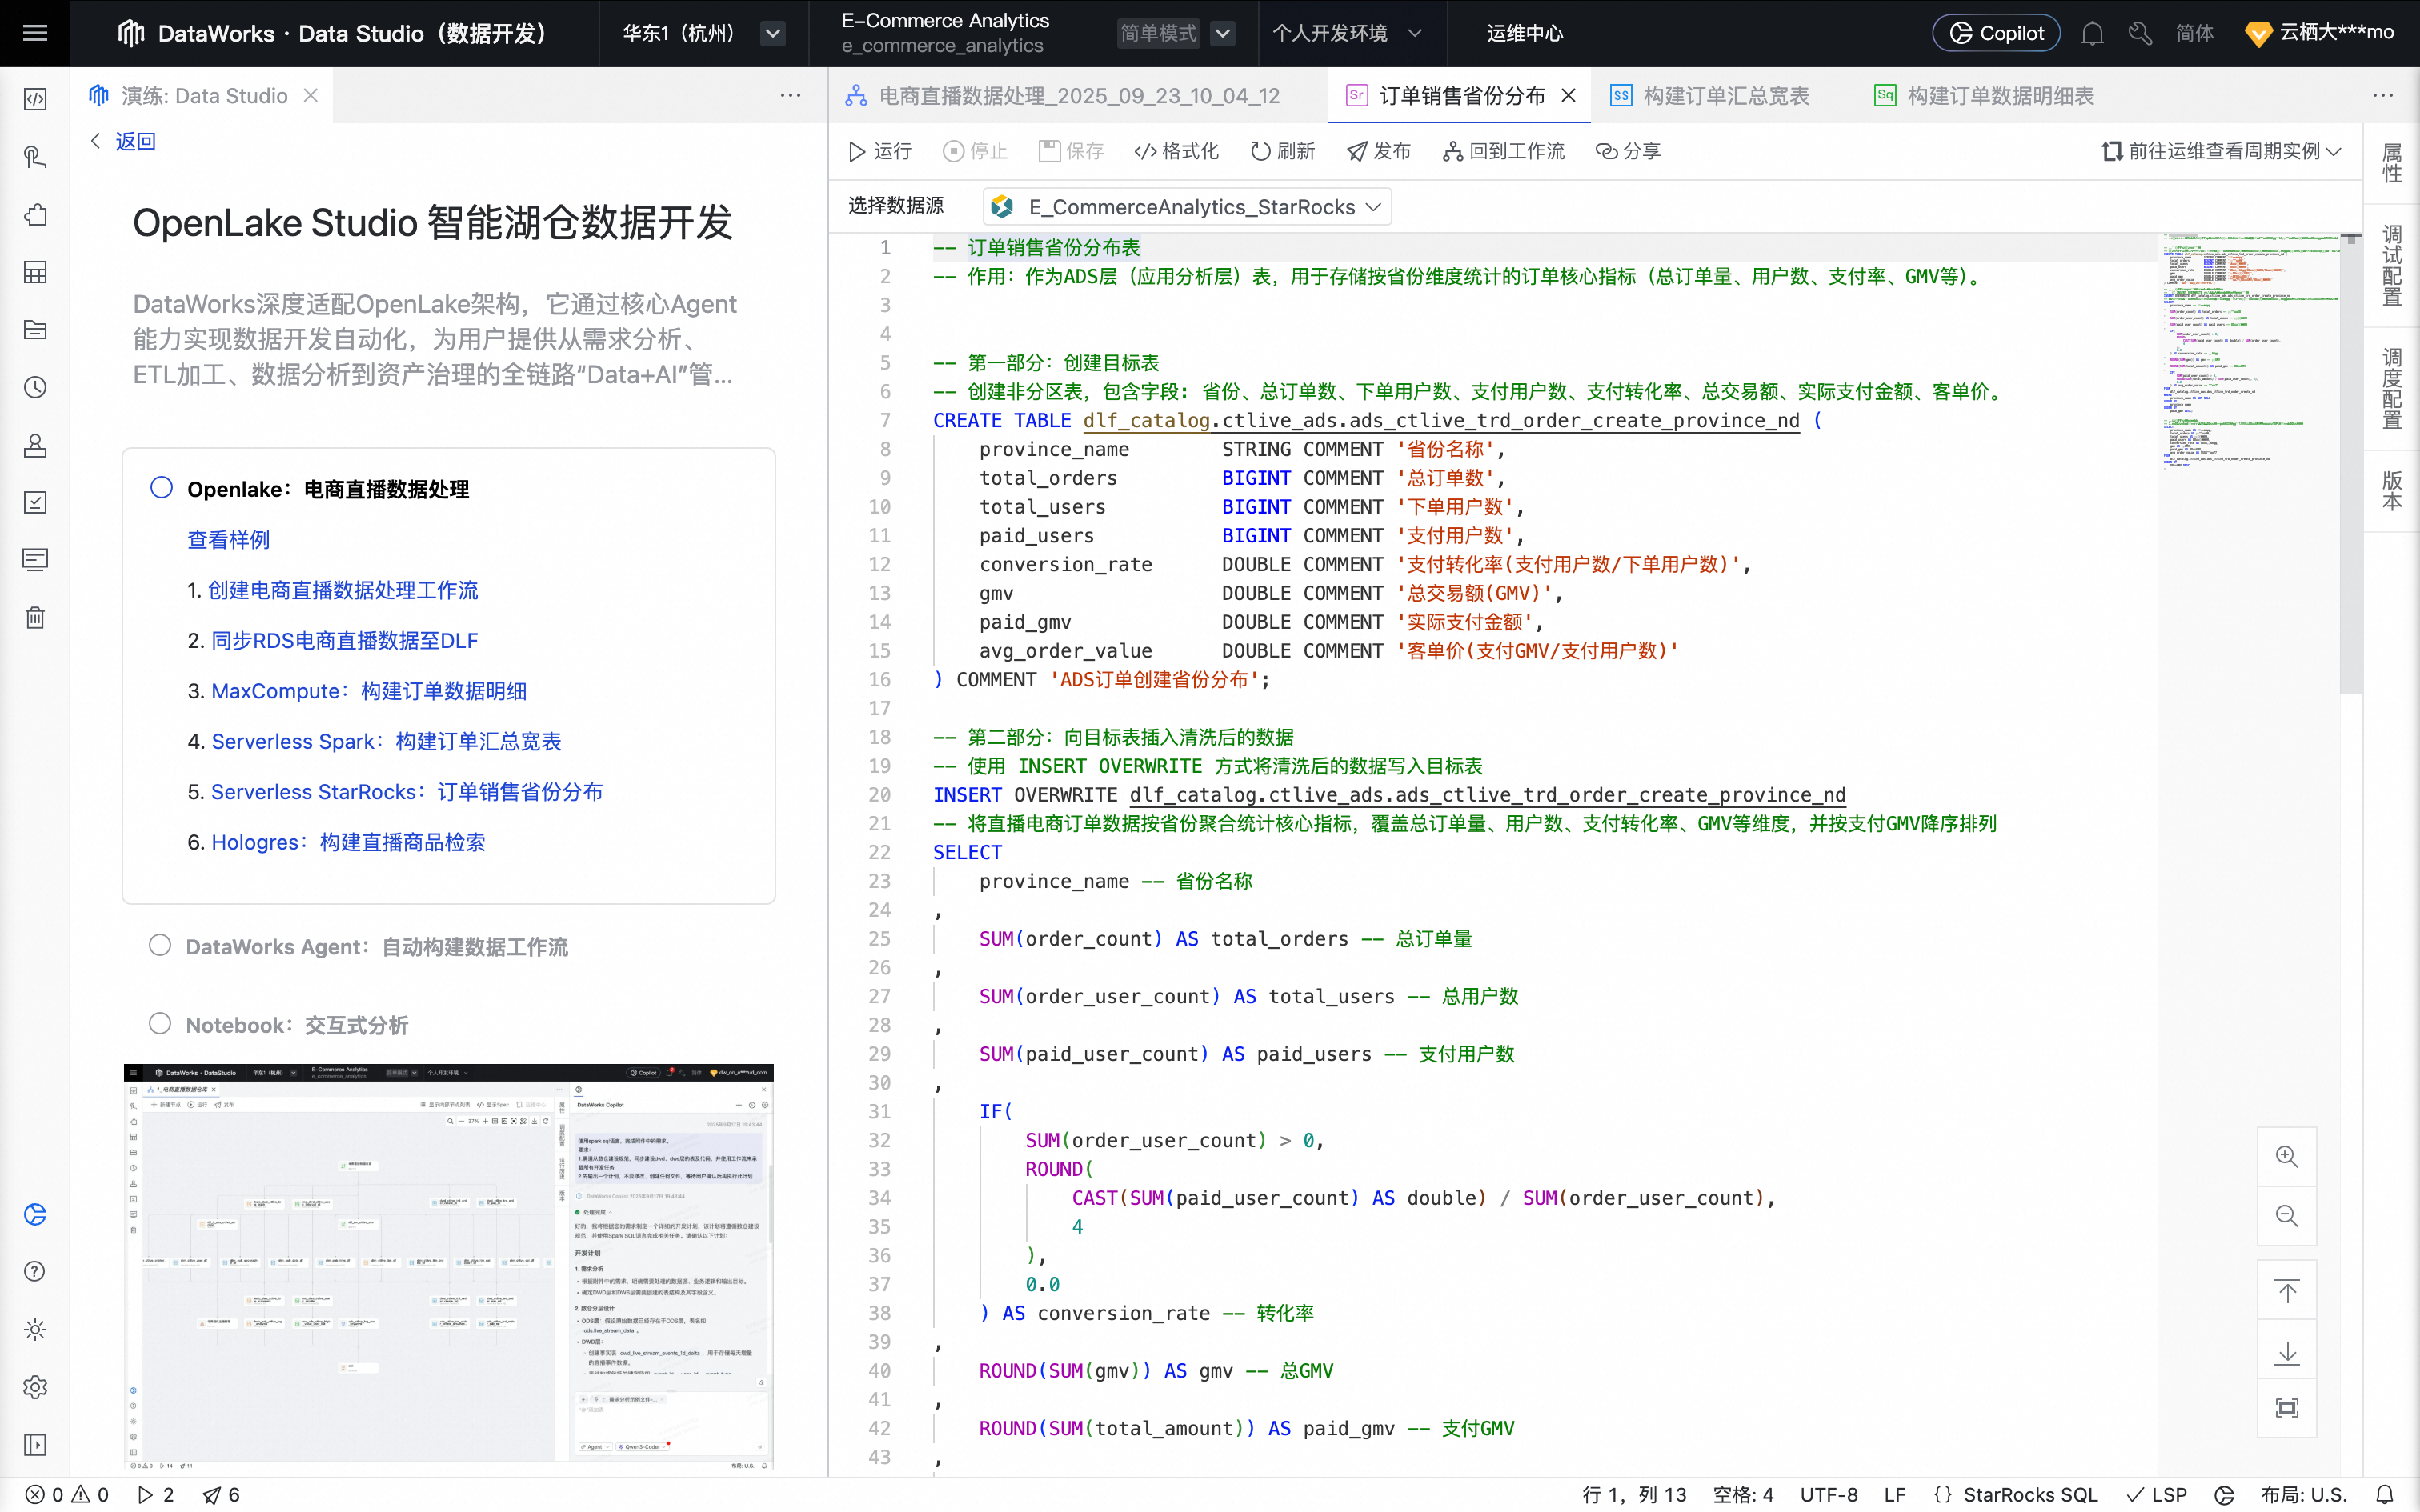
Hover over the node and click Open Node to go to the configuration page. The system populates the editor with the following code.
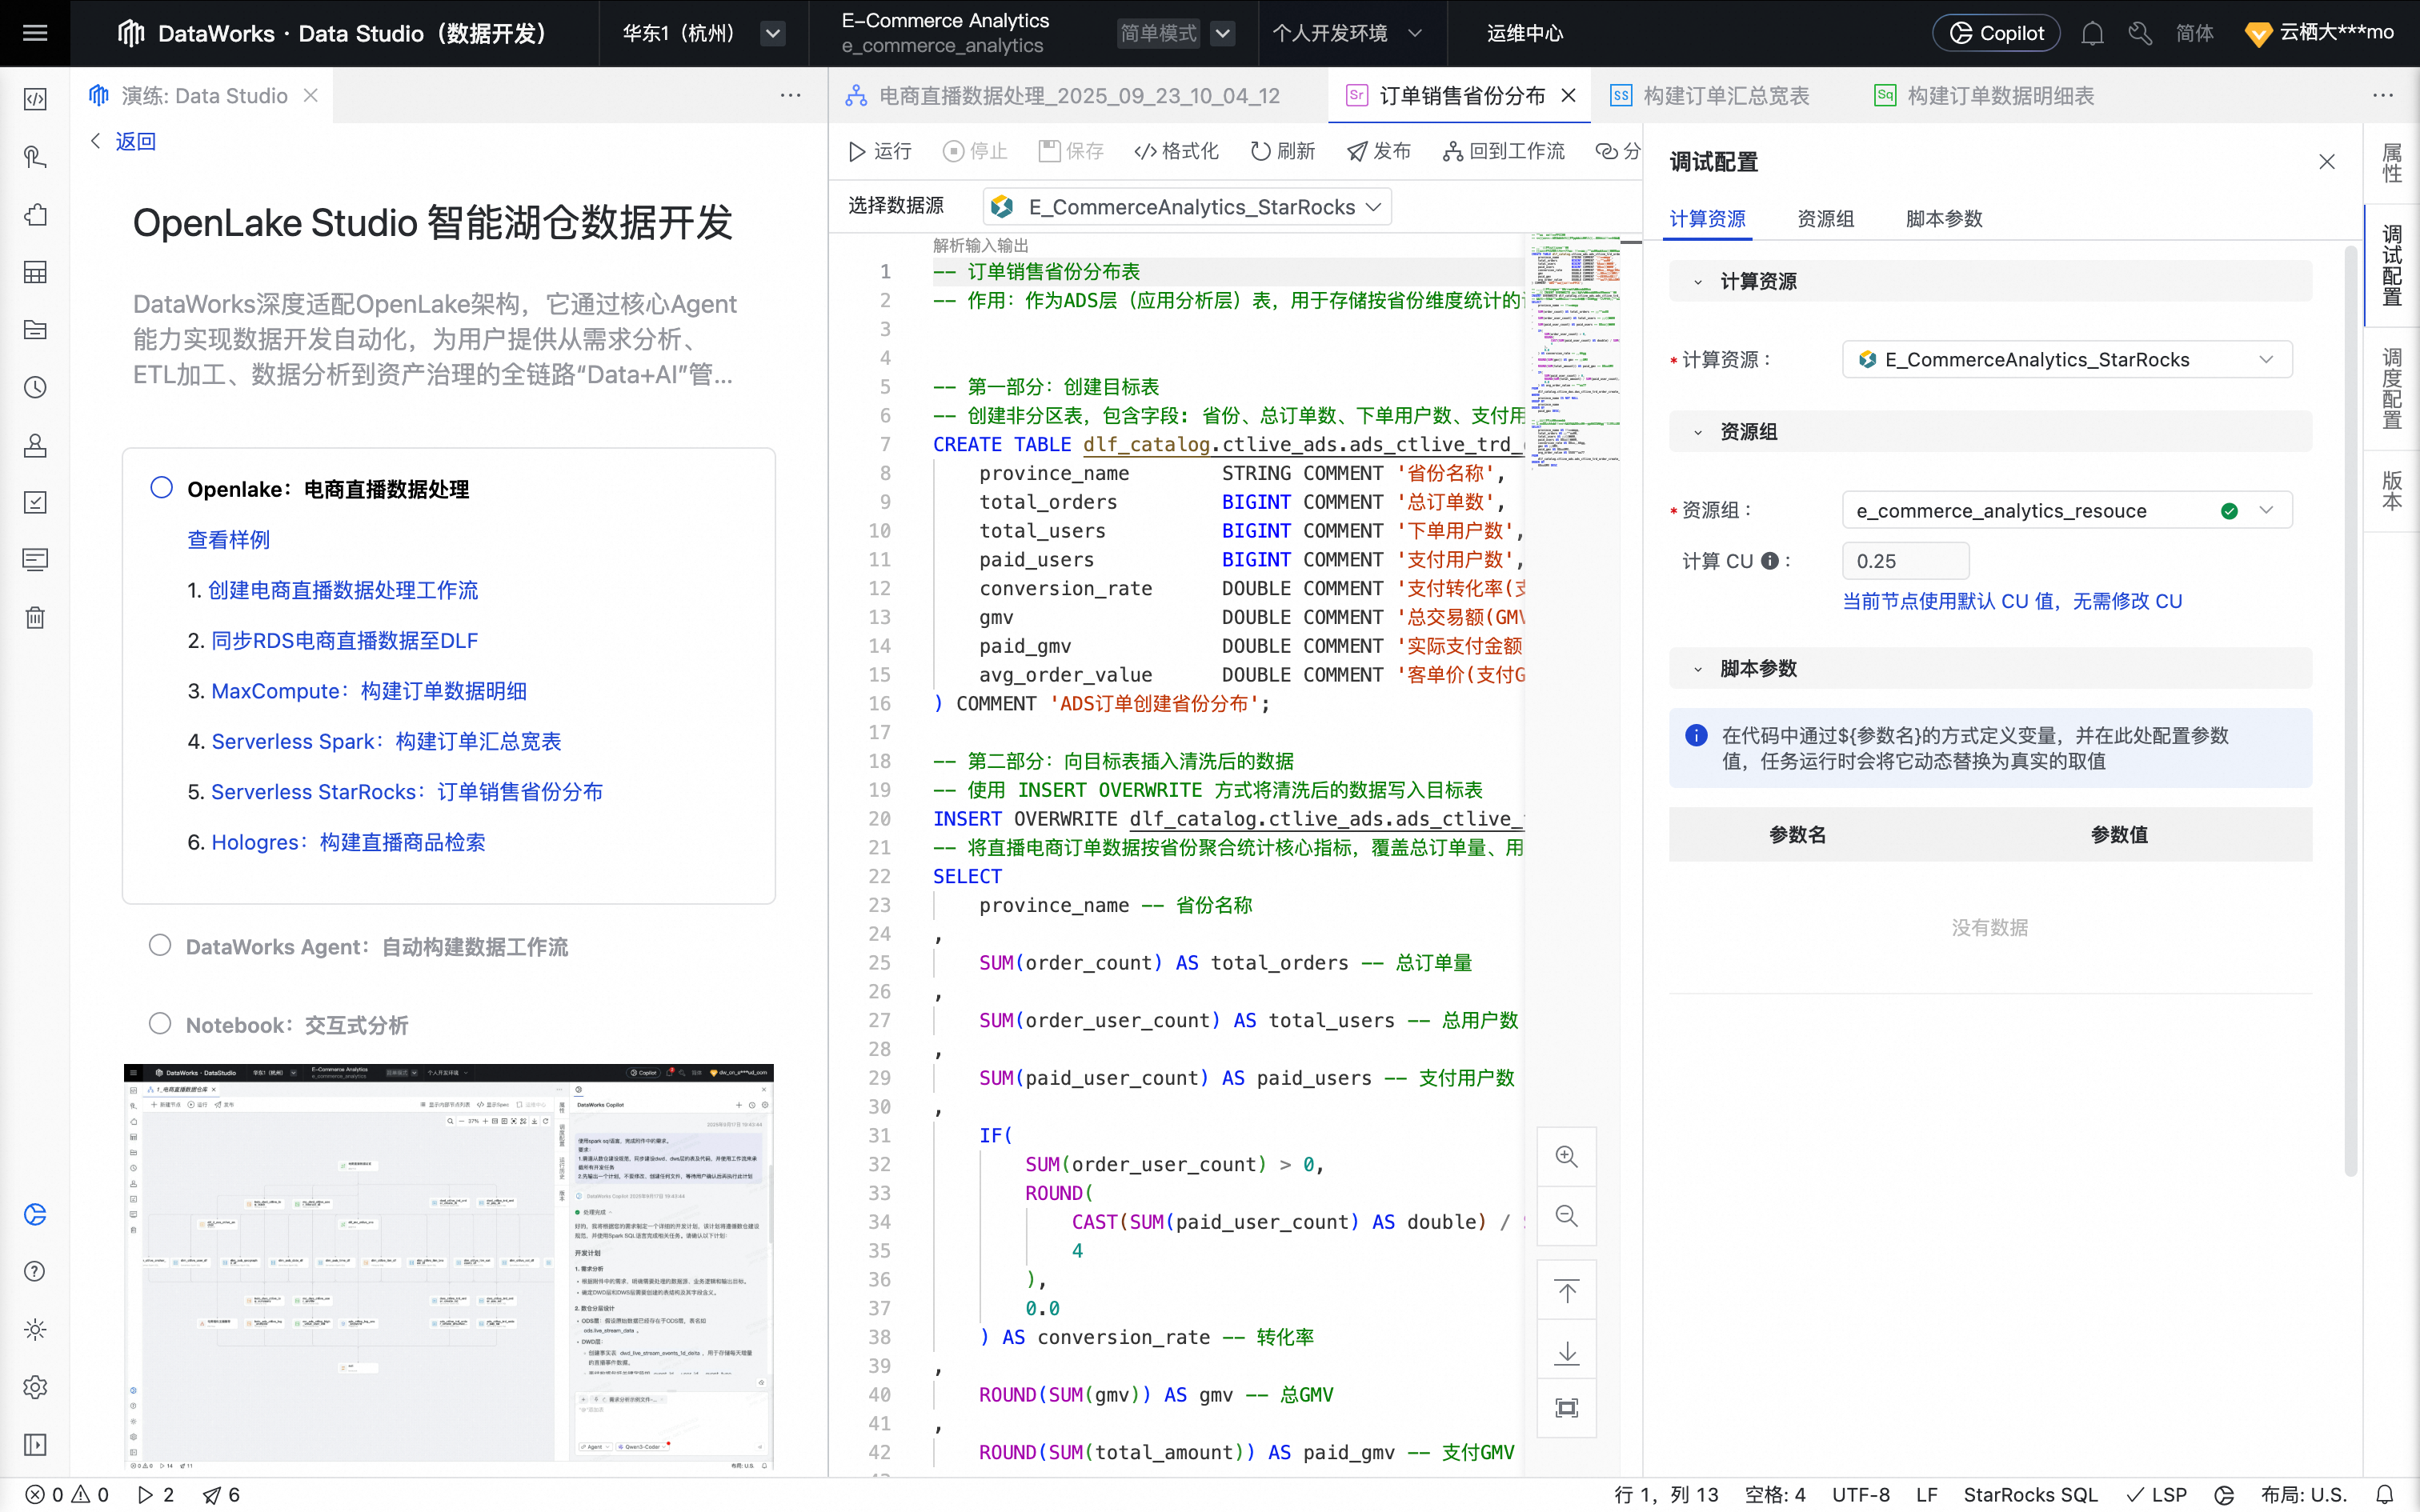
In the right-side toolbar, click Run Configuration and configure the compute resources and resource group you prepared earlier.
At the top of the node editor, click Run to run the task.
After the task is complete, you can view the execution results and order detail data in the query results area.
6. Build livestreaming product search
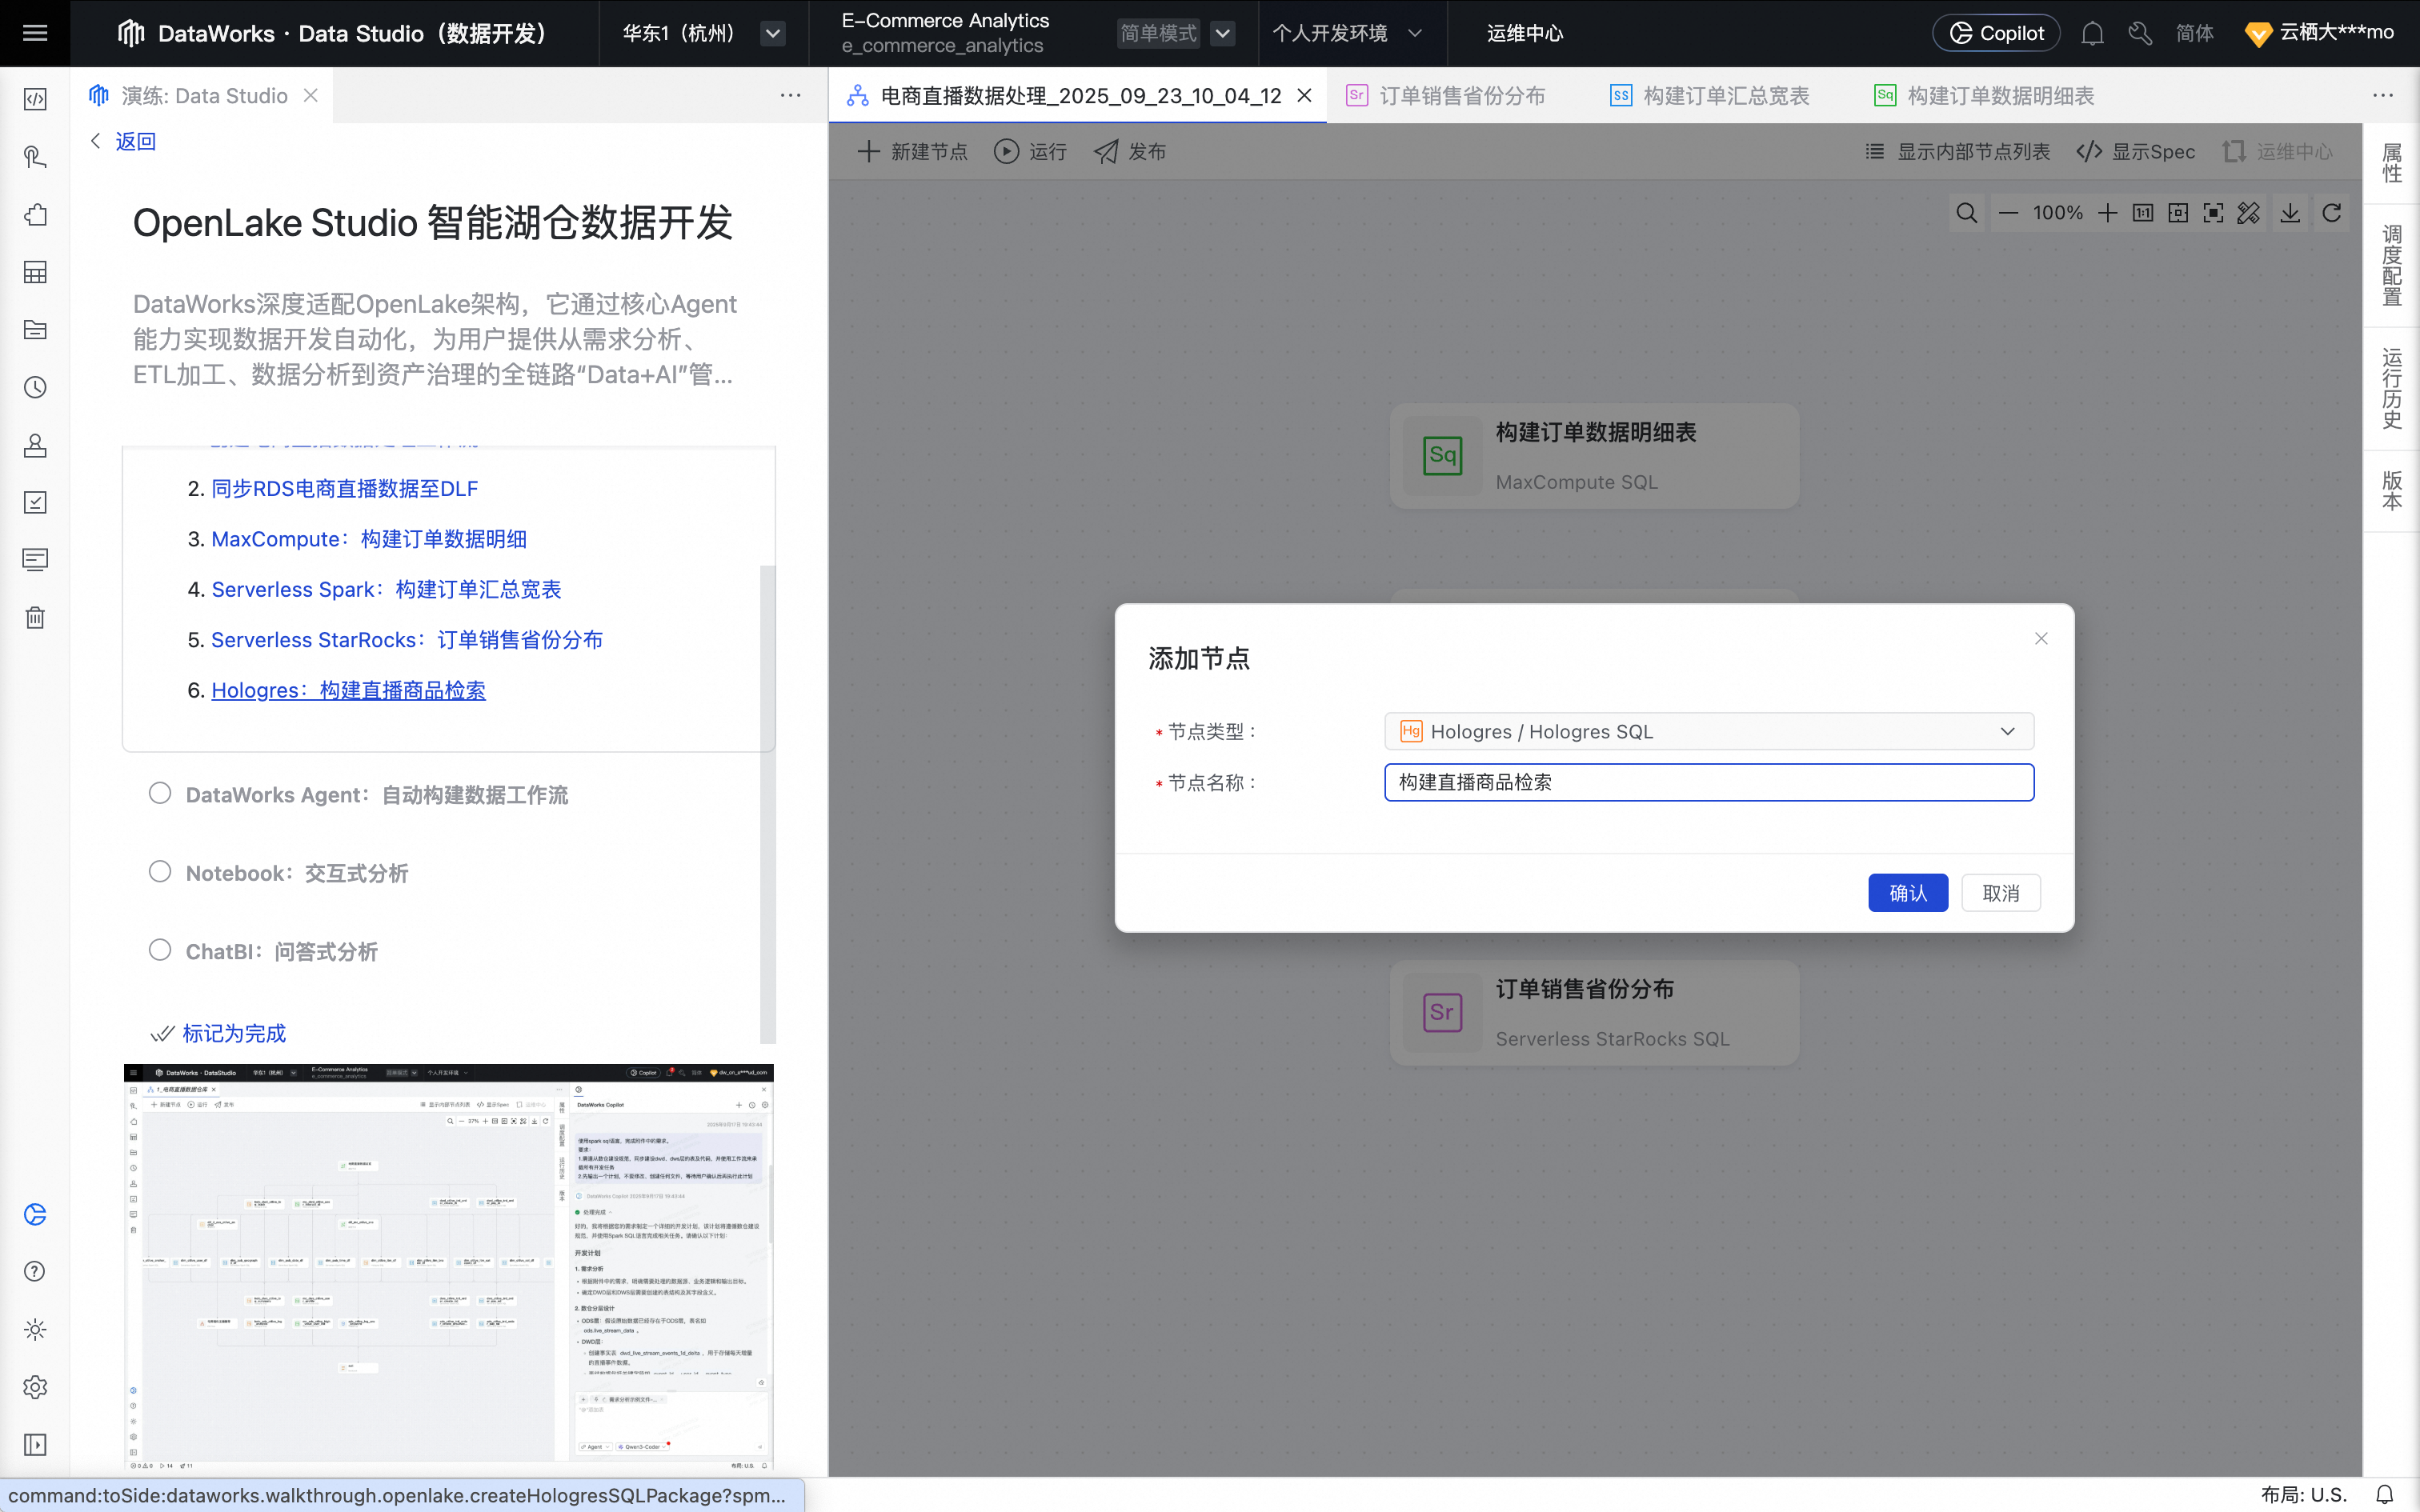
Return to the workflow page for this tutorial and click Hologres: Build Livestreaming Product Search to create a Hologres SQL node.
Click Confirm. The node is created successfully.
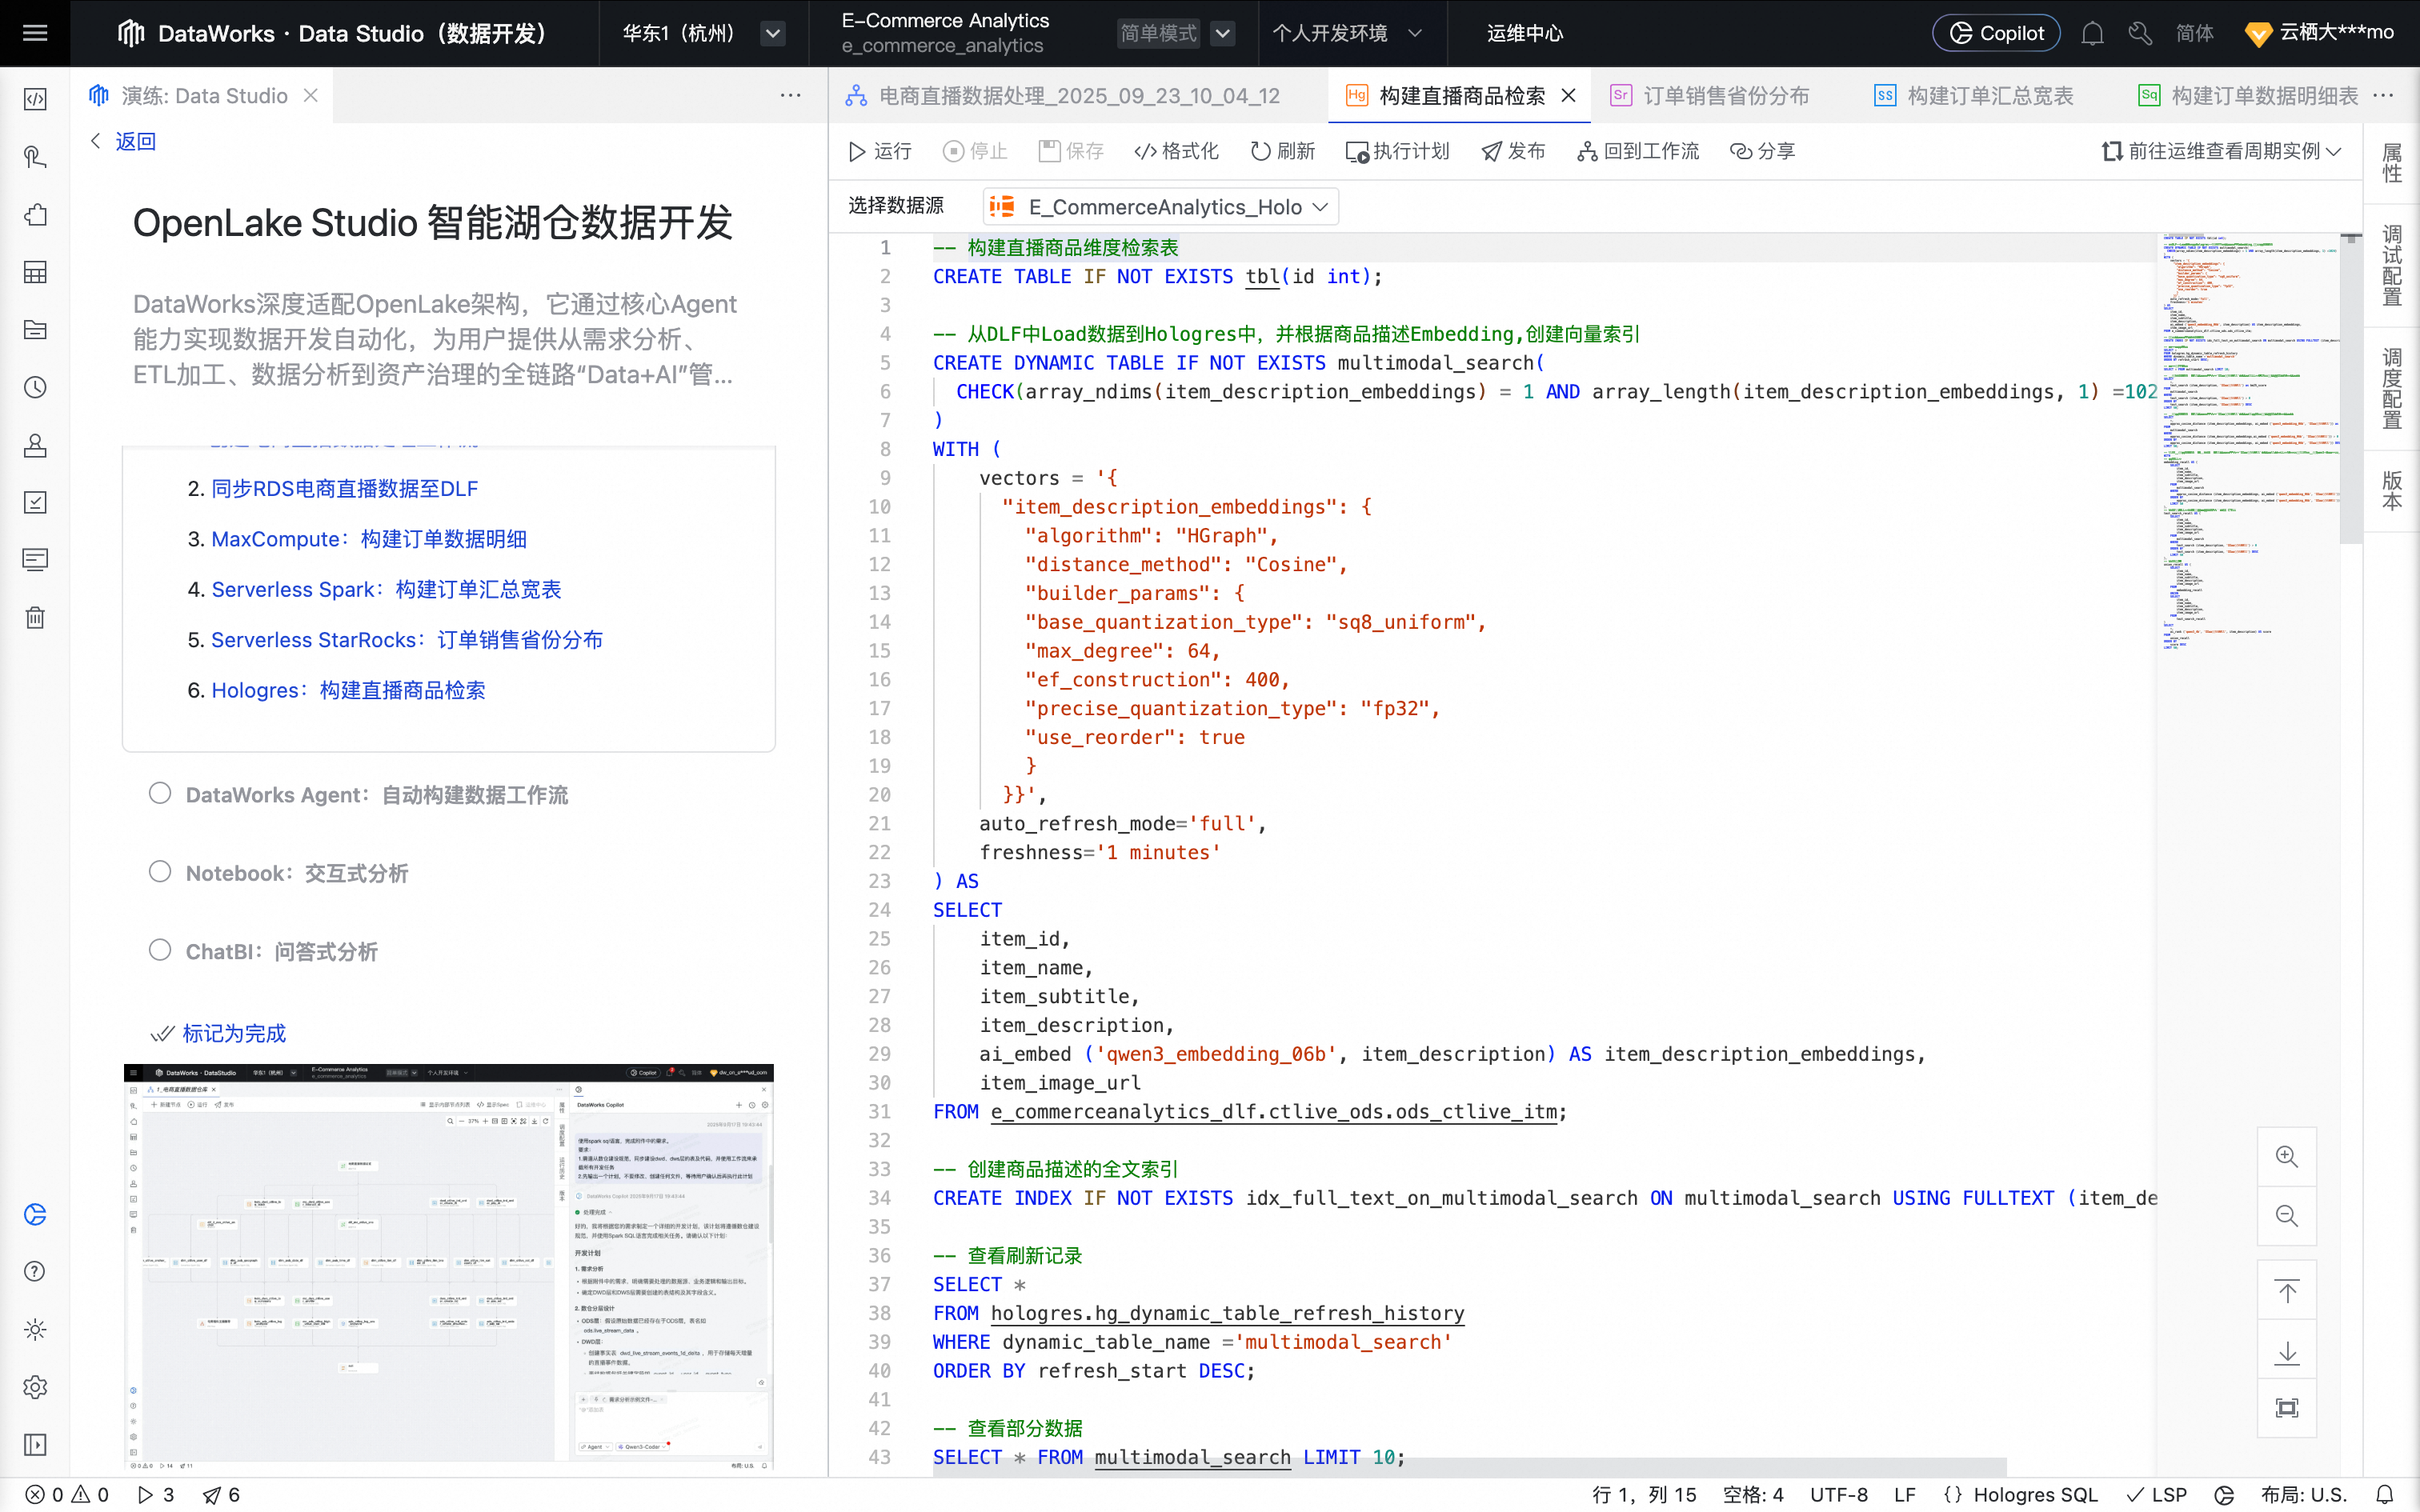
Hover over the node and click Open Node to go to the configuration page. The system automatically populates the editor with the following code.
In the right-side toolbar, click Run Configuration and configure the compute resources and resource group you prepared earlier.
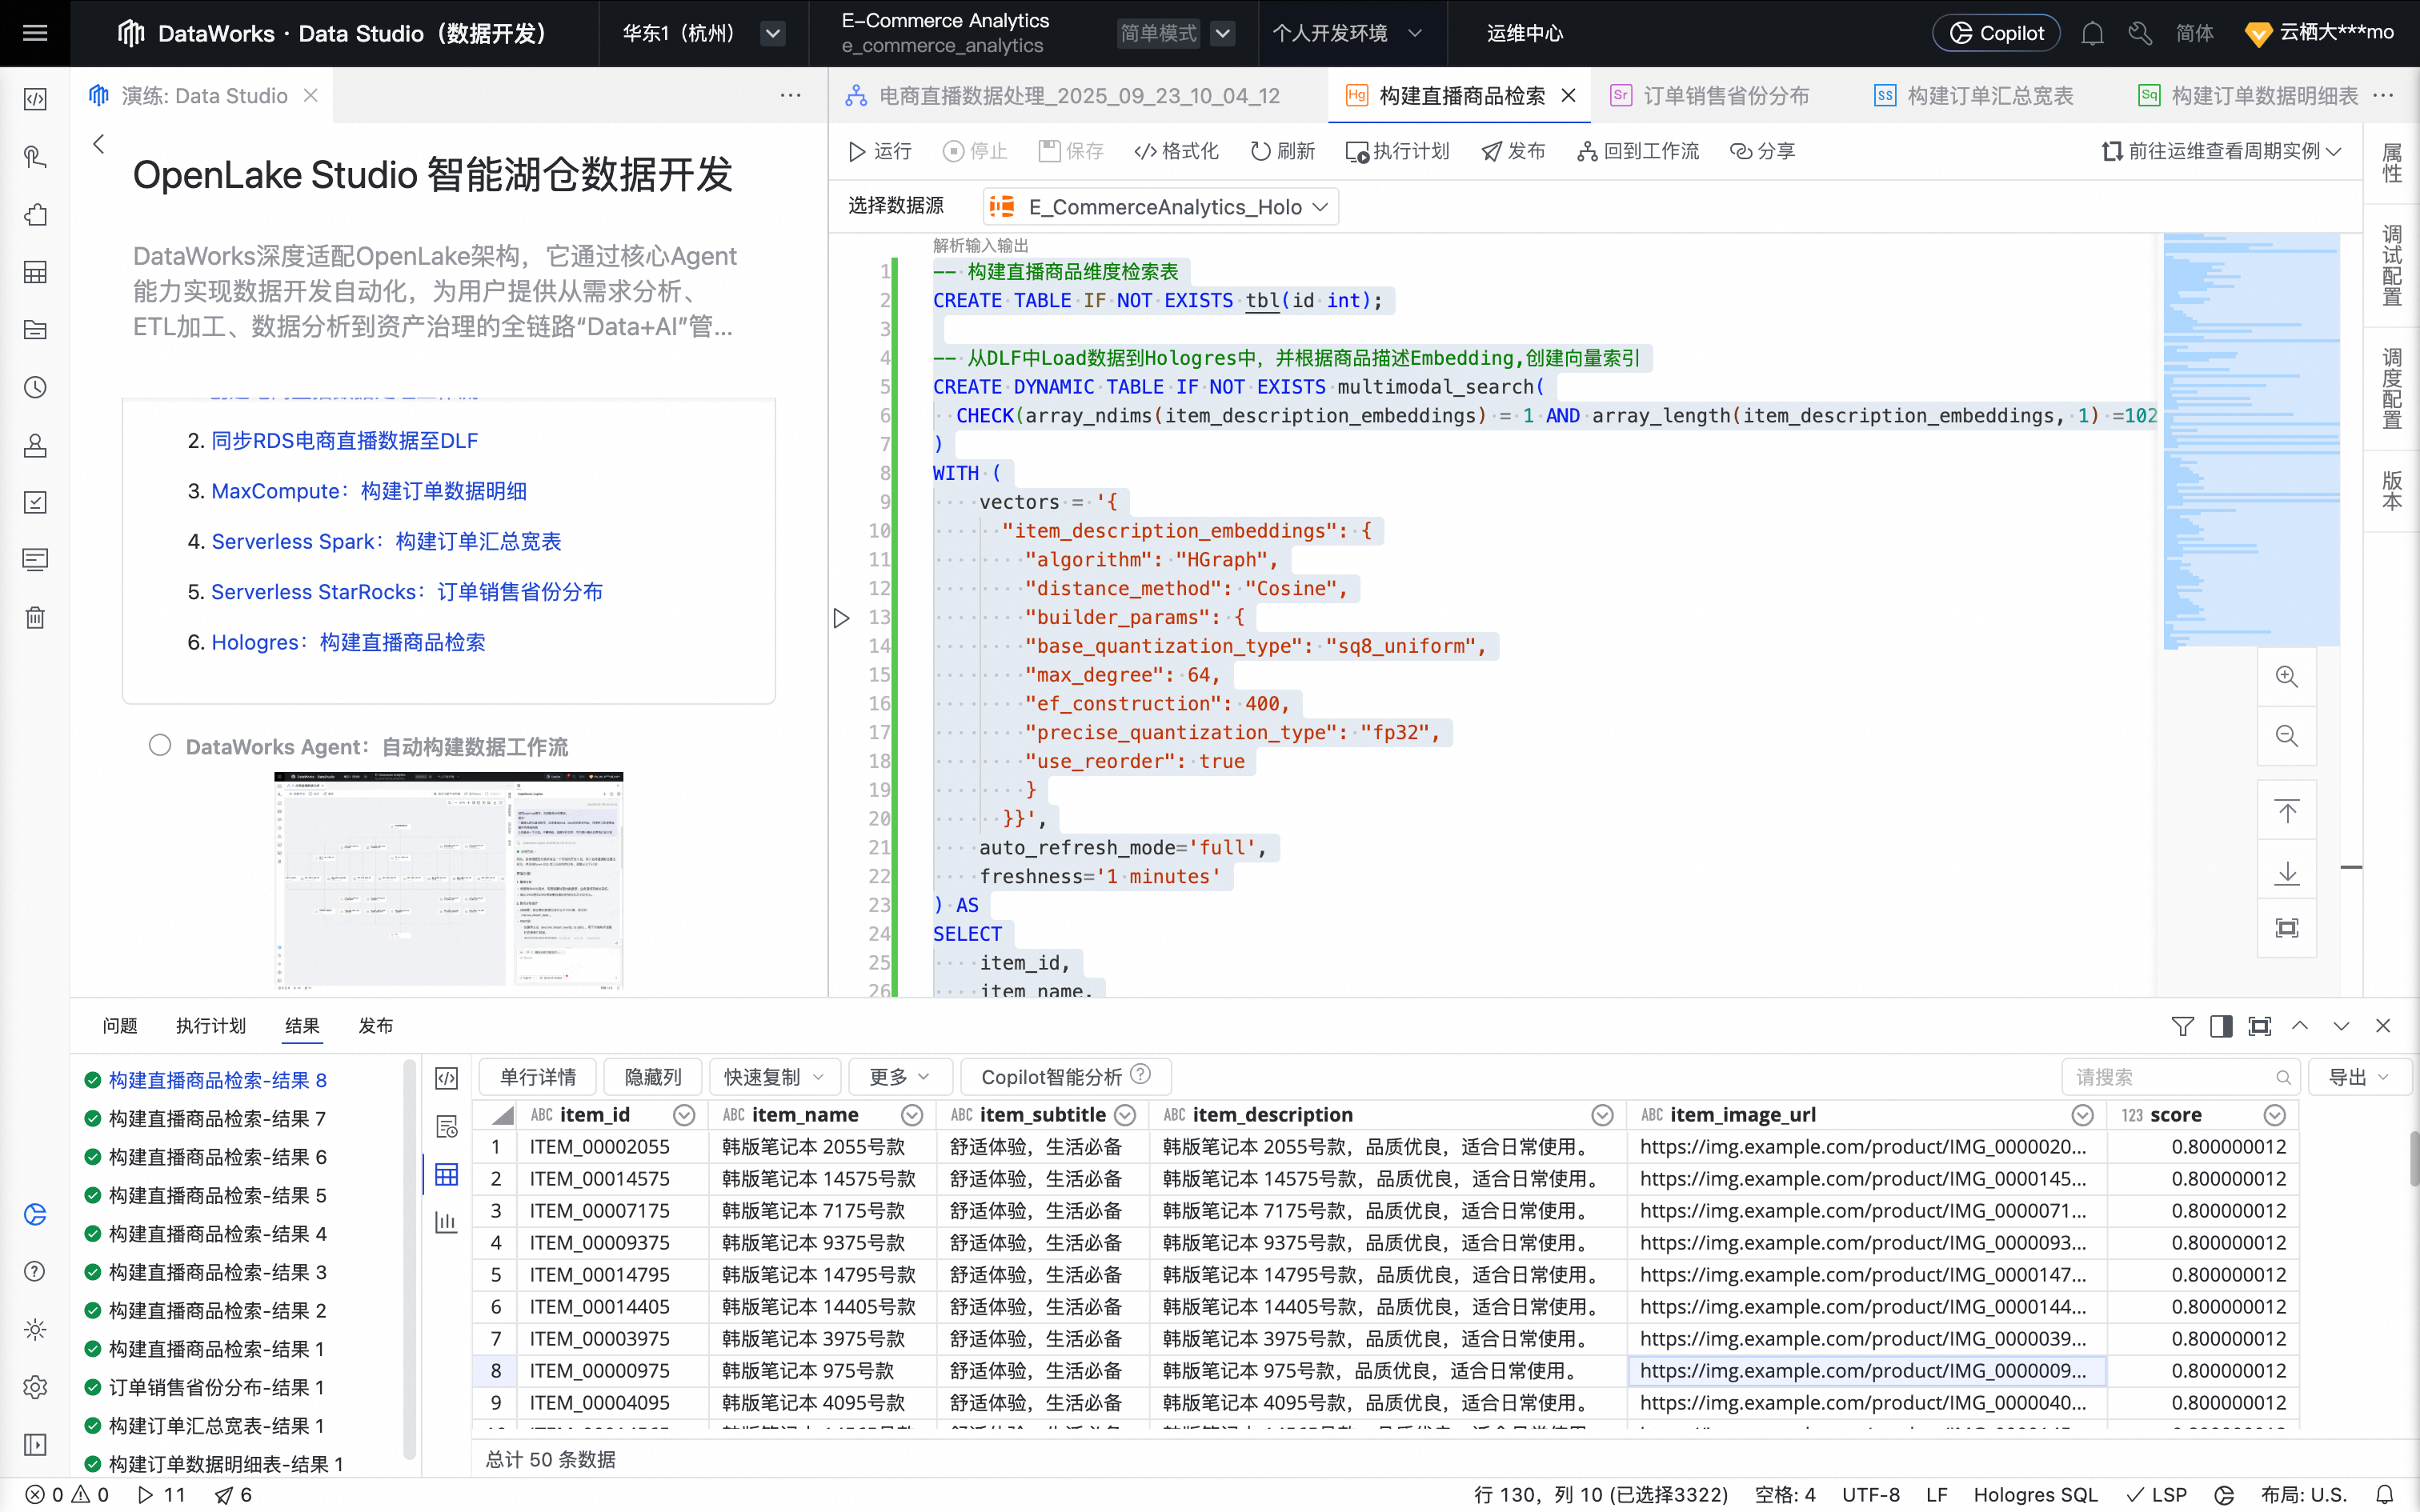
At the top of the node editor, click Run to run the task.
After the task is complete, you can view the execution results and product search results in the query results area.

DataWorks Agent: Automatically build a data workflow
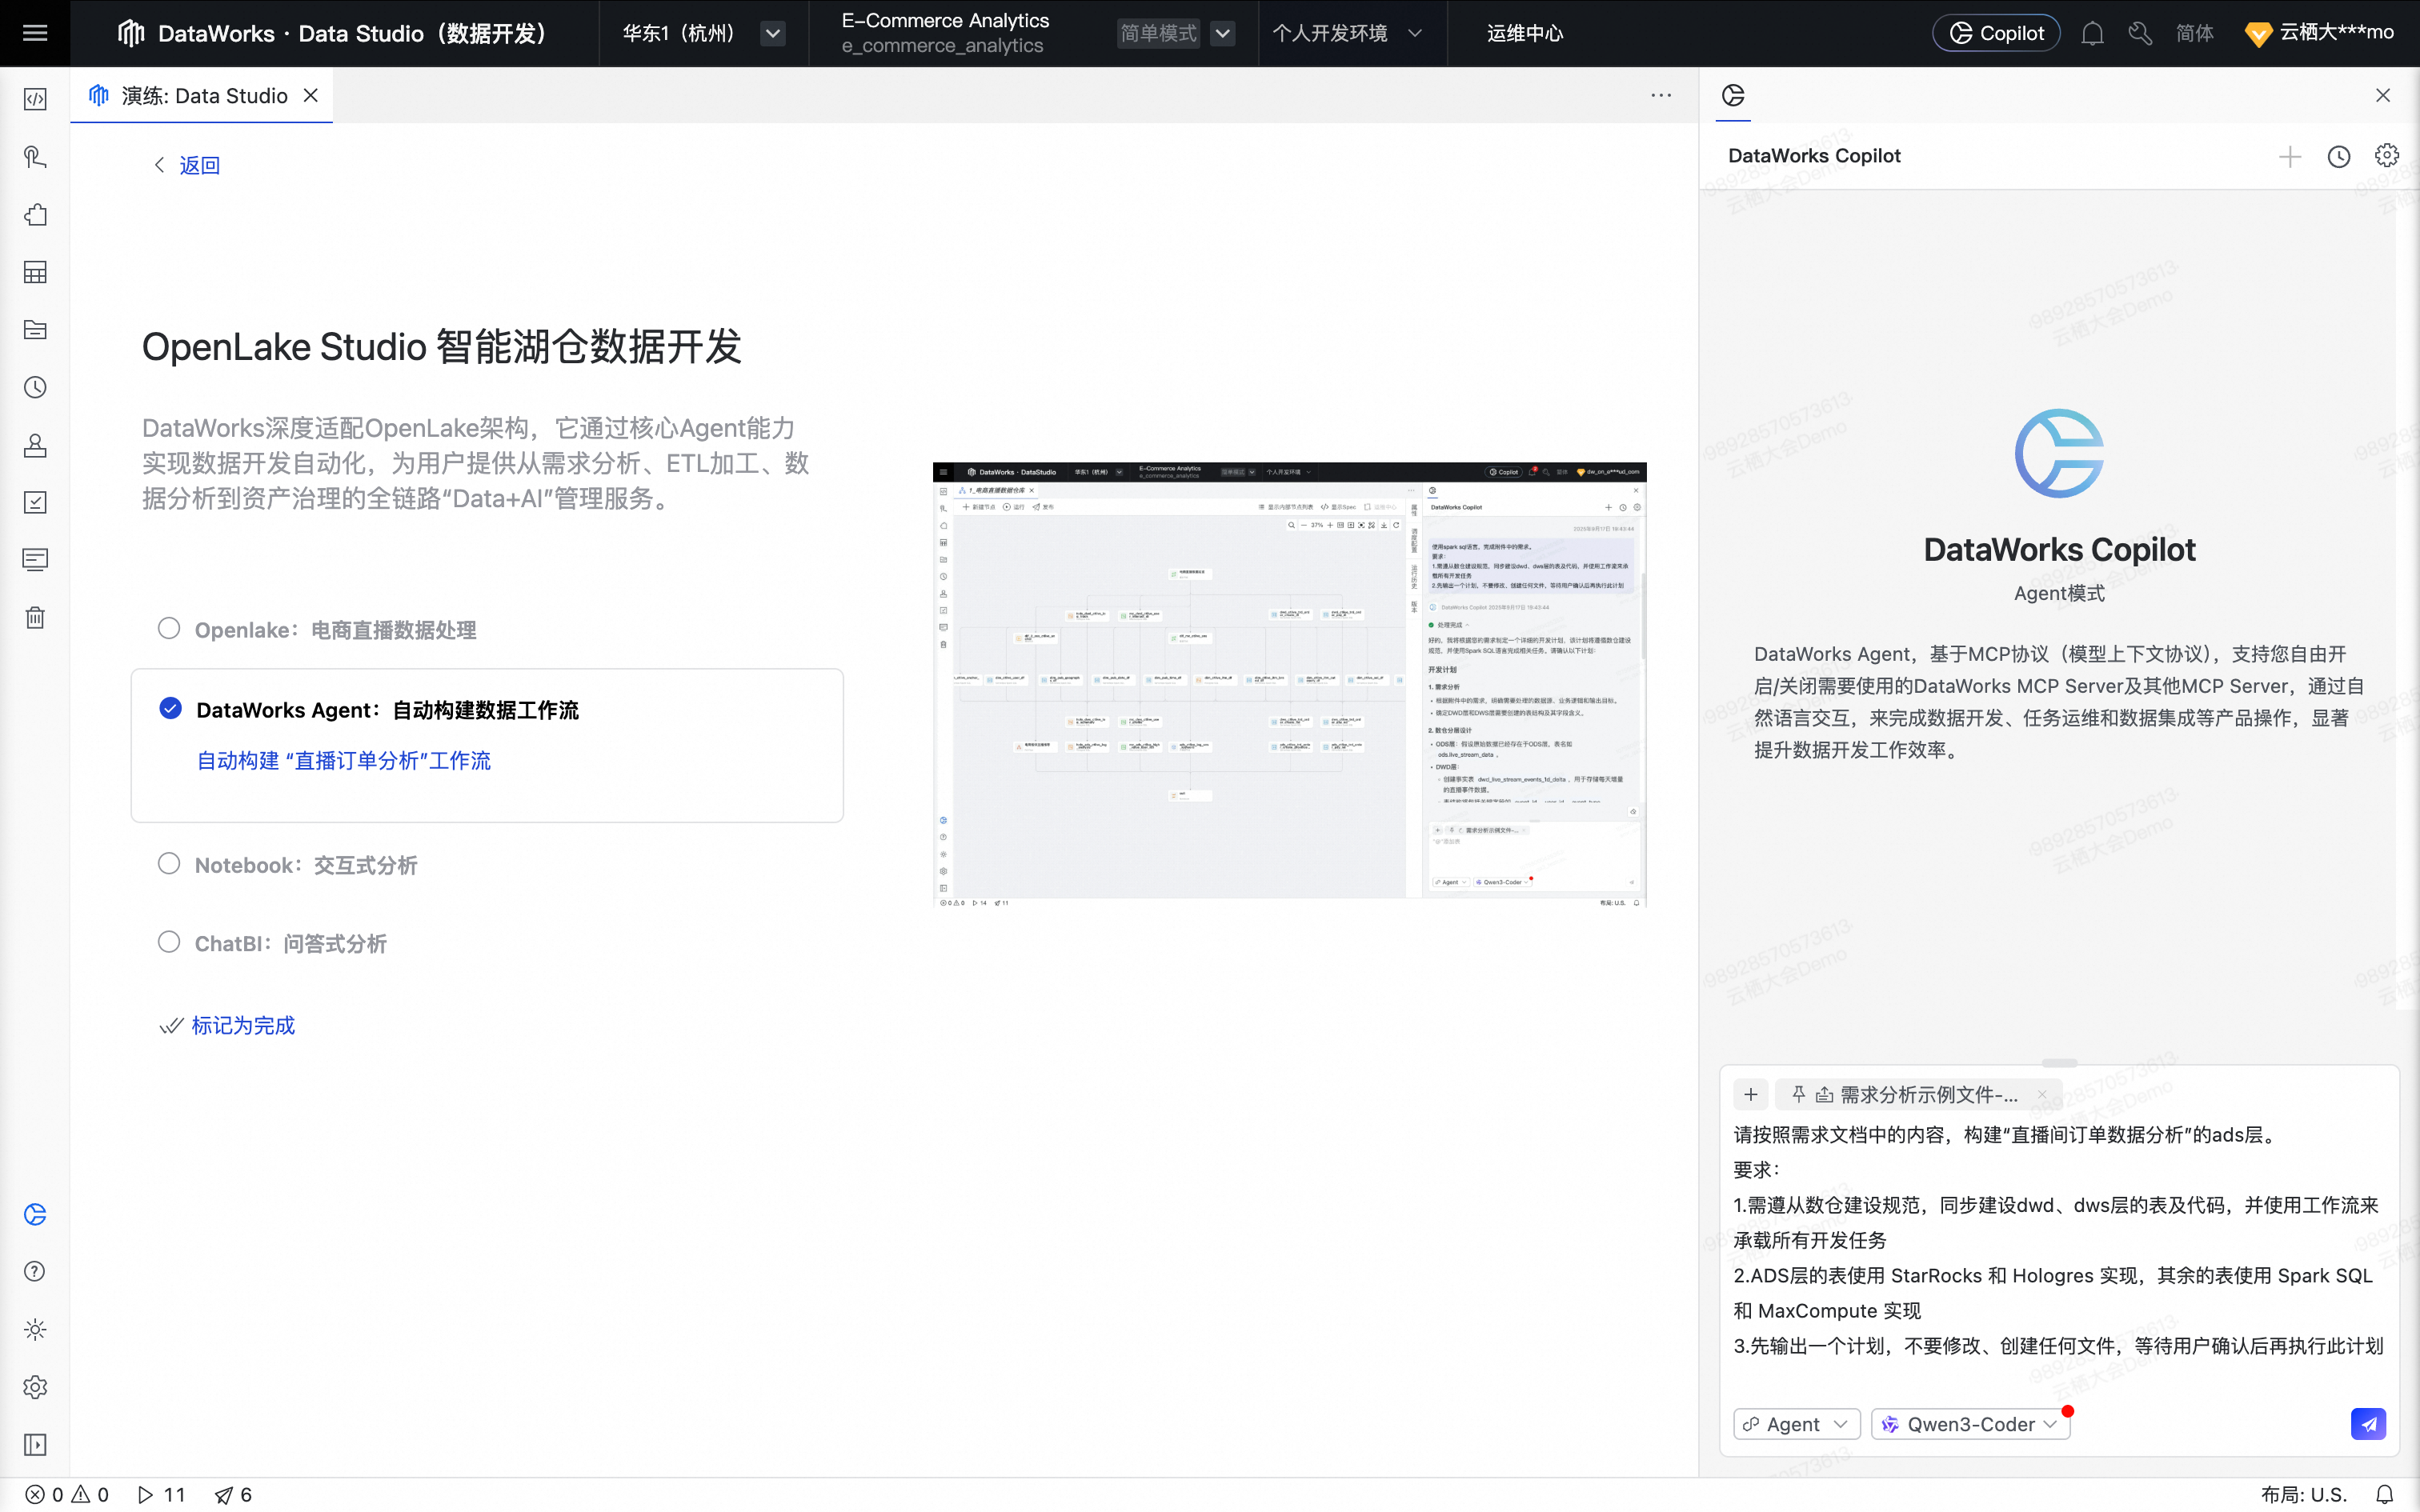
Return to the tutorial page and click DataWorks Agent: Automatically Build Data Workflow.
The system automatically enters a prompt and uploads a requirements document:
User prompt:
Based on the content of the requirements document, build the ADS layer for "livestreaming order data analysis".
Requirements:
1. You must follow data warehousing standards. Build the tables and code for the DWD and DWS layers, and use a workflow to manage all development tasks.
2. The ADS layer tables must be implemented using StarRocks and Hologres. The other tables must be implemented using Spark SQL and MaxCompute.
3. First, output a plan. Do not modify or create any files. Wait for user confirmation before executing the plan.
Requirements document content: livestreaming_order_analysis_requirements.md.
# Data Analysis Requirements Document
## Background
**Existing tables:**
- **ods_ctlive_trd_order_create** - Transaction order creation table
- **ods_ctlive_itm_df** - Product dimension table

## Requirements

#### 1.1 Product sales analysis
- **Top-selling product analysis**: Analyze which products have the highest sales volume and largest sales revenue.

## Notes
- **ADS layer tables**: Implement using StarRocks and Hologres.
- **Other tables**: Implement using Spark SQL and MaxCompute.
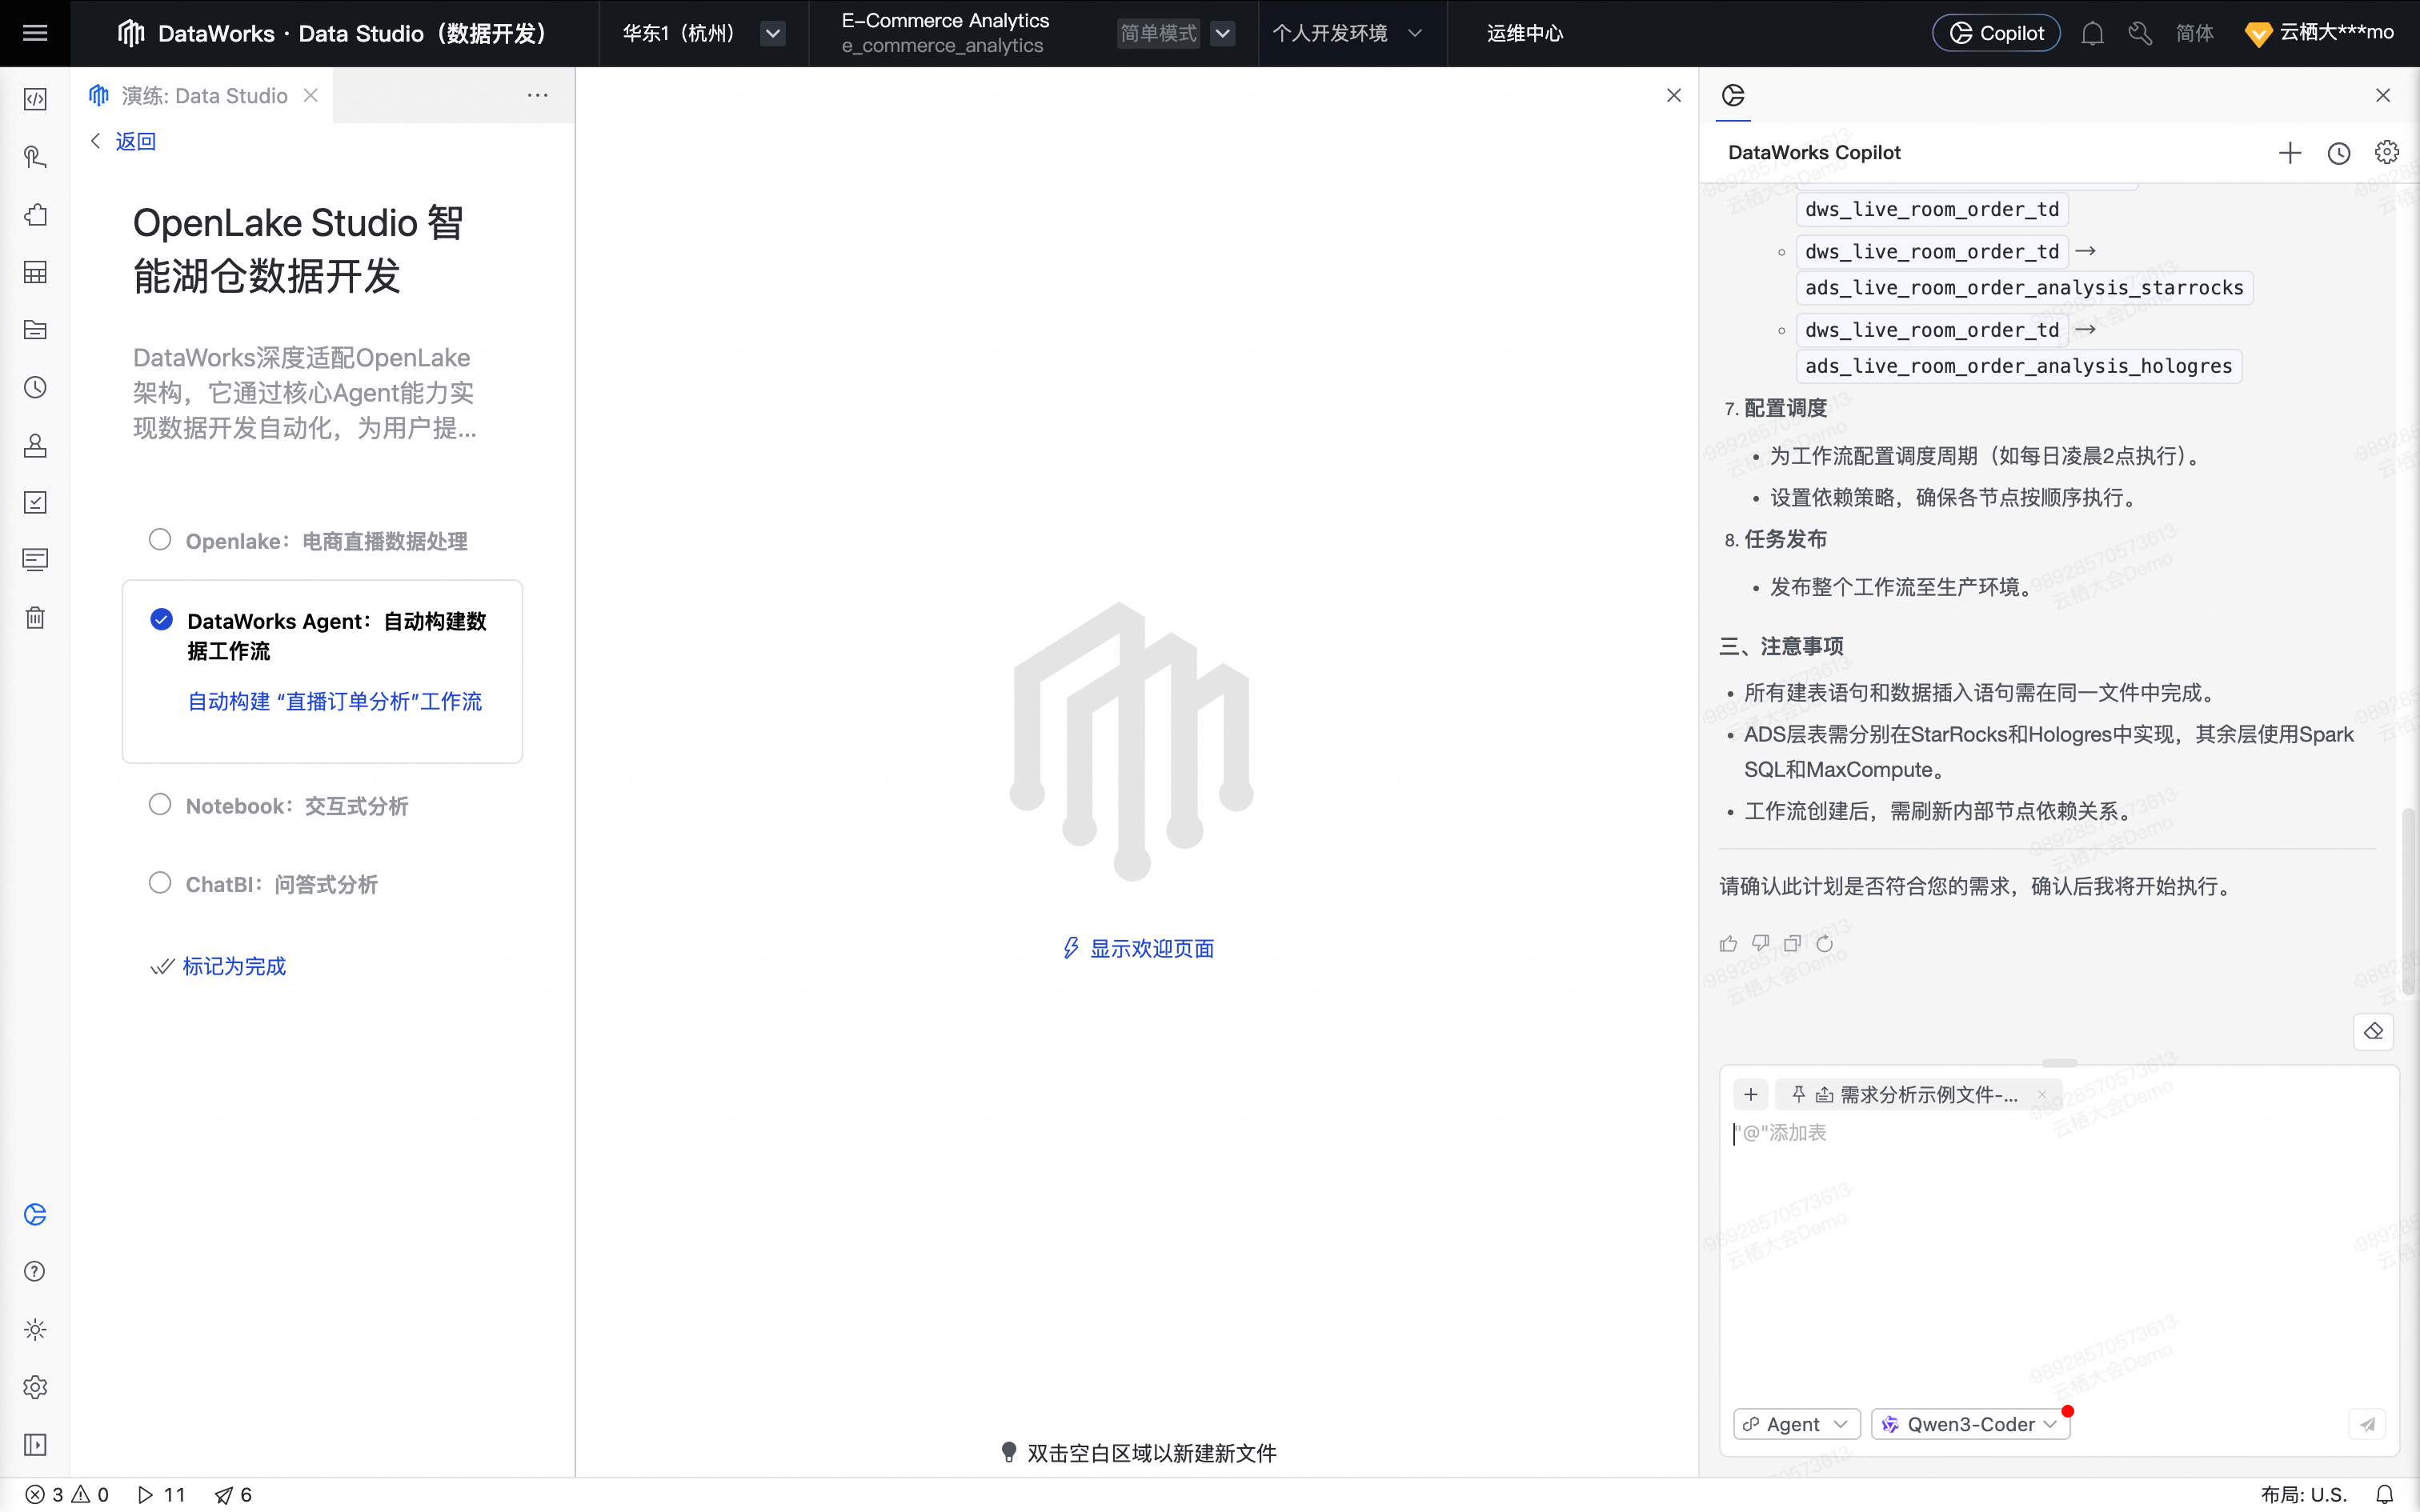
In the bottom-right dialog box, click Send. The Agent begins to analyze the requirements.
DataWorks Agent processes the input and previous conversation history to accurately understand the user's intent and generates a data development execution plan. During planning, the Agent intelligently senses the data context, automatically searches for relevant metadata, and references big data best practices and your custom enterprise knowledge base.
To better display the Agent's output, manually widen the central panel.
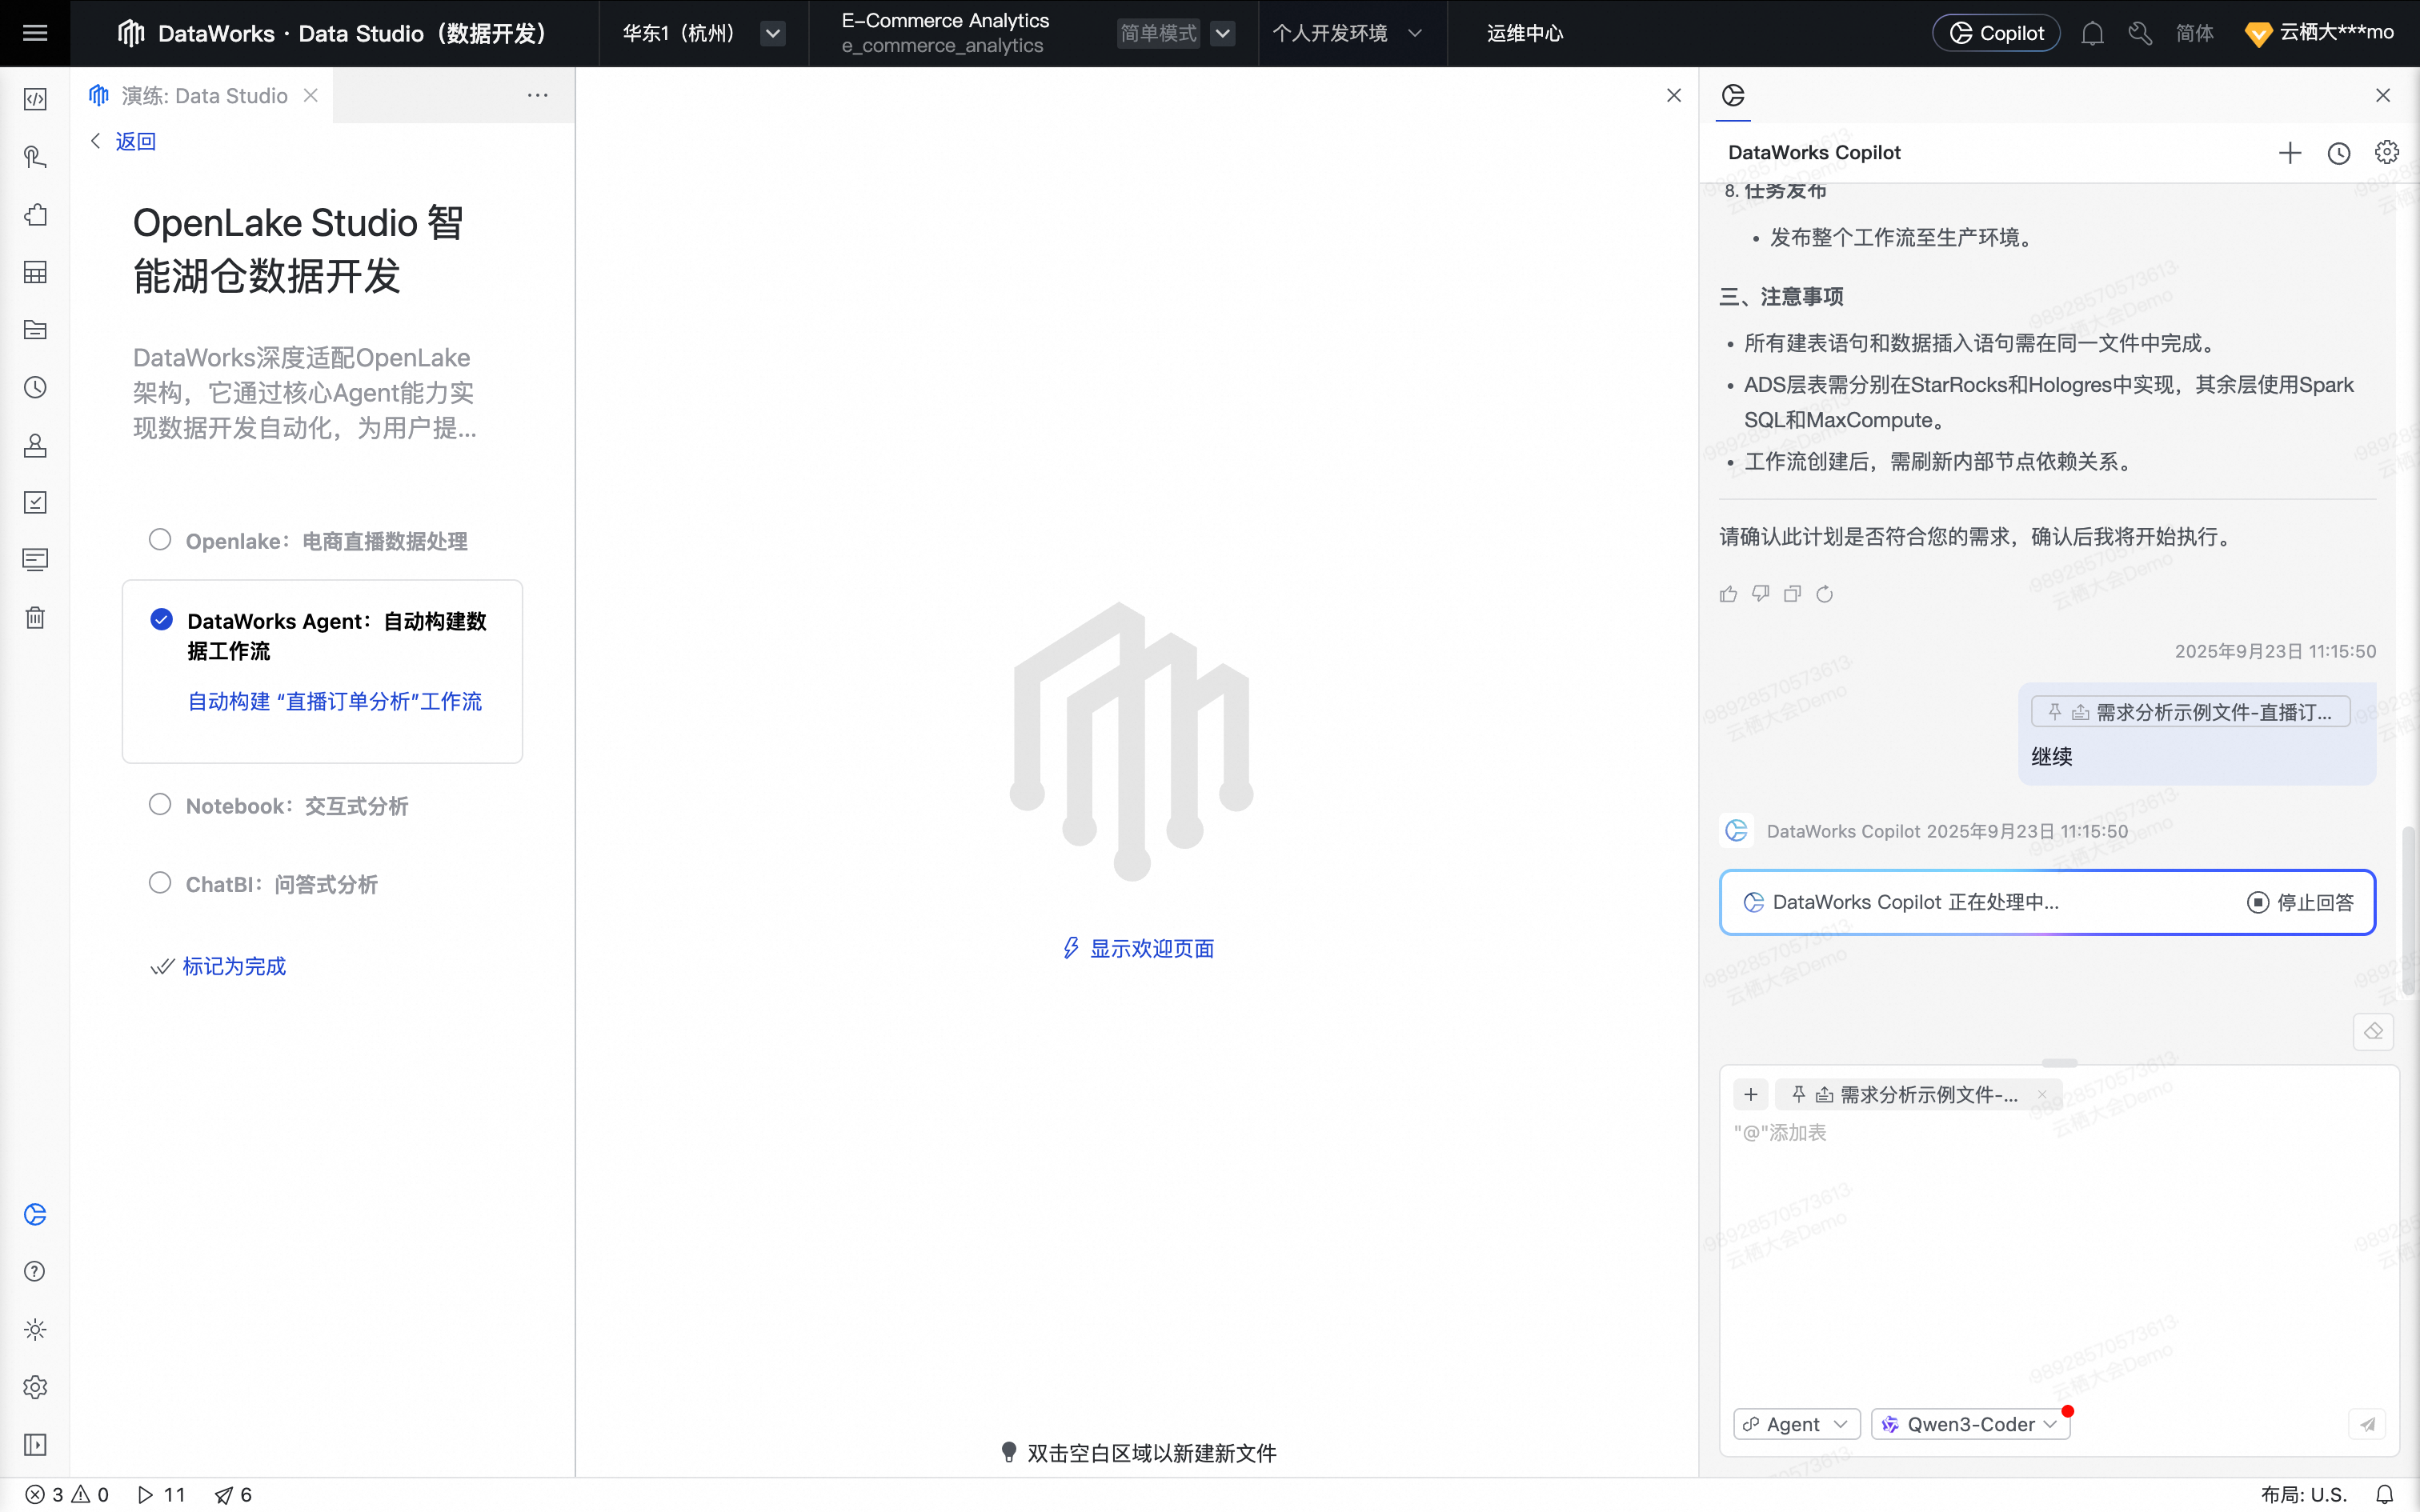
In the DataWorks Copilot prompt input box, type "continue" and send the message.
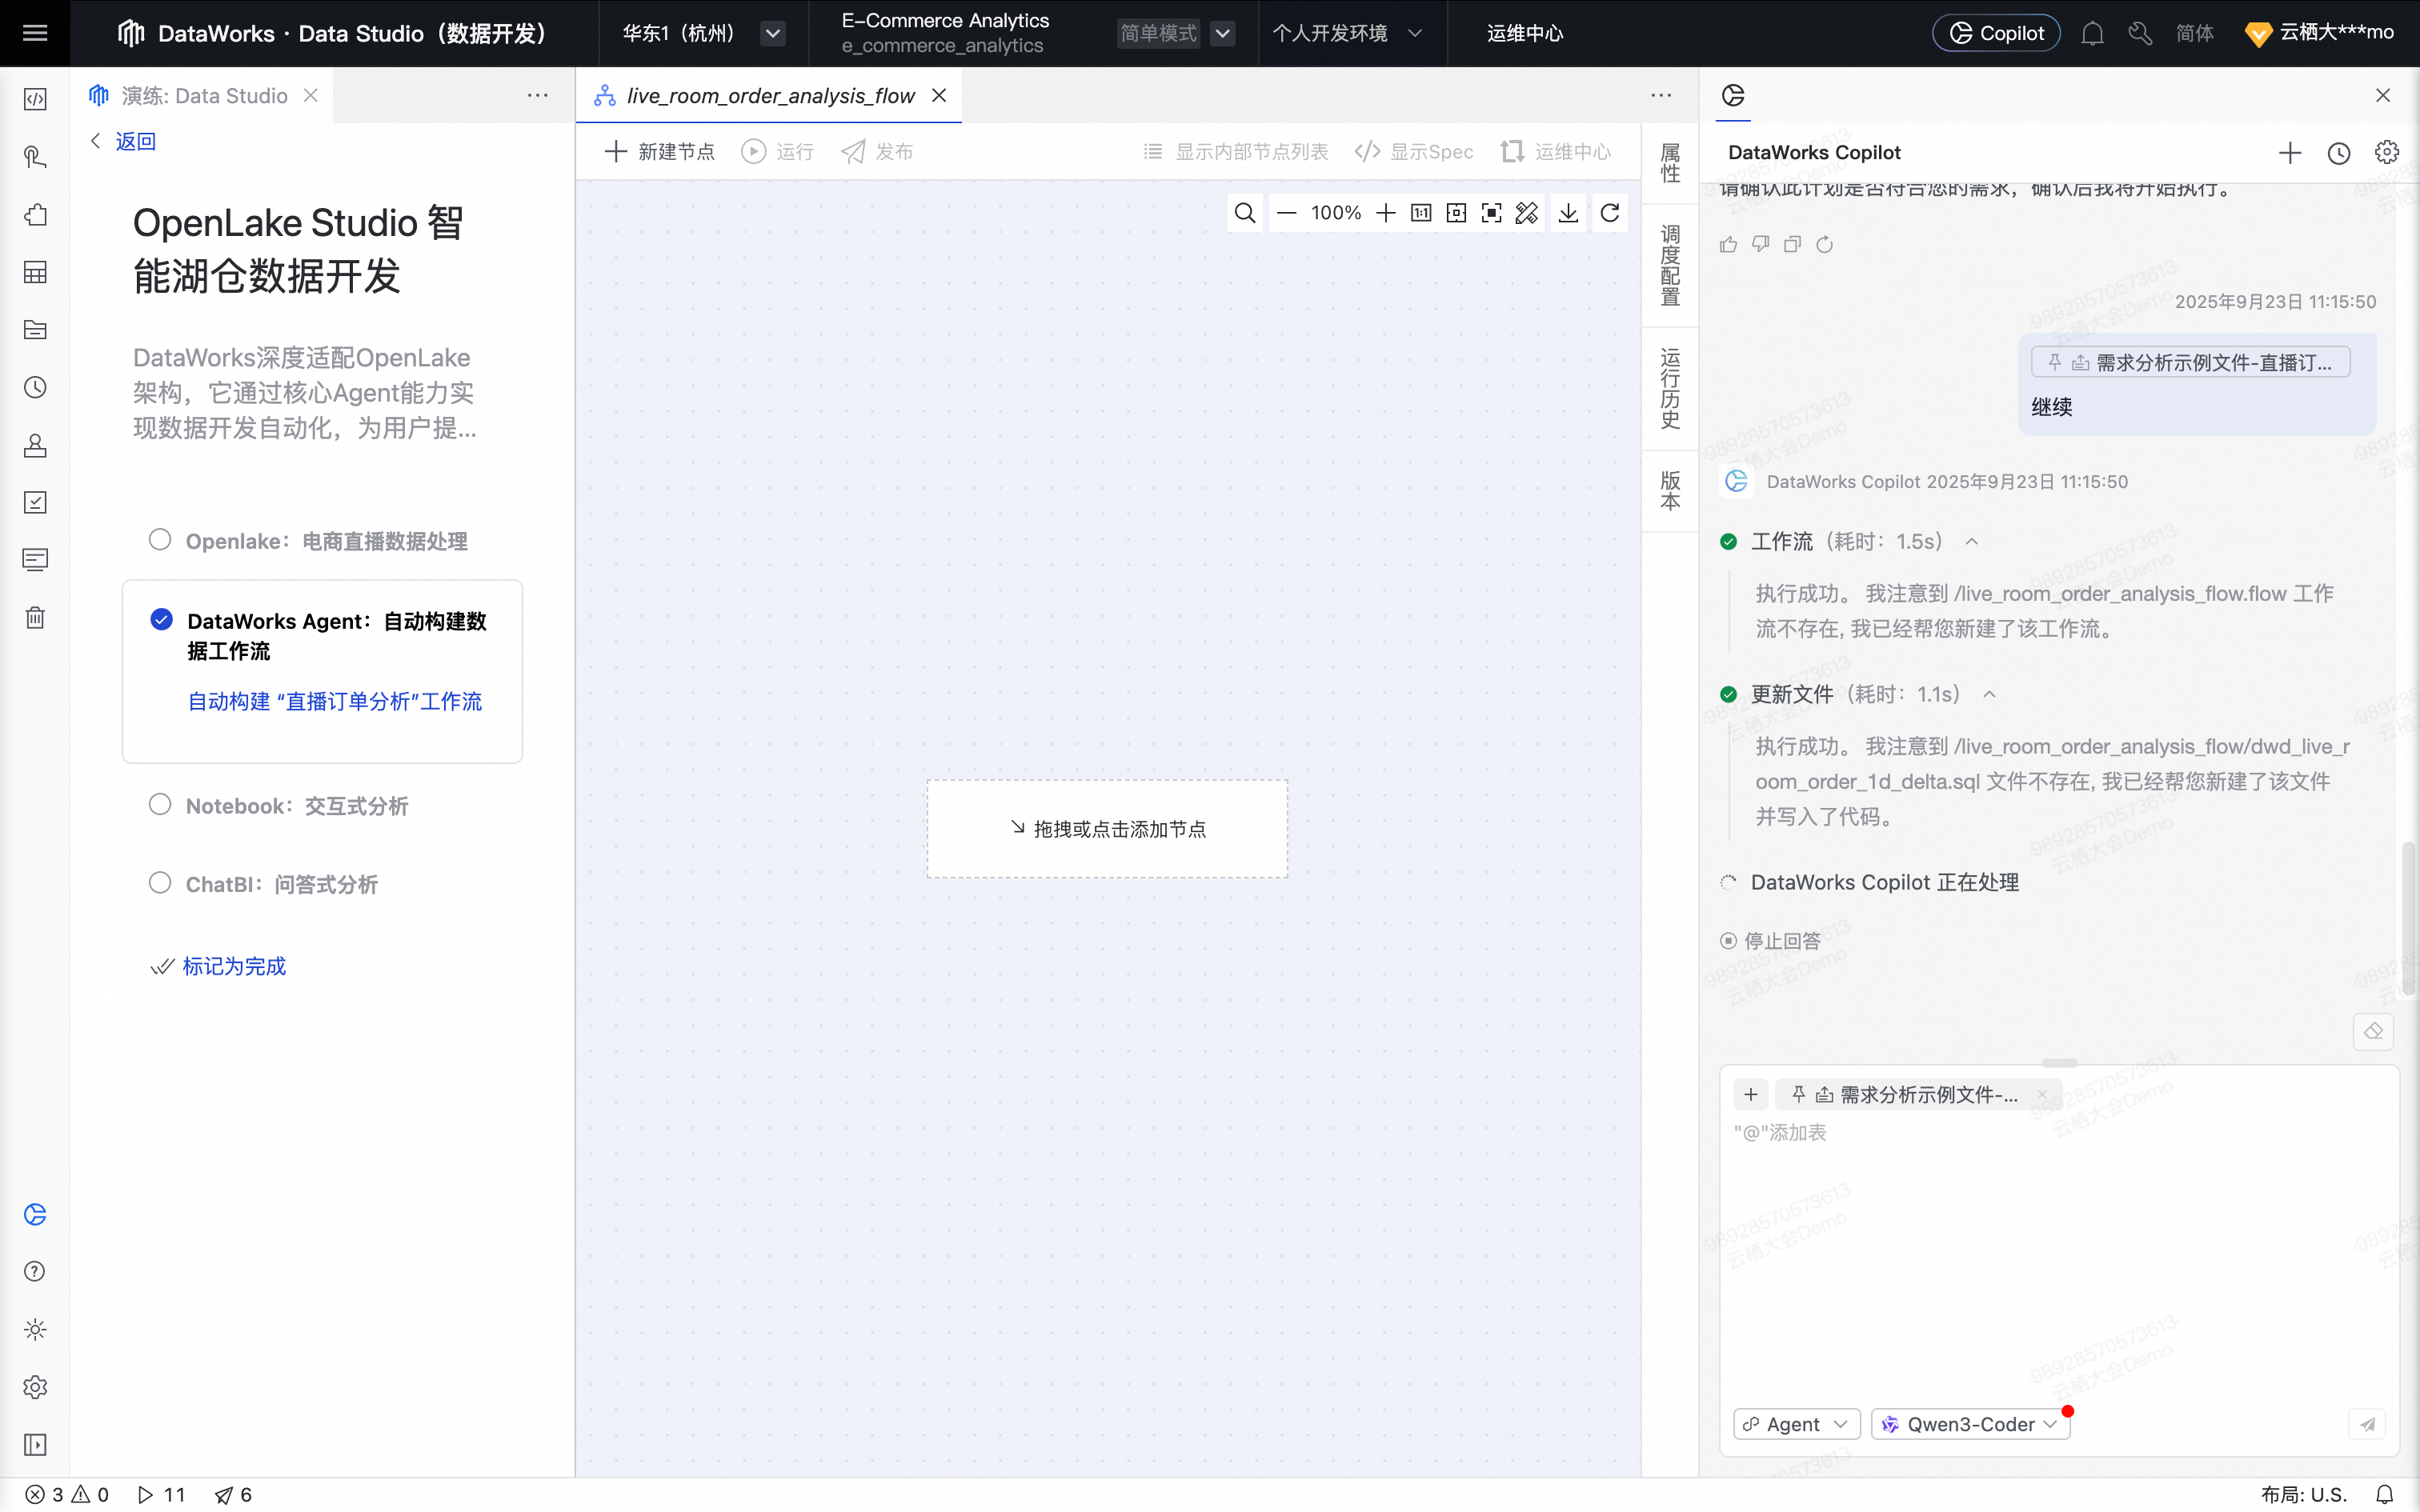
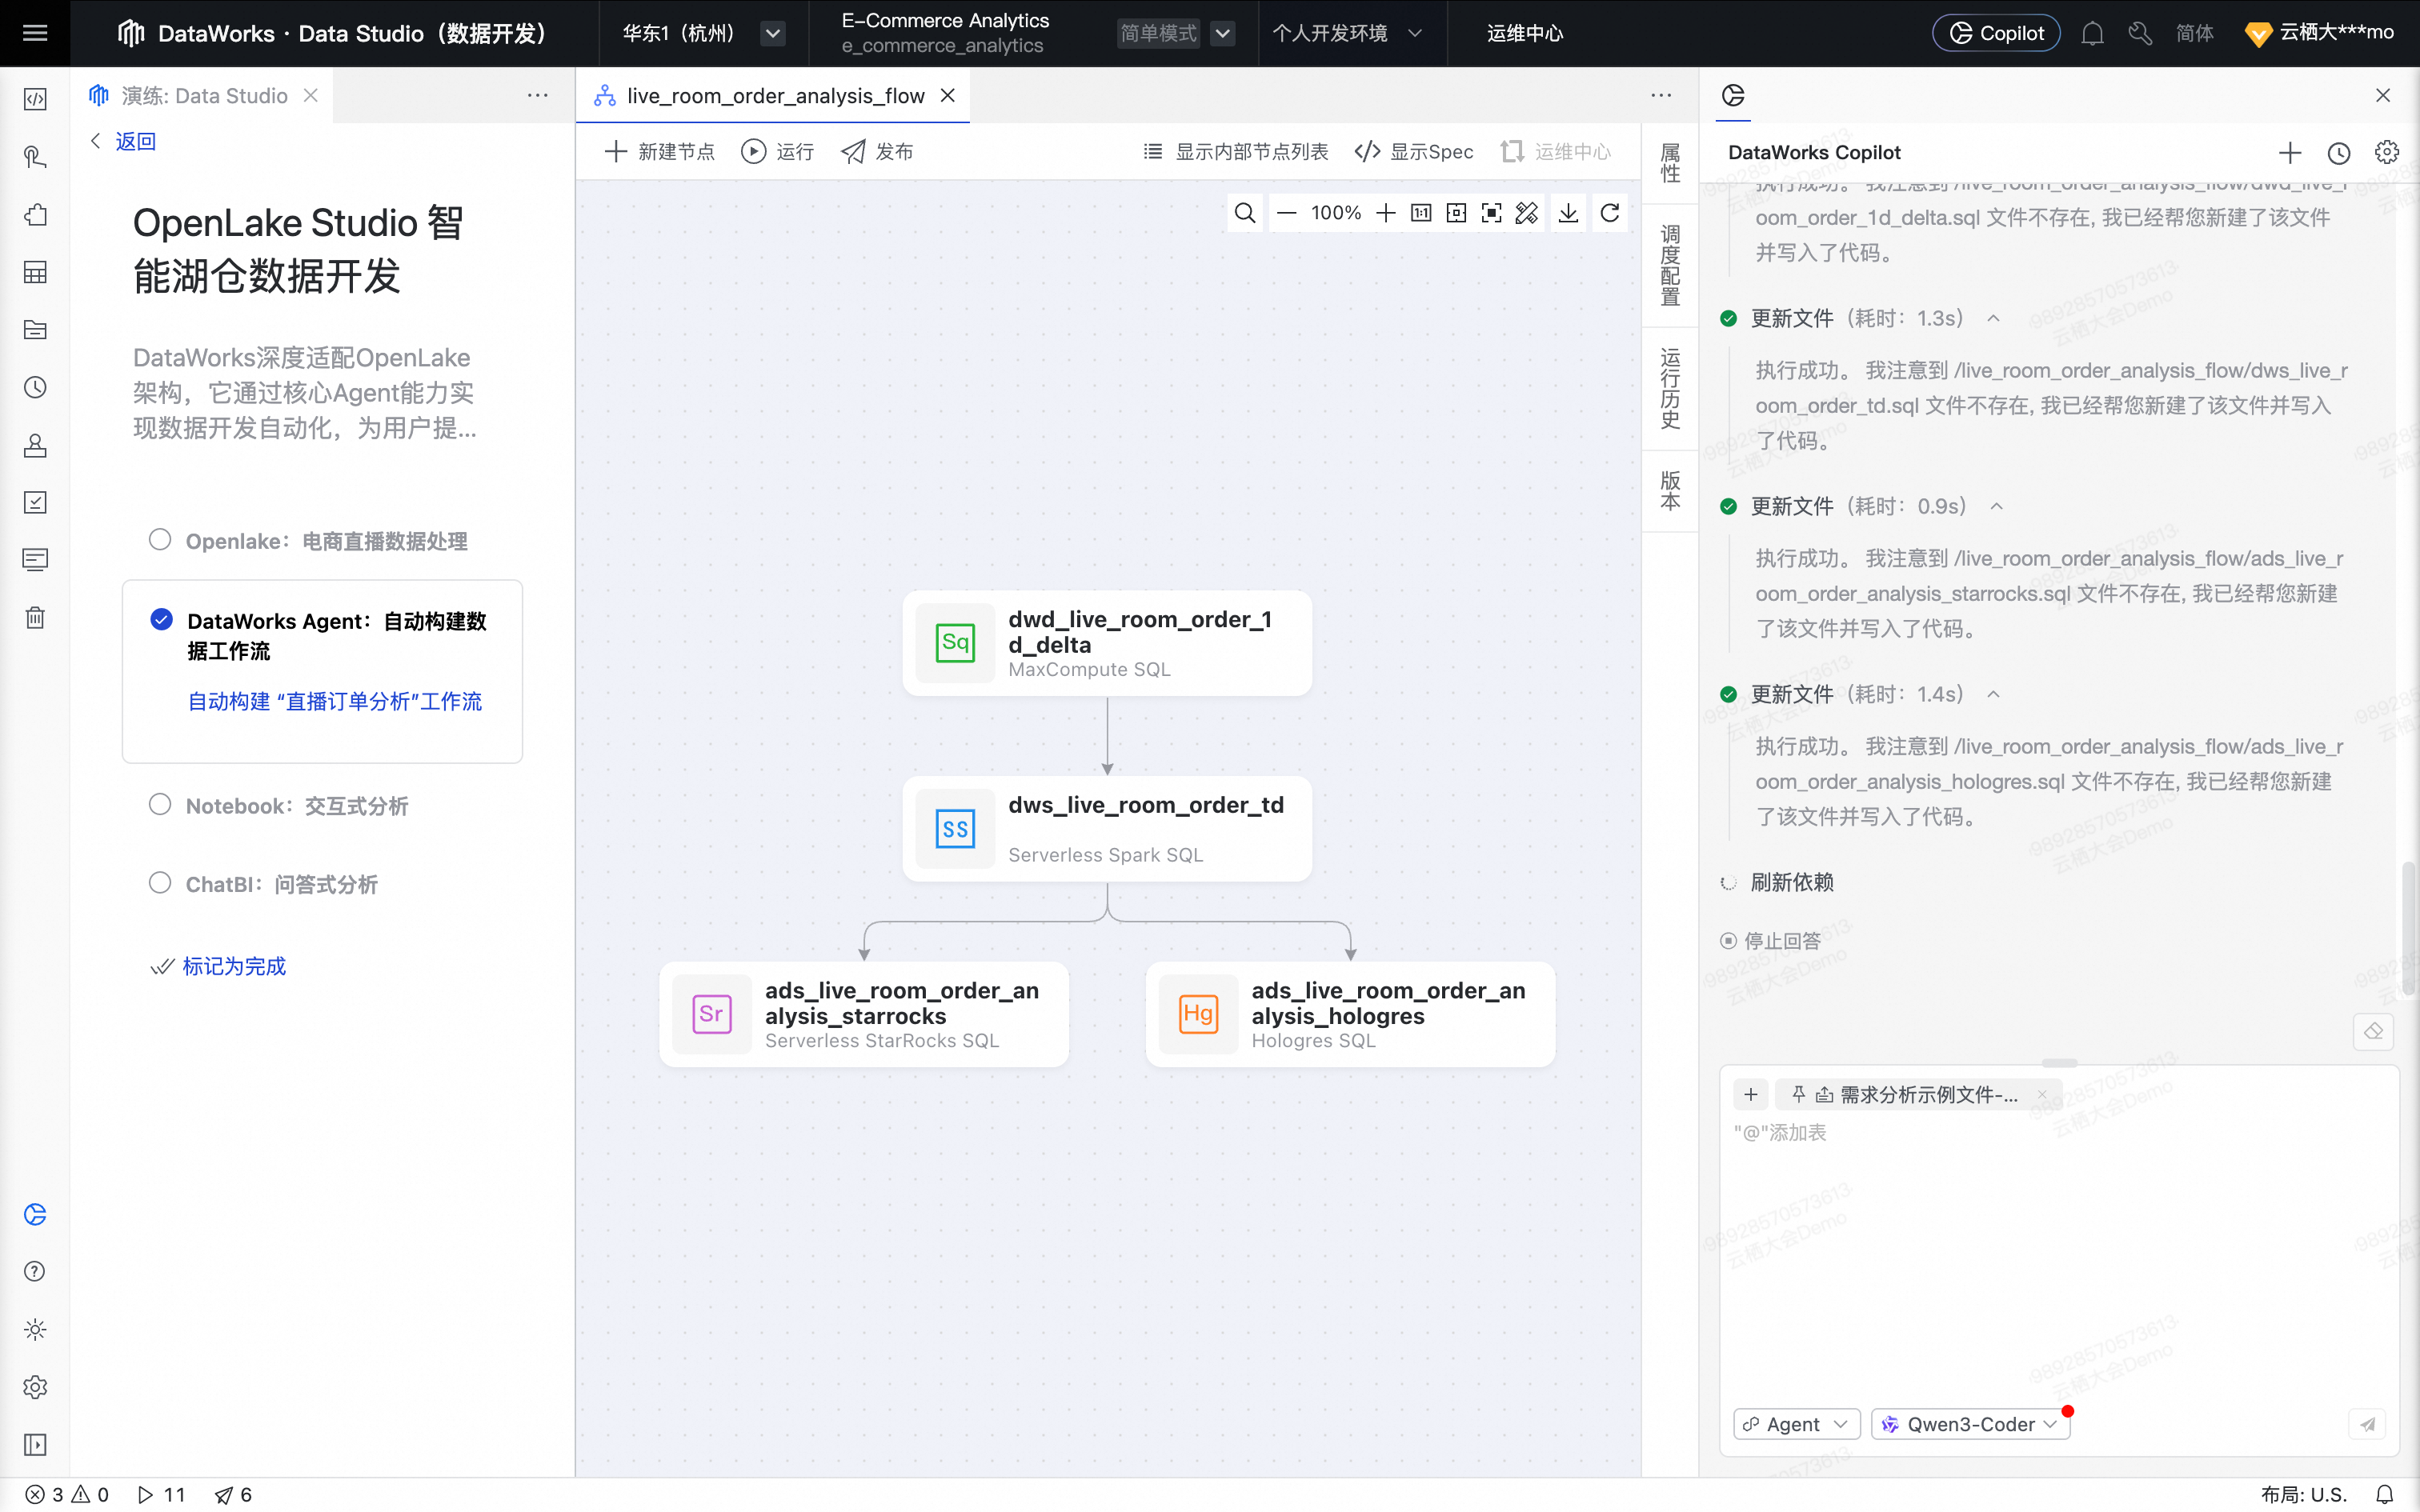
The Agent then uses tools in the DataWorks MCP Server to generate the required data processing nodes and the corresponding SQL code based on the requirements.
The Agent automatically orchestrates all data processing nodes into a workflow.
For the best viewing experience, manually format the workflow and center it on the page.
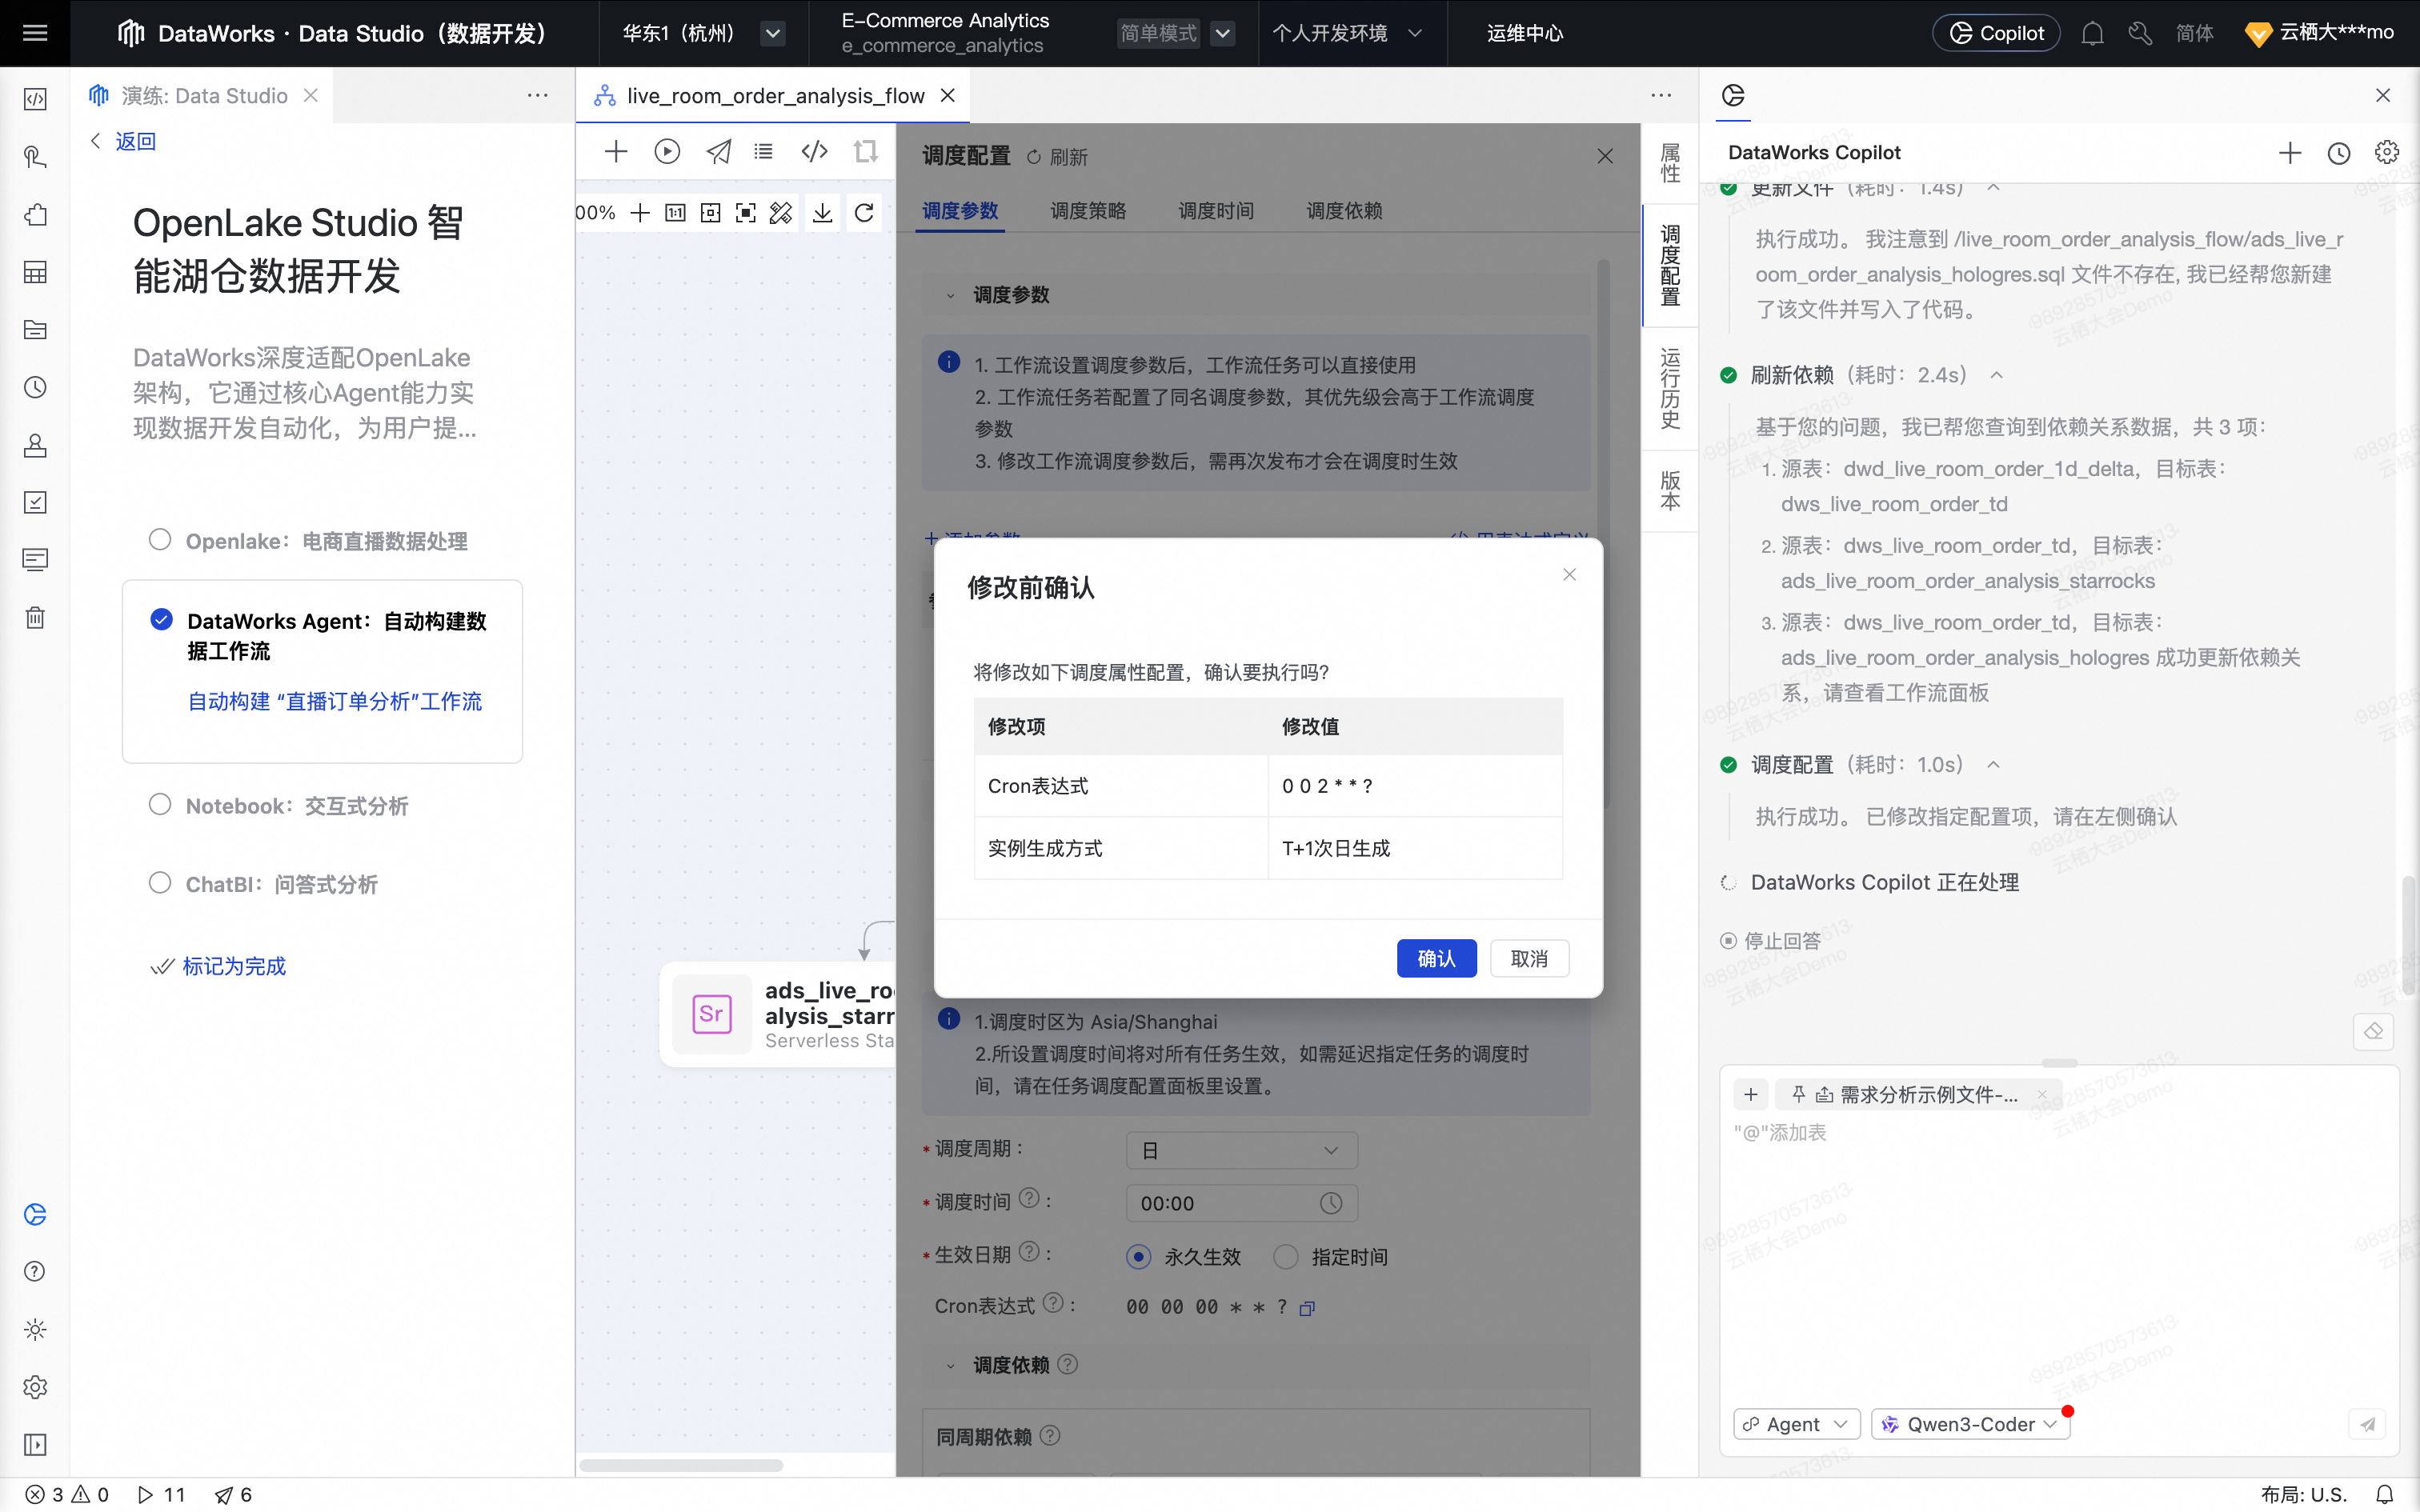
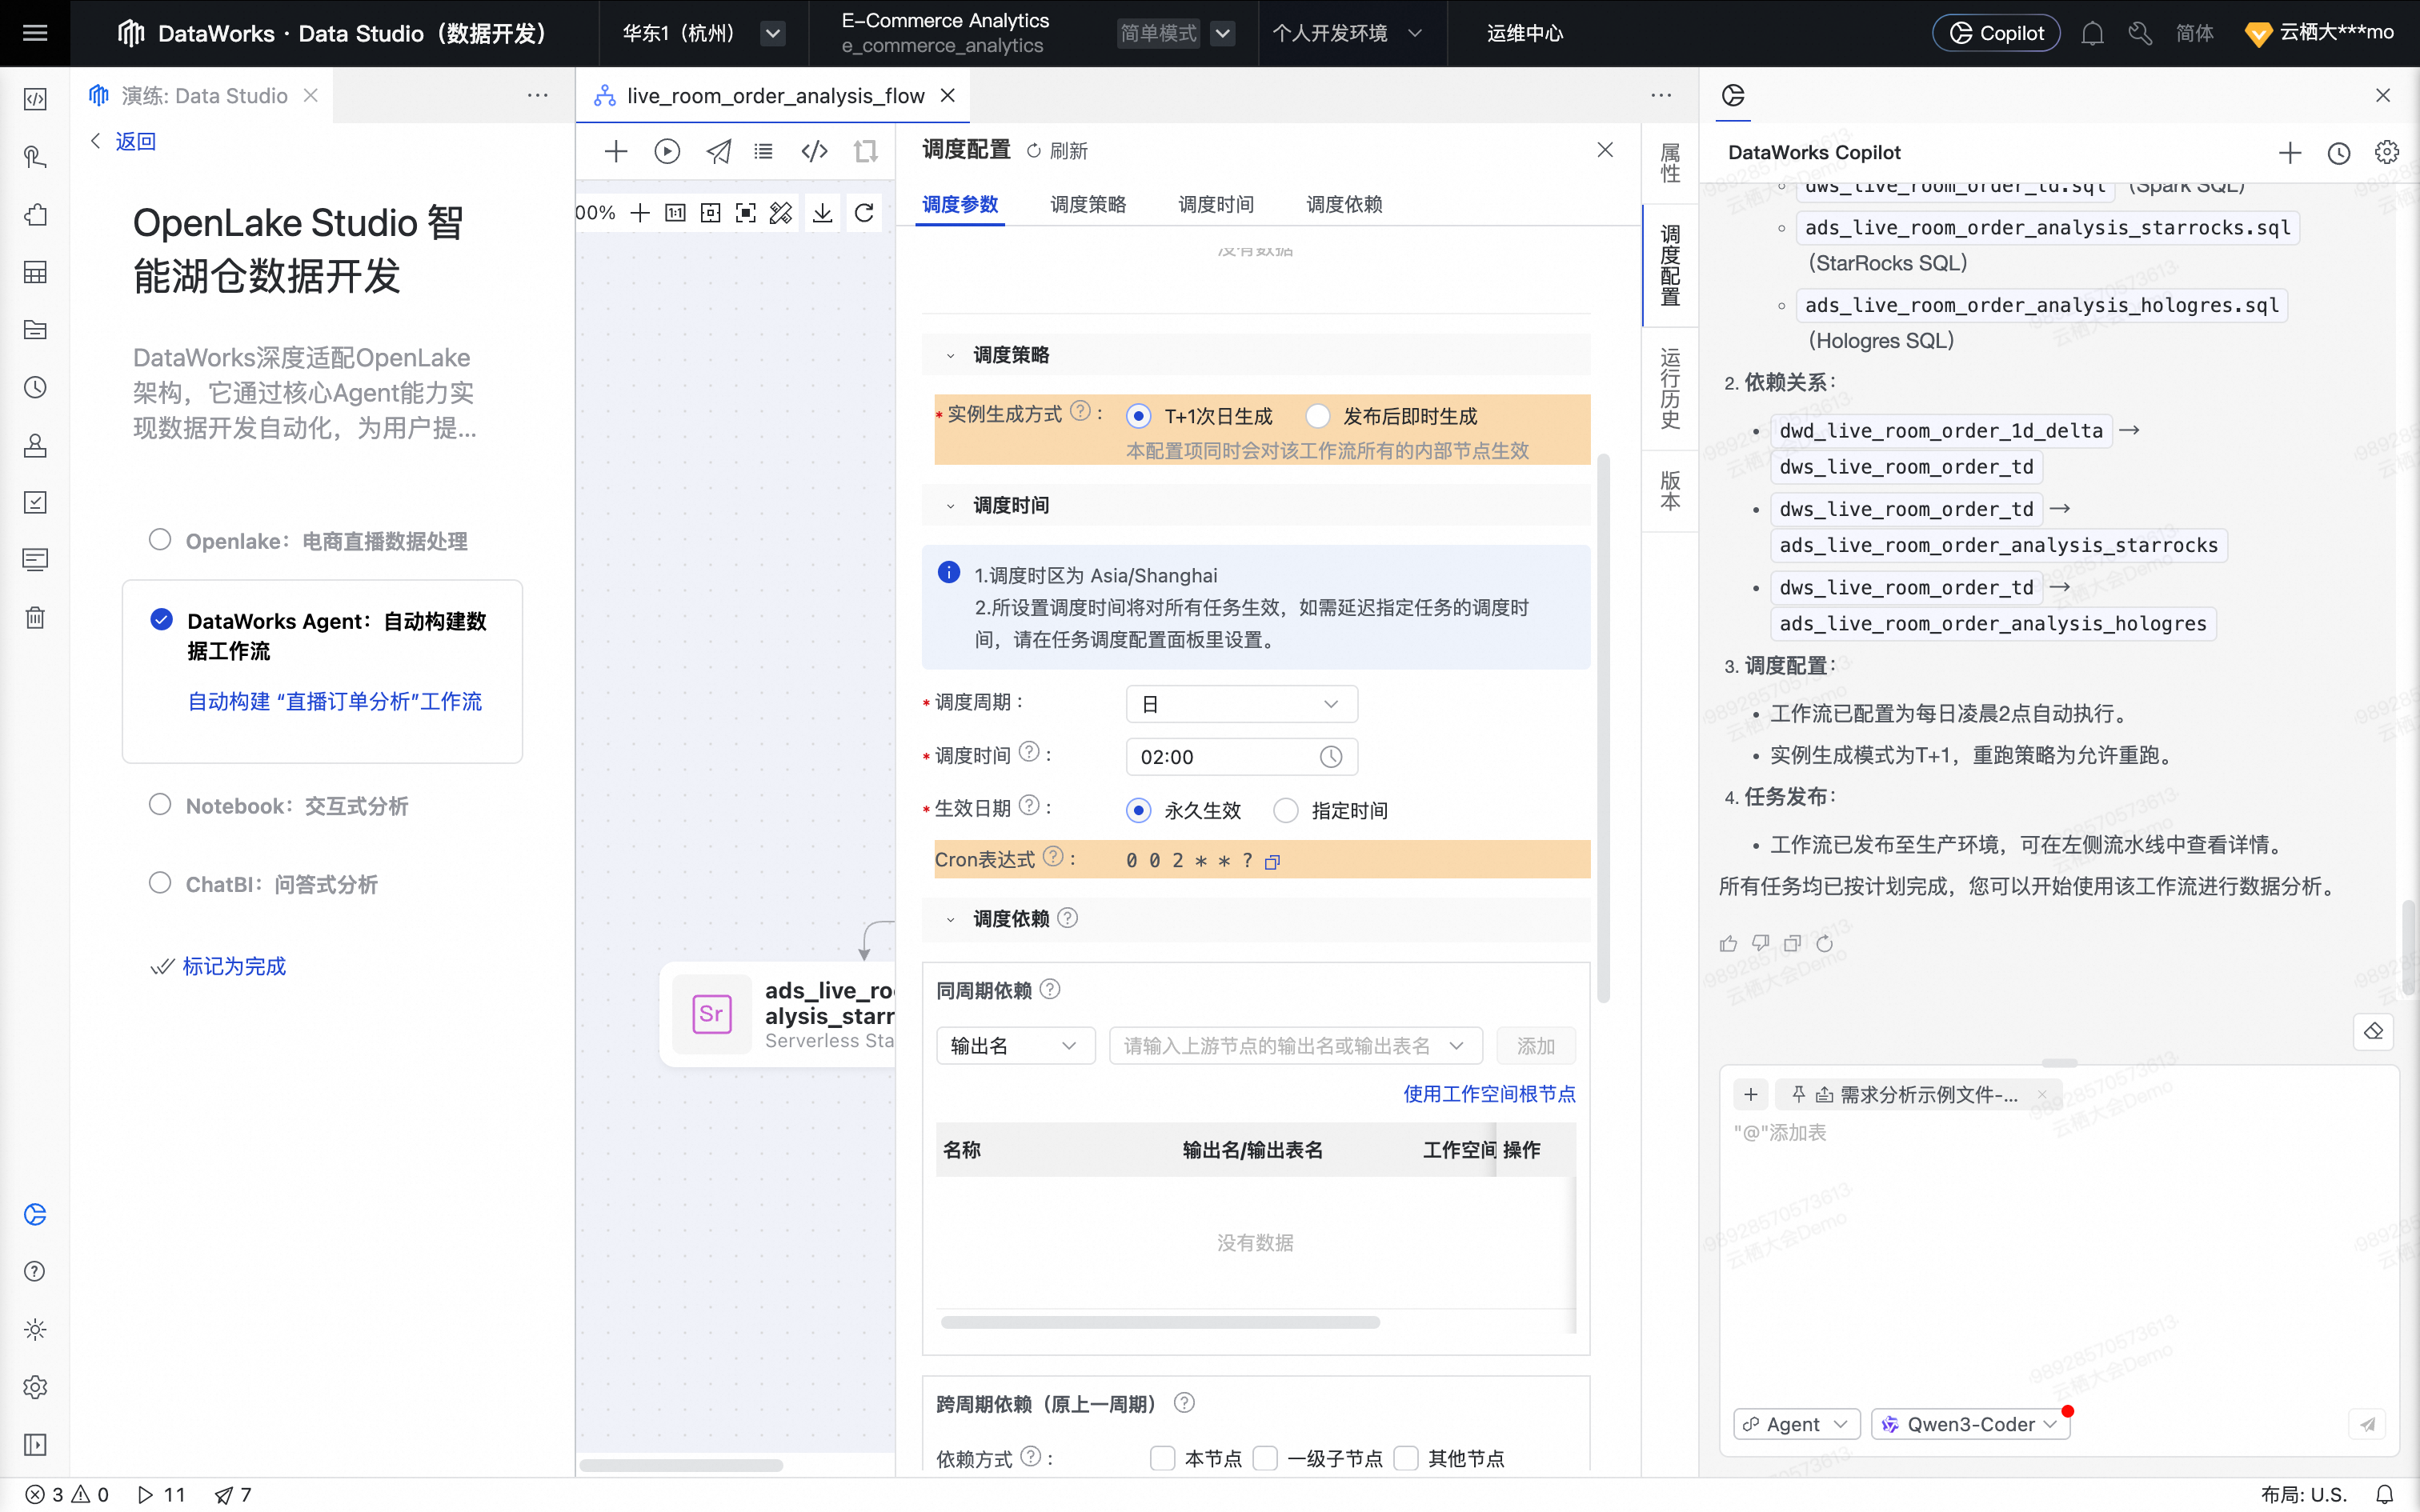
After the workflow is generated, the Agent configures the task scheduling as required. Click Confirm to apply the workflow Scheduling Configuration.
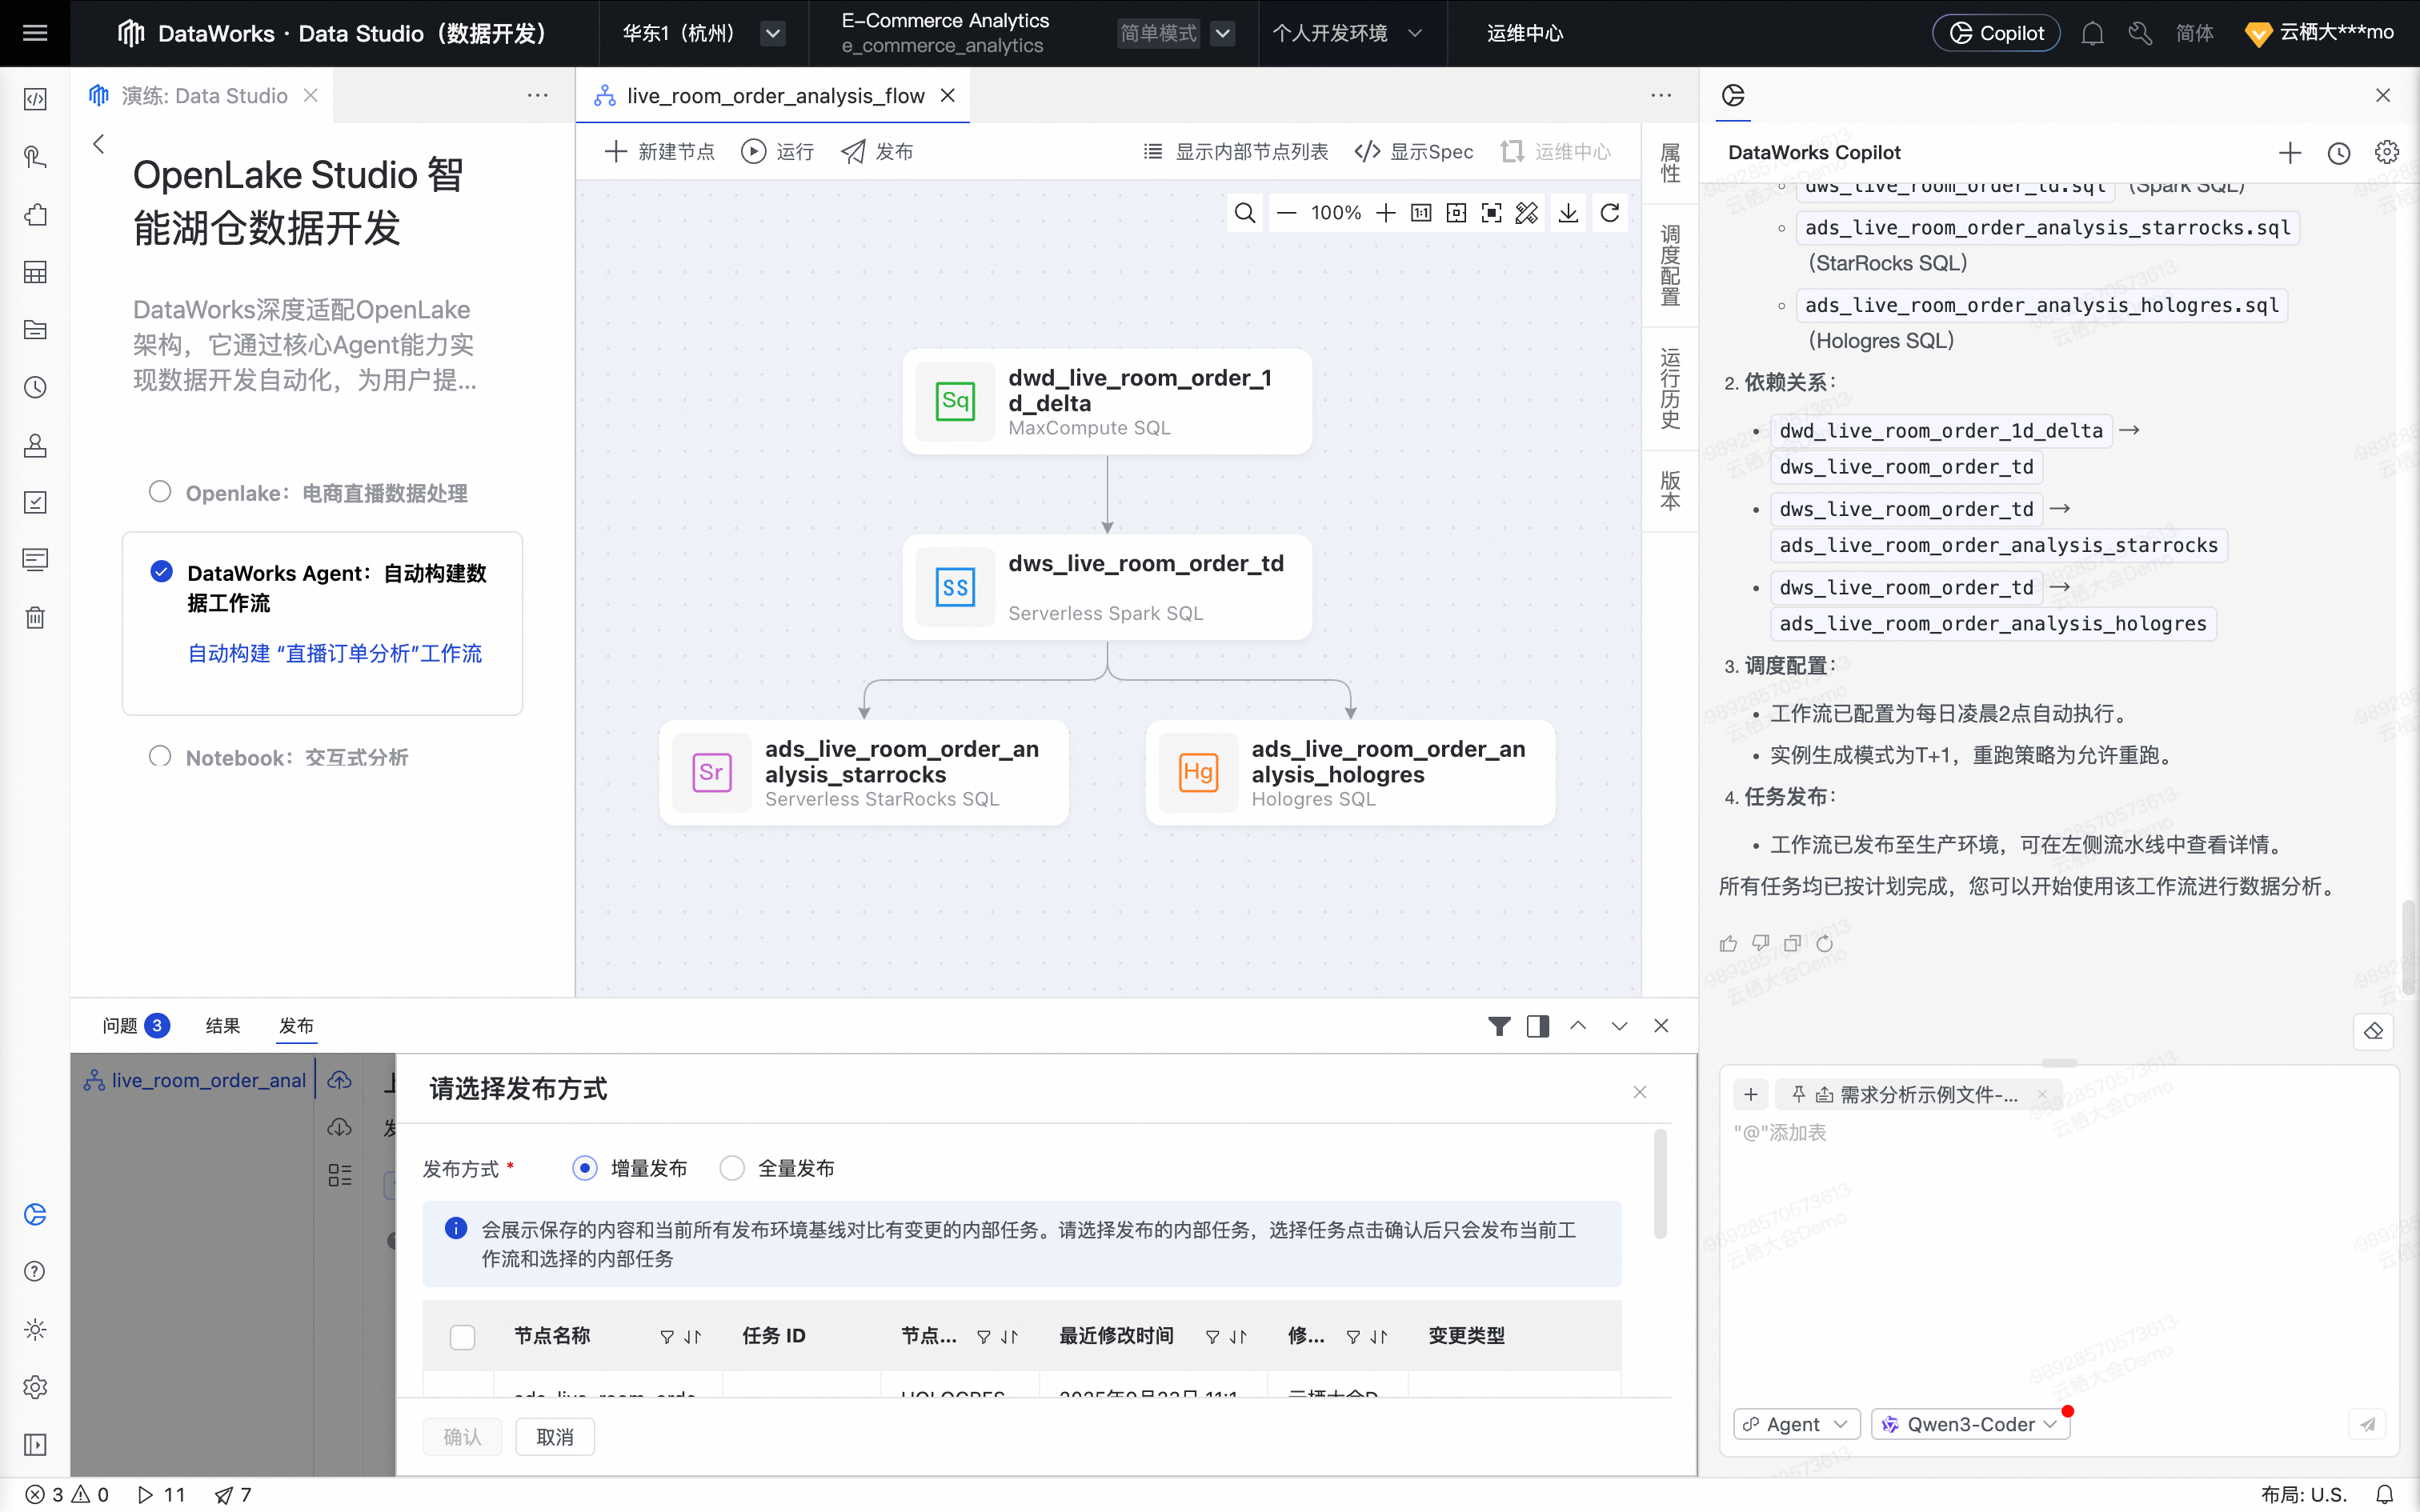
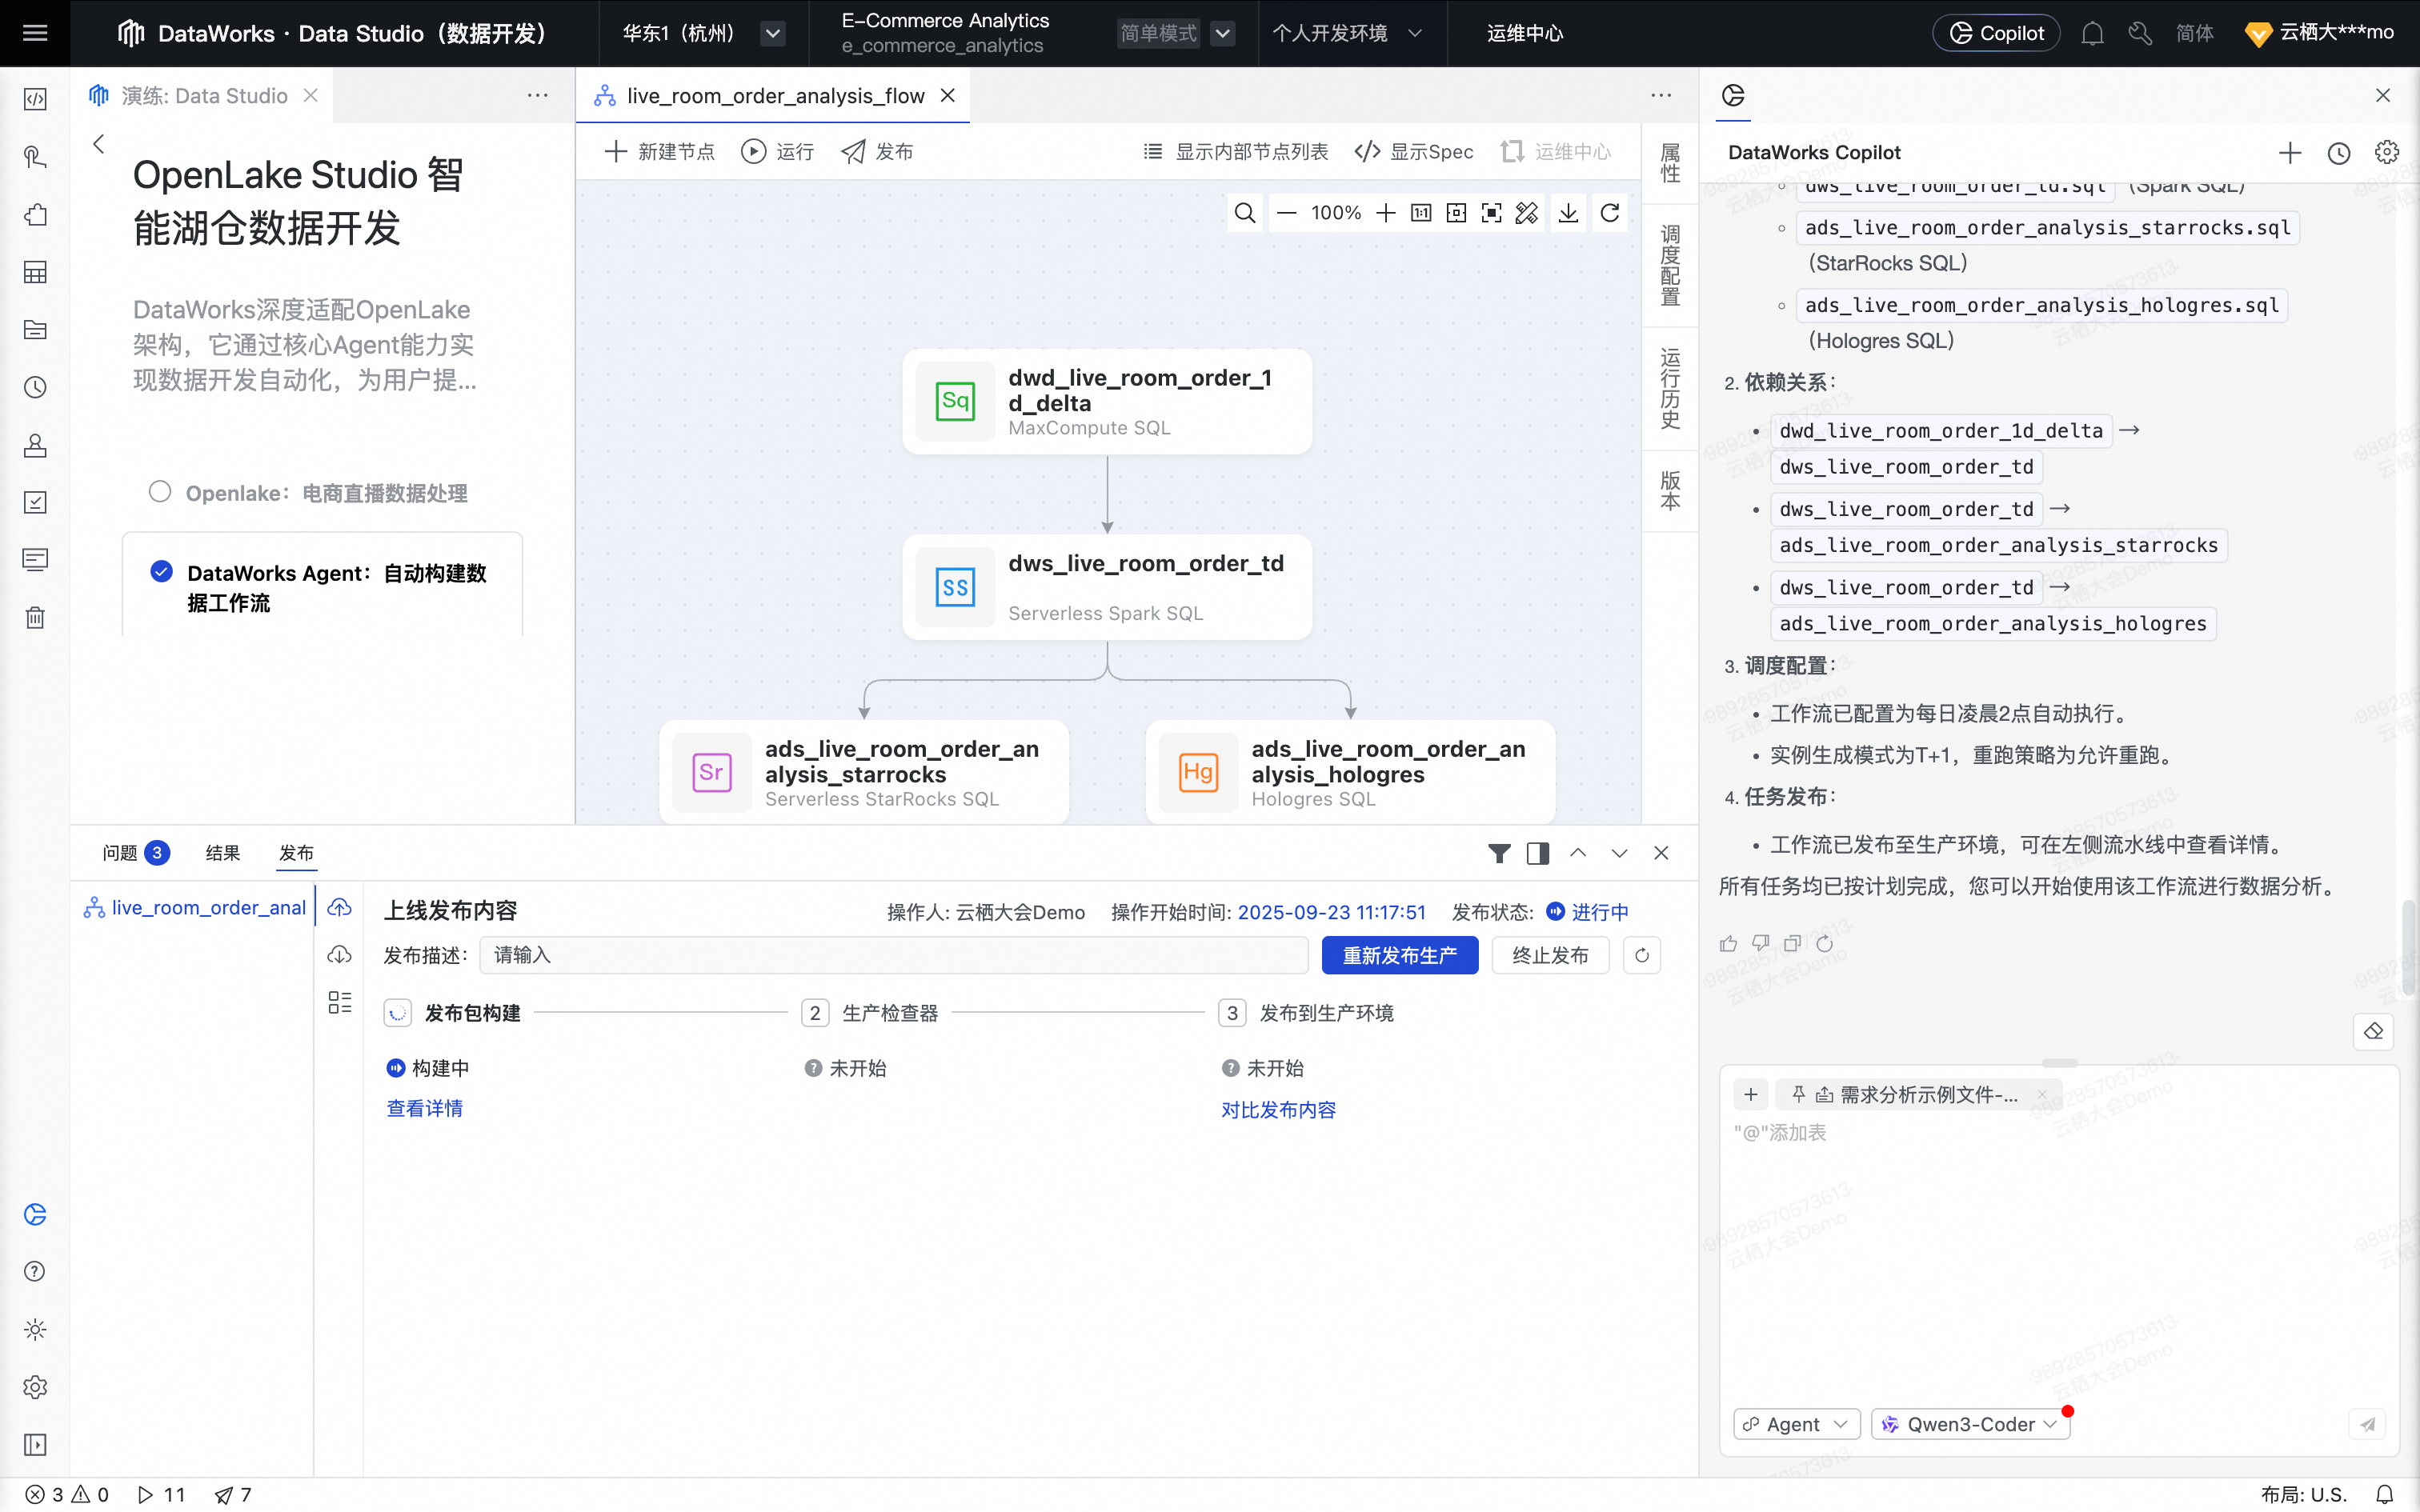
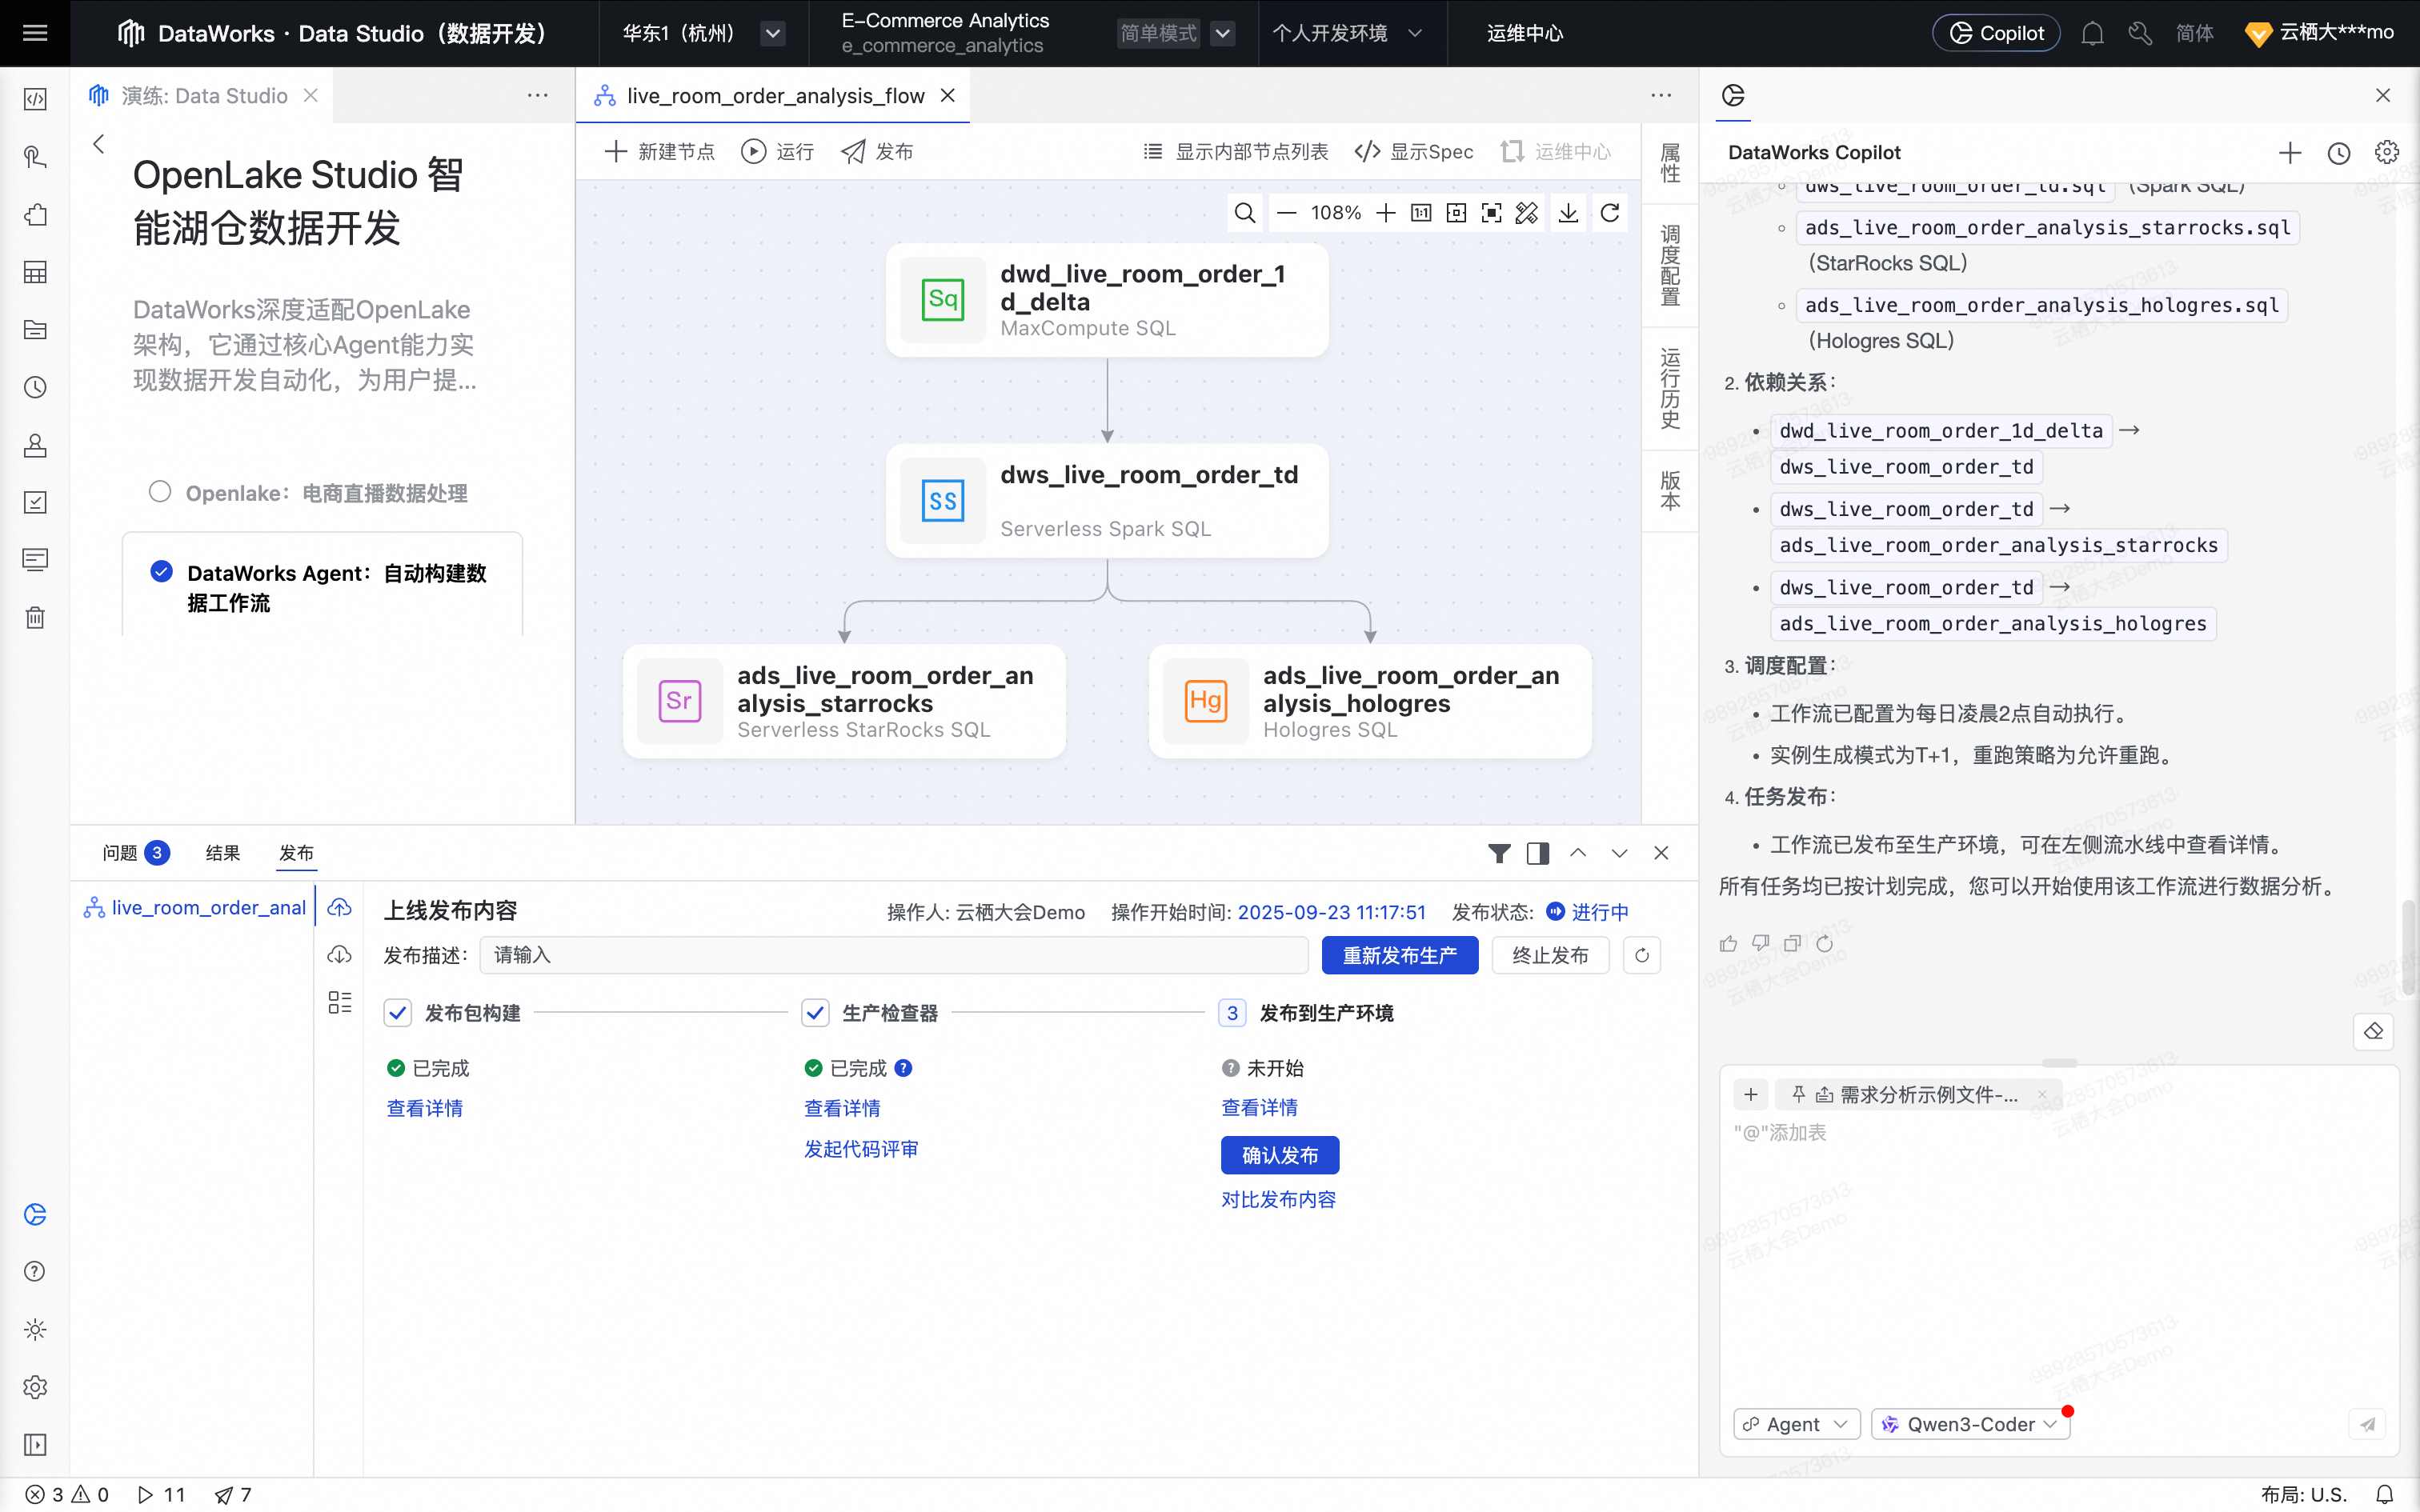
The Agent begins publishing the workflow. Confirm the deployment method and click Confirm.
To ensure an optimal experience on small screens, close the scheduling configuration drawer, raise the deployment method selection box, and center the workflow on the page.
The Agent continues to publish the workflow.
The deployment is now complete. DataWorks Agent has automatically fulfilled an ETL development request.

Notebook: Interactive analysis
Return to the tutorial page and click Notebook: Interactive Analysis.
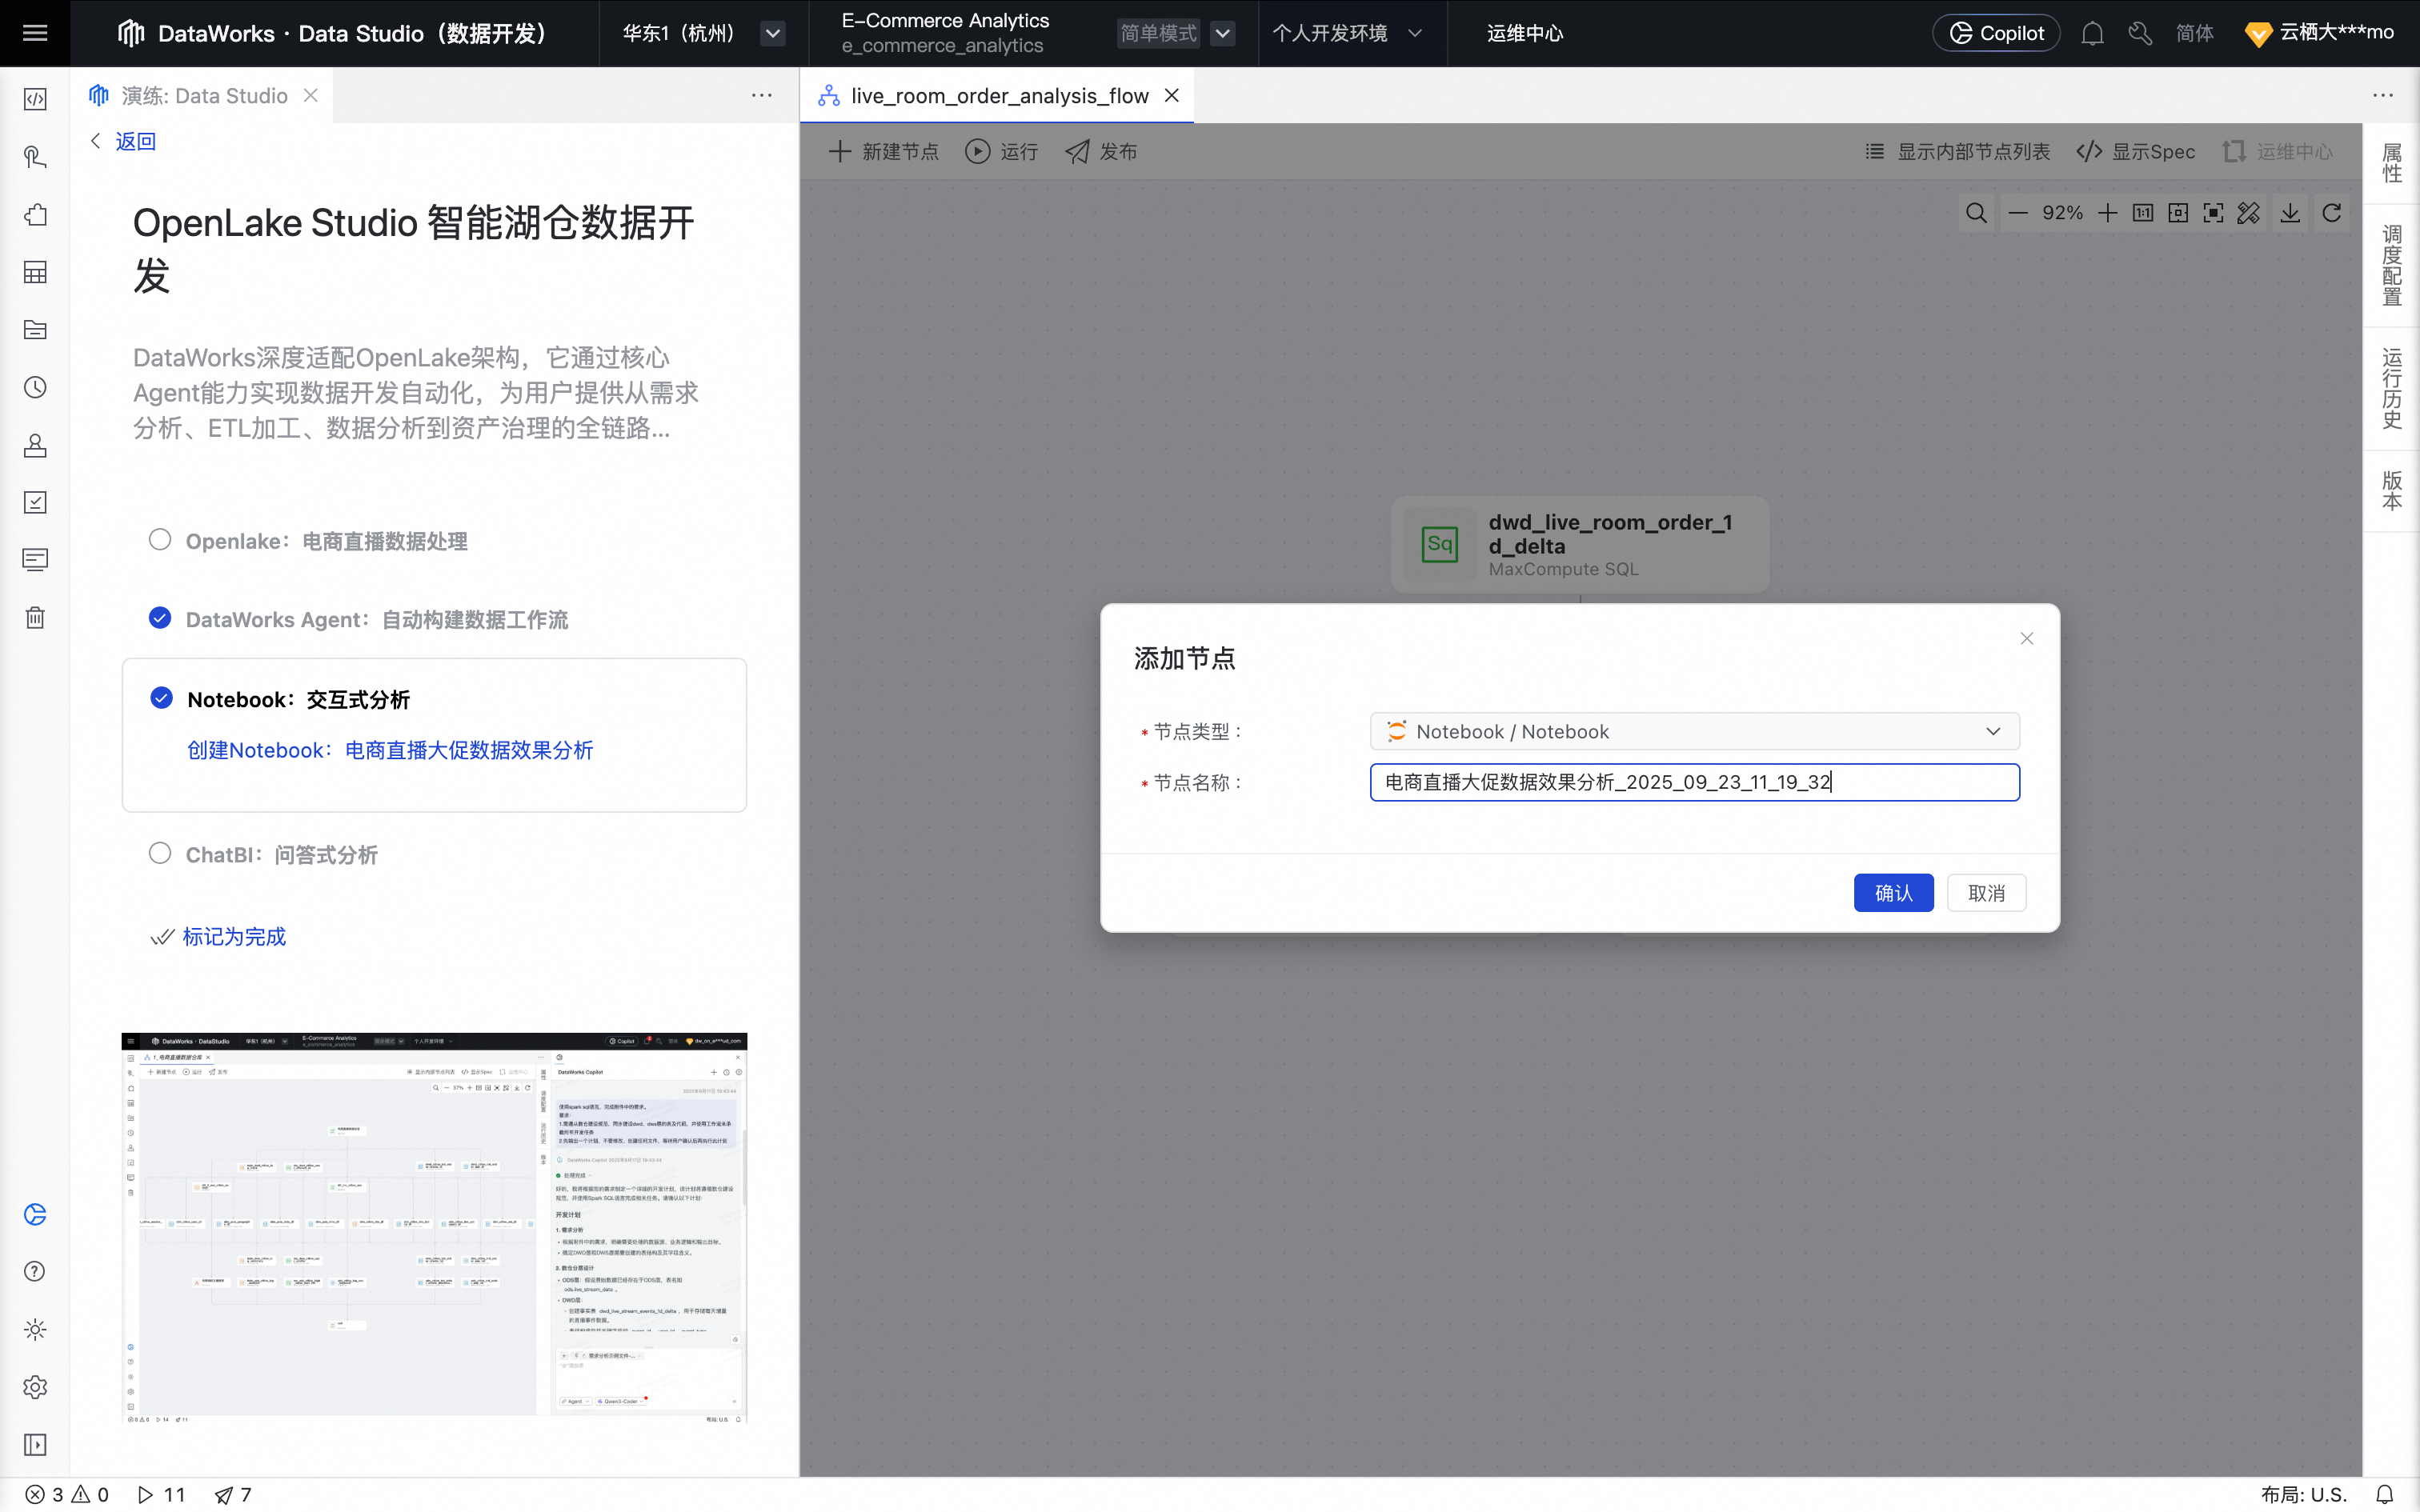
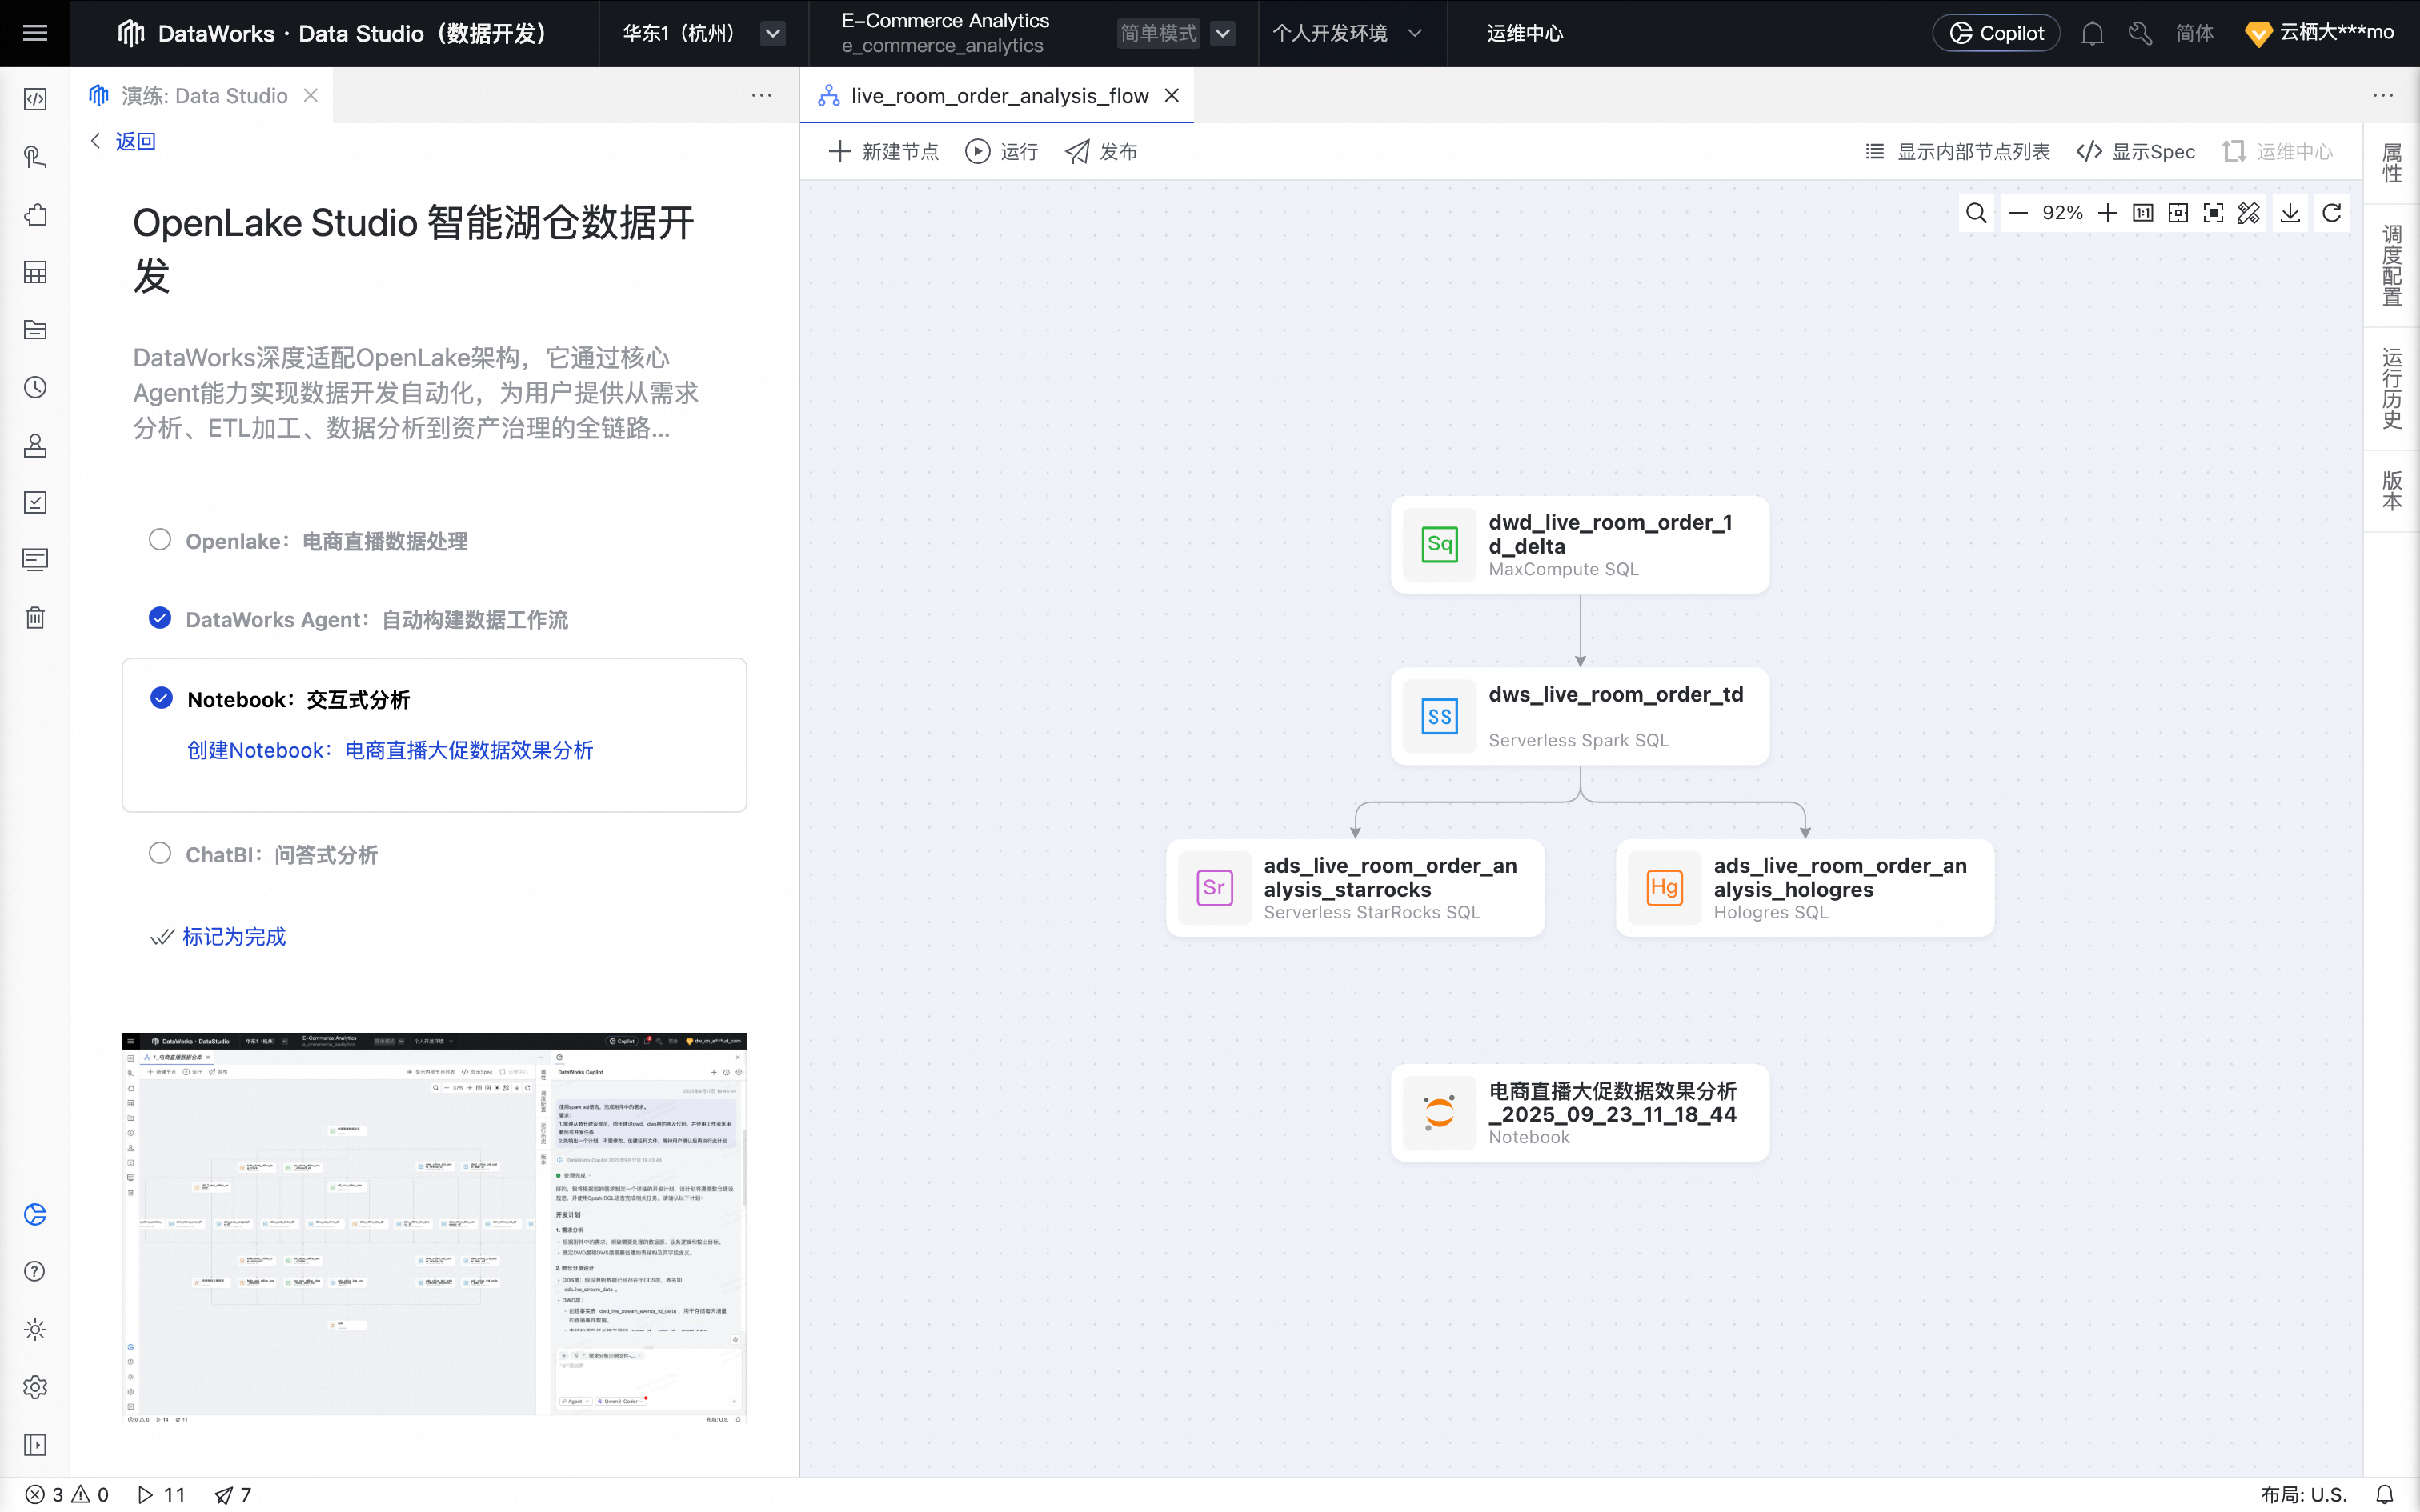
Click Create Notebook: E-commerce Livestreaming Promotion Data Analysis. The Add Node dialog box appears. Click Confirm.
Hover over the node and click Open Node to open the Notebook editor.
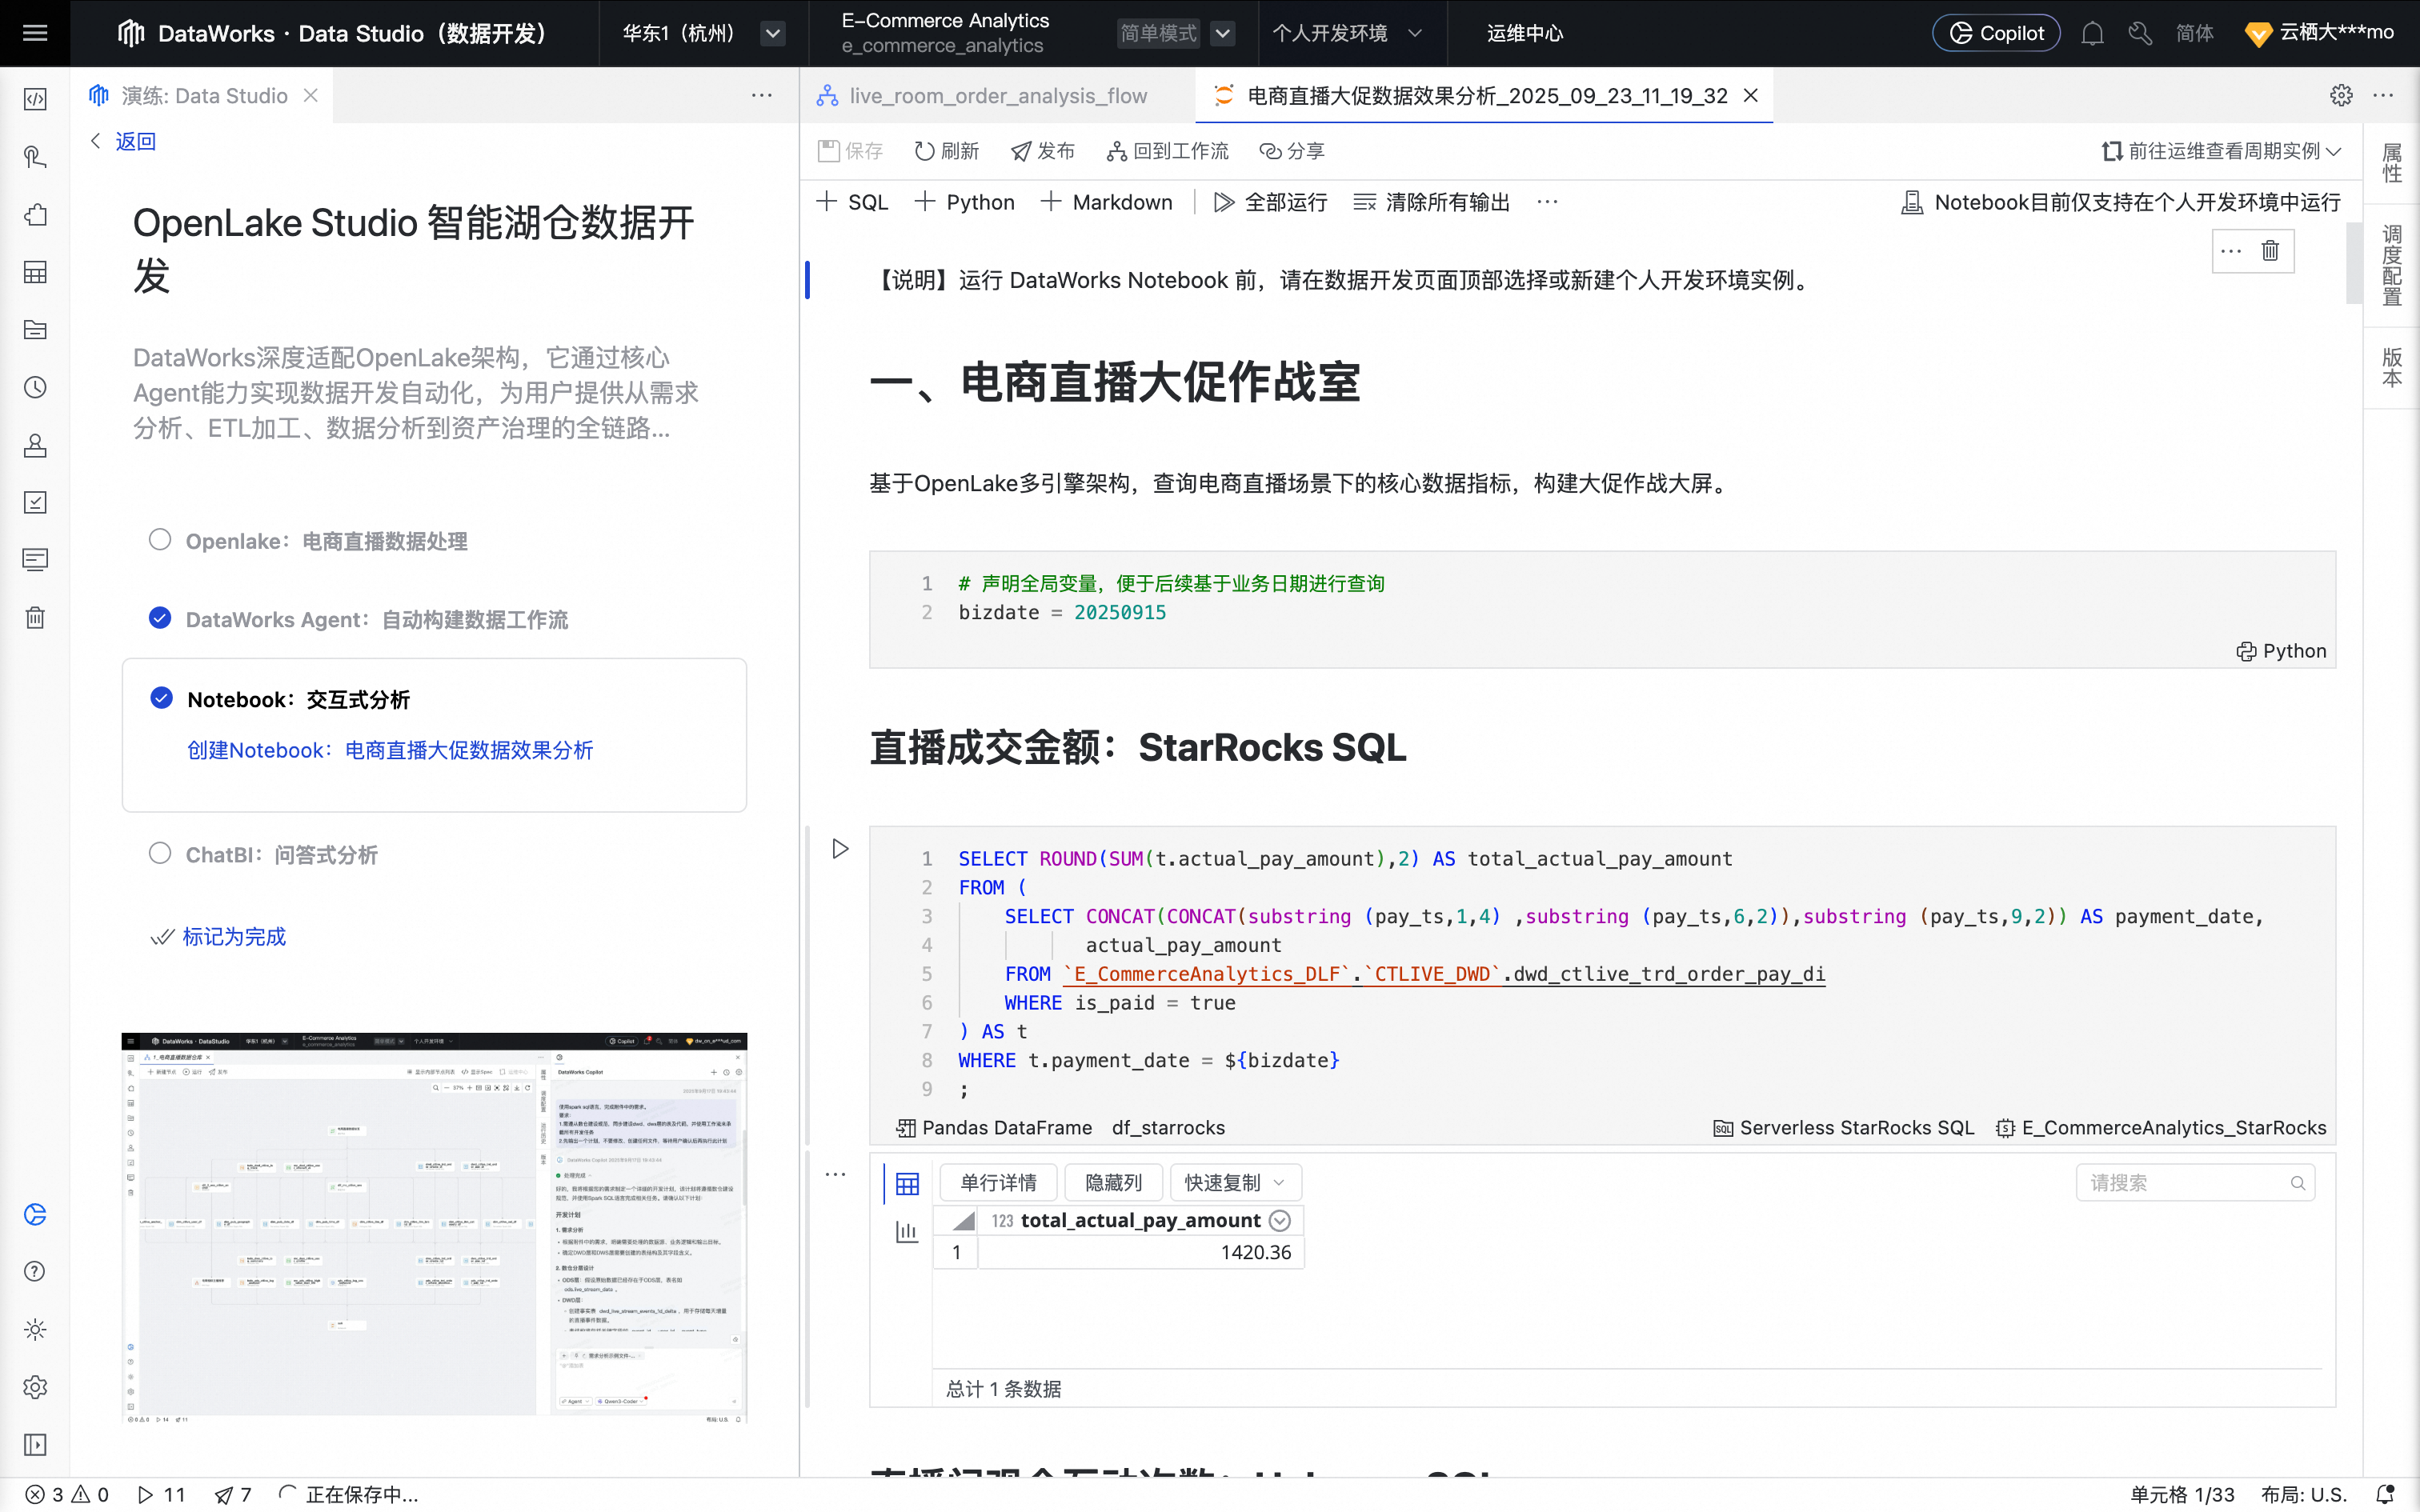
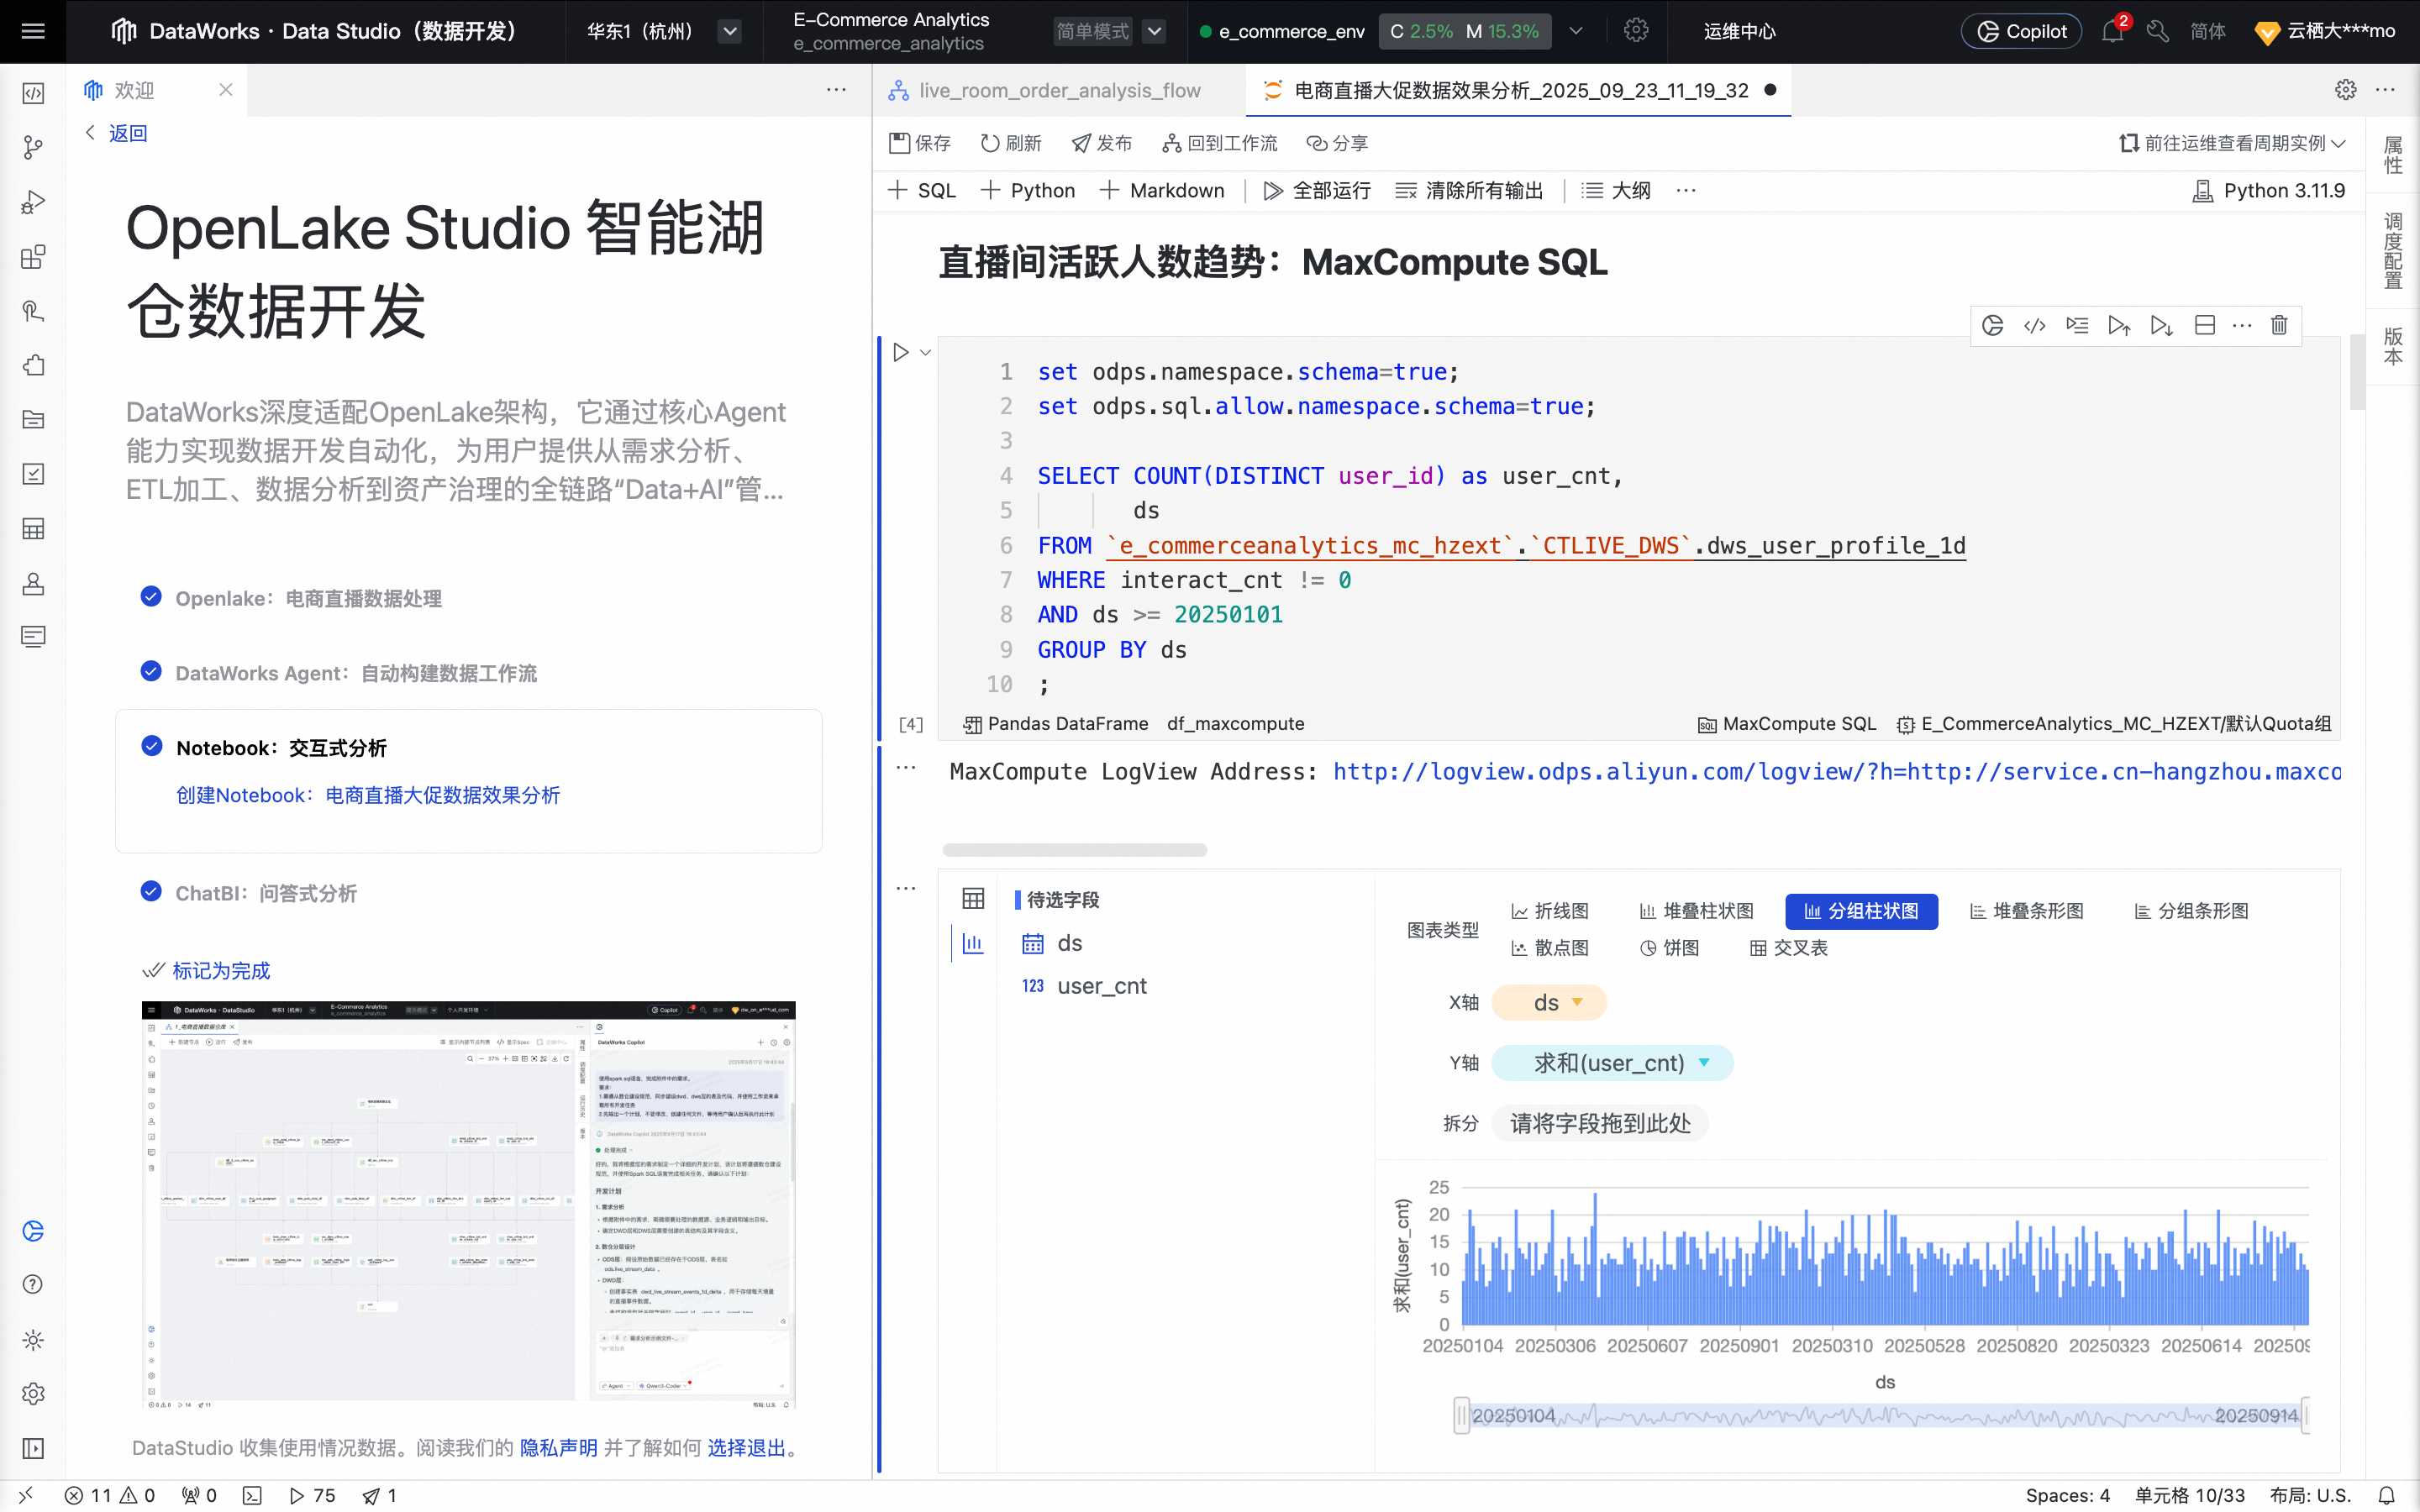
On the Notebook editor page, browse the "E-commerce Livestreaming Promotion War Room" section to see how different compute resources and SQL are used to analyze core data metrics.
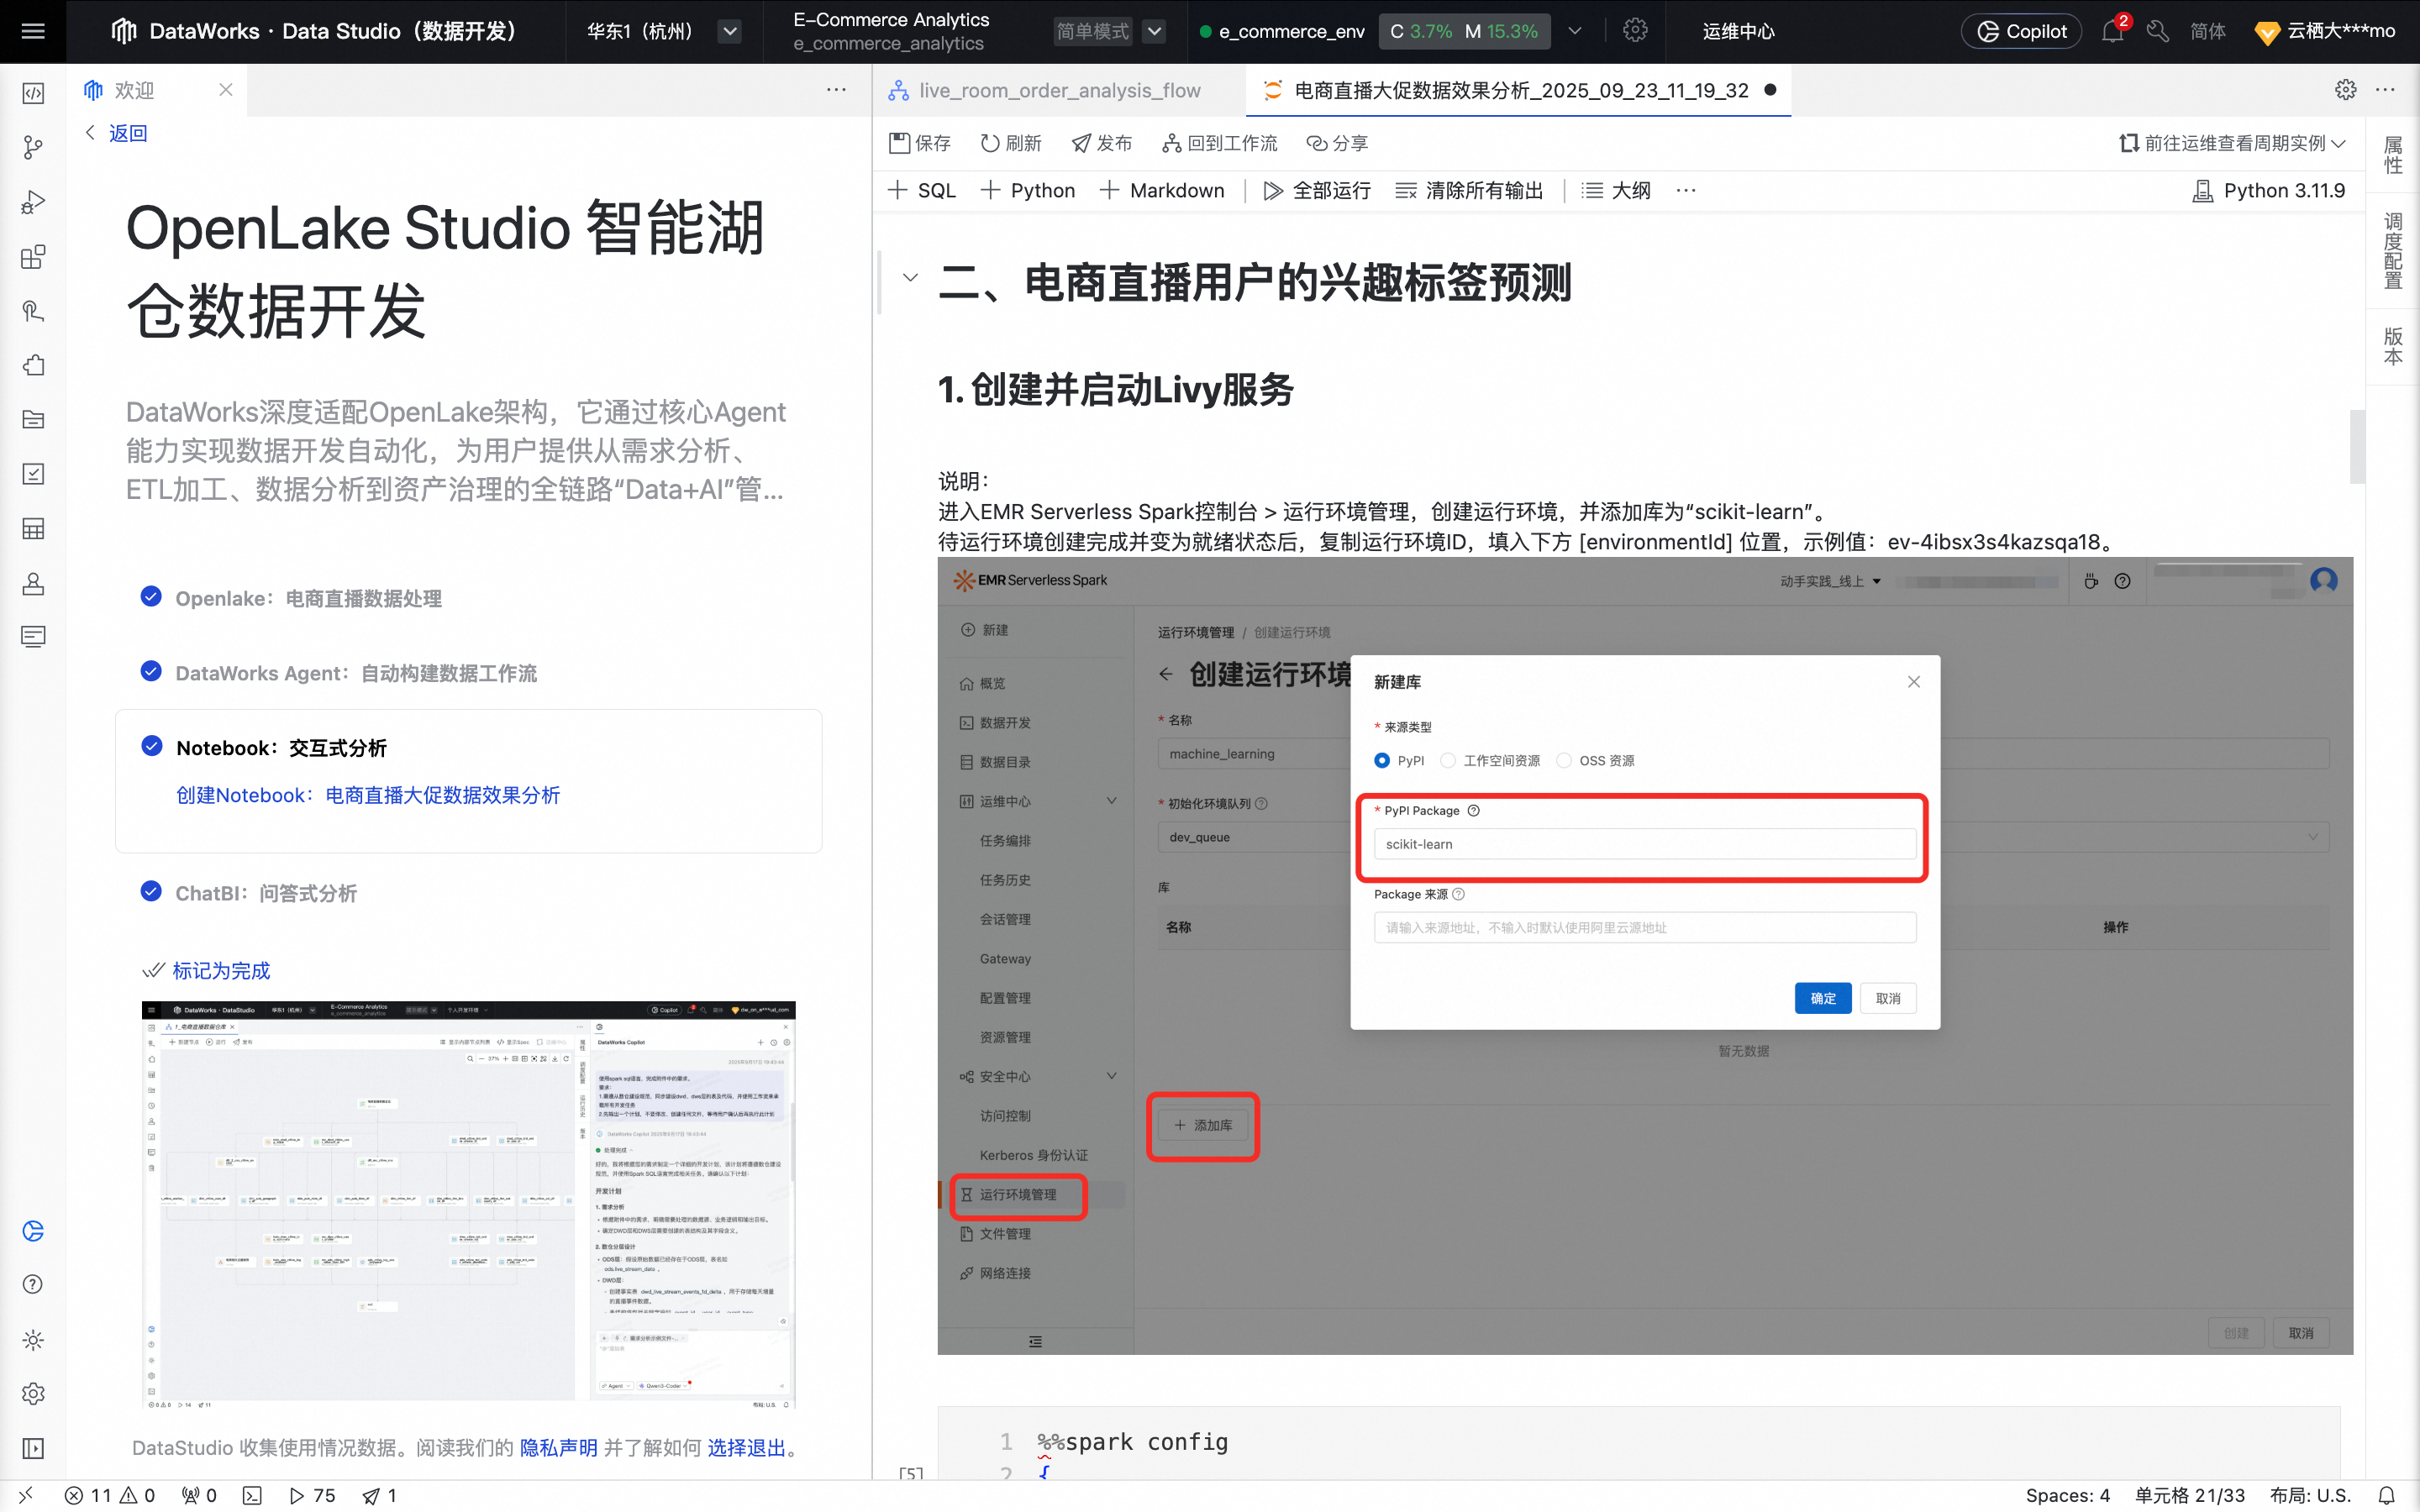
On the Notebook editor page, browse the Predicting Interest Tags for E-commerce Livestreaming Users section to see how PySpark is used for data processing and machine learning model training.
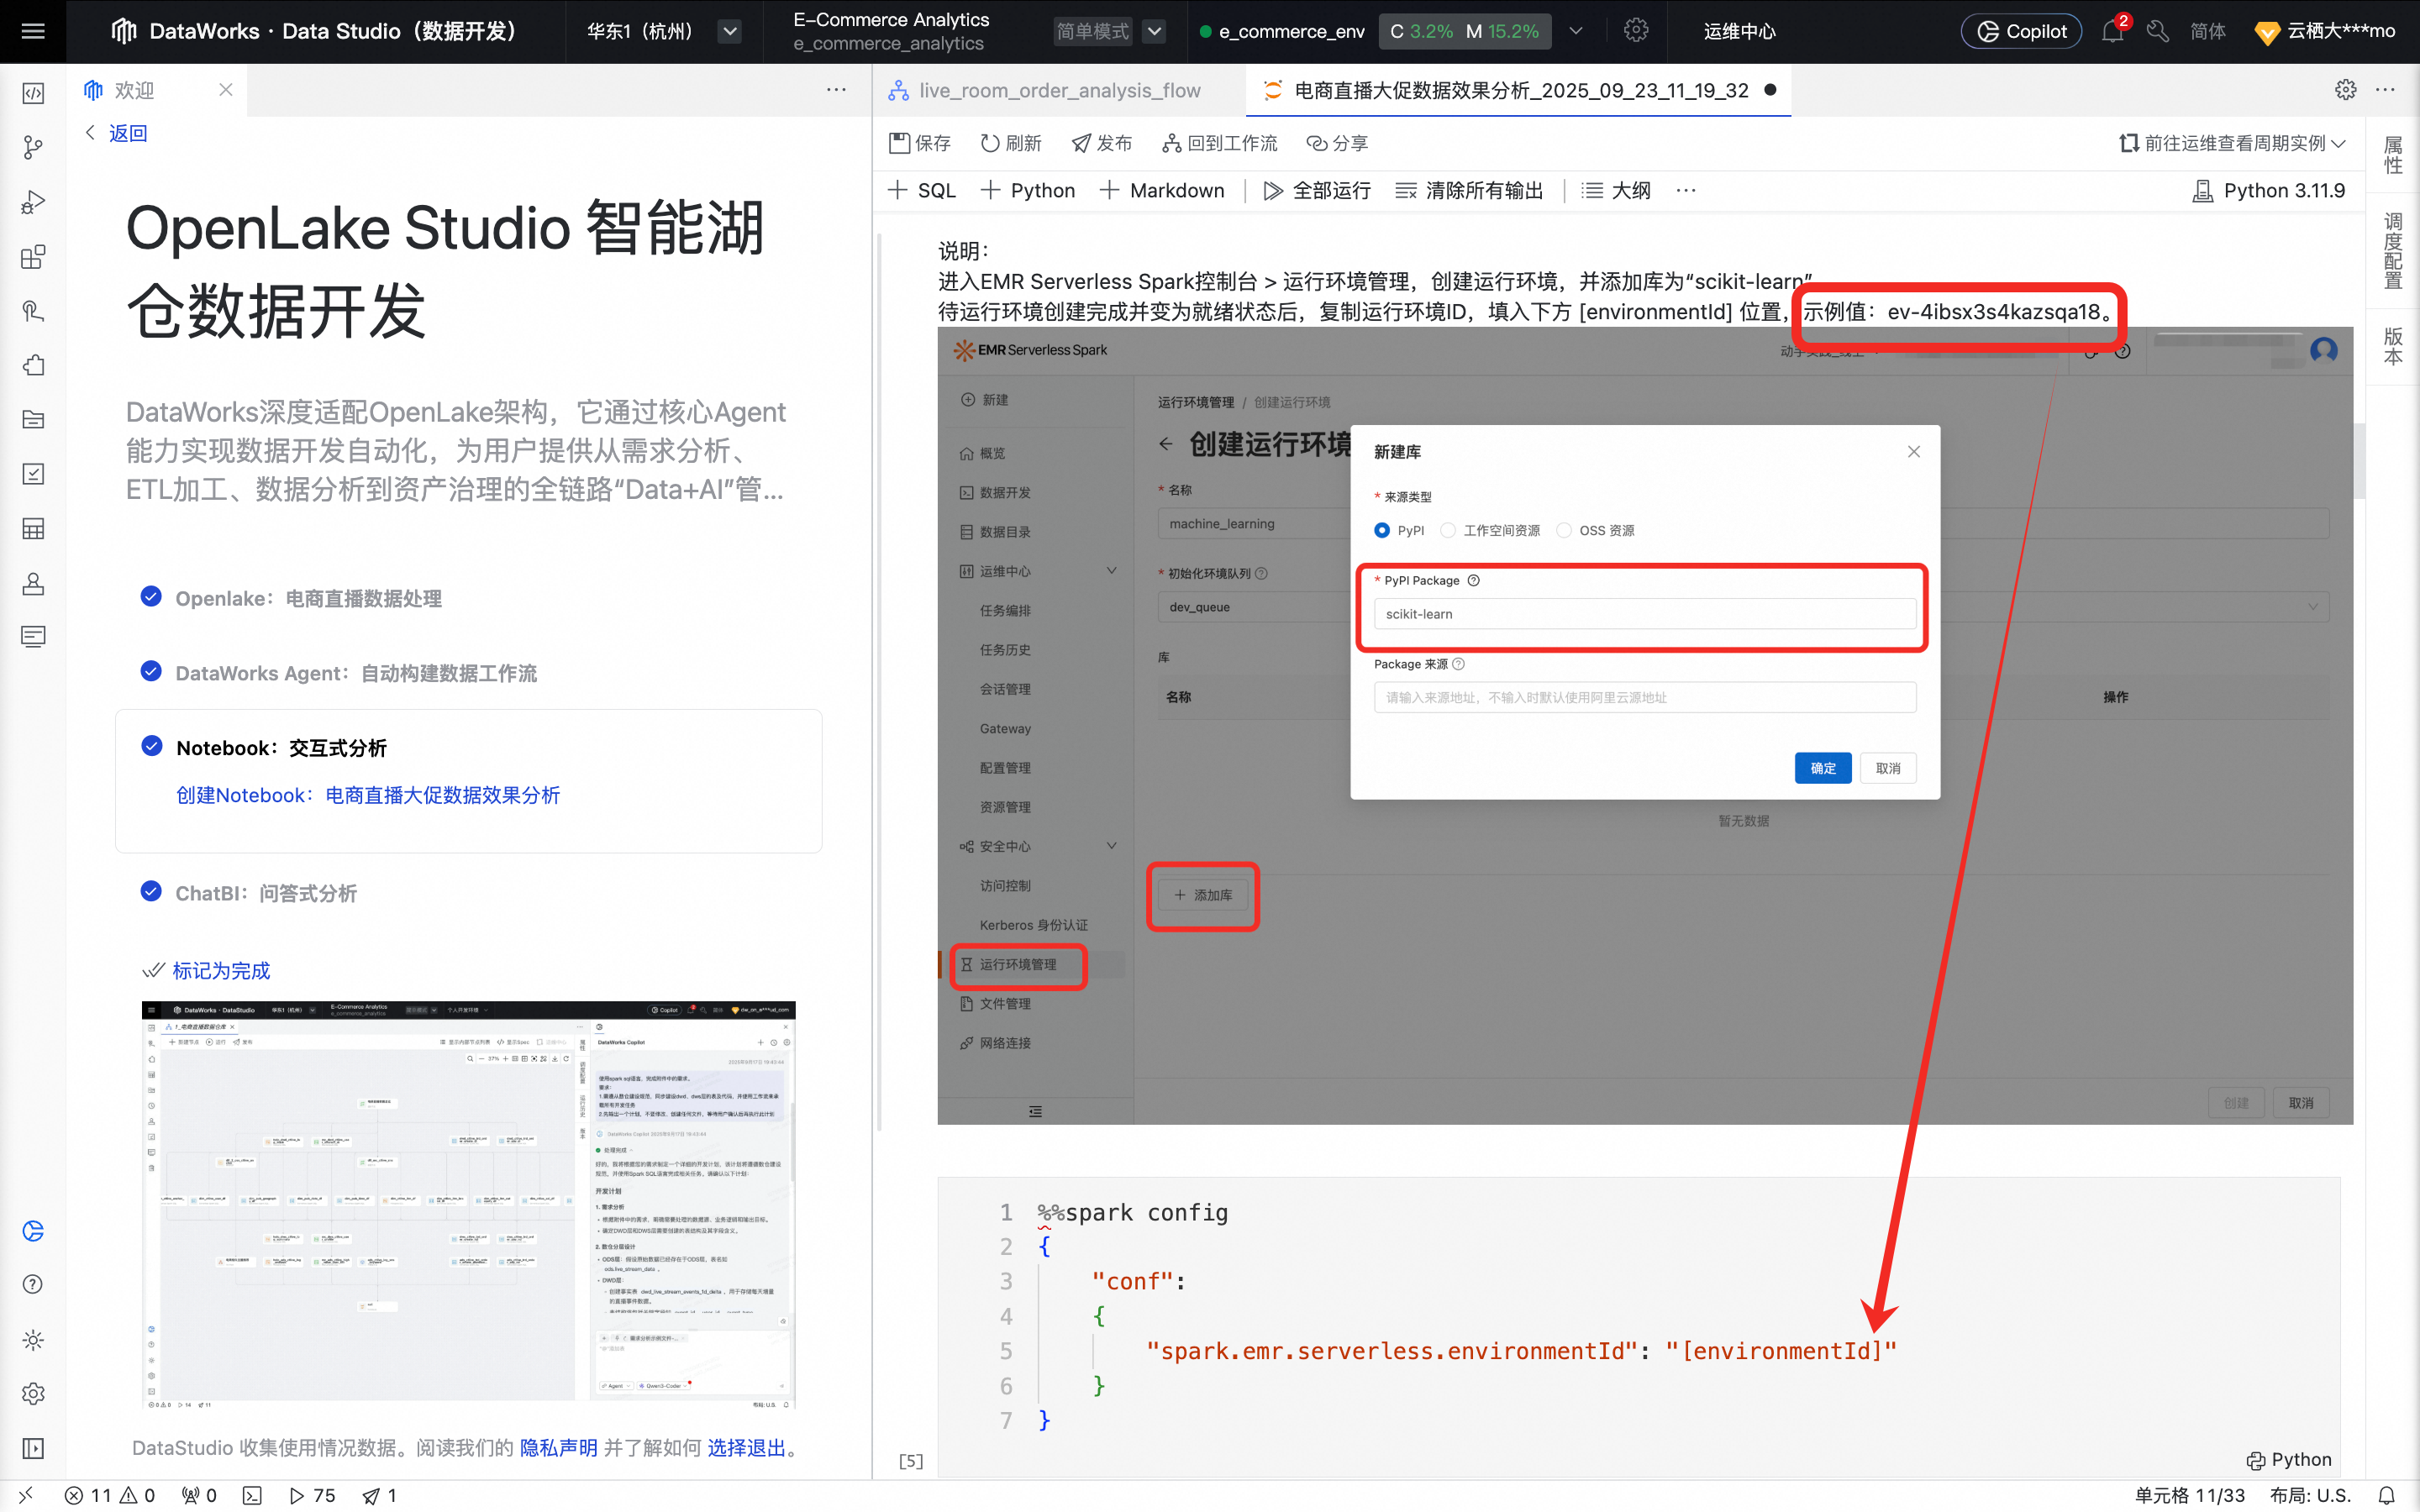
In the
"spark.emr.serverless.environmentId": "[environmentId]"section, replace[environmentId]with the sample value.At the top of the Data Development page, select the personal development environment instance e_commerce_env.
On the Notebook editor page, click Run All. Wait for all cells to run in sequence and then view the output.

ChatBI: Q&A-based analysis
Return to the tutorial page and click ChatBI: Q&A-based analysis.
This action redirects you to the ChatBI page and creates a new session.
ChatBI provides a list of recommended questions based on the "E-commerce Livestreaming Dataset":
What is the daily trend of overall GMV and order volume in 2025?
For the top 10 anchors with the highest GMV in 2025, what is their average order value (GMV / number of paying users) and conversion rate (number of paid orders / number of total orders)?
What is the distribution of GMV and the number of ordering users by province in 2025?
What is the correlation between the number of anchors and GMV for different merchants in 2025?
How many users placed orders within different discount amount ranges in 2025?
What are the differences in ordering behavior and spending power among different user types in 2025?
What is the number of daily active users (DAU) who entered at least one livestreaming room each day in 2025?
On June 18, 2025, what is the comparison between the number of livestreaming rooms that received likes and those that did not?

