Review the following list of FAQs. Click a question to view its answer.
Cannot open the camera using the input file tag on Huawei EMUI 10
The camera may fail to open on Huawei EMUI 10 because its Uniform Resource Identifier (URI) implementation differs from standard Android. To resolve this issue, complete the following steps.
1. Upgrade the baseline
If you use the 32 series baseline, you must upgrade to 10.1.32.18 or later.
If you use the 60 series baseline, you must upgrade to version 10.1.60.9 or higher.
If you use the 68 series baseline, you must upgrade to 10.1.68-beta.3 or later.
2. Configure FileProvider
You can reuse your existing FileProvider or create a new one.
Create a new Java class that inherits from FileProvider.
import android.support.v4.content.FileProvider;
public class NebulaDemoFileProvider extends FileProvider {
}
In res/xml, create a new file named nebula_fileprovider_path.xml.
<?xml version="1.0" encoding="utf-8"?>
<paths xmlns:android="http://schemas.android.com/apk/res/android">
 <external-path name="external" path="."/>
</paths>
Add the configuration to AndroidManifest.
<provider android:name="com.mpaas.demo.nebula.NebulaDemoFileProvider" android:authorities="com.mpaas.demo.nebula.provider" android:exported="false" android:grantUriPermissions="true"> <meta-data android:name="android.support.FILE_PROVIDER_PATHS" android:resource="@xml/nebula_fileprovider_path" /> </provider>NoteThe `android:authorities` value `com.mpaas.demo.nebula.provider` is an example. You must set a unique value for your application. Do not use the example value, because this can cause conflicts with other mPaaS applications.
3. Implement H5NebulaFileProvider
Create a new Java class that implements `H5NebulaFileProvider`. Implement the `getUriForFile` method. In this method, call the `FileProvider` you implemented earlier to generate a URI.
public class H5NebulaFileProviderImpl implements H5NebulaFileProvider {
 private static final String TAG = "H5FileProviderImpl";

 @Override
 public Uri getUriForFile(File file) {
     try {
         return getUriForFileImpl(file);
     } catch (Exception e) {
         H5Log.e(TAG, e);
     }
     return null;
 }

 private static Uri getUriForFileImpl(File file) {
     Uri fileUri = null;
     if (Build.VERSION.SDK_INT >= 24) {
         fileUri = NebulaDemoFileProvider.getUriForFile(LauncherApplicationAgent.getInstance().getApplicationContext(), "com.mpaas.demo.nebula.provider", file);
     } else {
         fileUri = Uri.fromFile(file);
     }
     return fileUri;
 }
}
Register `H5NebulaFileProvider` after mPaaS initialization is complete and before you start the offline package. A single registration is effective globally.
H5Utils.setProvider(H5NebulaFileProvider.class.getName(), new H5NebulaFileProviderImpl());
How to use or depend on mPaaS in a Library
When using the mPaaS framework, you may need to reuse modules. To do this, add the module as a dependency. This topic uses the mPaaS Scan component module as an example.
Prerequisites
You have connected your project to mPaaS using the native AAR-based integration method.
Procedure
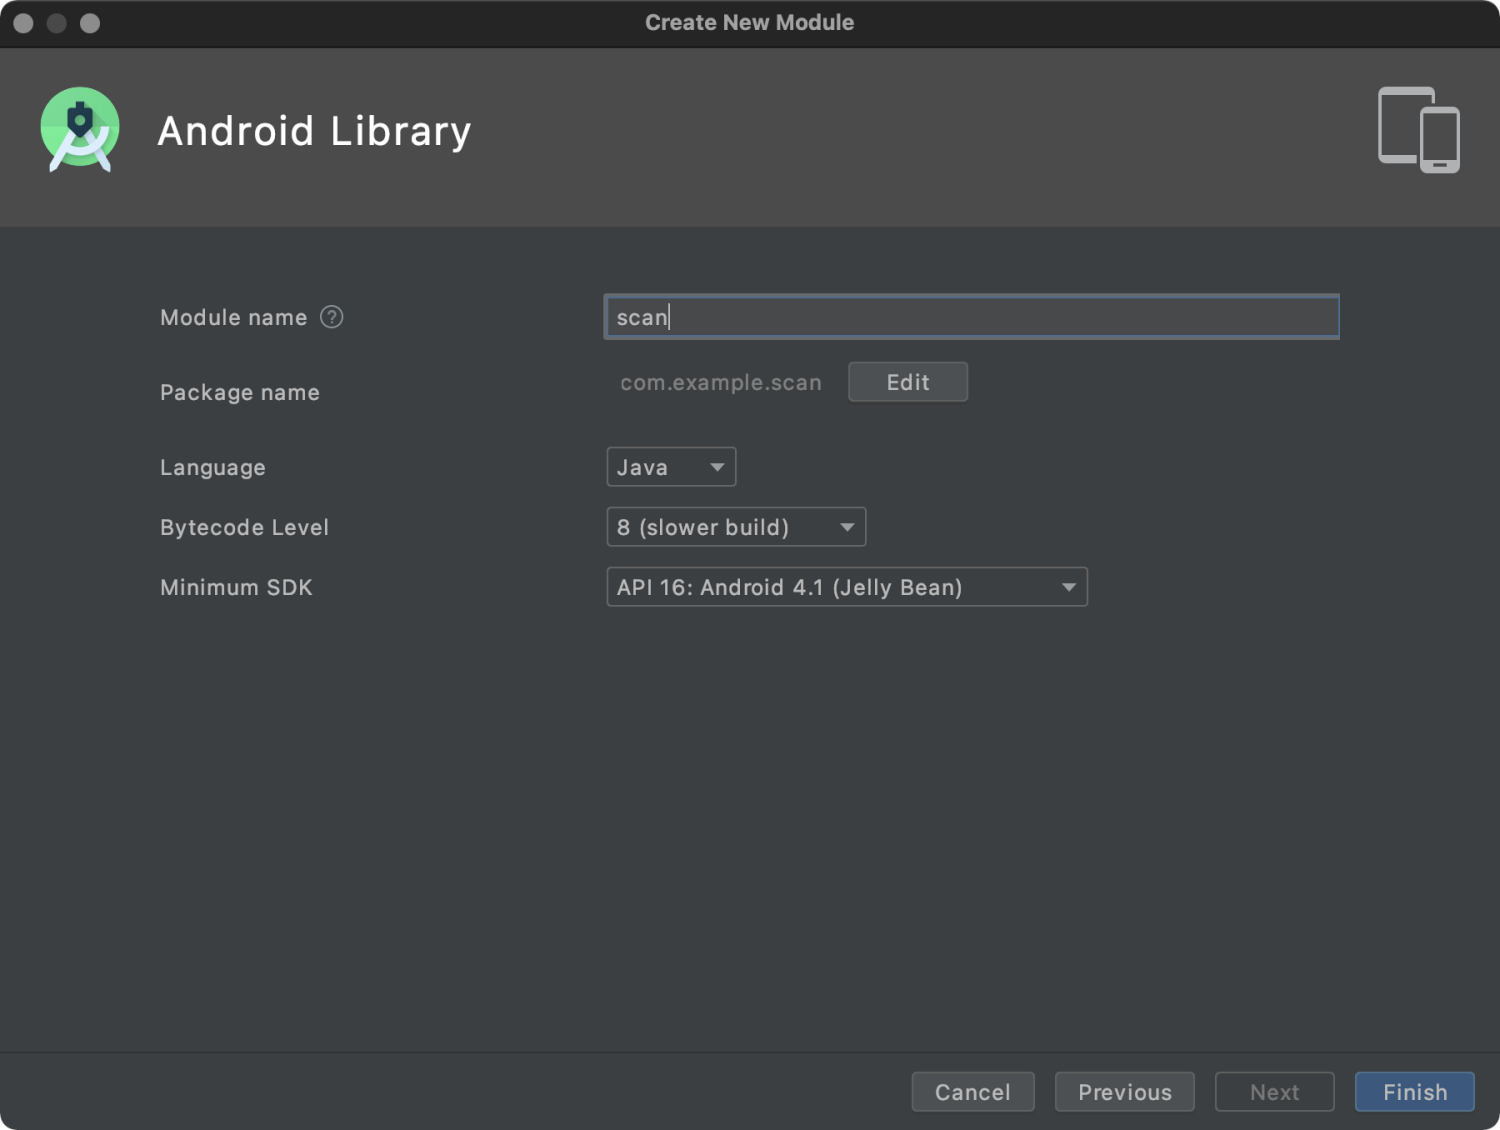
In your Android project, create an Android Library module named `scan`.
In the build.gradle file of the new scan module, add `api platform("com.mpaas.android:$mpaas_artifact:$mpaas_baseline")`. The following is an example:
 dependencies {
     ……
     // Required when using mPaaS component features in a module.
     api platform("com.mpaas.android:$mpaas_artifact:$mpaas_baseline")

     ……
  }
Use the mPaaS plugin in Android Studio to install the Scan component for the scan module. The menu path is mPaaS > AAR-based Integration > Configure/Update Components > Start Configuration. After installation, the Scan component loads automatically.
Configure the main app project.
 plugins {
     id 'com.android.application'

     ......
     // You must add baseline.config to the build.gradle file in the app directory.
     id 'com.alipay.apollo.baseline.config'
 }
Call the component module. In the file where you use the Scan component, import the scan module.
 dependencies {
     api platform("com.mpaas.android:$mpaas_artifact:$mpaas_baseline")

     ....
     api project(':scan')// Scan component
 }
How to resolve runtime error 608 or libsgmain native errors
If an exception occurs at runtime, search for the keyword `SecException` in the Android Studio operational logs. If you find error code `608` or a libsgmain native error, follow these steps to troubleshoot.
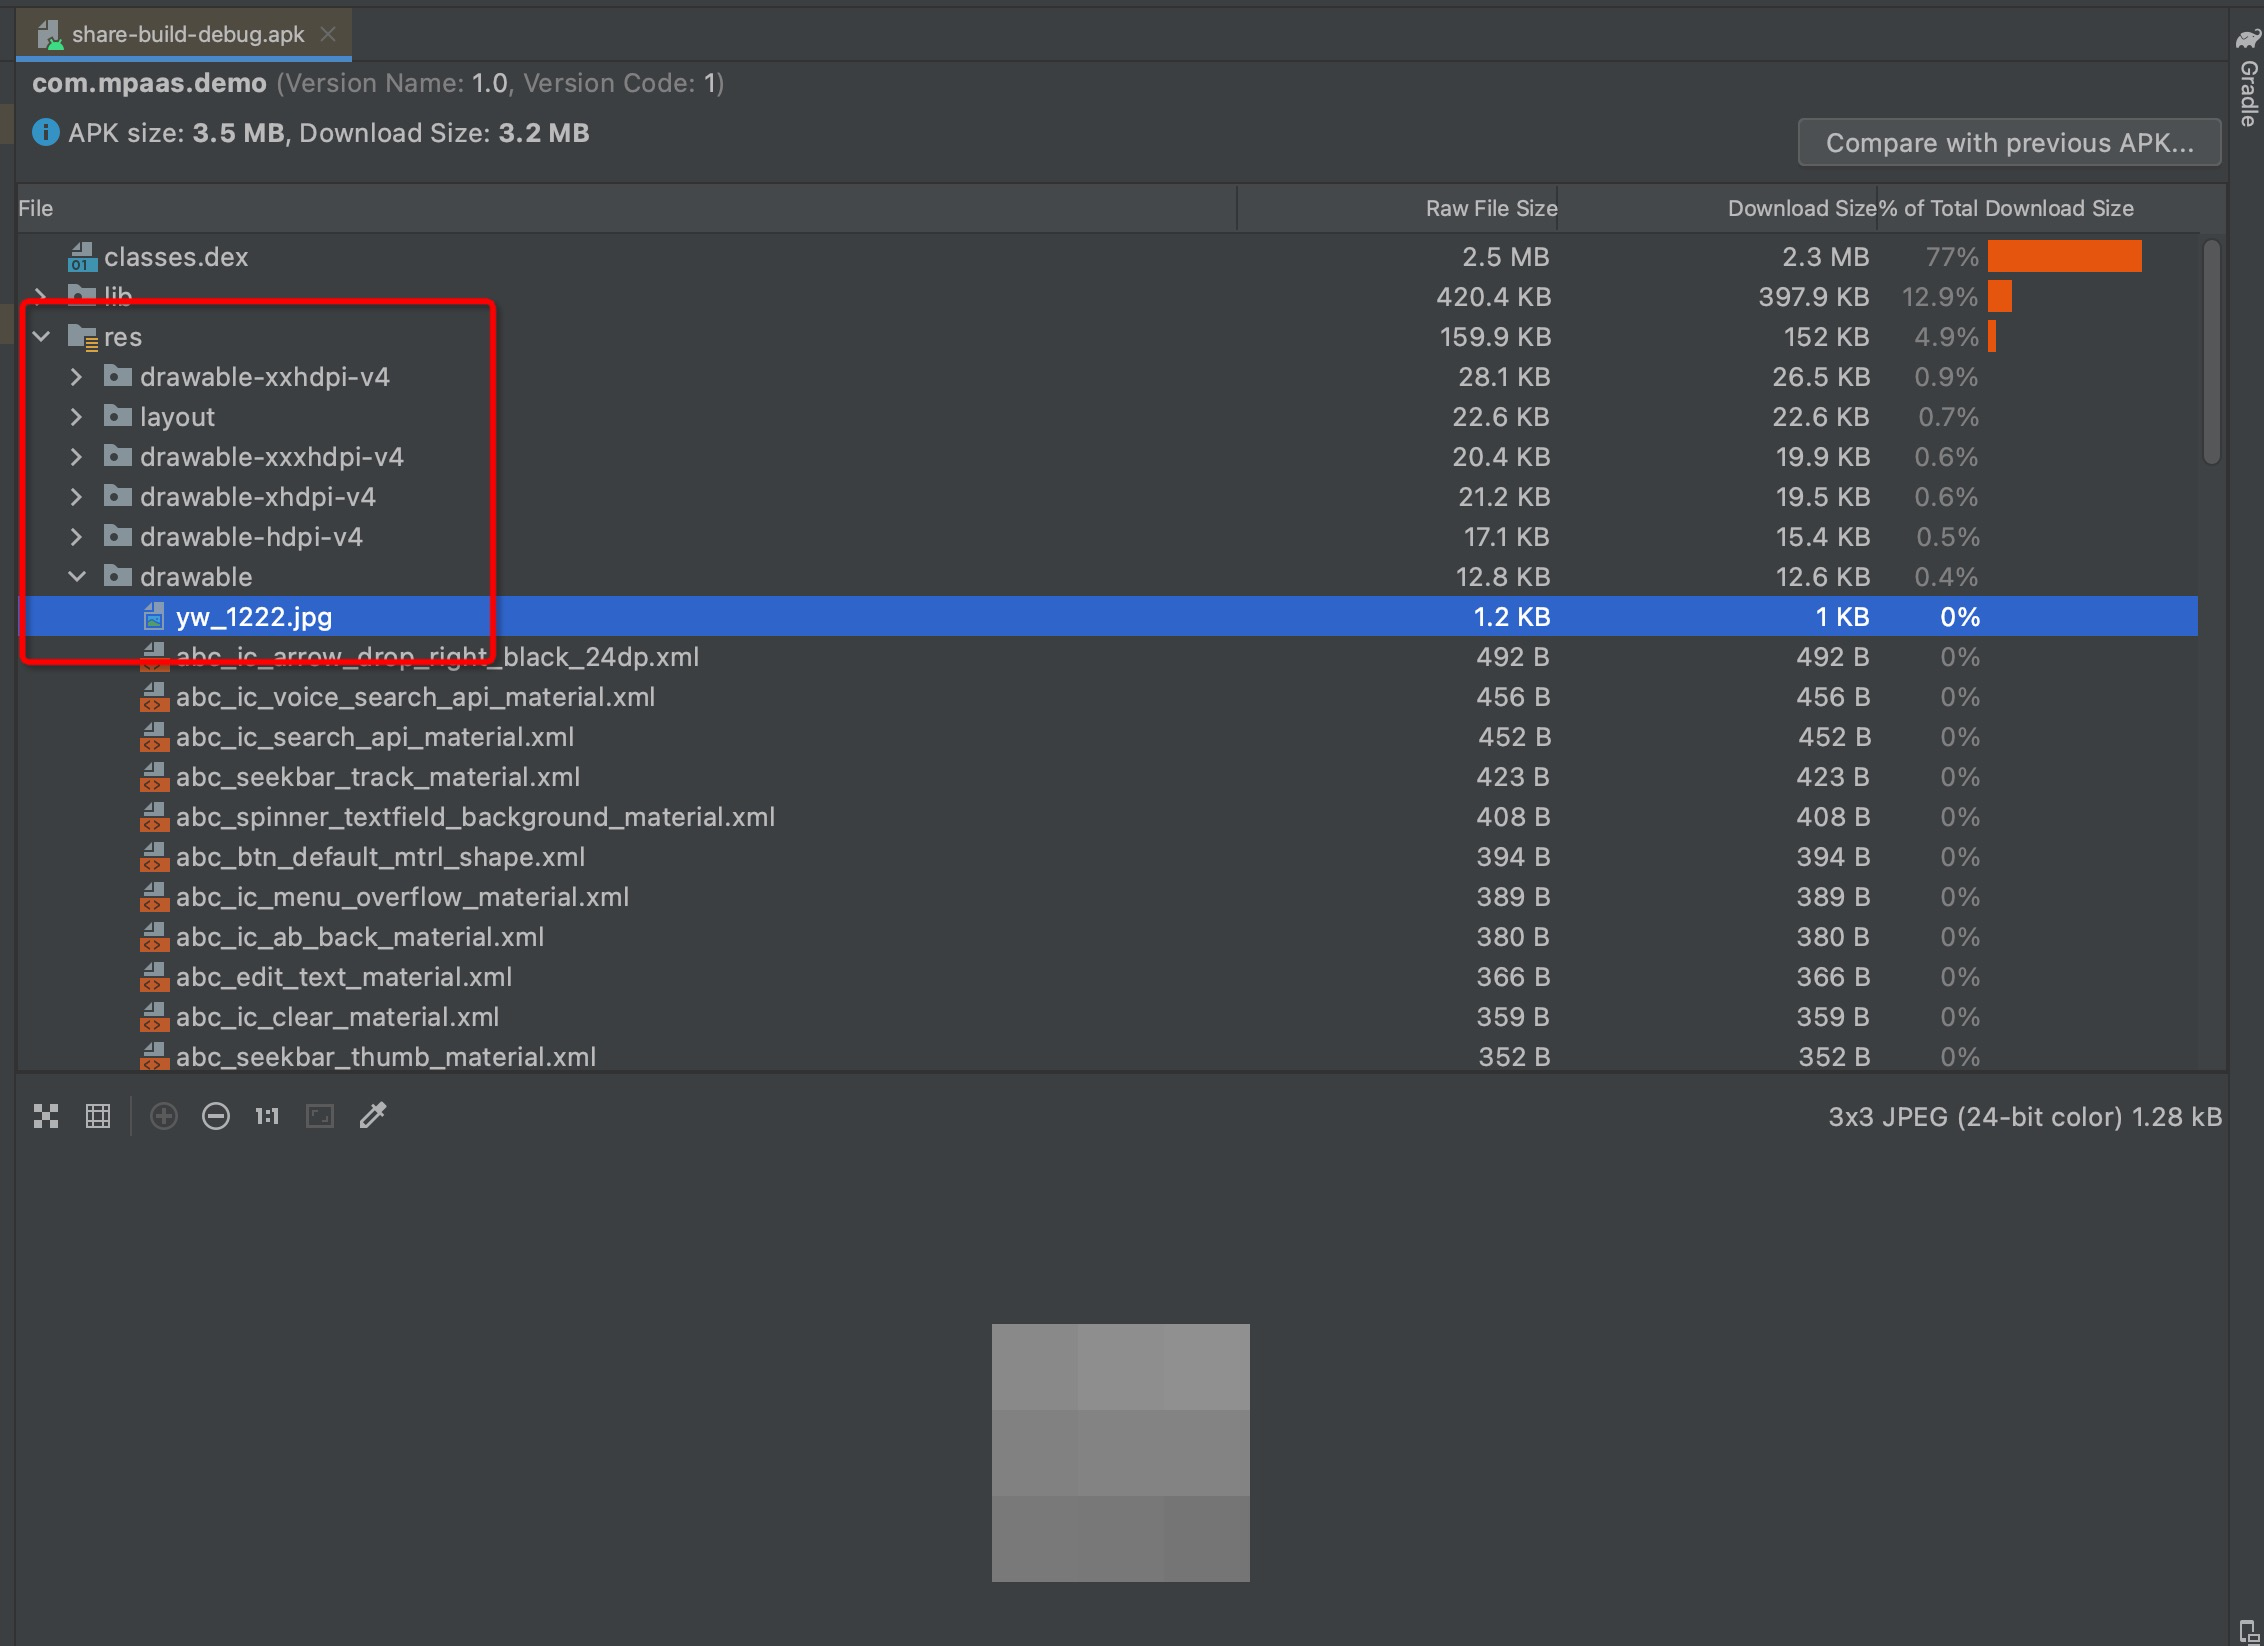
Check if the `res/drawable/yw_1222.jpg` file exists.
Check if the configuration file contains Base64.
Check if the `baseline.update` or `baseline.config` Gradle plugin is applied.
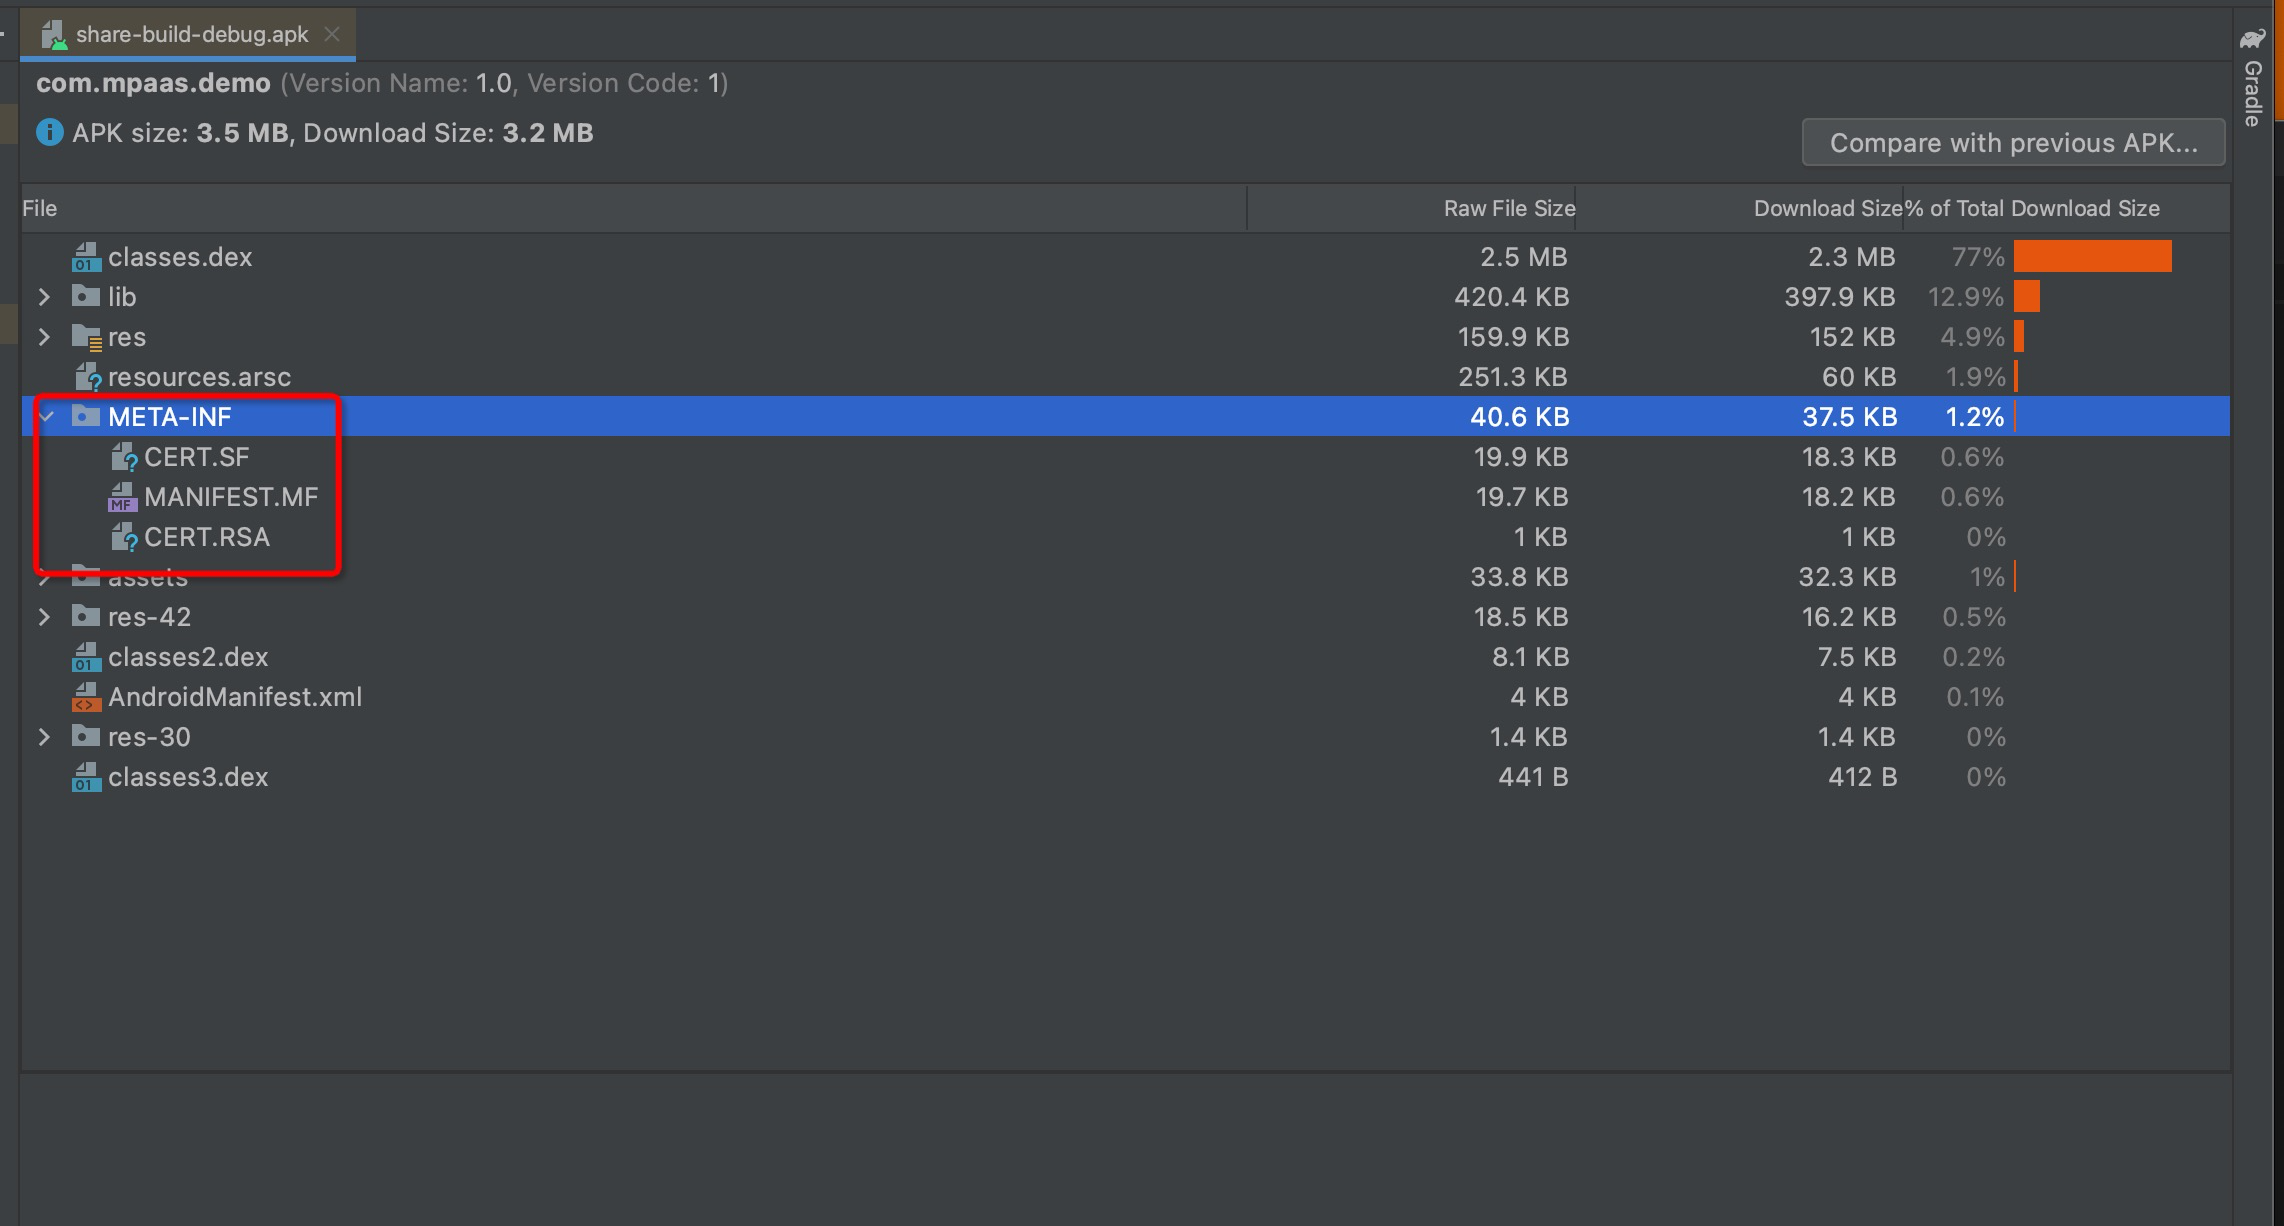
Check if the META-INF directory contains the CERT.SF, MANIFEST.MF, and CERT.RSA files.
In `app/build.gradle`, enable `v1SignEnabled`.
Check if `apply plugin: 'com.alipay.apollo.optimize'` exists in the `build.gradle` file in the project's root directory.
If you complete these checks and find no issues, the signed APK package that you uploaded to the console may be faulty. For example, the signature might be incorrect. In this case, you must upload the APK package again.