This topic describes how to quickly integrate mPaaS features into your HarmonyOS NEXT app.
Prerequisites
You have installed the latest version of the HarmonyOS NEXT development environment, which supports API 12 or later.
You have a physical device or an emulator that runs HarmonyOS 3.0.0.22 or later. To learn how to use an emulator, see HarmonyOS Emulator.
You have created an app in the mPaaS console and downloaded the
.configconfiguration file for HarmonyOS NEXT. For more information, see Create an app and get the configuration file for HarmonyOS NEXT.
If you have already integrated a beta version, follow these steps to ensure a smooth upgrade.
Procedure
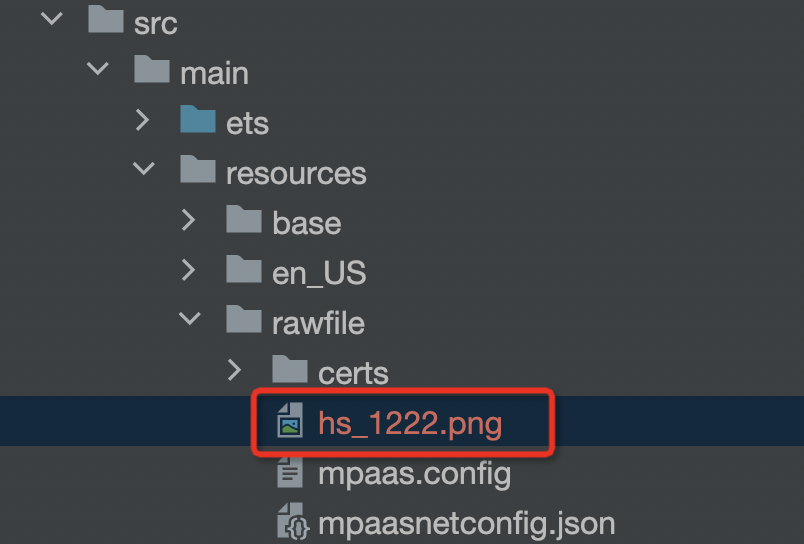
Rename the
.configconfiguration file tompaas.configand copy it to theentry/resource/rawfile
Install the mppm plugin.
Install and configure the Node.js environment.
Ensure that Node.js v18 or later is installed and configured. You can check your version by running the
node -vcommand. For more information, see the official Node.js website.Install mppm.
Run the following command in your terminal to install mppm.
NoteFor more information, see the npm homepage.
For the latest plugin version, see the mppm Release Notes.
npm install @alipay-inc/oh-mpaas-cli -gIf you are using Windows, you must also configure the Node.js environment variables, including
npm-globalandnpm-global/bin, as shown in the following figure. You can run thenpm config get prefixcommand to view the environment variable path. The command typically returns a path similar toC:\Users\<username>\.npm-global.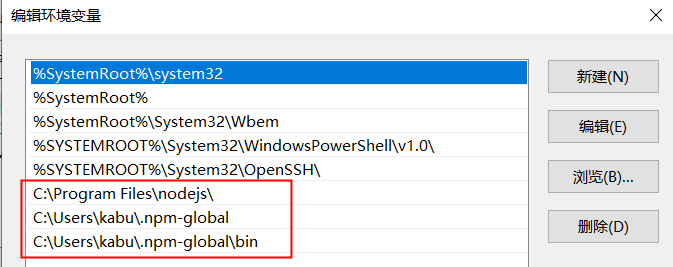
After the installation is complete, run the
mppm -vcommand to verify the installed version.Rename the
.configconfiguration file tompaas.configand copy it to theentry/resource/rawfile
Initialize the project.
Run the
mppm initcommand to initialize your project. This command configures the necessary mPaaS settings for HarmonyOS. You must run this command in theDevEco Studio terminal.In the DevEco Studio terminal, navigate to your main project's root directory and run the
mppm initcommand, as shown in the following figure.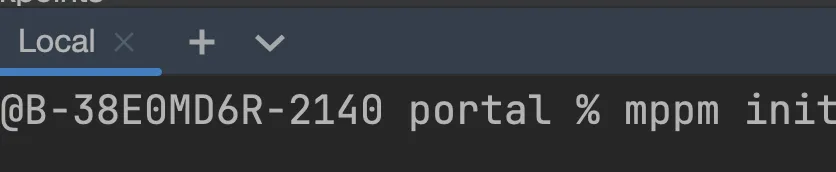
Select a baseline.
Select the 10.2.3 baseline and press the Enter key.
 After you complete this step, mppm creates a
 .mprcfile in your project's root directory. This file contains information about the baseline, as shown in the following figures.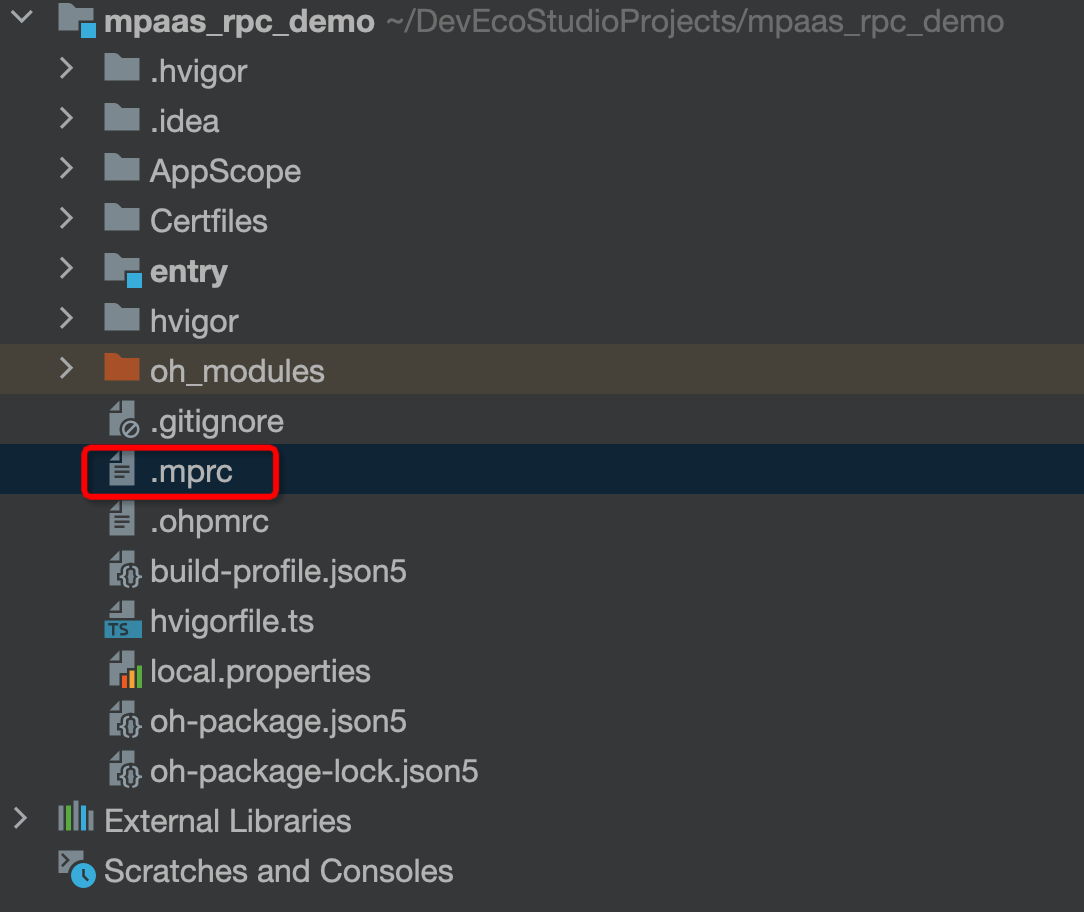

Select the components to install. Previously installed components are selected automatically.
Use the arrow keys to move the cursor, press the spacebar to select or deselect a component, and then press the Enter key.
ImportantIn compliance with the latest HarmonyOS naming conventions, customers who have previously integrated the data synchronization feature must update the baseline from
@mpaas/sync-serviceto@mpaas/sync_service.If you are a Windows user and encounter the error shown in the following figure,
you can manually run ohpm cleanandohpm installto pull the SDK.Currently, mppm only supports automatically installing dependencies into the
entrydirectory. To upgrade mppm in the future, follow the instructions in the release notes. After the installation is complete, the dependencies are added to theoh-package.json5file in theentrydirectory.
Get the security image.
To get the security image, ensure the
mpaas.configfile is in therawfiledirectory.Run the
mppm fetch-imagecommand. Use the--fingerand--secretoptions to configure the signature andappsecret. Thefingeroption specifies the fingerprint of the app signature, and thesecretoption specifies the value ofappsecretfrom the mPaaS console. If you do not configure these two options, the fetch operation fails. After a successful fetch, the images are placed in therawfiledirectory underentry.Options
--finger: Specifies thefingerprint.--secret: Specifies theappsecret.
Example
mppm fetch-image --finger xxxxxx --secret xxxx


 you can manually run
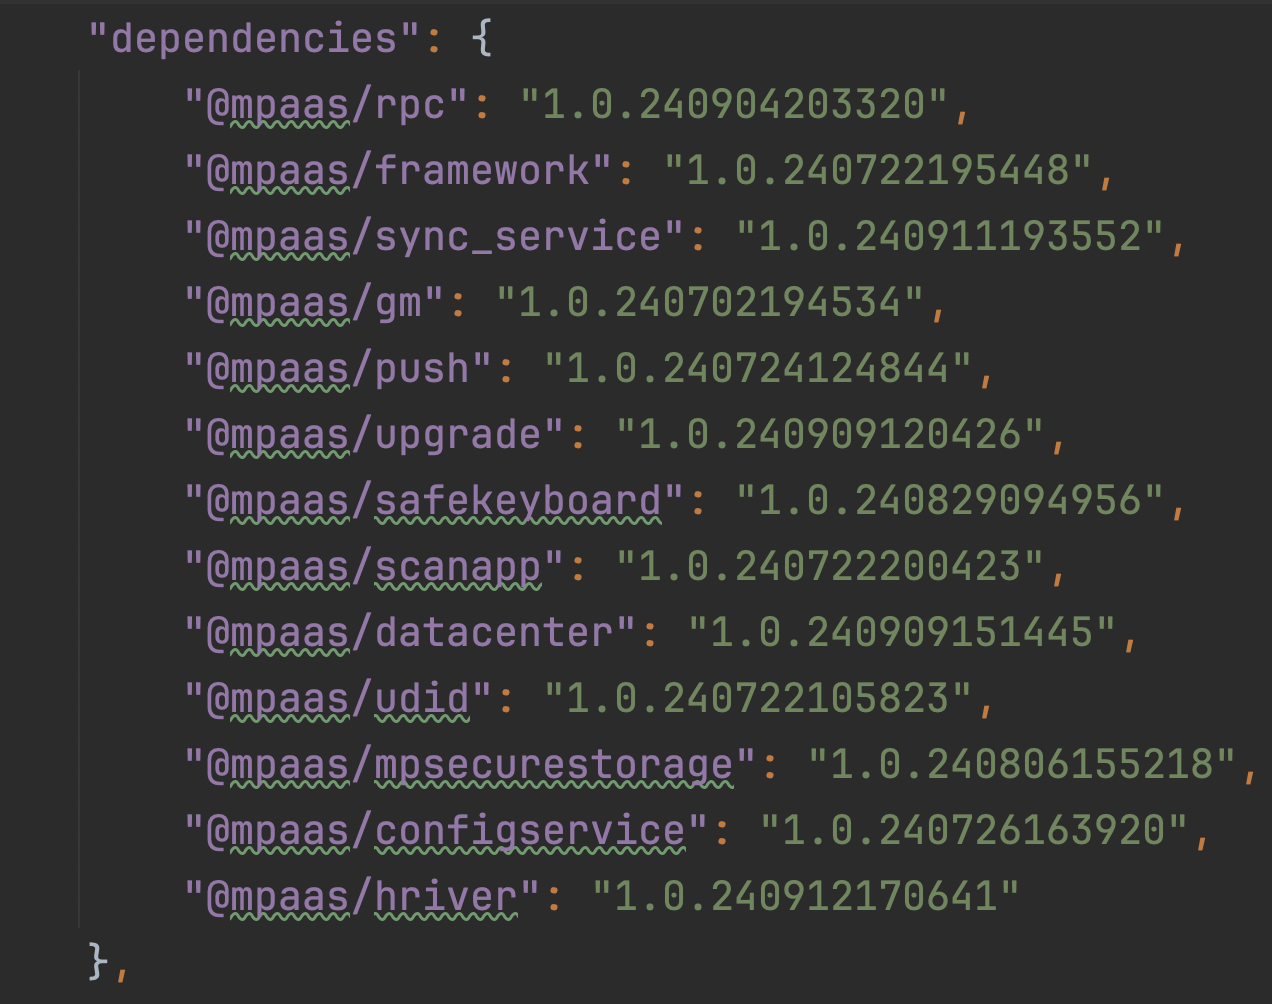
Three ways to get the fingerprint
Method 1: From the certificate
During HarmonyOS app development, you obtain a
.p7bcertificate file used for app signing. From this file, extract the value of thedistribution-certificatefield. If this field does not exist, extract the value of thedevelopment-certificatefield. Export the extracted value to a.cerfile, such asxxx.cer.
When you export the file, replace the\ncharacters with actual line breaks to ensure the format is correct.Use the keytool utility (
DevEco Studio\jbr\bin\keytool.exe) to print the certificate's fingerprint. Run the command:keytool -printcert -file xxx.cer.
Method 2: From your code
import bundleManager from '@ohos.bundle.bundleManager';

let info = bundleManager.getBundleInfoForSelfSync(bundleManager.BundleFlag.GET_BUNDLE_INFO_WITH_SIGNATURE_INFO);
let finger = info.signatureInfo.fingerprint; // This is the fingerprint value.
Method 3: Using the bm command (requires the HAP file to be installed on a physical device)
hdc shell
bm dump -n bundleName | grep fingerprint