You can create an email task to send emails to your users on the Alibaba Cloud platform.
Procedure
Go to Workspace Management > User Marketing > Reach Marketing > Email.
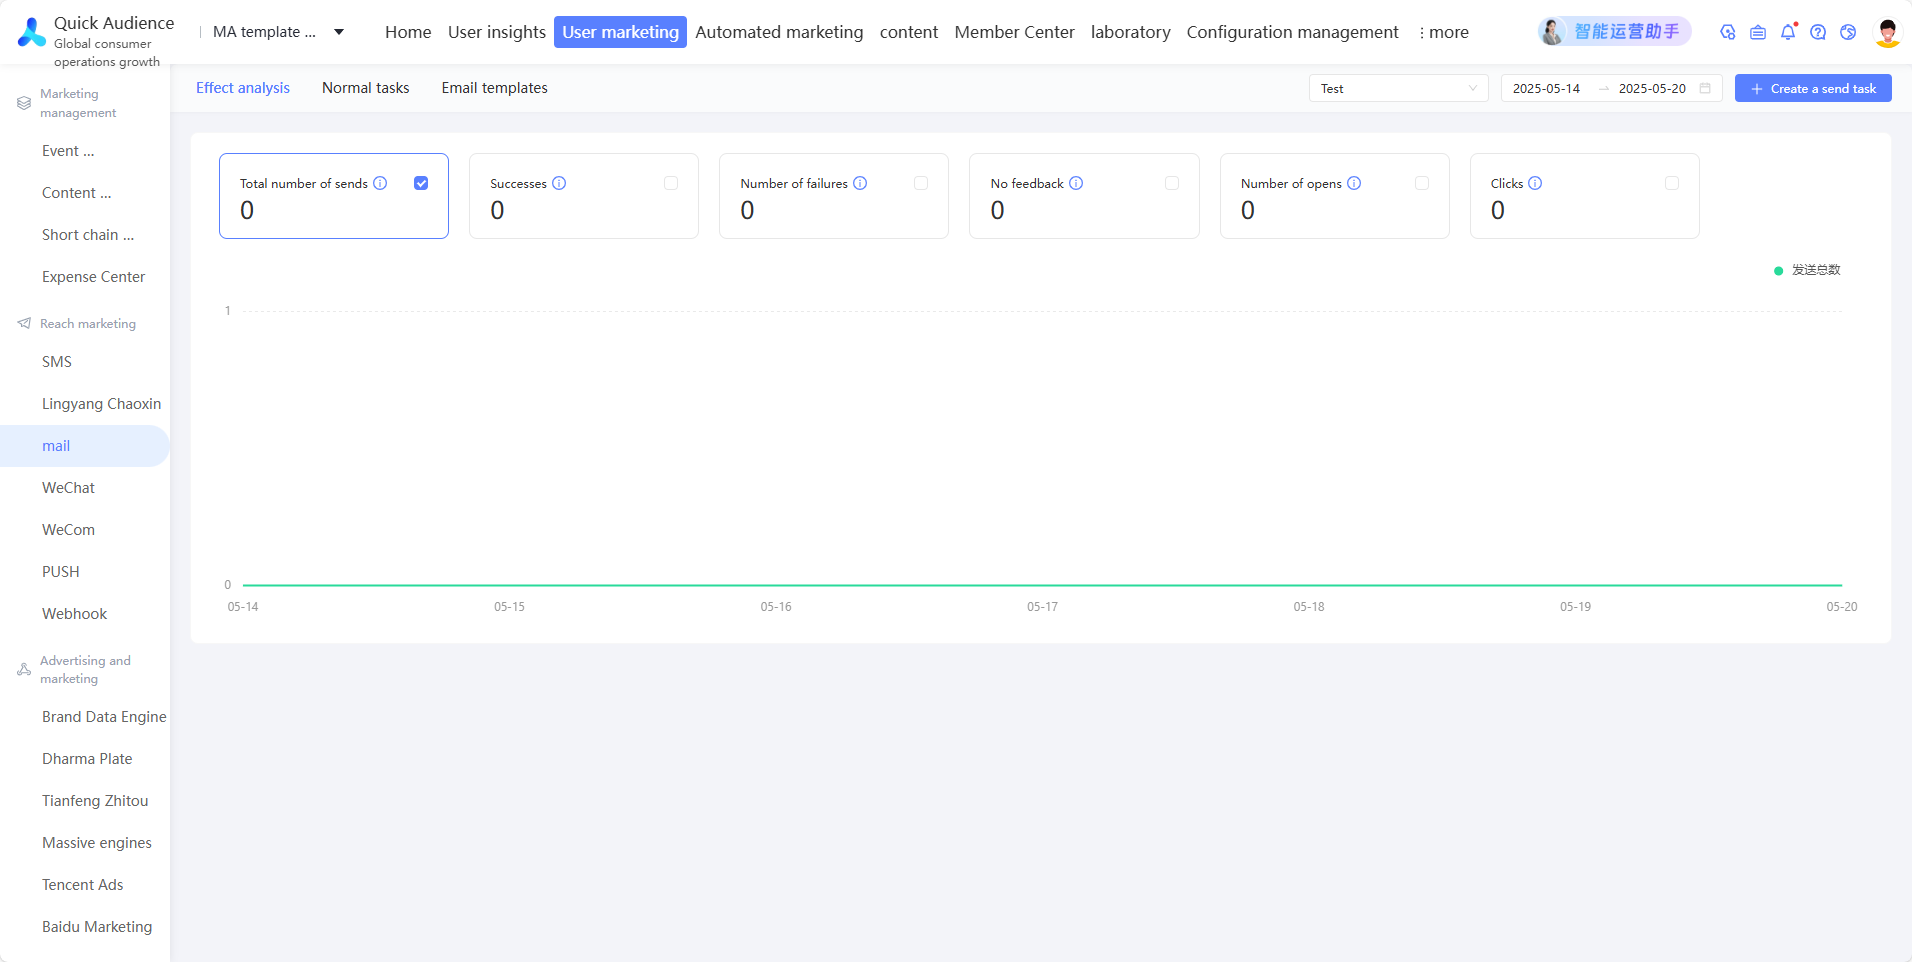
In the upper-right corner, click Create Send Task. The Create Email Task page opens.
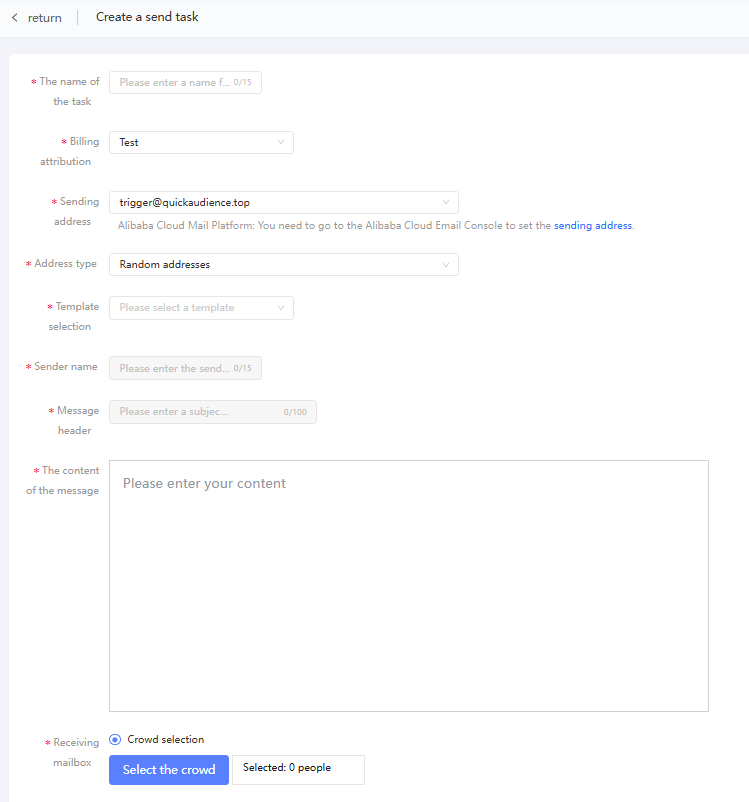
Configure the following parameters:
Task Name: Enter a name for the task to help you identify its purpose.
NoteThe task name does not affect the sent content.
Email Platform: The Alibaba Cloud Direct Mail platform is selected by default.
Sender Address: From the drop-down list, select the sender address.
NoteYou can configure sender addresses in the Alibaba Cloud Direct Mail console.
Address Type:
Random Address: This option displays a combination of a system-generated random string and the sender address, which makes it easier to track bounced emails. This option is recommended.
Sender Address: This option displays only the sender address.
Template Selection:
Select Existing Template: Select an existing template from the drop-down list. For more information, see Create Email Template.
Create New Template: Enter a template name. Then, specify the sender name, email title, and email body.
NoteTemplates must be approved on the Alibaba Cloud Direct Mail platform before you can use them to send emails.
Sender Name, Email Title, and Email Body: These fields are populated based on the selected email template. You can click Preview at the bottom of the page to preview the email.
NoteIf you modify these fields after selecting a template, your changes are saved as a new template. This new template also requires approval before you can use it to send emails.
Recipient Mailboxes: Click Select Audience to select the target audience and the encryption method for their email addresses. The system sends emails only to the addresses that match your selections.
Associate Sub-campaign: Select a main campaign, and then select one or more of its sub-campaigns to associate with the task. Independent sub-campaigns are listed under - at the end of the main campaign list. For more information, see the Marketing Campaign document.
Limit Recipients: For example, if your selected audience has 1,000 members but you only want to send emails to 100 of them, you can enable the Limit Recipients switch and enter 100. The limit cannot be greater than the total number of members in the selected audience.
Scheduled Send: Enable this switch to specify a time to send the email.

Email Unsubscribe: Enable this switch to add an unsubscribe button to the email. If a user clicks the unsubscribe button, the system records their email address and automatically excludes them from future mailings.
Click Submit Send Task to create the task.