This topic describes how to create a custom template from an existing dashboard, data screen, spreadsheet, or data entry object. After a template is created, you can publish it for internal use to standardize data analysis workflows and save time and effort when building reports. You can also publish high-quality templates to the template marketplace to share them with other Quick BI users.
Create a template
Log in to the Quick BI console.
On the Quick BI homepage, create a template.
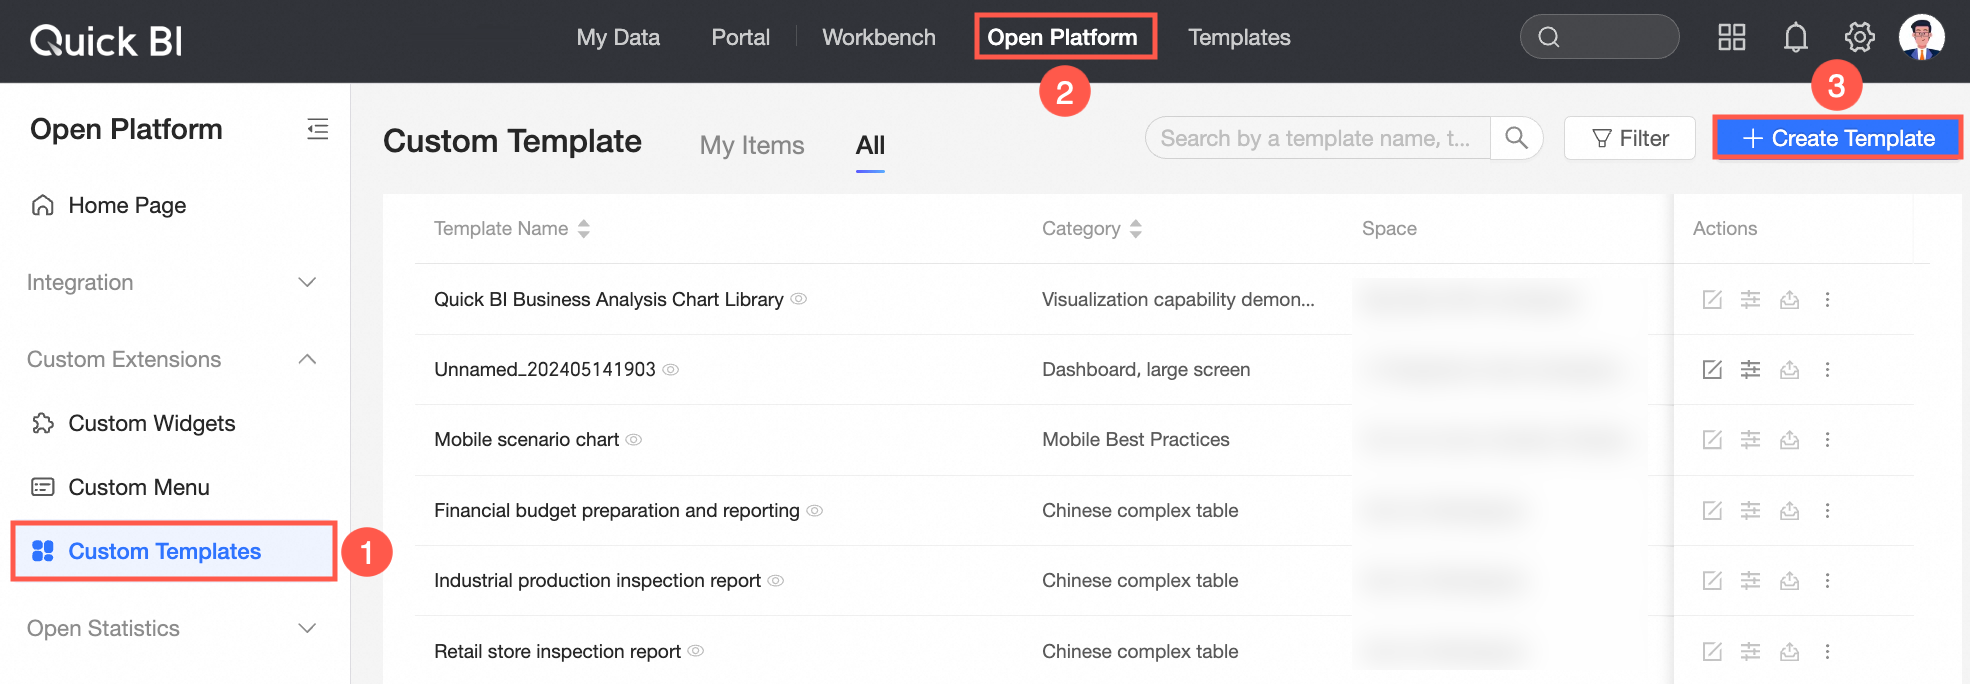
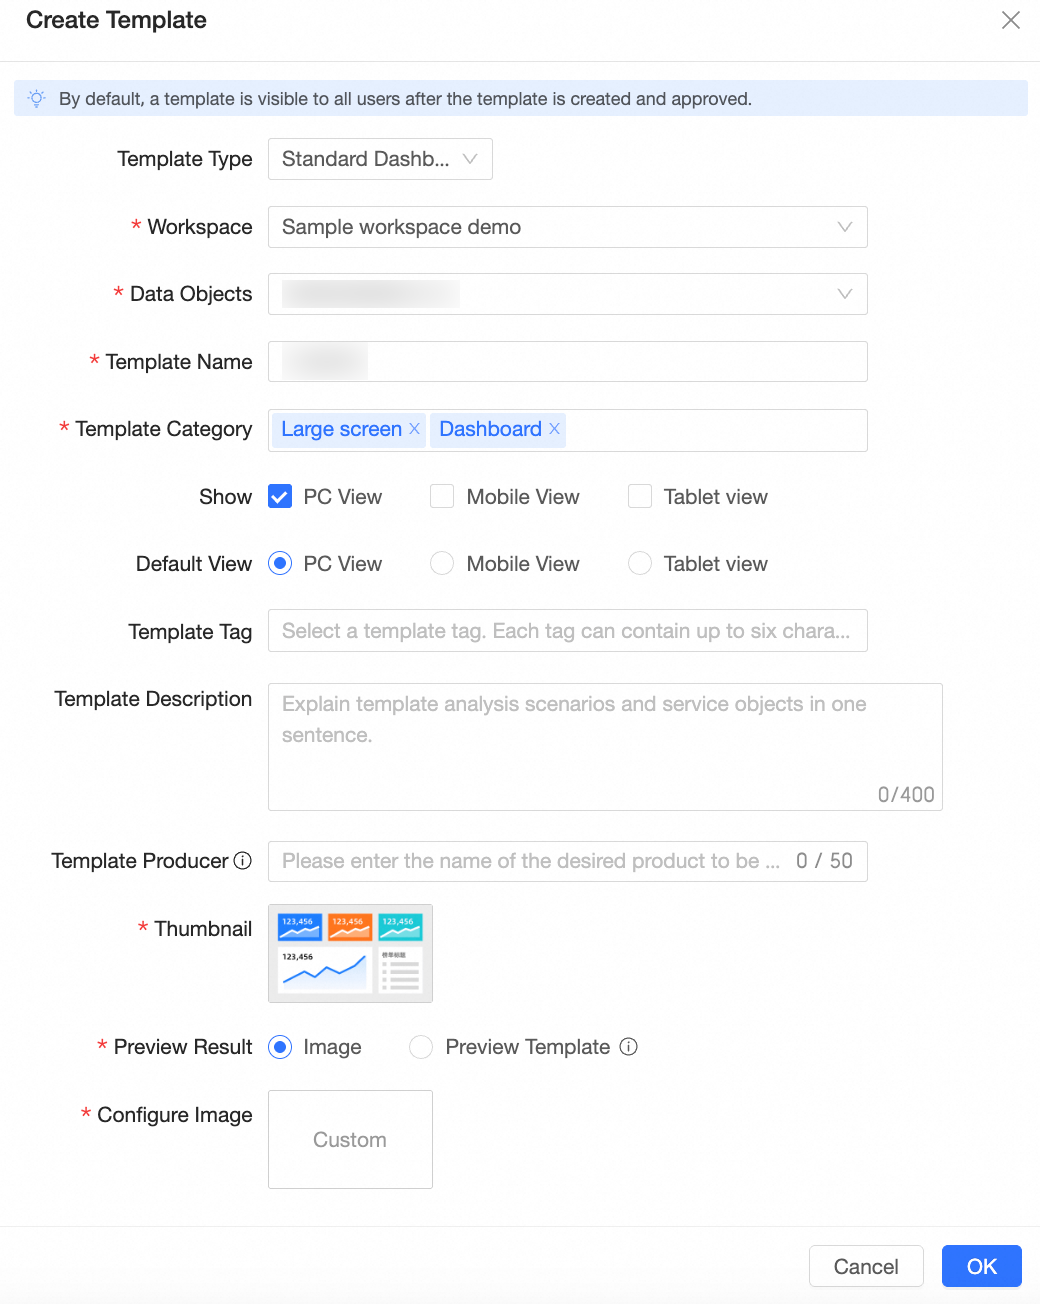
In the New Template dialog box, configure the following parameters.
Parameter
Description
Template Type
You can create Regular Dashboard and Data Screen, Spreadsheet, and Data Entry templates.
Workspace
Select the workspace that contains the source data object.
Data Object
Select the data object to use as the template, such as a dashboard, data screen, or spreadsheet.
Template Name
Enter a name for the template.
After you select a Data Object, its name is automatically populated as the template name. You can change this name.
Template Category
Select a category that matches the template's use case. Examples include Form Entry, Chinese-style Complex Tables, Internet Industry Use Cases, and Data Screen Best Practices.
After the template is published to the template marketplace, this category helps you and other users find the template quickly.
Display view
You can select PC View, Mobile View, and Tablet View.
Default view
Select the default view for the template. By default, PC View is selected.
Template Tags
Add custom tags to identify and manage your template.
You can add multiple tags to a template. Each tag can be up to 6 characters long.
Template Description
Enter a brief description of the template. Include its use cases and target audience to help users choose the right template.
Template Publisher
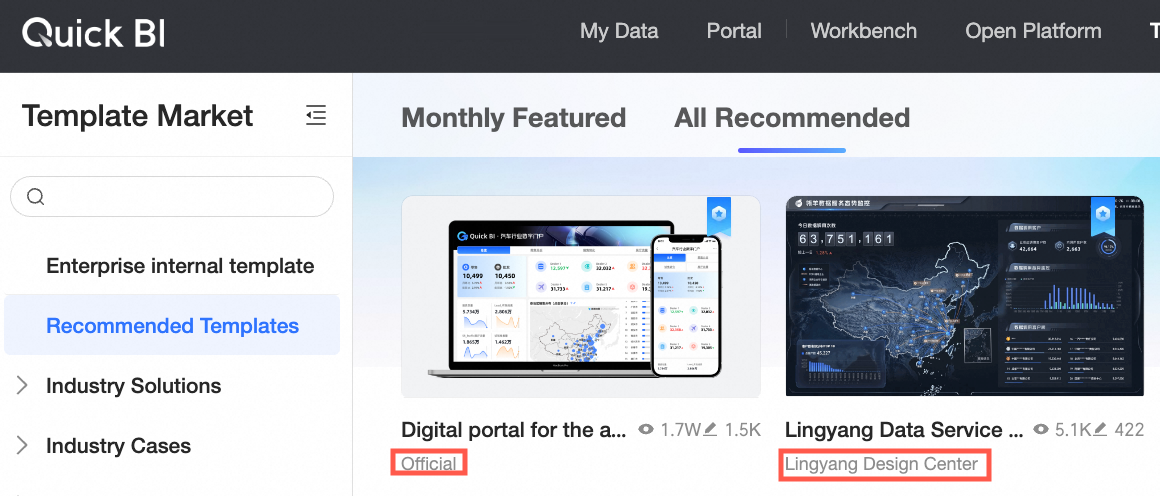
Enter the name of the template's author or organization, such as 'ABC Company' or 'Marketing Department'. The name can be up to 50 characters long.
This information appears in the template marketplace after you publish the template. If you leave this field blank, the producer is listed as "Official".
Thumbnail
Set the cover image for the template. You can use official assets, upload an image from your local device, or provide an image URL.
Preview
Select the preview mode. You can choose either Image or Preview Template.
If you select Preview Template, the report becomes publicly viewable. To ensure data security, we recommend that you use demo data.
Set Image
You can set an image only when Preview is set to Image.
Upload a local image or provide an image URL.
NoteThe image resolution must be greater than 60 × 60 pixels and less than 180 × 60 pixels.
The image size cannot exceed 1 MB.
Click OK.
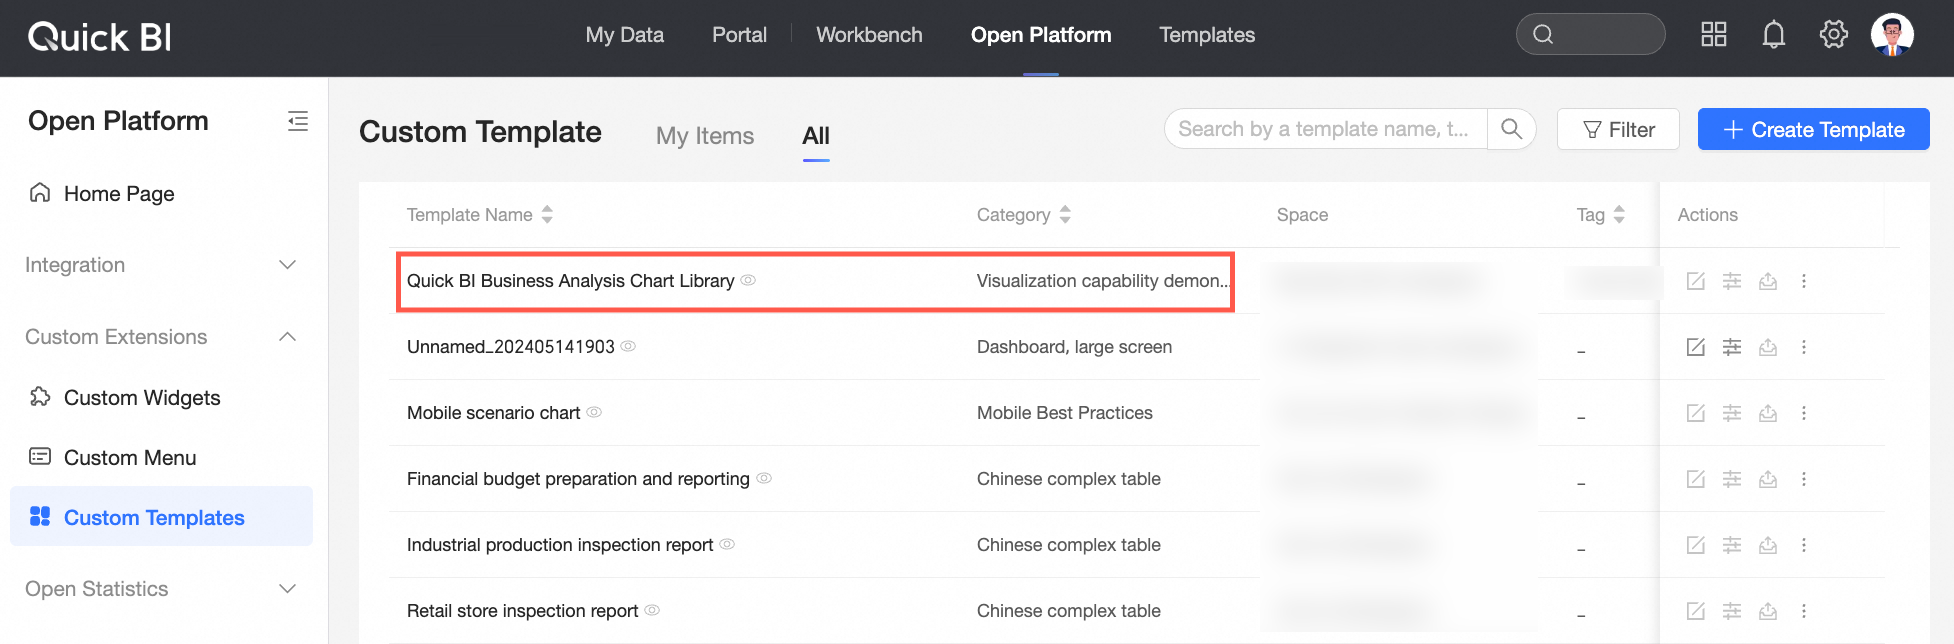
The new template appears on the Custom Templates page.
Edit a template
You can edit a template to modify the style or data of its chart components.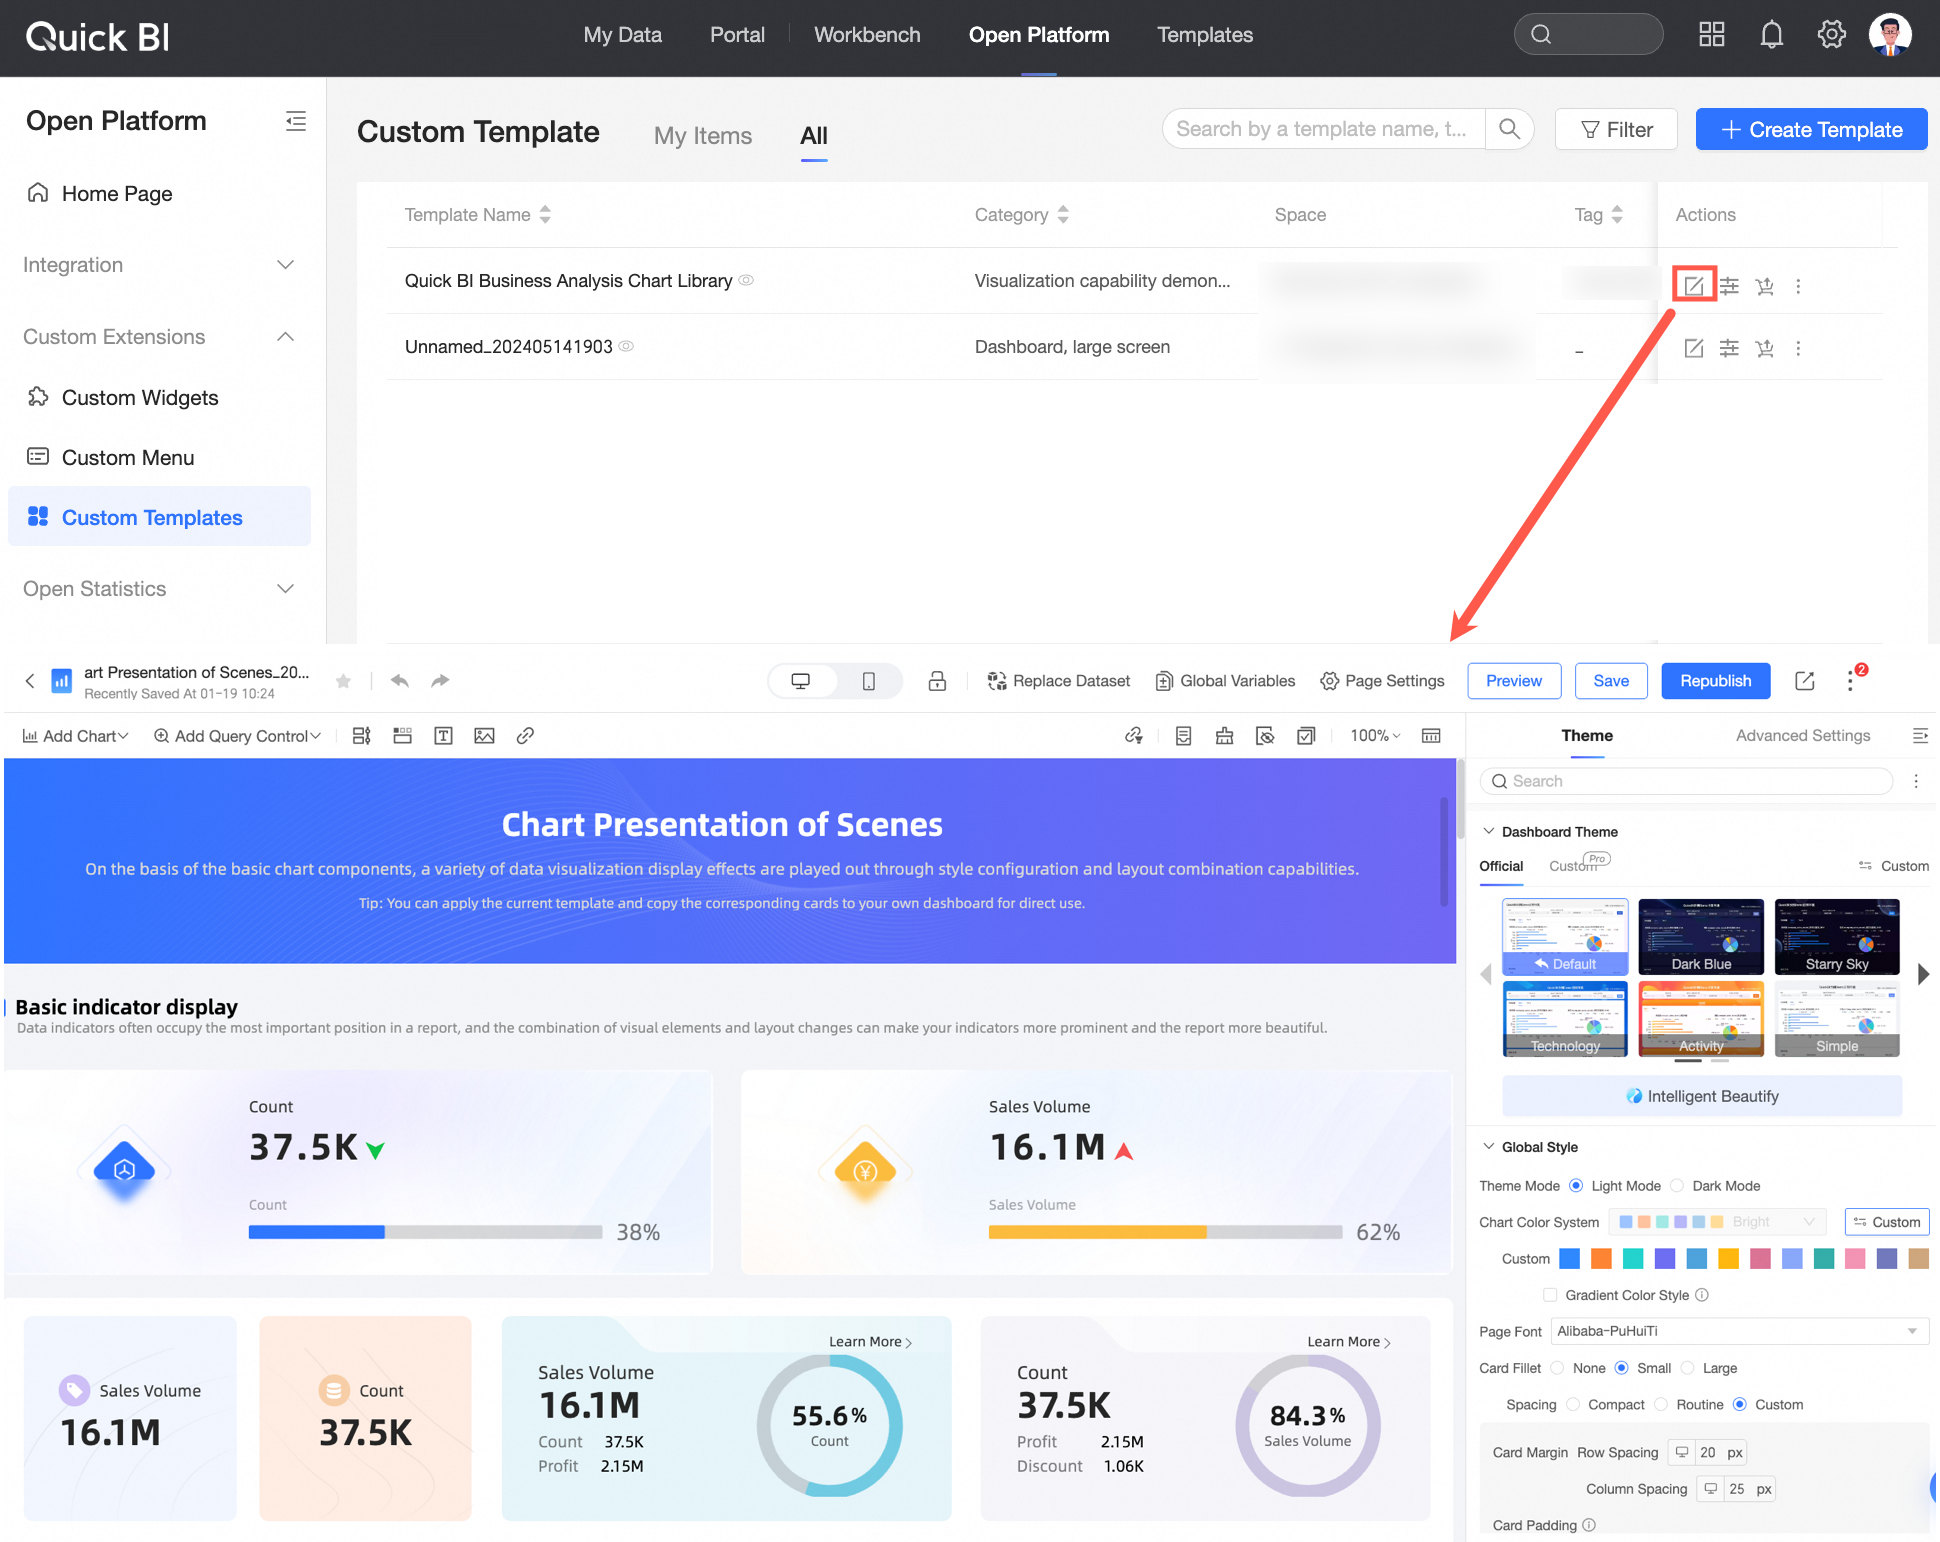
Edit template properties
To modify a template's parameters, edit its properties.
Next steps
After you create a template, you must publish it to make it available to your target audience in the template marketplace or your organization. For instructions, see Publish a custom template.
After the template is approved and published, you can preview or apply it from the template marketplace. For instructions, see View and apply a template.