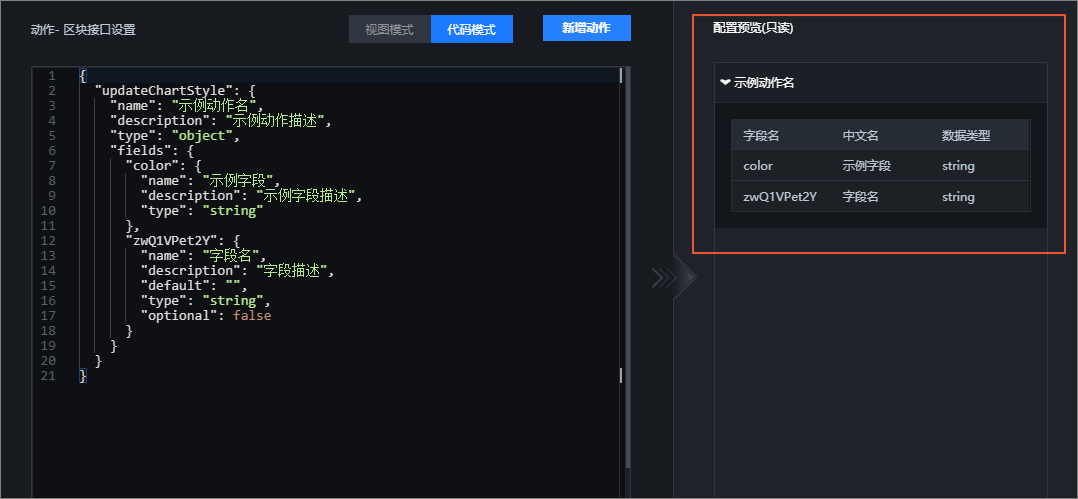
Action interface configuration
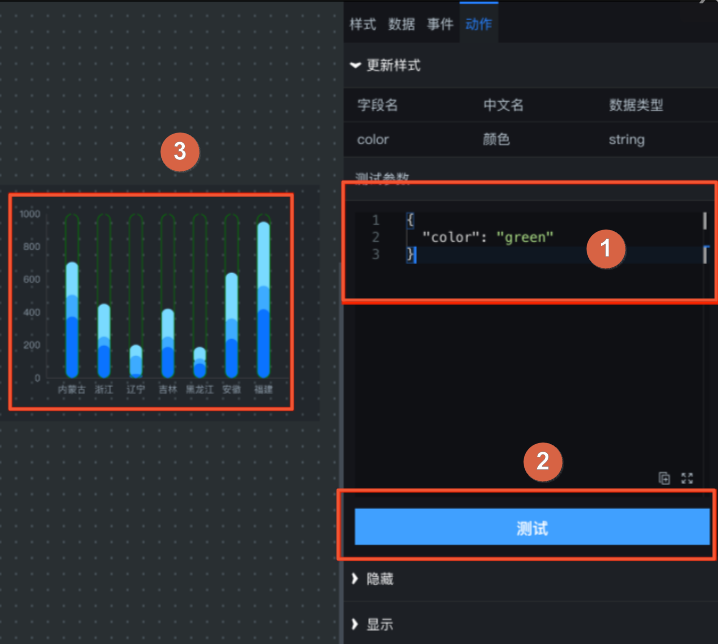
If a block needs to expose an interface that other widgets can call, you must create an action interface. For example, if an external widget needs to control the color of a Vertical Capsule Column Chart widget within a block, you can create an Update Style action to use in the blueprint editor of a visualization application. This topic describes how to configure action interfaces for a block.
In the block editor, click the  icon in the upper-right corner. On the Action Settings tab, you can perform the following operations.
Switch modes
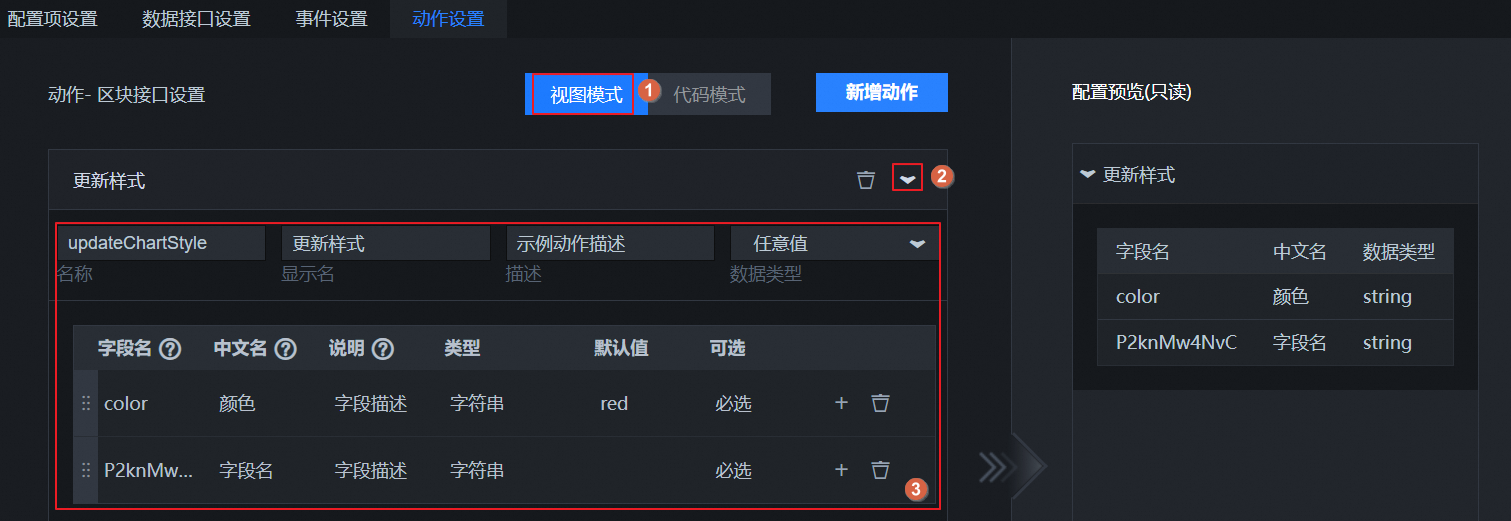
At the top of the dialog box, you can switch the action mode. The options are View Mode and Code Mode.
| Mode | Description |
| View Mode | In view mode, you can see the style of the sample action and customize the action content based on the sample style without writing code.
|
| Code Mode | In code mode, you can write custom code for your required action based on the sample action code. This lets you add or configure action content.
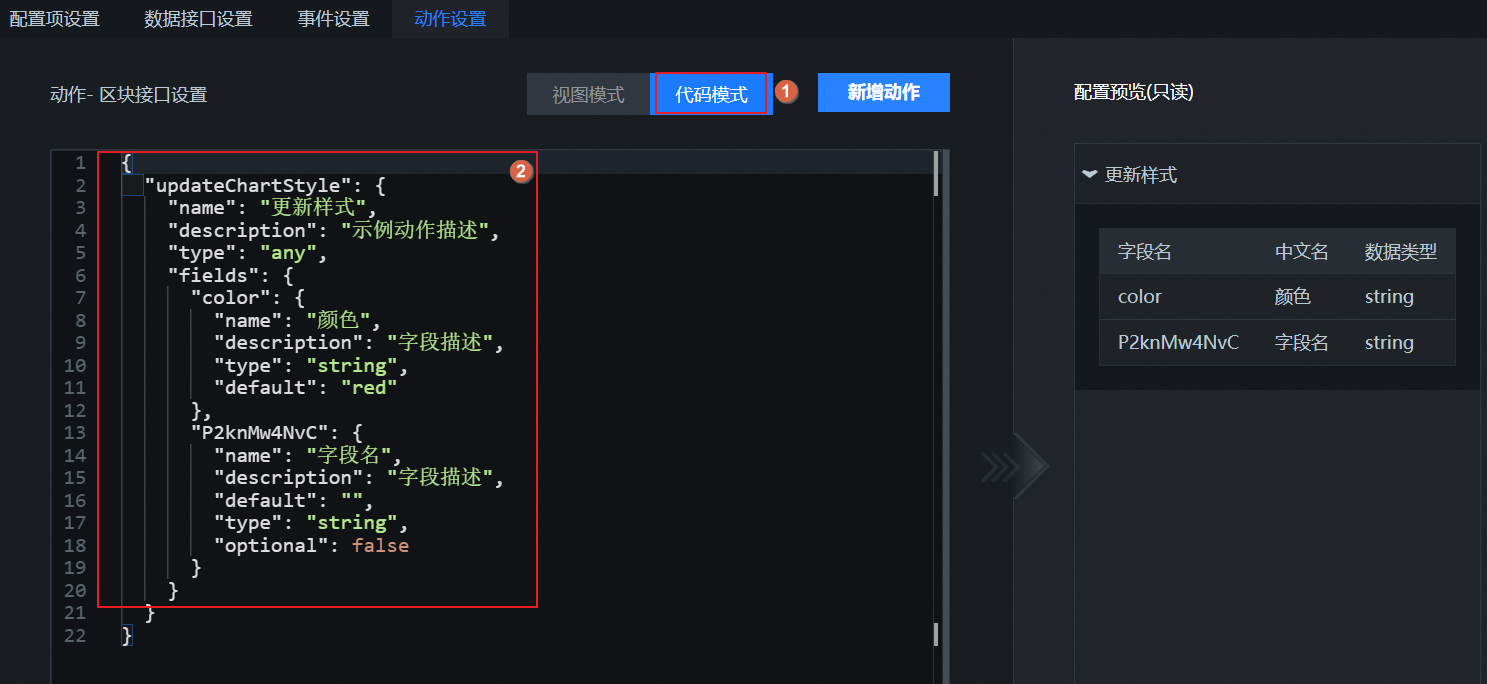
Note For more information about the code specifications for configuring action interfaces, see
Widget development specifications.
|
Configure the action interface
On the Action Settings tab, a sample action is provided by default. You can customize its content.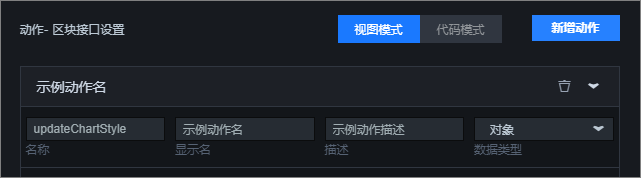
| Operation | Description |
| Expand the action details list | Click the  icon to the right of the sample action to open the detailed configuration list for the current action. icon to the right of the sample action to open the detailed configuration list for the current action. |
| Edit basic action information | Each action contains multiple parameters. You can edit the basic information parameters of an action.
|
| Delete an action | Click the  icon to the right of the action to delete the current action. icon to the right of the action to delete the current action. |
| Add an action | Click Add Data Interface on the Action Settings tab to add a new action to the configuration area below.
Note You can add or edit multiple actions for the block interface.
|
Configure action fields
In the action configuration panel, two sample action fields are added by default. You can customize these fields.
| Operation | Description |
| Edit basic field information | Each action field contains multiple parameters. You can edit the field parameters.
|
| Add a field | Click the  icon to the right of a field row and select Add Sibling to add a new field row. icon to the right of a field row and select Add Sibling to add a new field row. |
| Adjust field positions | After adding multiple field rows to the data interface, click the  icon on the far left of a field row and drag the row to adjust its vertical order among other rows. icon on the far left of a field row and drag the row to adjust its vertical order among other rows. |
| Delete a field | Click the  icon to the right of a field row to delete the field. icon to the right of a field row to delete the field.
Note After deleting all fields in the list, click
Add Field in the field list to quickly add a new field row.
 |
View and use action interfaces in a visualization application
After you configure an action interface in the block editor, you can use the block in a visualization application and view its interface information in the blueprint editor. The following steps describe how to view and use the interface in a visualization application.
- In the block editor, preview and test the configured action interface. After the test is successful, publish the block. For more information, see Preview a block and Publish a block.

- Switch to the My Visualizations page in the console. Hover over a visualization application and click Edit to open the canvas editor.
- Click the icon to expand the All Assets list. Select the Blocks module to view the list of published blocks.
- Click the desired block to add it to the canvas editor.
- Select the block on the canvas, right-click it, and then select Export to Blueprint Editor.
- Switch to the blueprint editor. Drag the block node to the blueprint editor canvas to view the event and action interface information for the block. In the blueprint editor, the block's event and action interfaces can be called by other widgets by connecting lines and configuring logic nodes. For more information, see Introduction.
 icon to expand the All Assets list. Select the Blocks module to view the list of published blocks.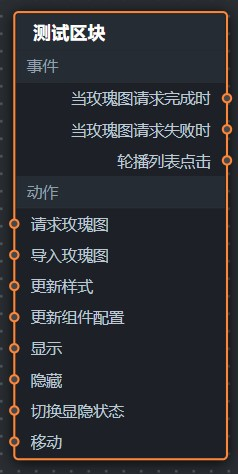
Preview action configurations in real time
On the Action Settings tab, the left area of the dialog box is for customizing action configurations, and the right area provides a real-time preview. The action parameters that you configure on the left are displayed in the preview area on the right in real time, which makes it easy to view the configured content.