Configure self-service data retrieval
Configure data sources, field formats, page settings, and query controls for self-service data retrieval.
Prerequisites
You are logged in to the Quick BI console and have created a self-service data retrieval.
Data configuration
-
On the Data page, select an existing dataset or create a new one. If you click Create Dataset, you are redirected to the dataset editing page. For more information about how to create a dataset, see Create a dataset.

-
Double-click or drag dimension or measure fields to the Rows or Columns area. For example, drag region to Rows, and drag order_amount, shipping_cost, and profit_amount to Columns.

-
Configure the field formats.
Parameter
Description
Date display format
The default is Auto. Supported formats include YYYY-MM-DD, YYYYMMDD, YYYY/MM/DD, MMDD, MM-DD, MM/DD, and DDMMYYYY.
NoteThis setting applies only to date fields.
Alignment
The default is Auto. You can select Left, Center, or Right.
Sort
The default is No Sort. You can select Ascending or Descending.
Field display content
You can set the Display Name and Field Description.
Data display format
The default is Auto. You can select None (to display the original value), Integer, 1 decimal place, 2 decimal places, Percentage, Percentage with 1 decimal place, Percentage with 2 decimal places, or Custom.
Note-
This setting applies only to measure fields.
-
For more information about how to configure custom data formats, see Customize data display formats.
Aggregation method
Supported methods include SUM, AVG, COUNT, COUNT_DISTINCT (distinct count), MAX, MIN, STDDEV_POP, STDDEV_SAMP, VAR_POP, and VAR_SAMP.
NoteThe aggregation method is available only for fields in the Columns area.
-
For fields in the Rows area, you can configure Date Display Format (for date fields only), Alignment, Sort, and Field Display Content.

-
For fields in the Columns area, you can configure Data Display Format, Alignment, Sort, Aggregation Method, and Field Display Content.

-
You can also click the
 icon next to Rows or Columns to configure the formats for all fields in that area at once.
 Note
NoteSelf-service data retrieval does not support advanced calculations such as period-over-period comparisons, percentage calculations, or cumulative totals.
-
-
As needed, add a filter. For more information, see Filter fields.
-
Click Update.


Page settings
The Page settings pane provides the following options.
|
Category |
Parameter |
Description |
|
Feature configuration |
Display Field Selection |
Selecting Display Field Selection shows a field selection control in the upper-right corner in both edit and preview modes. You can then select which fields to display.
|
|
Display Query Controls |
Selecting this option adds query controls to the self-service data retrieval editing page, allowing you to configure the query controls.
|
|
|
Remember query conditions |
|
|
|
Table settings |
Display Title |
You can show or hide the main title and customize its text.
|
|
Display Link Jump |
You can show or hide a link and configure its text, URL, and opening behavior.
|
|
|
Remarks |
You can add remarks and set their position.
|


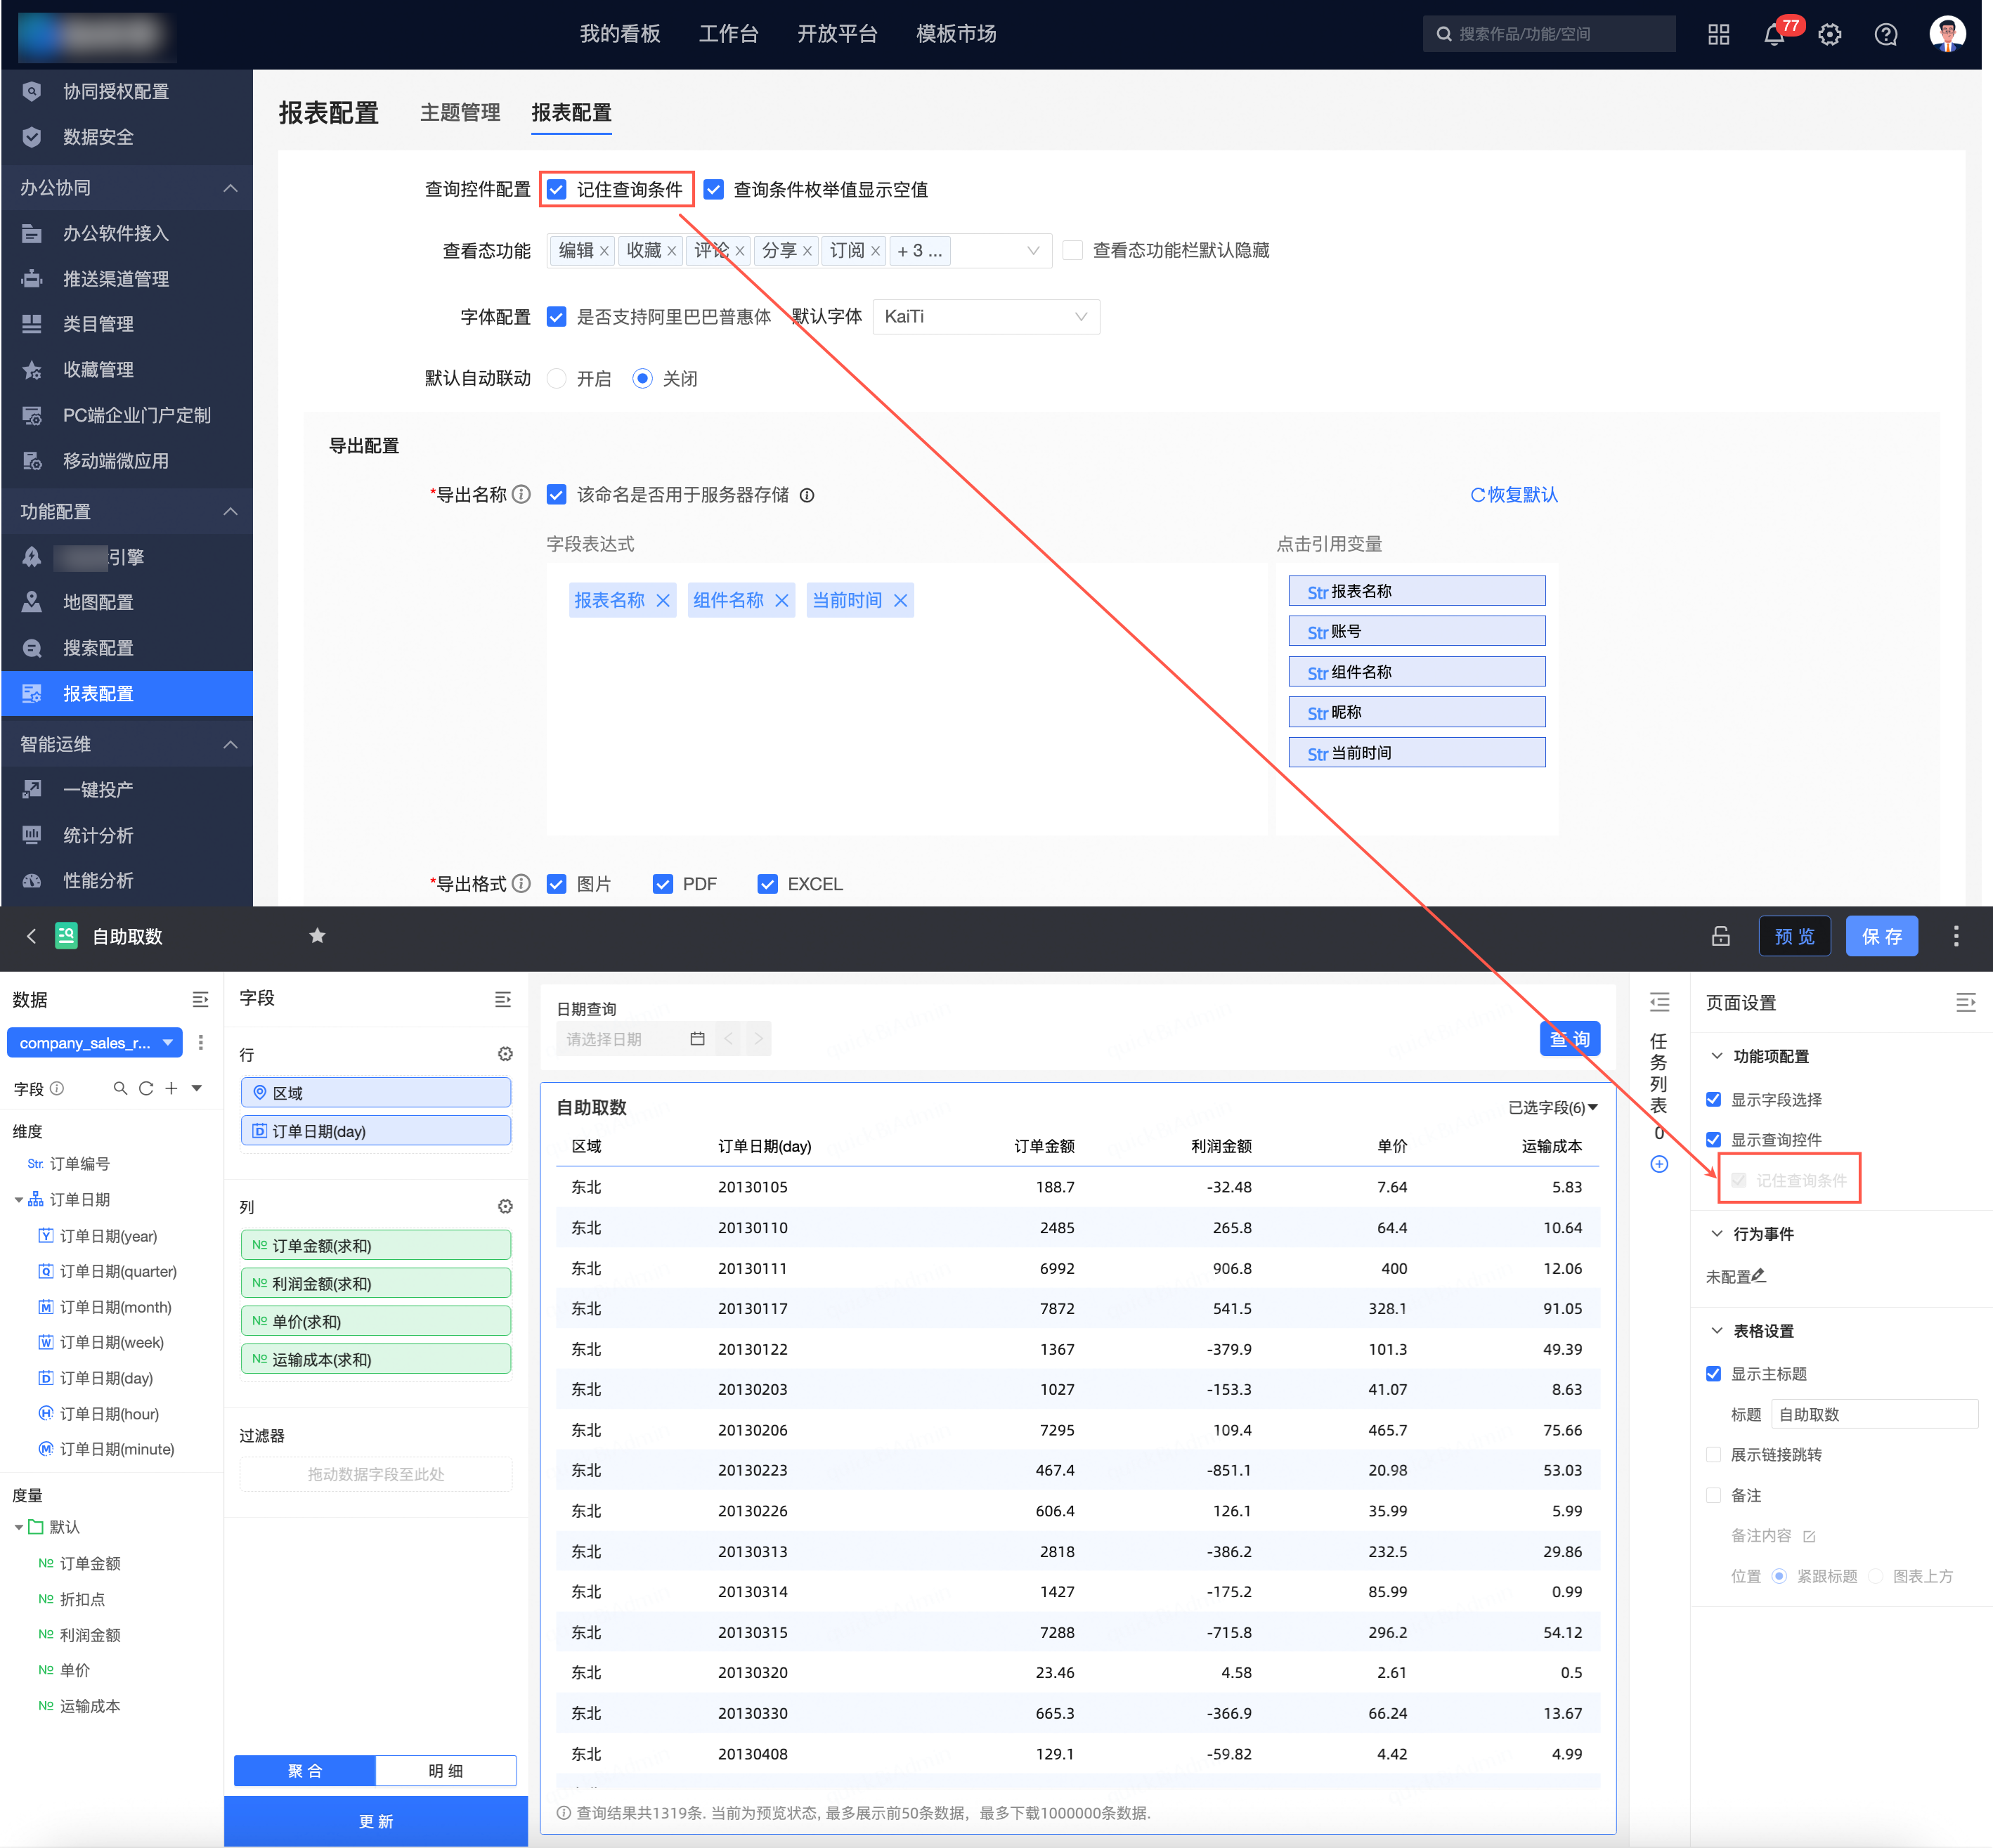
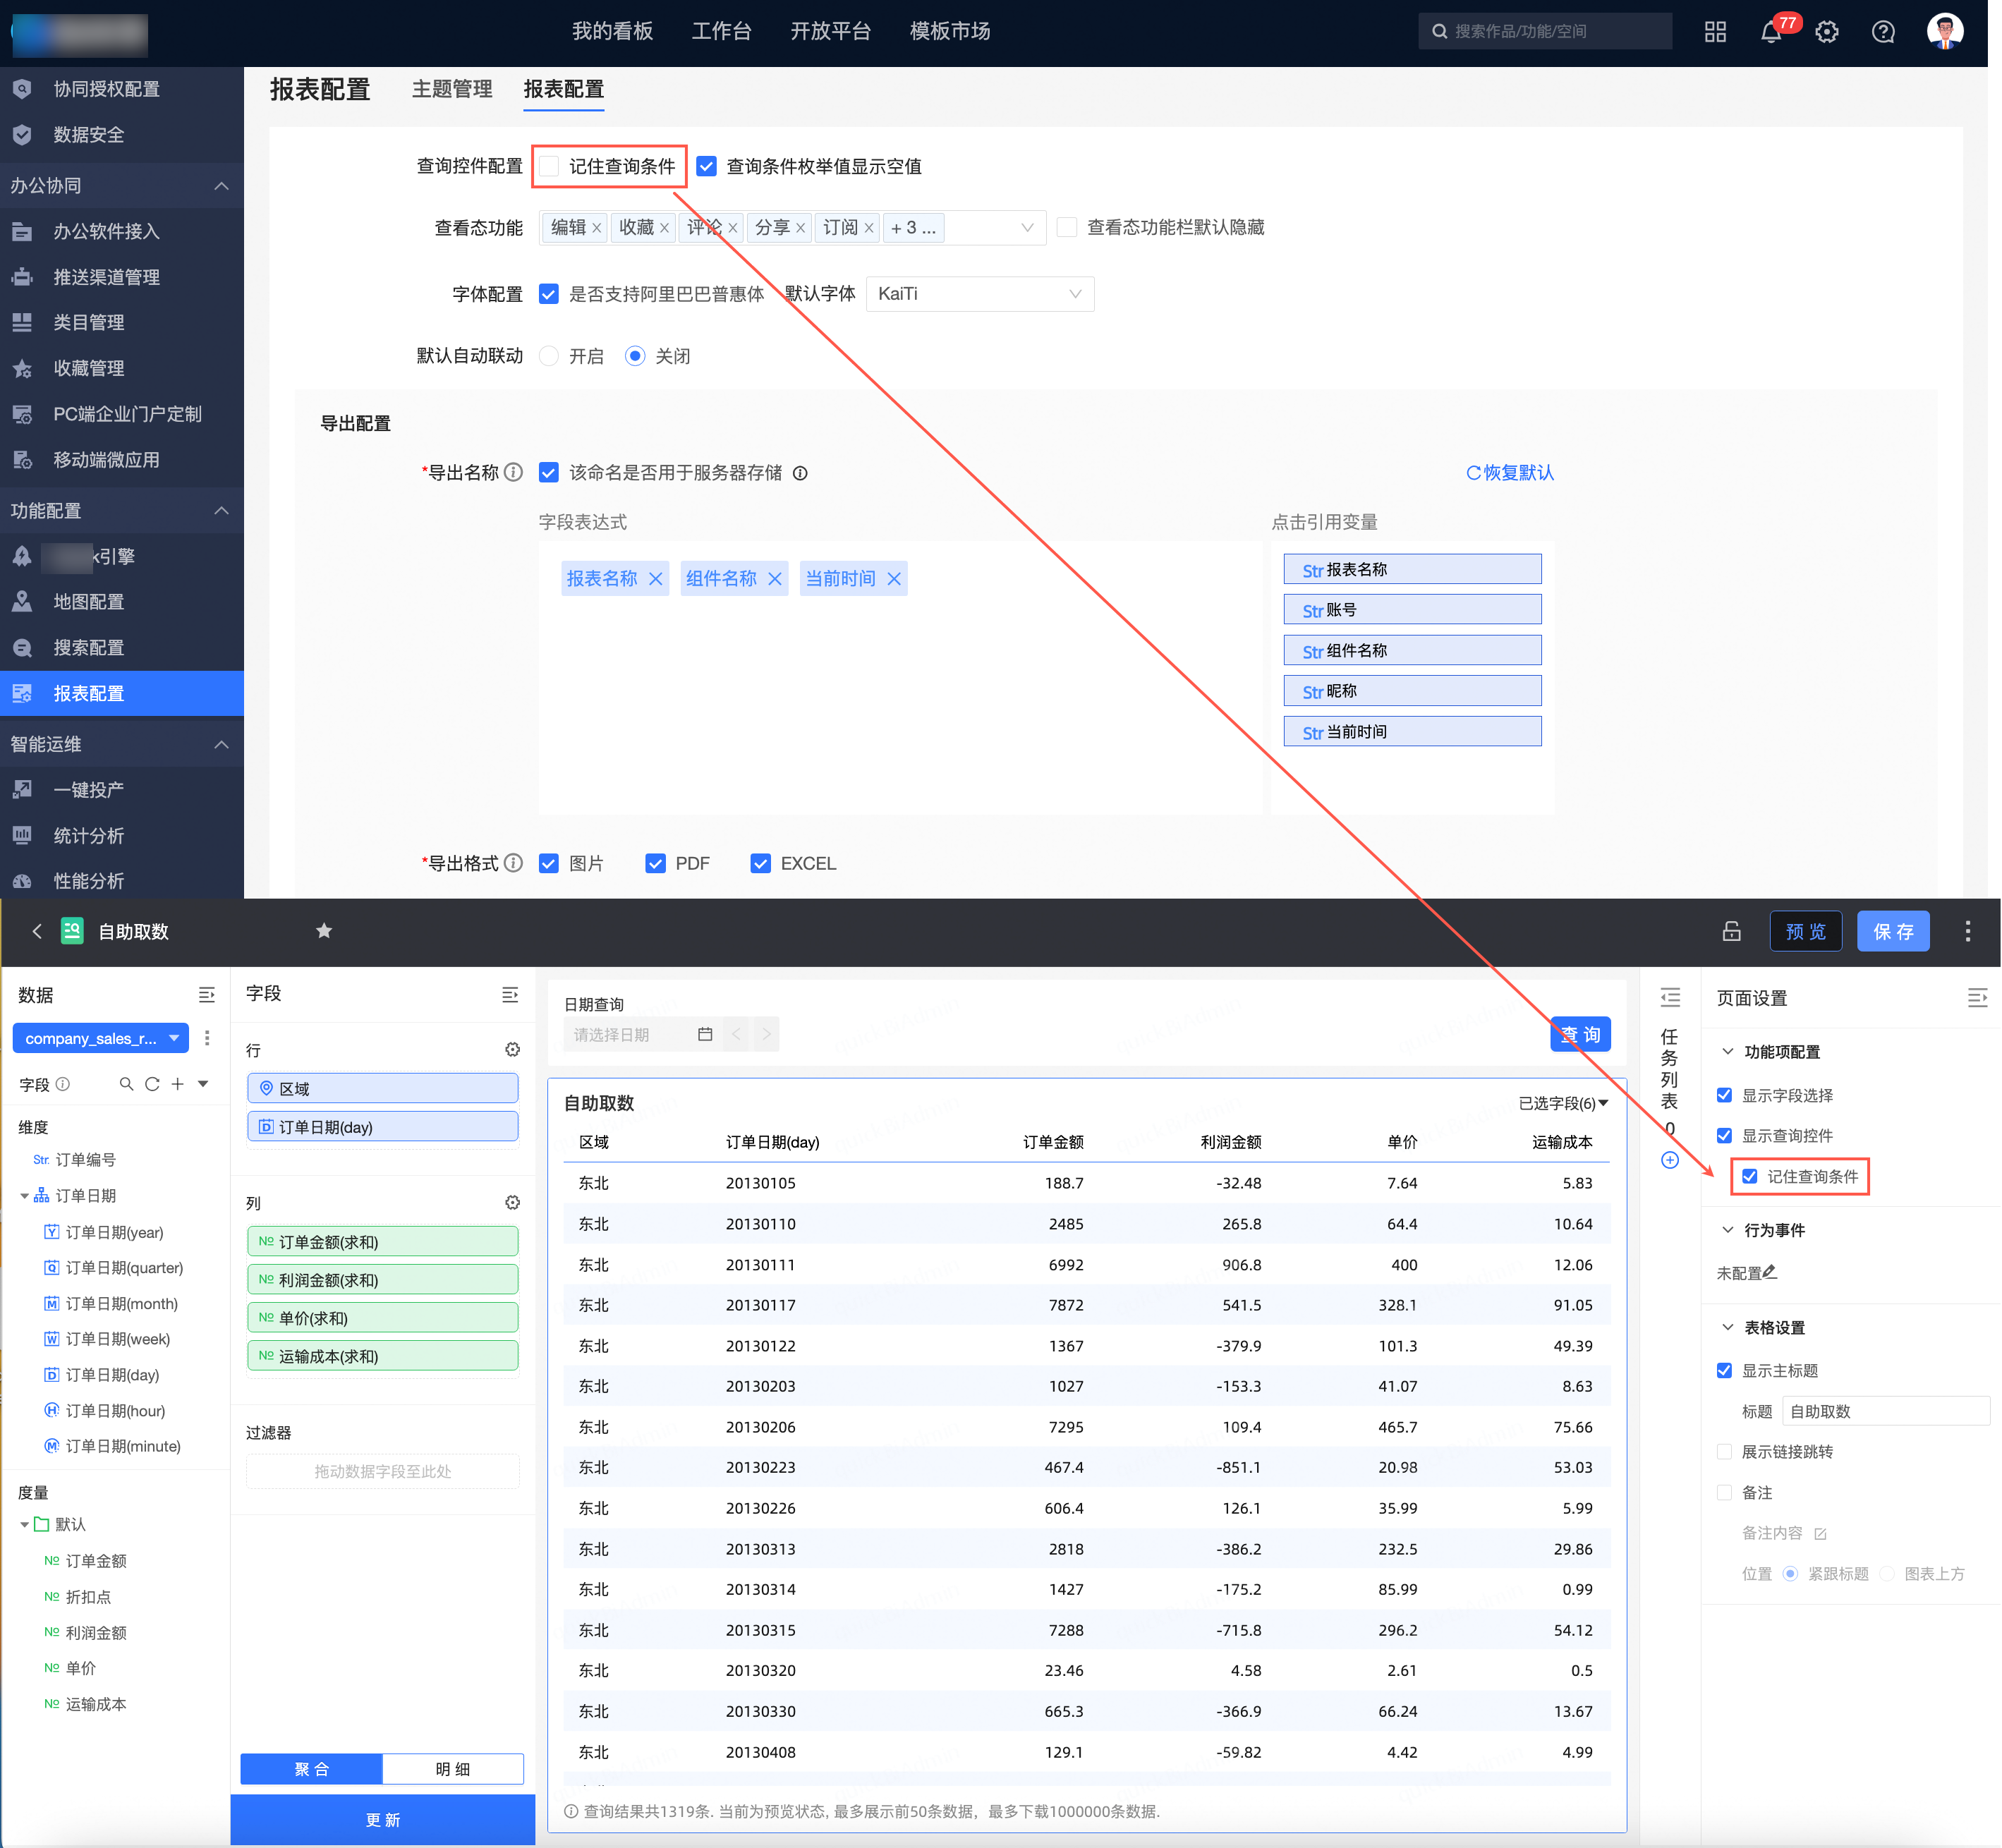


Query control configuration
After you enable Display Query Controls in the Page settings pane, configure the query controls as follows.
-
Create a query control
-
Follow the steps in the figure to add a query control.
-
Set the query conditions.
-
Click OK to create the query control.
For more information, see Create a query control.
-
-
Configure control styles
-
In the Title section, you can choose whether to display the main title and customize its name.
-
In the Position and Layout section, you can configure settings such as Expand all filter conditions by default, Condition Arrangement Mode, Position of Conditions in Container, and Spacing between Conditions.
-
In the Condition Box section, you can set the General Style, Background Color, Border, Border Radius, and Text style, and Customize Condition Style.
-
In the Condition Name section, set the Position, Alignment, Text style, and Spacing from selection box.
-
In the Button section, set the Button Display, Button Color, Button Border Radius, and button Text style.
For more information, see Configure query control styles.
-


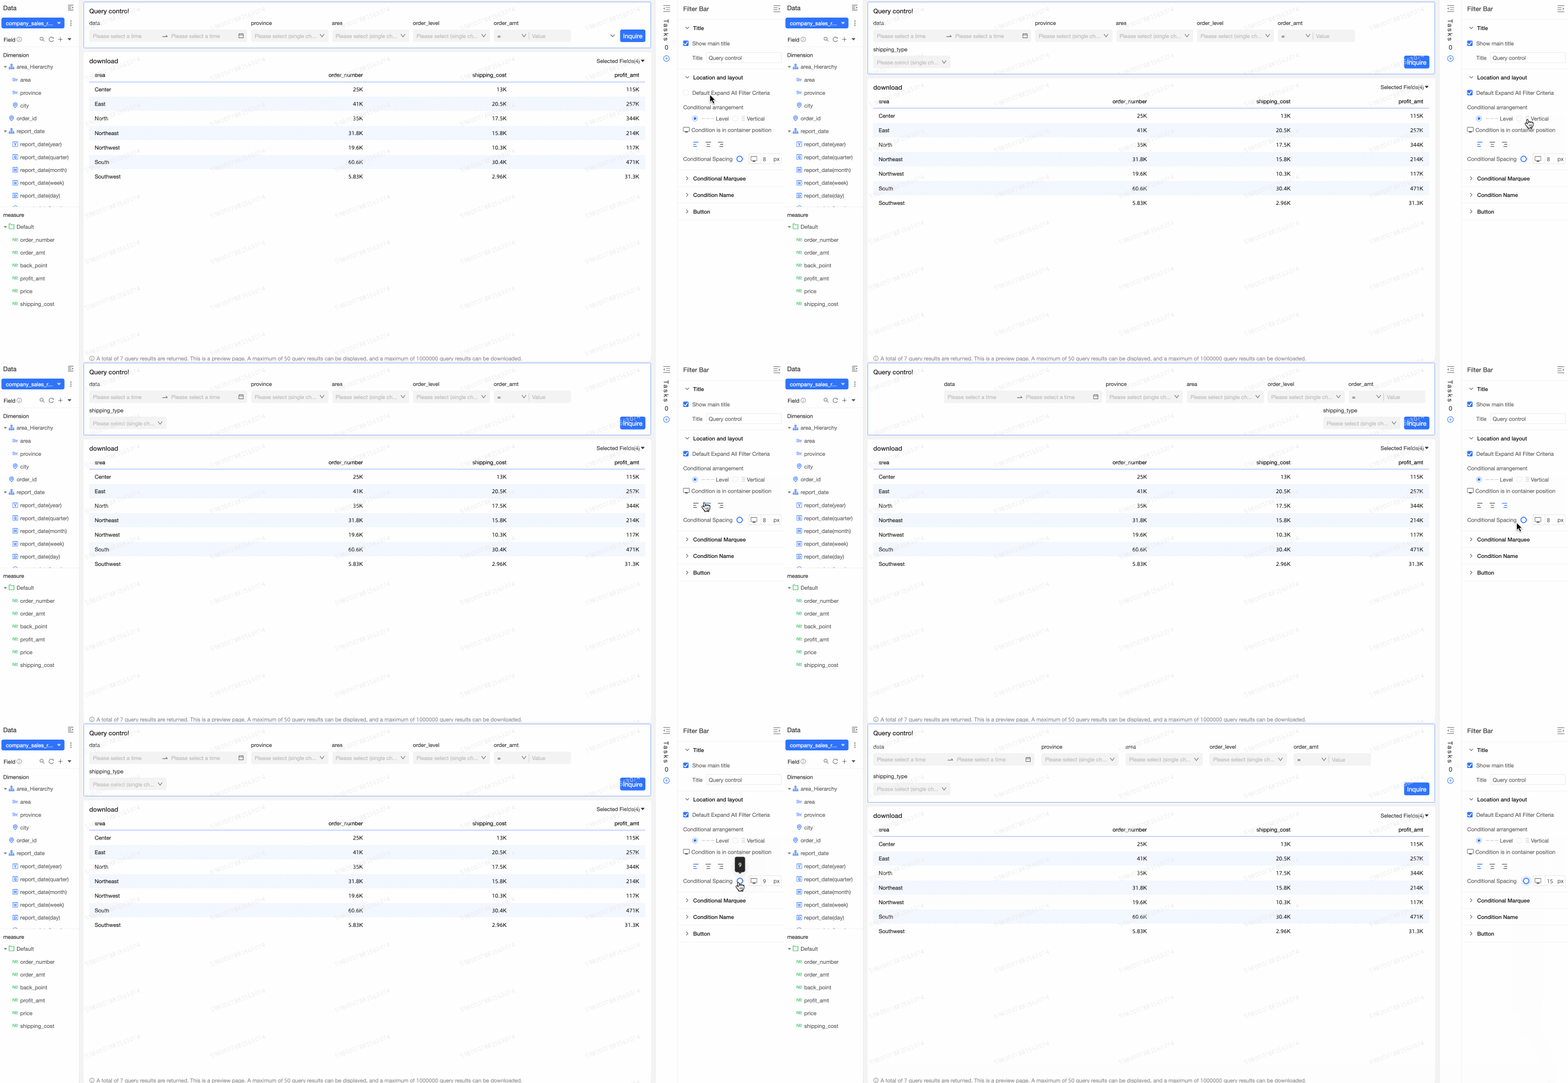

 For more information, see
 Switch between dark and light modes
-
On the self-service data retrieval management page, click the target self-service data retrieval.
-
On the self-service data retrieval editing page, click the
icon in the upper-right corner, and then use the mode-switching icons at the bottom of the pane to change the theme.NoteTheme changes apply at the account level, not the module level. For example, if you switch to light mode for self-service data retrieval, other modules that support theme switching, such as dashboards and data entry, also switch to light mode.
① Light mode
② Dark mode
③ Follow system
This option uses the theme defined in the custom configuration of organization management.
See Customize the system theme.
NoteThe system style can be set only in the custom configuration of organization management. A module-level mode setting takes precedence over the organization-level setting.
 icon in the upper-right corner, and then use the mode-switching icons at the bottom of the pane to change the theme.


