MCP Marketplace
In Quick BI AIPro, Model Context Protocol (MCP) connectors connect the AI to external tools or data sources. These connectors let you integrate data and capabilities from external systems into the AI analysis workflow to expand the platform's analytical scope. In the MCP Marketplace, you can find MCP connectors available to your enterprise and add them to the New Task dialog box.
Prerequisites
Subscription: Your organization must have an active Quick BI AIPro subscription.
Permission: You must have permission to use the basic features of Quick BI AIPro.
MCP publication: An administrator must have imported the required MCP connectors in the Management Center and granted you permission to use them. For more information, see MCP Management.
Access the feature
On the Enterprise tab of Quick BI AIPro, click MCP Marketplace in the left-side navigation pane.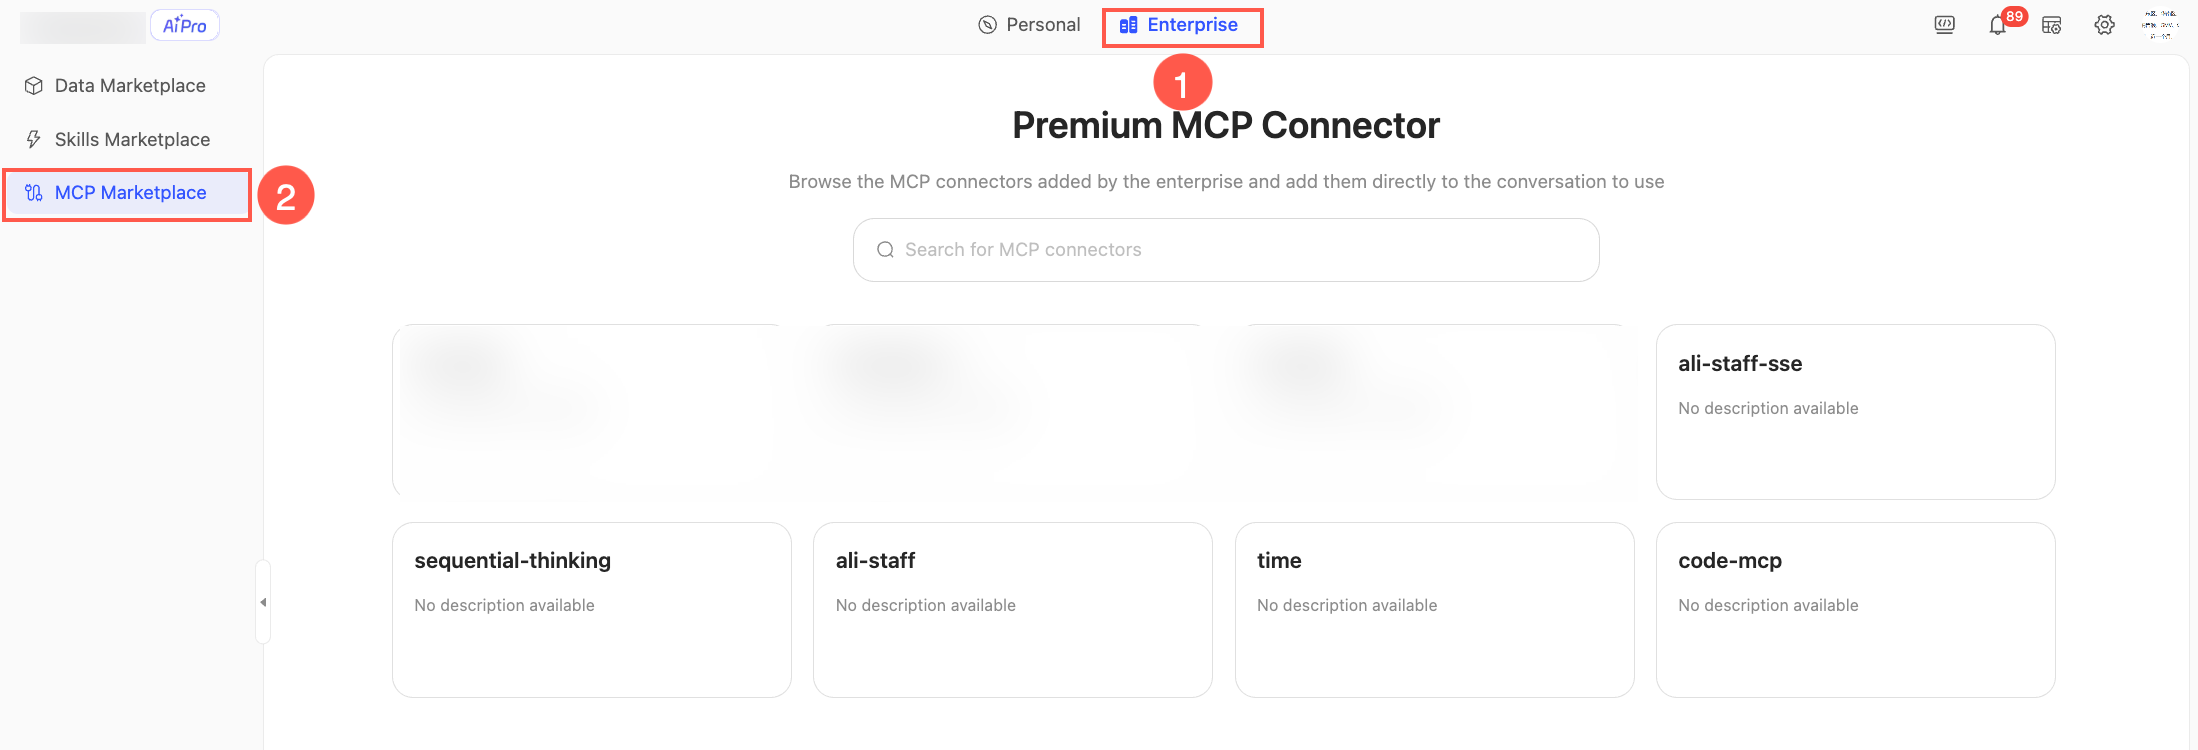
Operations
The MCP Marketplace page lists all MCP connectors available to you. On this page, you can view each connector's name, description, and other details.
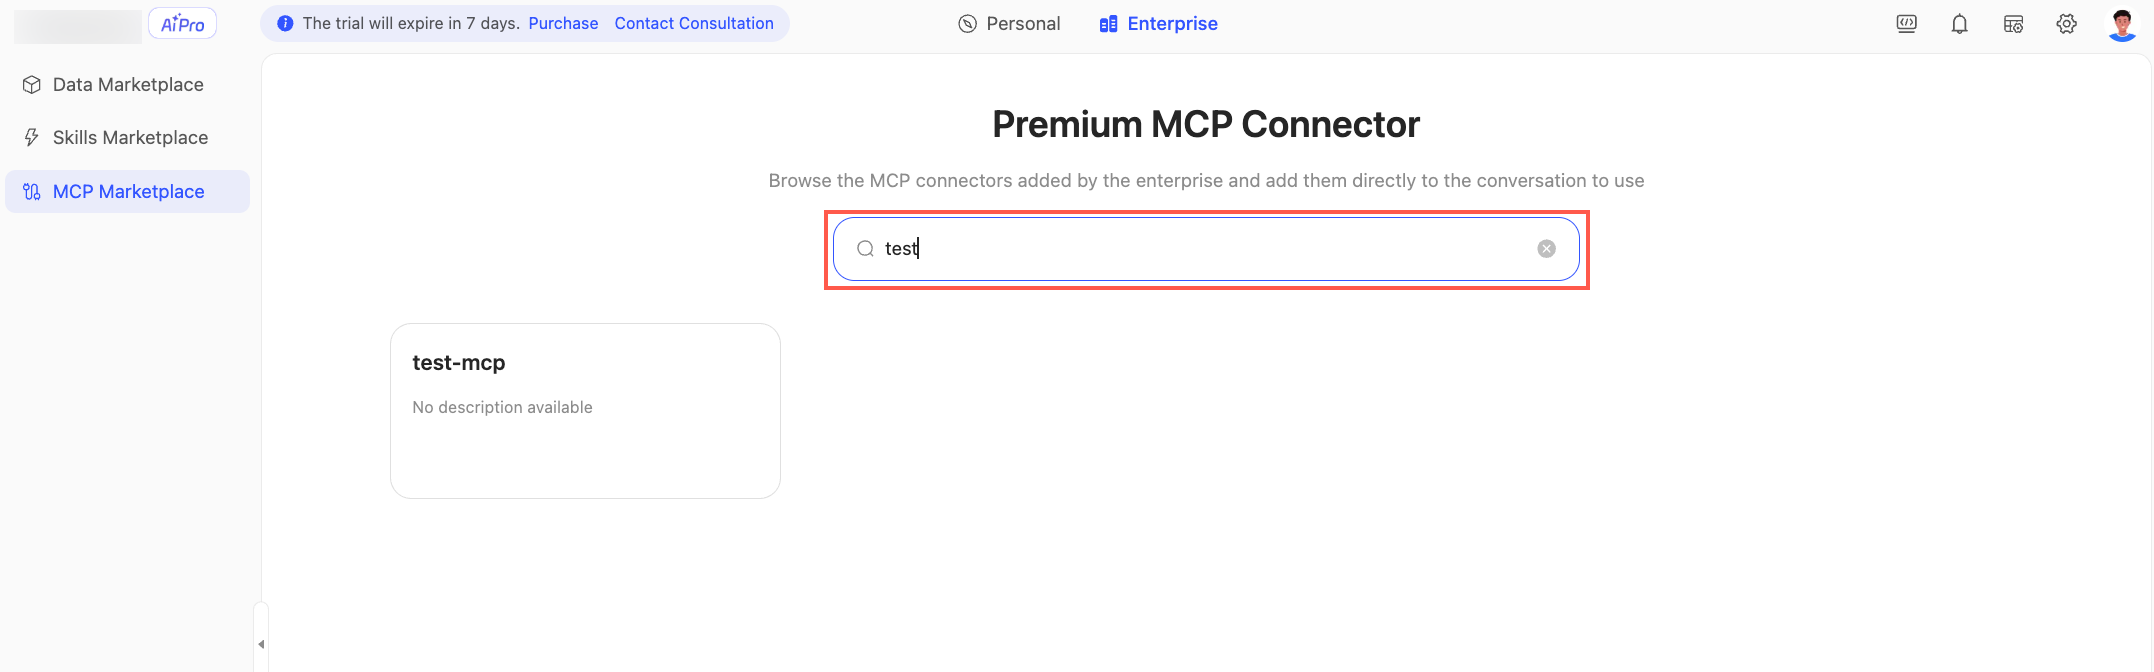
View and search for MCP connectors: Browse the list of cards to find the MCP connector you need. If there are many connectors, you can use the search bar to find a specific connector by entering keywords from its name.
Use MCP connectors: The following actions are available for each connector.
Actions
Description
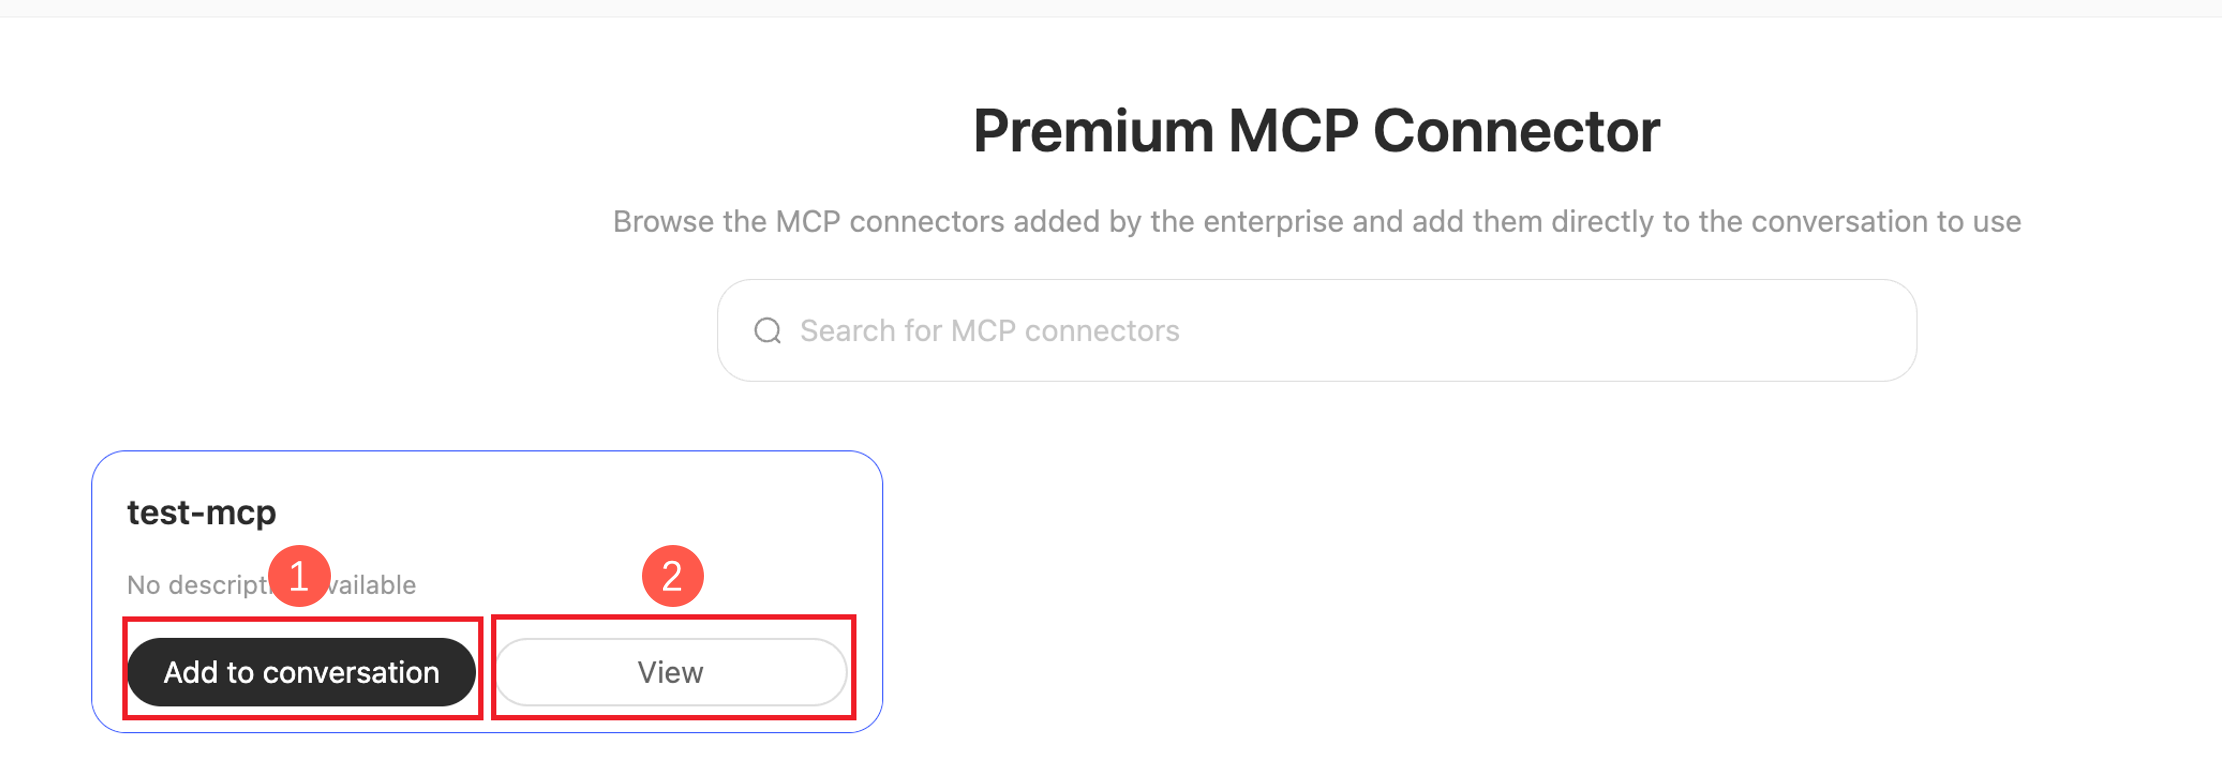
① Add to conversation
Find a suitable MCP connector, hover over it, and click Add to conversation. This action integrates the connector's capabilities into the New Task dialog box, allowing the large model to call the corresponding external tool.
NoteFor connectors that require OAuth authorization, this button is hidden until you complete the authorization. You must first complete the Authorize and Install procedure described below.
The principal for OAuth authorization is your personal account. Administrators do not grant this authorization for you; you must authorize it yourself.
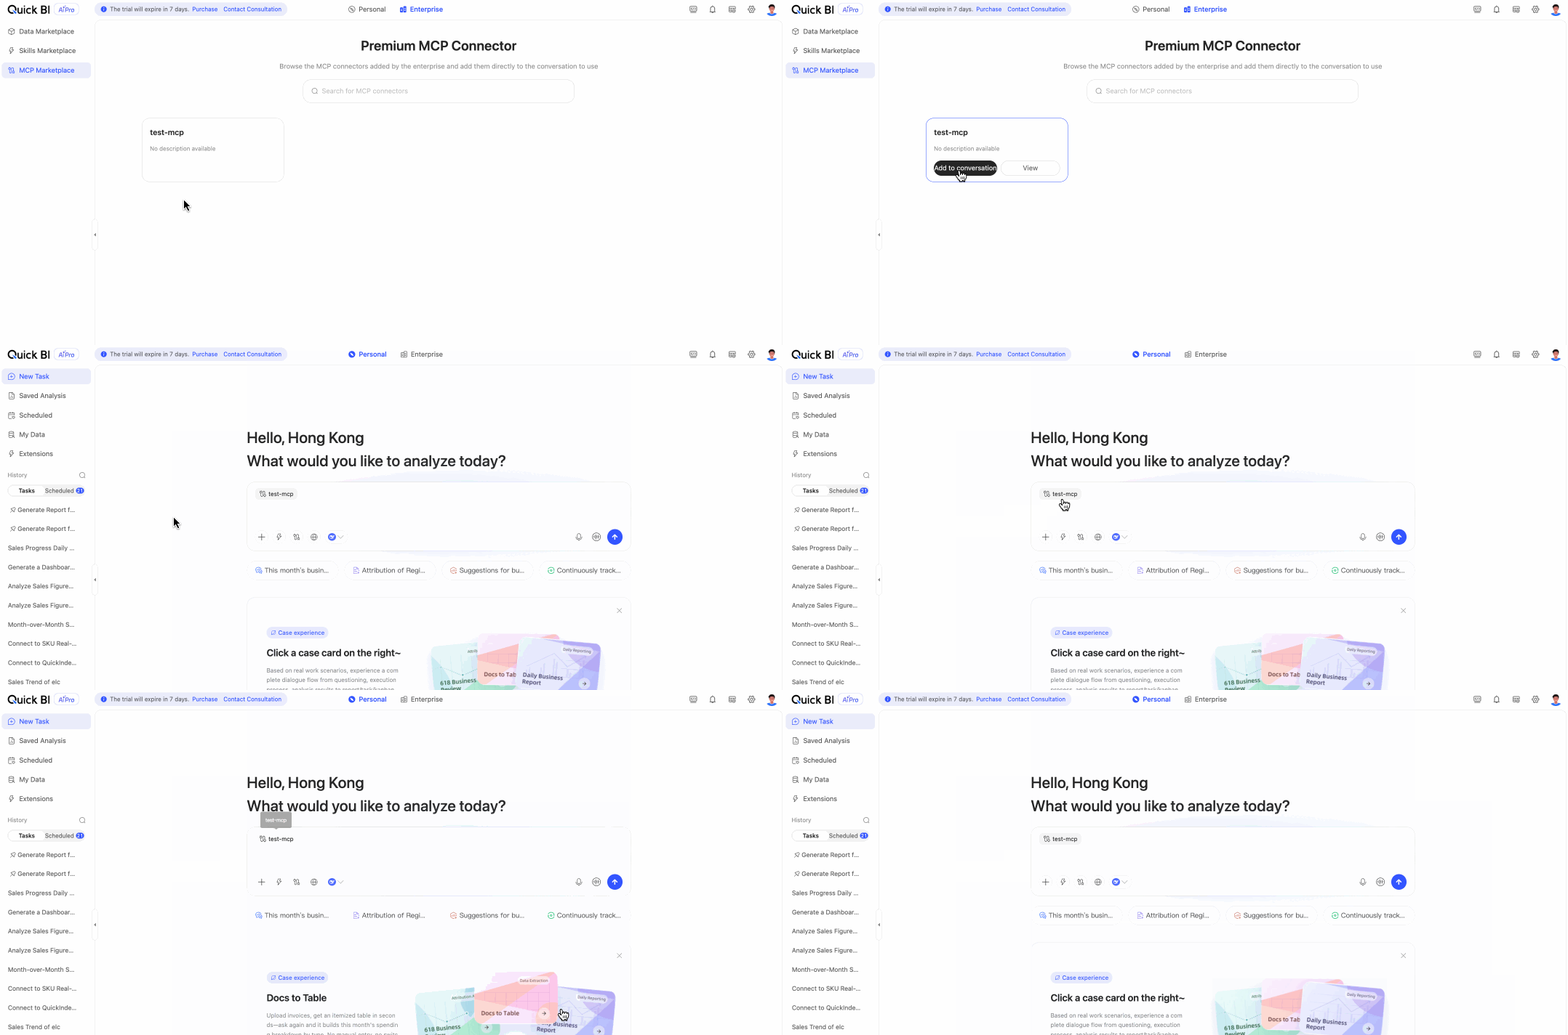
② Authorize and Install
Some MCP connectors require OAuth authorization to call third-party services. For these connectors, the primary button reads Authorize and Install. When you click this button, a new page opens for you to complete the authorization with your own credentials. After successful authorization, click Return to MCP Marketplace. The connector card then shows an Installed label, and the primary button changes to Add to conversation. You can then use the connector.
③ View
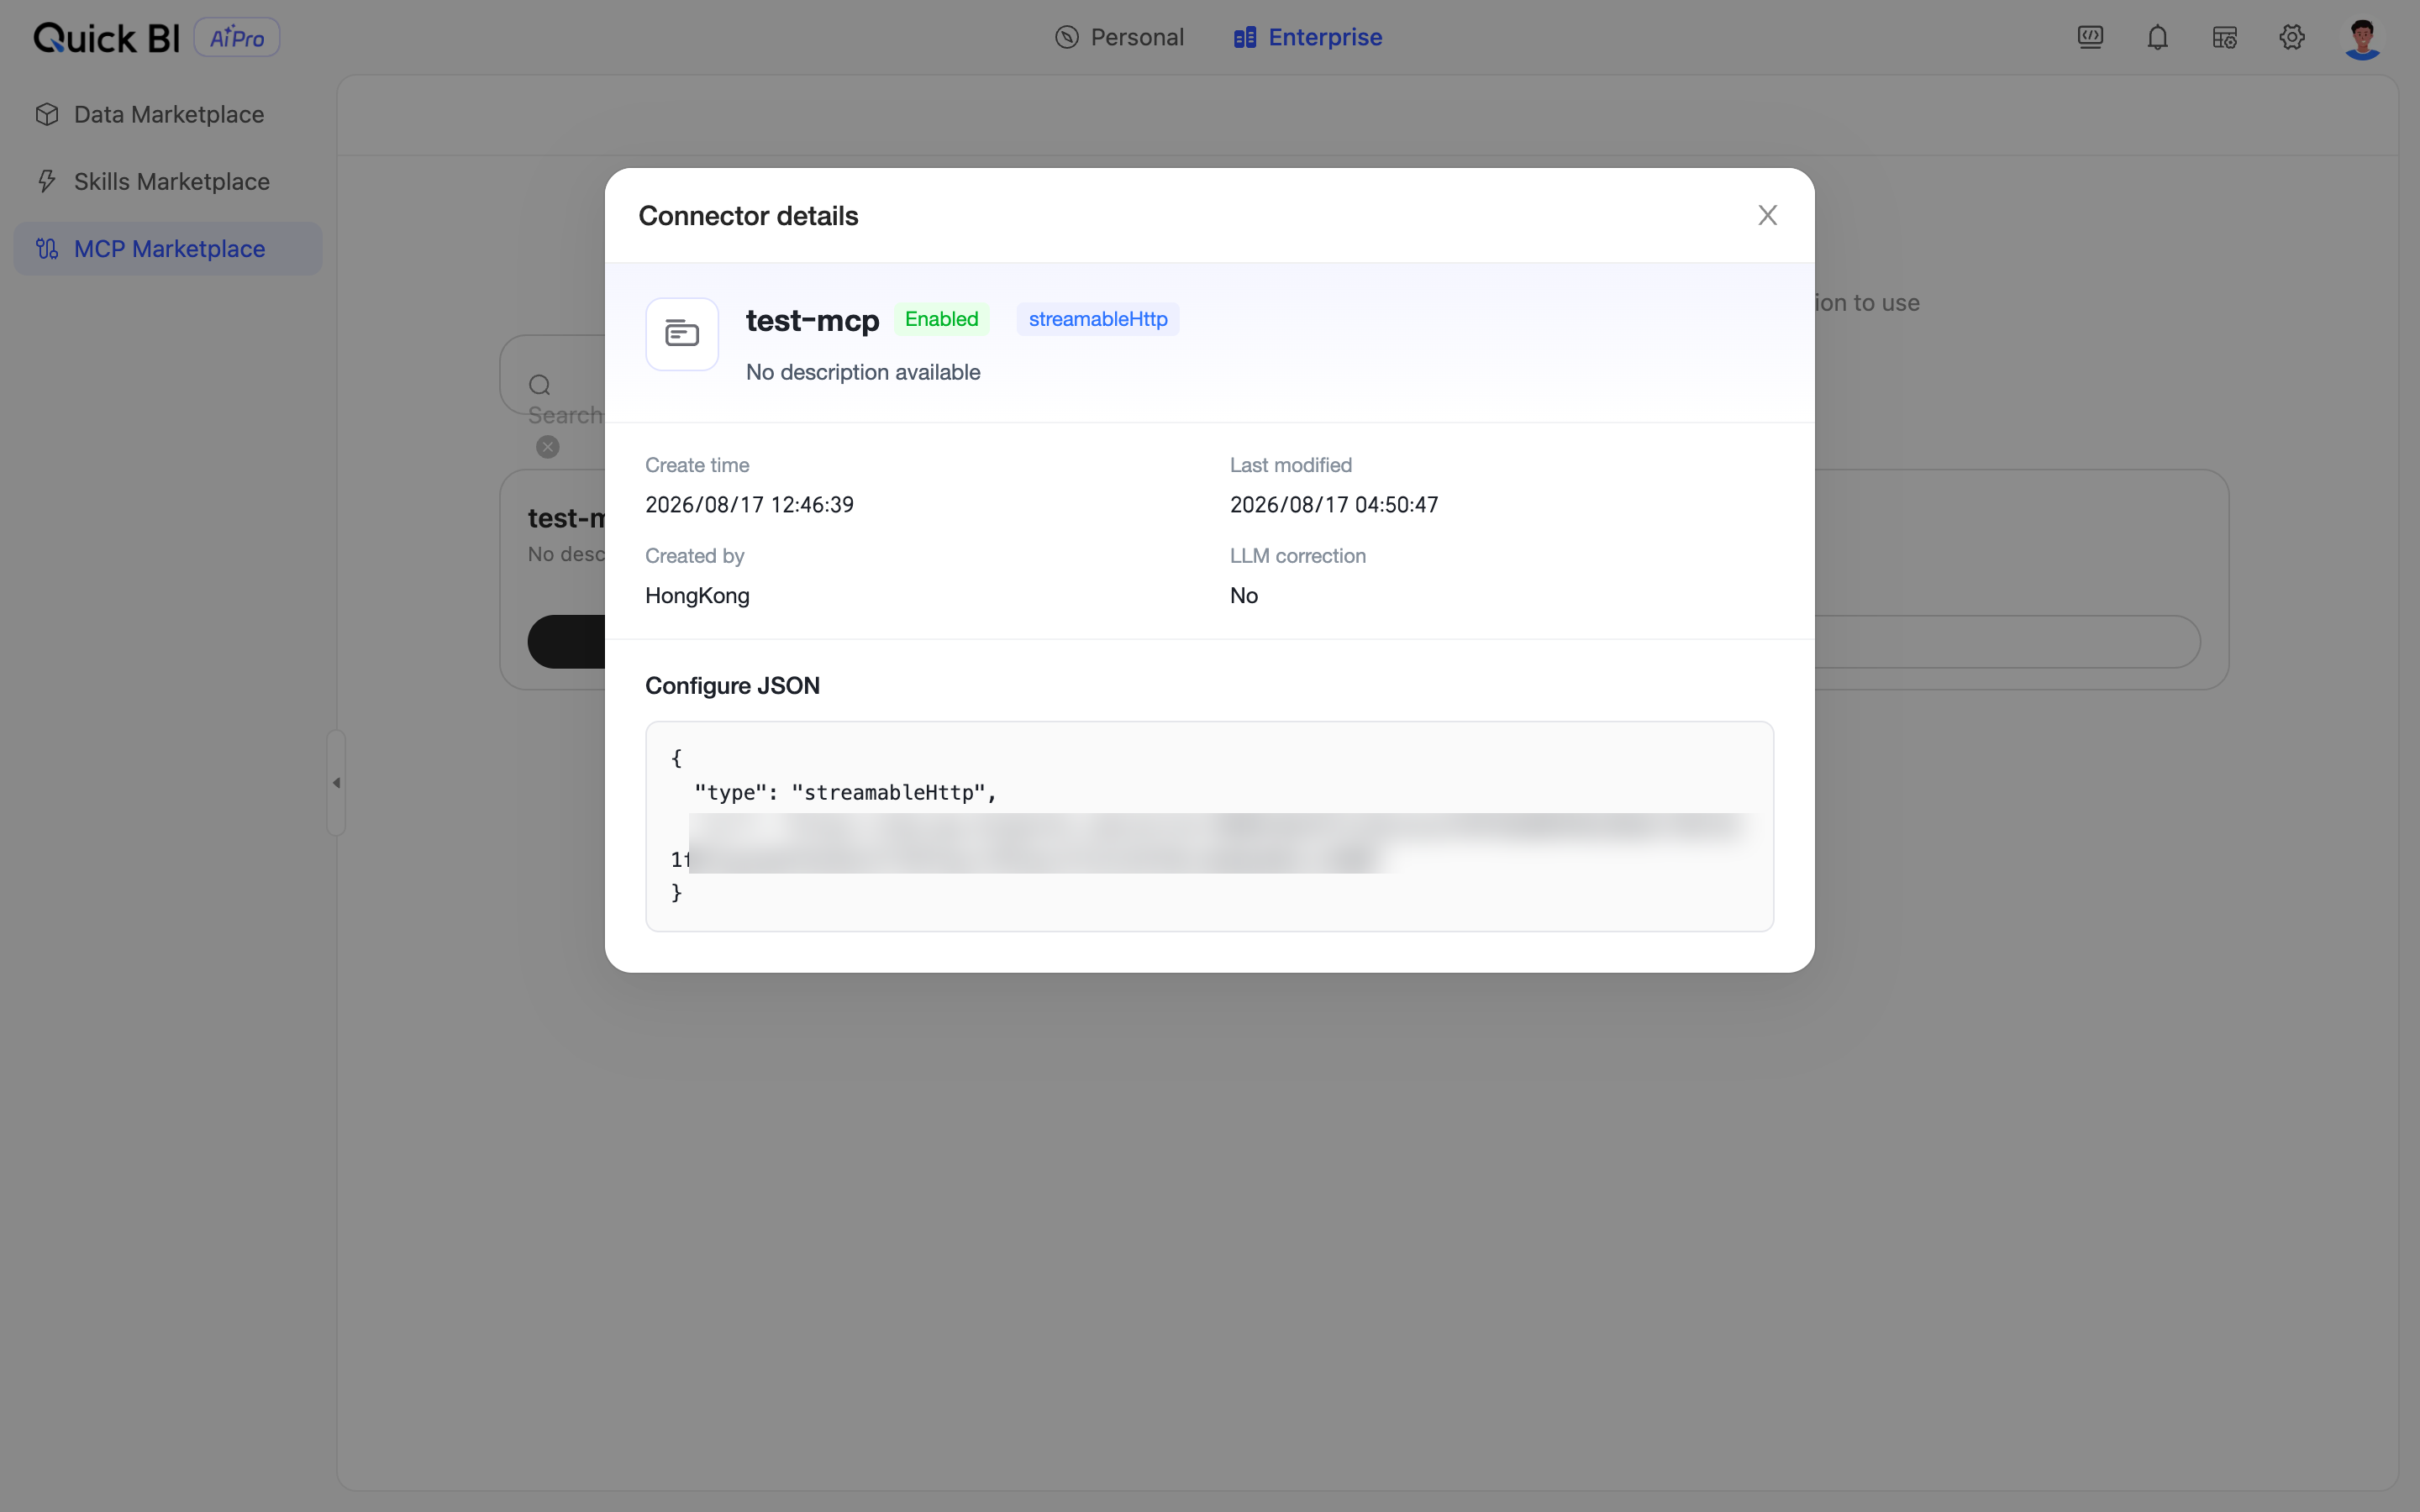
Hover over an MCP connector and click View. The connector details dialog box opens, displaying information such as the connector's name, description, creation time, and update time.