Connect your ApsaraDB for ClickHouse database to Quick BI over the public network or through an Alibaba Cloud VPC to analyze and visualize your data.
Prerequisites
You must have an ApsaraDB for ClickHouse cluster. For more information, see Create a cluster.
Background information
Add your ApsaraDB for ClickHouse database as a data source in Quick BI to run queries and build reports.
You can connect over the public network or an Alibaba Cloud VPC. The configuration varies by network type, as shown in the following figure.
Limits
-
Only workspace administrators and developers can add data sources.
-
Only the Professional and Advanced editions of Quick BI support creating ApsaraDB for ClickHouse data sources.
-
Versions 20.3, 22.8, and 23.8 are supported.
Procedure
-
Add IP addresses to the whitelist.
Before you connect to ApsaraDB for ClickHouse, add the IP addresses of Quick BI to the whitelist of your ApsaraDB for ClickHouse cluster. For configuration instructions, see Configure a whitelist.
-
Test the data source connection and create the data source.
-
Log on to the Quick BI console.
-
Follow these steps to add a data source.
-
Go to the Create Data Source page from the Create data source entry point.
-
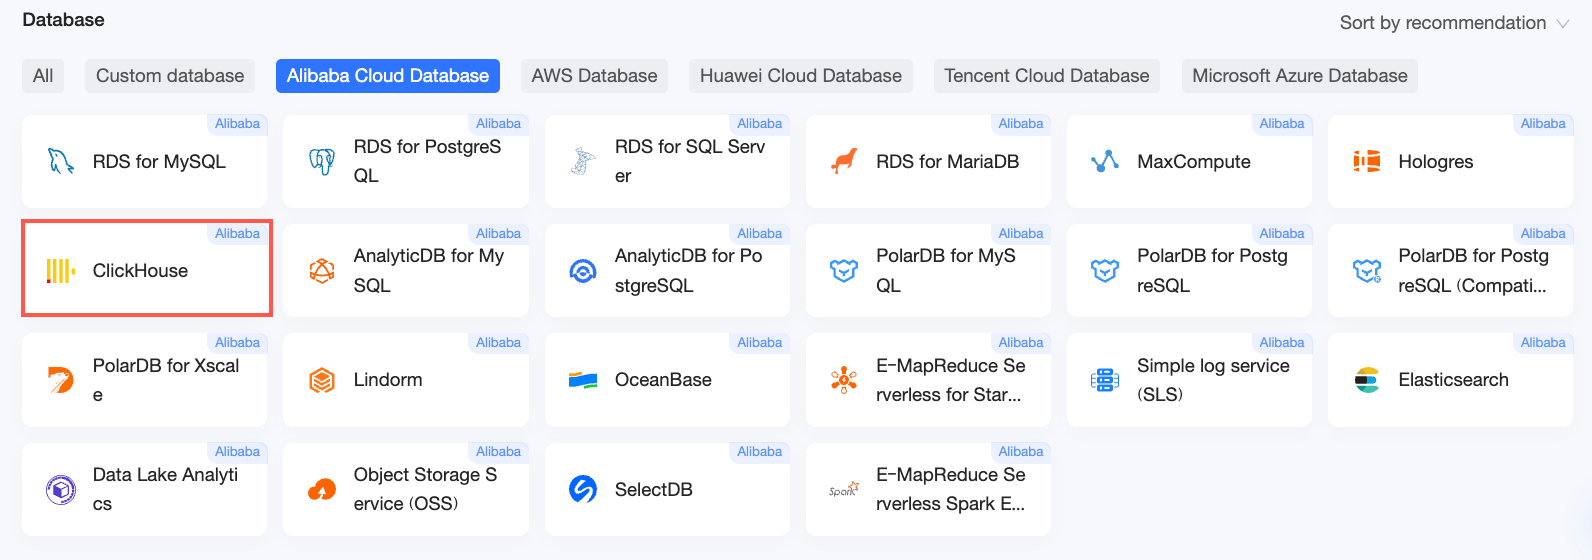
On the Alibaba Cloud Databases tab, click ClickHouse.
-
-
-
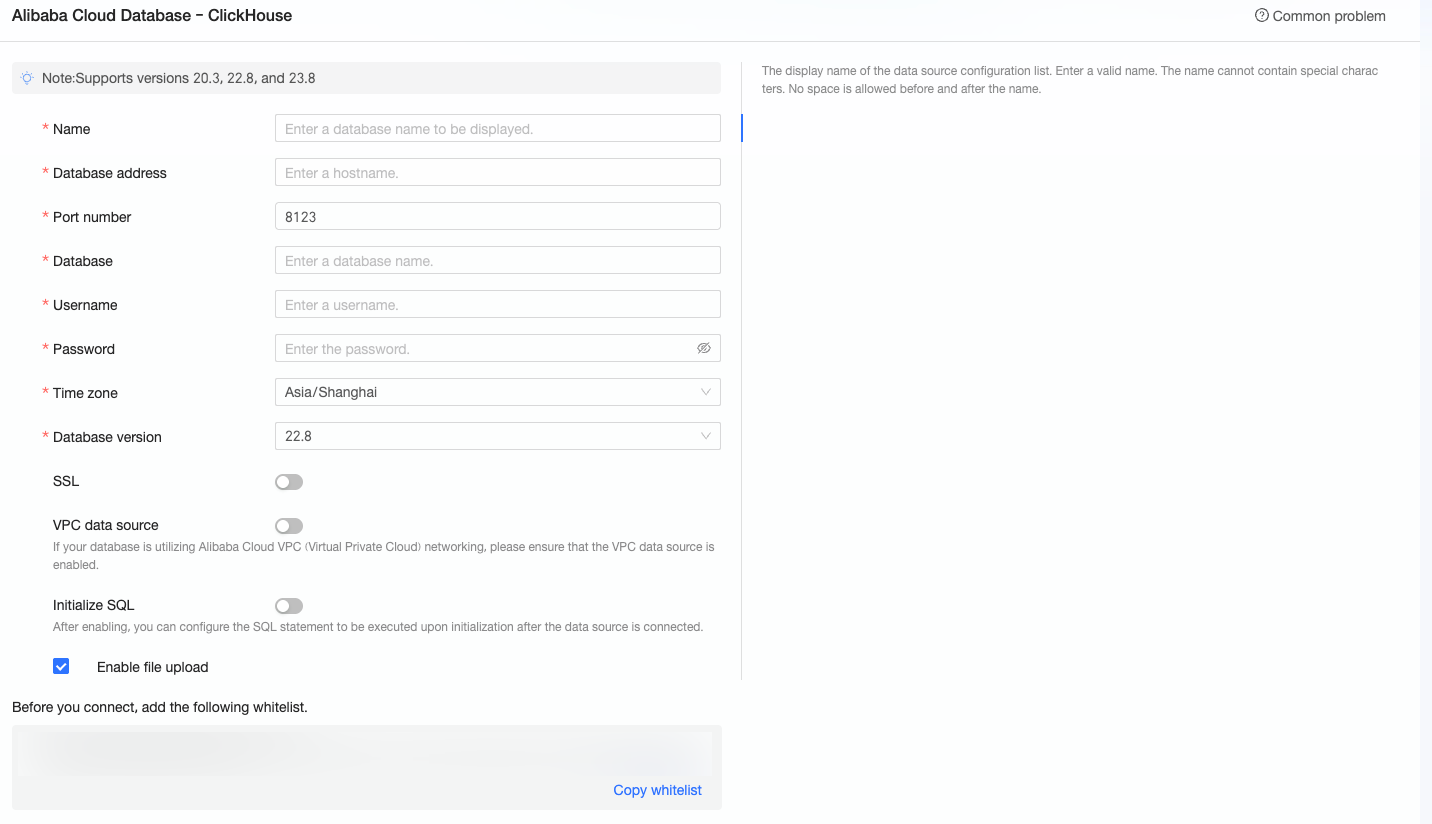
In the Configure Connection dialog box, configure the following parameters.
Parameter
Description
Display name
The display name for this data source in the Quick BI data source list.
Database address and port
The public endpoint of the ApsaraDB for ClickHouse database. If you use a VPC data source, enter the internal endpoint and internal port.
Log on to the ApsaraDB for ClickHouse console and obtain the database address from the Network Information section. Example:
cc-xxxxxxxxxxxxxxxxxx.ads.rds.aliyuncs.com.Database
The name of the database you want to connect to.
Username and password
The credentials used to access your database.
Time zone
The time zone where your ApsaraDB for ClickHouse database is deployed.
Database version
Select the version of your ApsaraDB for ClickHouse database.
Select 23.8 if your database version is 23.8 or later. Otherwise, select 22.8.
SSL
Enable SSL to encrypt data in transit if your data source has SSL configured.
VPC data source
If your database uses an Alibaba Cloud VPC, select VPC data source and configure the following parameters:
-
AccessKey ID: The AccessKey ID of the Alibaba Cloud account that has permissions for the instance. For more information, see Obtain an AccessKey pair.
NoteMake sure that the AccessKey ID has the
Readpermission on the target instance. If it also has theWritepermission, the system automatically adds the required IP addresses to the whitelist. Otherwise, you must add them manually. For more information, see Create a custom RAM policy. -
AccessKey Secret: The AccessKey Secret of the Alibaba Cloud account that has permissions for the instance. For more information, see Obtain an AccessKey pair.
-
Instance ID: The ID of the ApsaraDB for ClickHouse instance. Log on to the ApsaraDB for ClickHouse console and obtain the instance ID from the cluster list. For more information, see ApsaraDB for ClickHouse data source.
-
Region: The region where the ApsaraDB for ClickHouse instance is deployed.
-
Instance edition: The edition of your instance.
NoteIf you select VPC data source, you must enter the internal endpoint and port for the Database address and port fields.
Initial SQL
SQL statements to run immediately after a connection is established.
Only
SETstatements are allowed. Separate multiple statements with a semicolon (;).Enable file upload entry
Enable this option to allow file uploads through this data source.
-
-
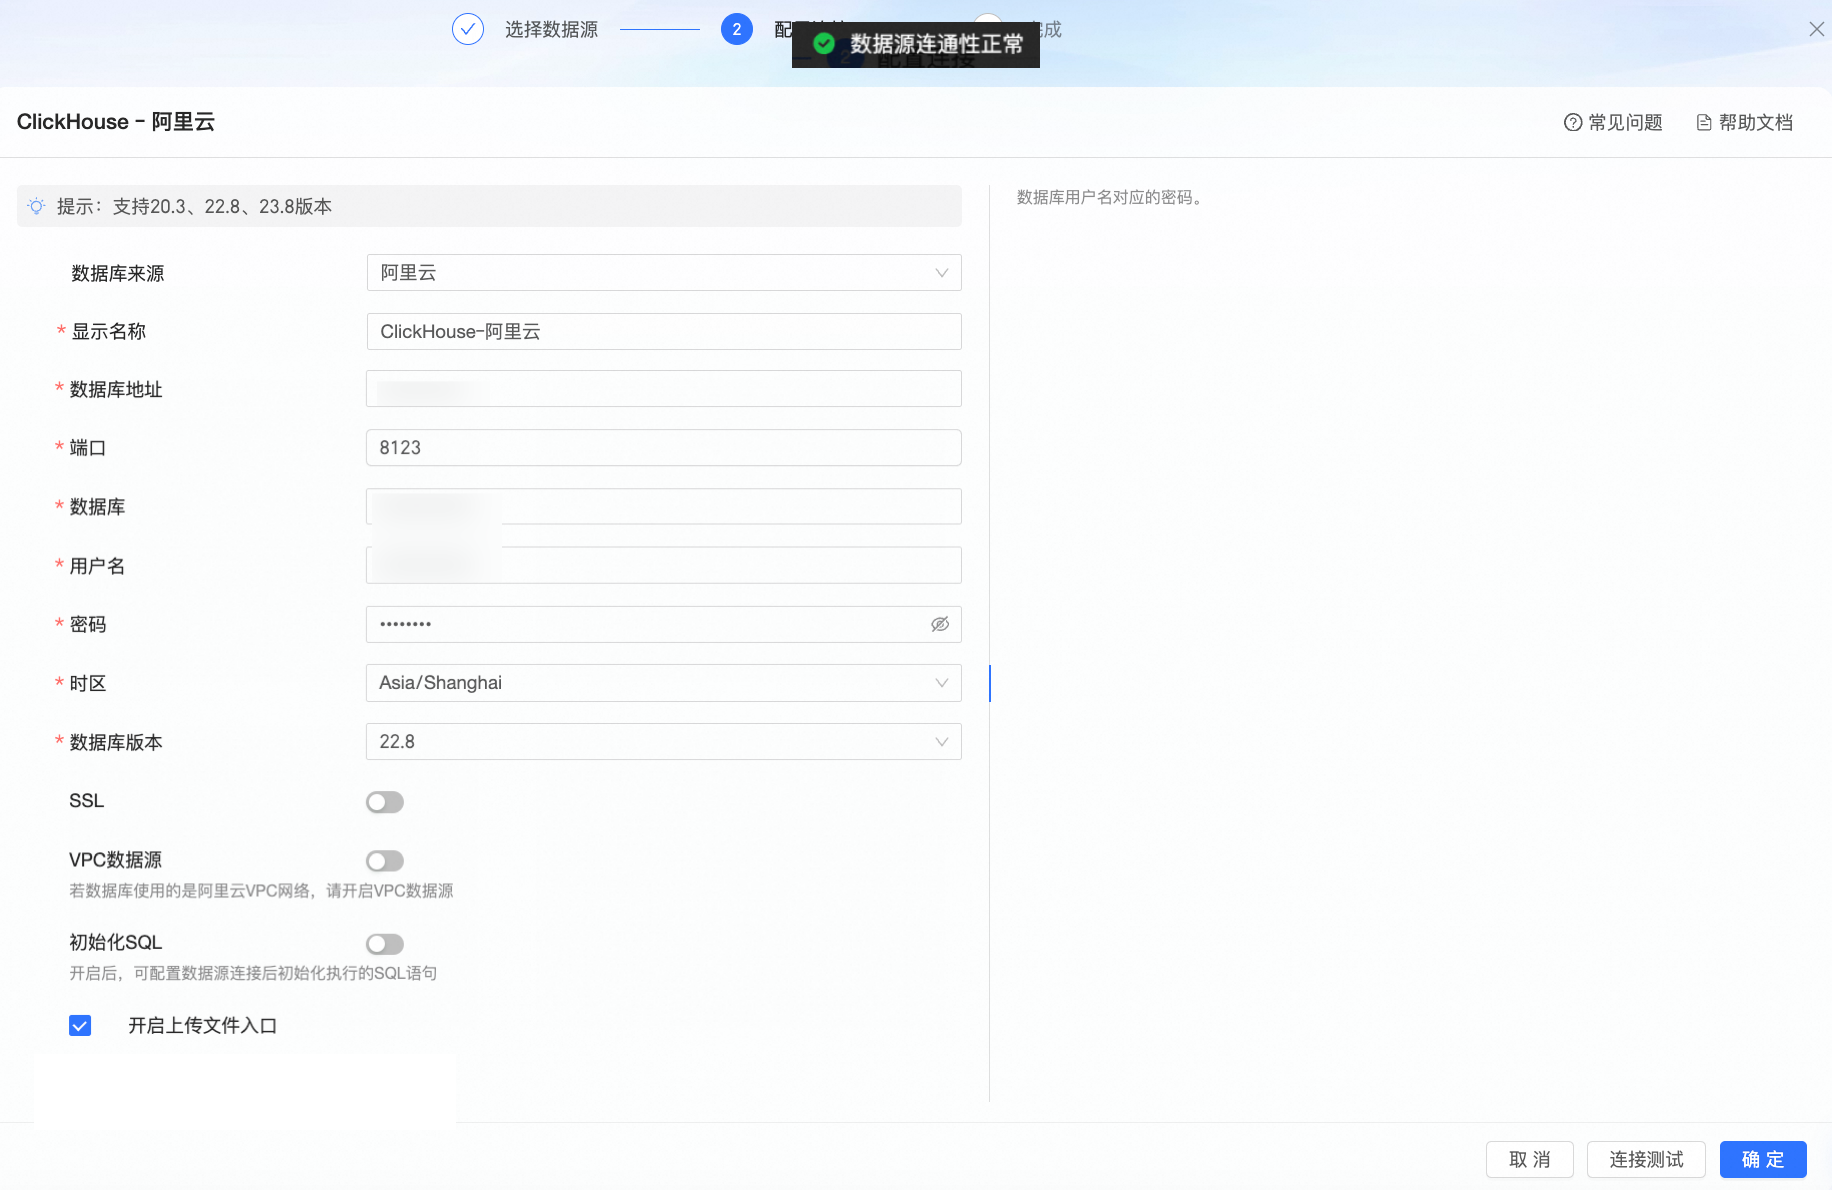
Click Test Connection to verify your connection settings.
-
If the connection test is successful, click OK.
Next steps
After you create the data source, create a dataset and start analyzing your data.
-
Create a dataset to use tables or custom SQL queries from your data source in Quick BI. For more information, see Create a dataset.
-
Create visualizations and analyze your data. For more information, see Create a dashboard and Overview of visualizations.
-
Drill down into your data. For more information, see Step 3: Configure and use drill-down.