This topic describes how to create and call a service-based robot from scratch.
Overview
Follow these steps:
Prepare a service-based robot. This process involves creating an Elastic Desktop Service cloud desktop, installing the service-based robot client, and setting up the necessary software environment.
Register the service-based robot. This step integrates the cloud desktop into the RPA platform, where it can be centrally managed and scheduled as a service-based robot.
Invoke the service-based robot by using an API.
This topic uses service-based robots. This type of robot is ideal for scenarios such as system integration, managing large robot fleets, and AI Agent use cases. For more information about different robot types and how to choose one, see Select a Robot Type.
This topic covers the initial setup of service-based robots to explain the key operational steps and the integration development process. To learn how to create and manage service-based robots in batches, see Manage Service Robots in Batches.
Prepare a service-based robot
Create an Elastic Desktop Service cloud desktop
This process requires Elastic Desktop Service Enterprise Edition. For more information, see What is Elastic Desktop Service Enterprise Edition. This topic uses the Create Cloud Computers (Custom) method to create a cloud desktop. The required cloud desktop specifications are listed in the following table:
Parameter
Description
Region
Select China (Hangzhou). Service-based robots are not supported in all regions where Elastic Desktop Service is available. For a list of supported regions, see Select a Robot Type.
Workspace
Use the default setting.
Instance type
Select Enterprise Office - 4 vCPU, 8 GiB.
Operating system
Select Windows Server 2019 or Windows Server 2022.
Operating system language
Chinese
Billing method
Select a billing method based on your usage plan.
Storage capacity
The default is 40 GiB.
Network bandwidth
Select the default basic bandwidth and allow the cloud desktop to access the internet.
Assign user
Keep the default selection, Assign after Creation.
ImportantThe cloud desktop specifications in the table are for demonstration purposes only. For more information and other considerations, see Manage Service Robots in Batches.
After you create the cloud desktop, assign a user to it.
Create a convenience account.
Assign the account to the cloud desktop. For more information, see Add Users to a Cloud Computer.
WarningIn a service-based robot scenario, assign only one convenience account to each cloud desktop. Assigning multiple convenience accounts to a single cloud desktop may cause the service-based robot to fail.
Log on to the Elastic Desktop Service web client. For details, see Log on to a client. After you log on with the convenience account, continue to the next step.
Install the service-based robot
Download the installer for the service-based robot. In the RPA console, click the
Downloadbutton in the upper-right corner to get the latest client installer package, as shown in the following figure: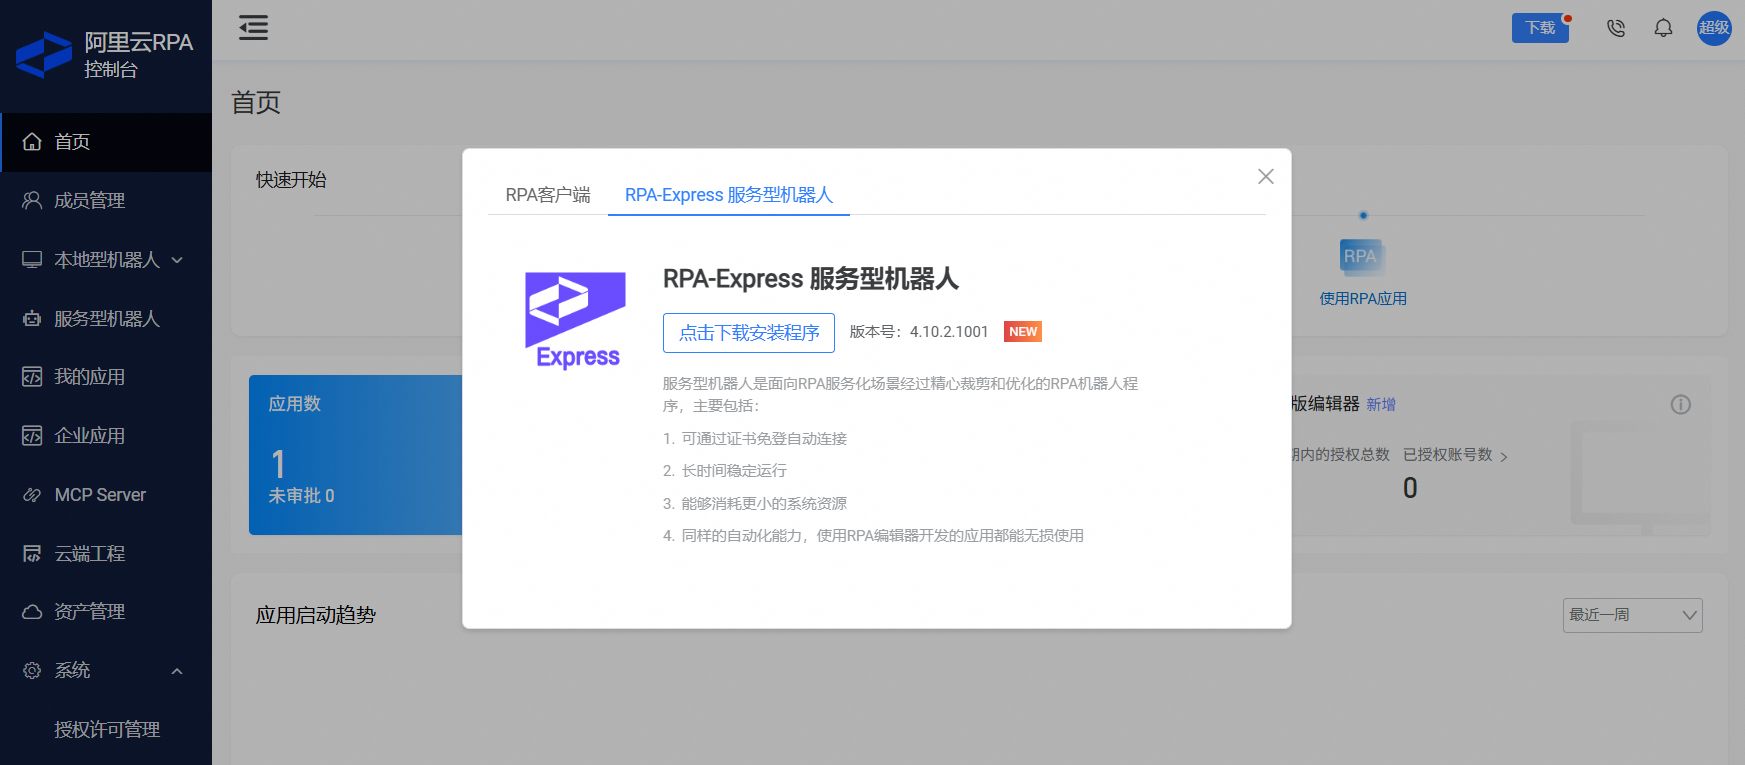
On the cloud desktop, run the installer.
Install the automation environment
On the cloud desktop, you must also install other software required for production, such as web browsers, Microsoft Office, WPS, instant messaging (IM) applications, and Enterprise Resource Planning (ERP) systems, to build a standard automation environment.
Register the service-based robot
Authorize your Alibaba Cloud account. The first time you navigate to the Service Robots menu in the RPA console, a prompt appears requesting permissions. This allows the RPA service to call Elastic Desktop Service APIs. For details about the required permissions, see service-linked role.
ImportantYou must use your Alibaba Cloud account or an account with the necessary permissions to grant authorization. We recommend using your Alibaba Cloud account.
After authorization is successful, on the Service Robots - Robot List page, click "Add Existing Cloud Desktops as Service Robots" to register the cloud desktops. In Step 1, select the cloud desktops that you want to register. You can use search filters to find specific cloud desktops.
You cannot register a cloud desktop more than once.
You can register a maximum of 50 cloud desktops at a time.
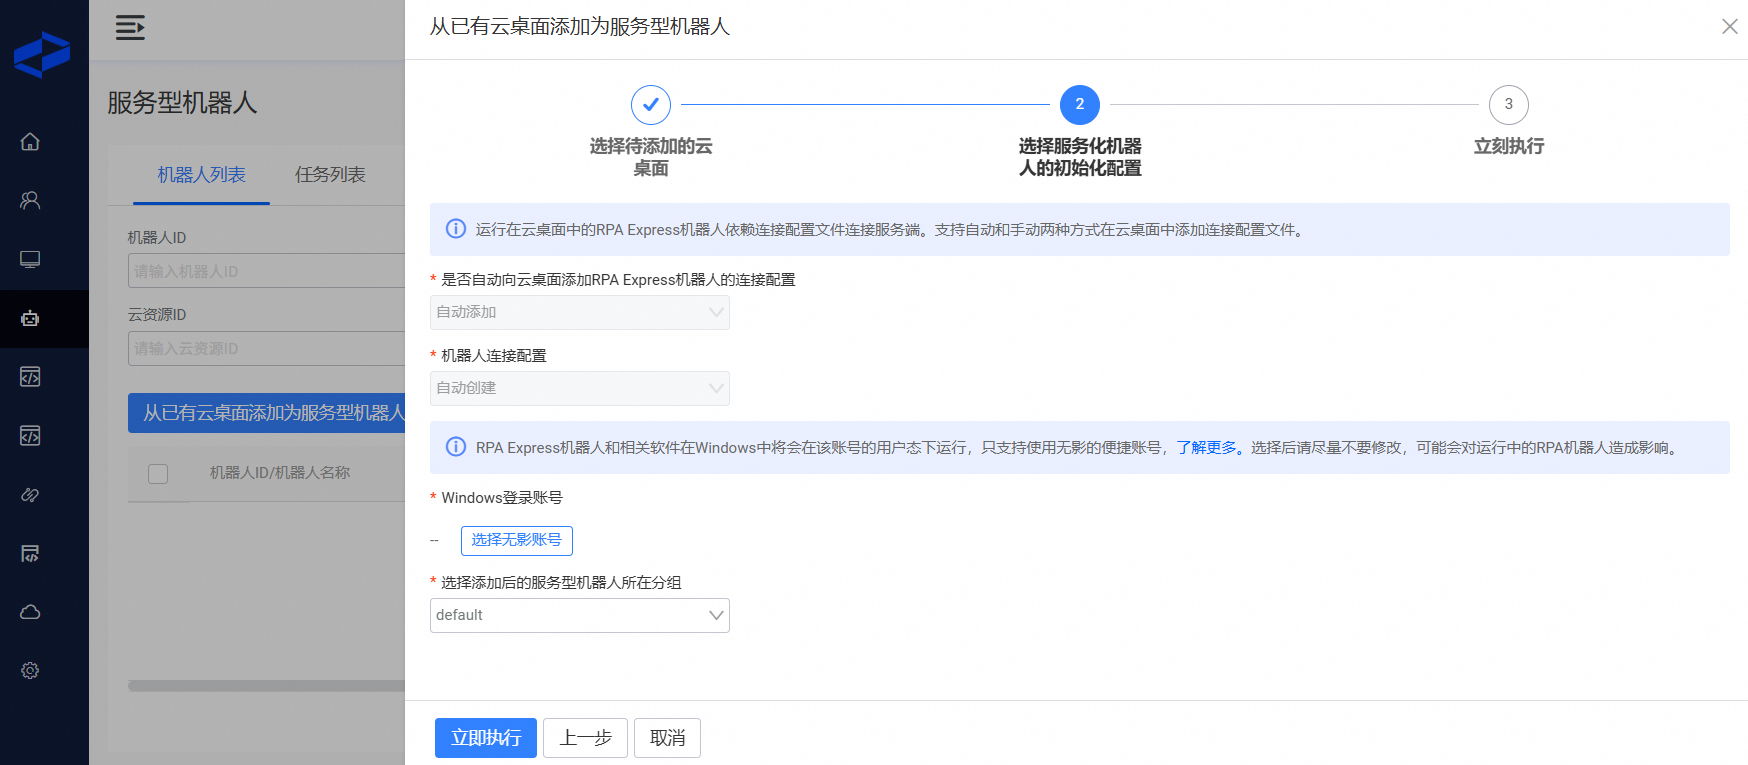
In Step 2, confirm the configuration. When you register a robot for the first time, the system automatically generates the configuration information to simplify the setup.
You need to specify the Windows account session under which the service-based robot will run on the cloud desktop. This corresponds to the convenience account you created earlier.
Step 3: Complete the registration and view the results. On the Service Robots - Robot List page, refresh to view the results.
The registration process restarts the added cloud desktops. The entire registration process typically completes in about one minute. You can click the refresh button in the upper-right corner of the list to view the robot status in real time.
In the robot list, the Robot ID is empty for robots being registered, but you can view the corresponding cloud desktop information.
When the Authorization Status of a robot is "Authorized" and the Connection Status is "Connected", the robot is connected to the RPA server and ready to be scheduled, as shown in the following figure:

If you have an Advanced Edition robot license from a Free Trial, a prompt appears the first time you use a service-based robot. We recommend that you click OK. After you confirm, your current and future Advanced Edition robot licenses are automatically allocated to service-based robots. If you use both service-based robots and attended robots, you can adjust the license allocation in License Management.
Invoke a service-based robot
Service-based robots can only be invoked by using OpenAPI or the MCP Tool. To use OpenAPI, you first need to obtain an AccessKey ID and an AccessKey secret. Go to Console - System Settings - Personal Information to get your AccessKey ID and AccessKey secret.
Call the CreateTask API operation to run your RPA application. For an example, see API Call Example.
After a successful call, you can view task information on the "Service Robots - Task List" page.