One-click OpenClaw deployment on Elastic Desktop Service
This topic describes how to quickly deploy OpenClaw on Elastic Desktop Service and integrate it with bots on IM platforms such as DingTalk, QQ, and Lark. OpenClaw is an open-source AI agent and automation platform that deeply integrates multi-channel communication with large language models (LLMs). This allows you to build custom AI assistants that have persistent memory and can perform tasks proactively.
OpenClaw is an open-source AI assistant. Before you use it, fully evaluate its security and stability, and strictly comply with the license agreement to protect your system environment and data.
Prerequisites
Account and authentication
Register an Alibaba Cloud account and complete individual real-name registration or enterprise real-name registration.
Client download
Go to the download page for the Elastic Desktop Service client and download the version you need. Clients are available for macOS, Windows, Android, and iOS.
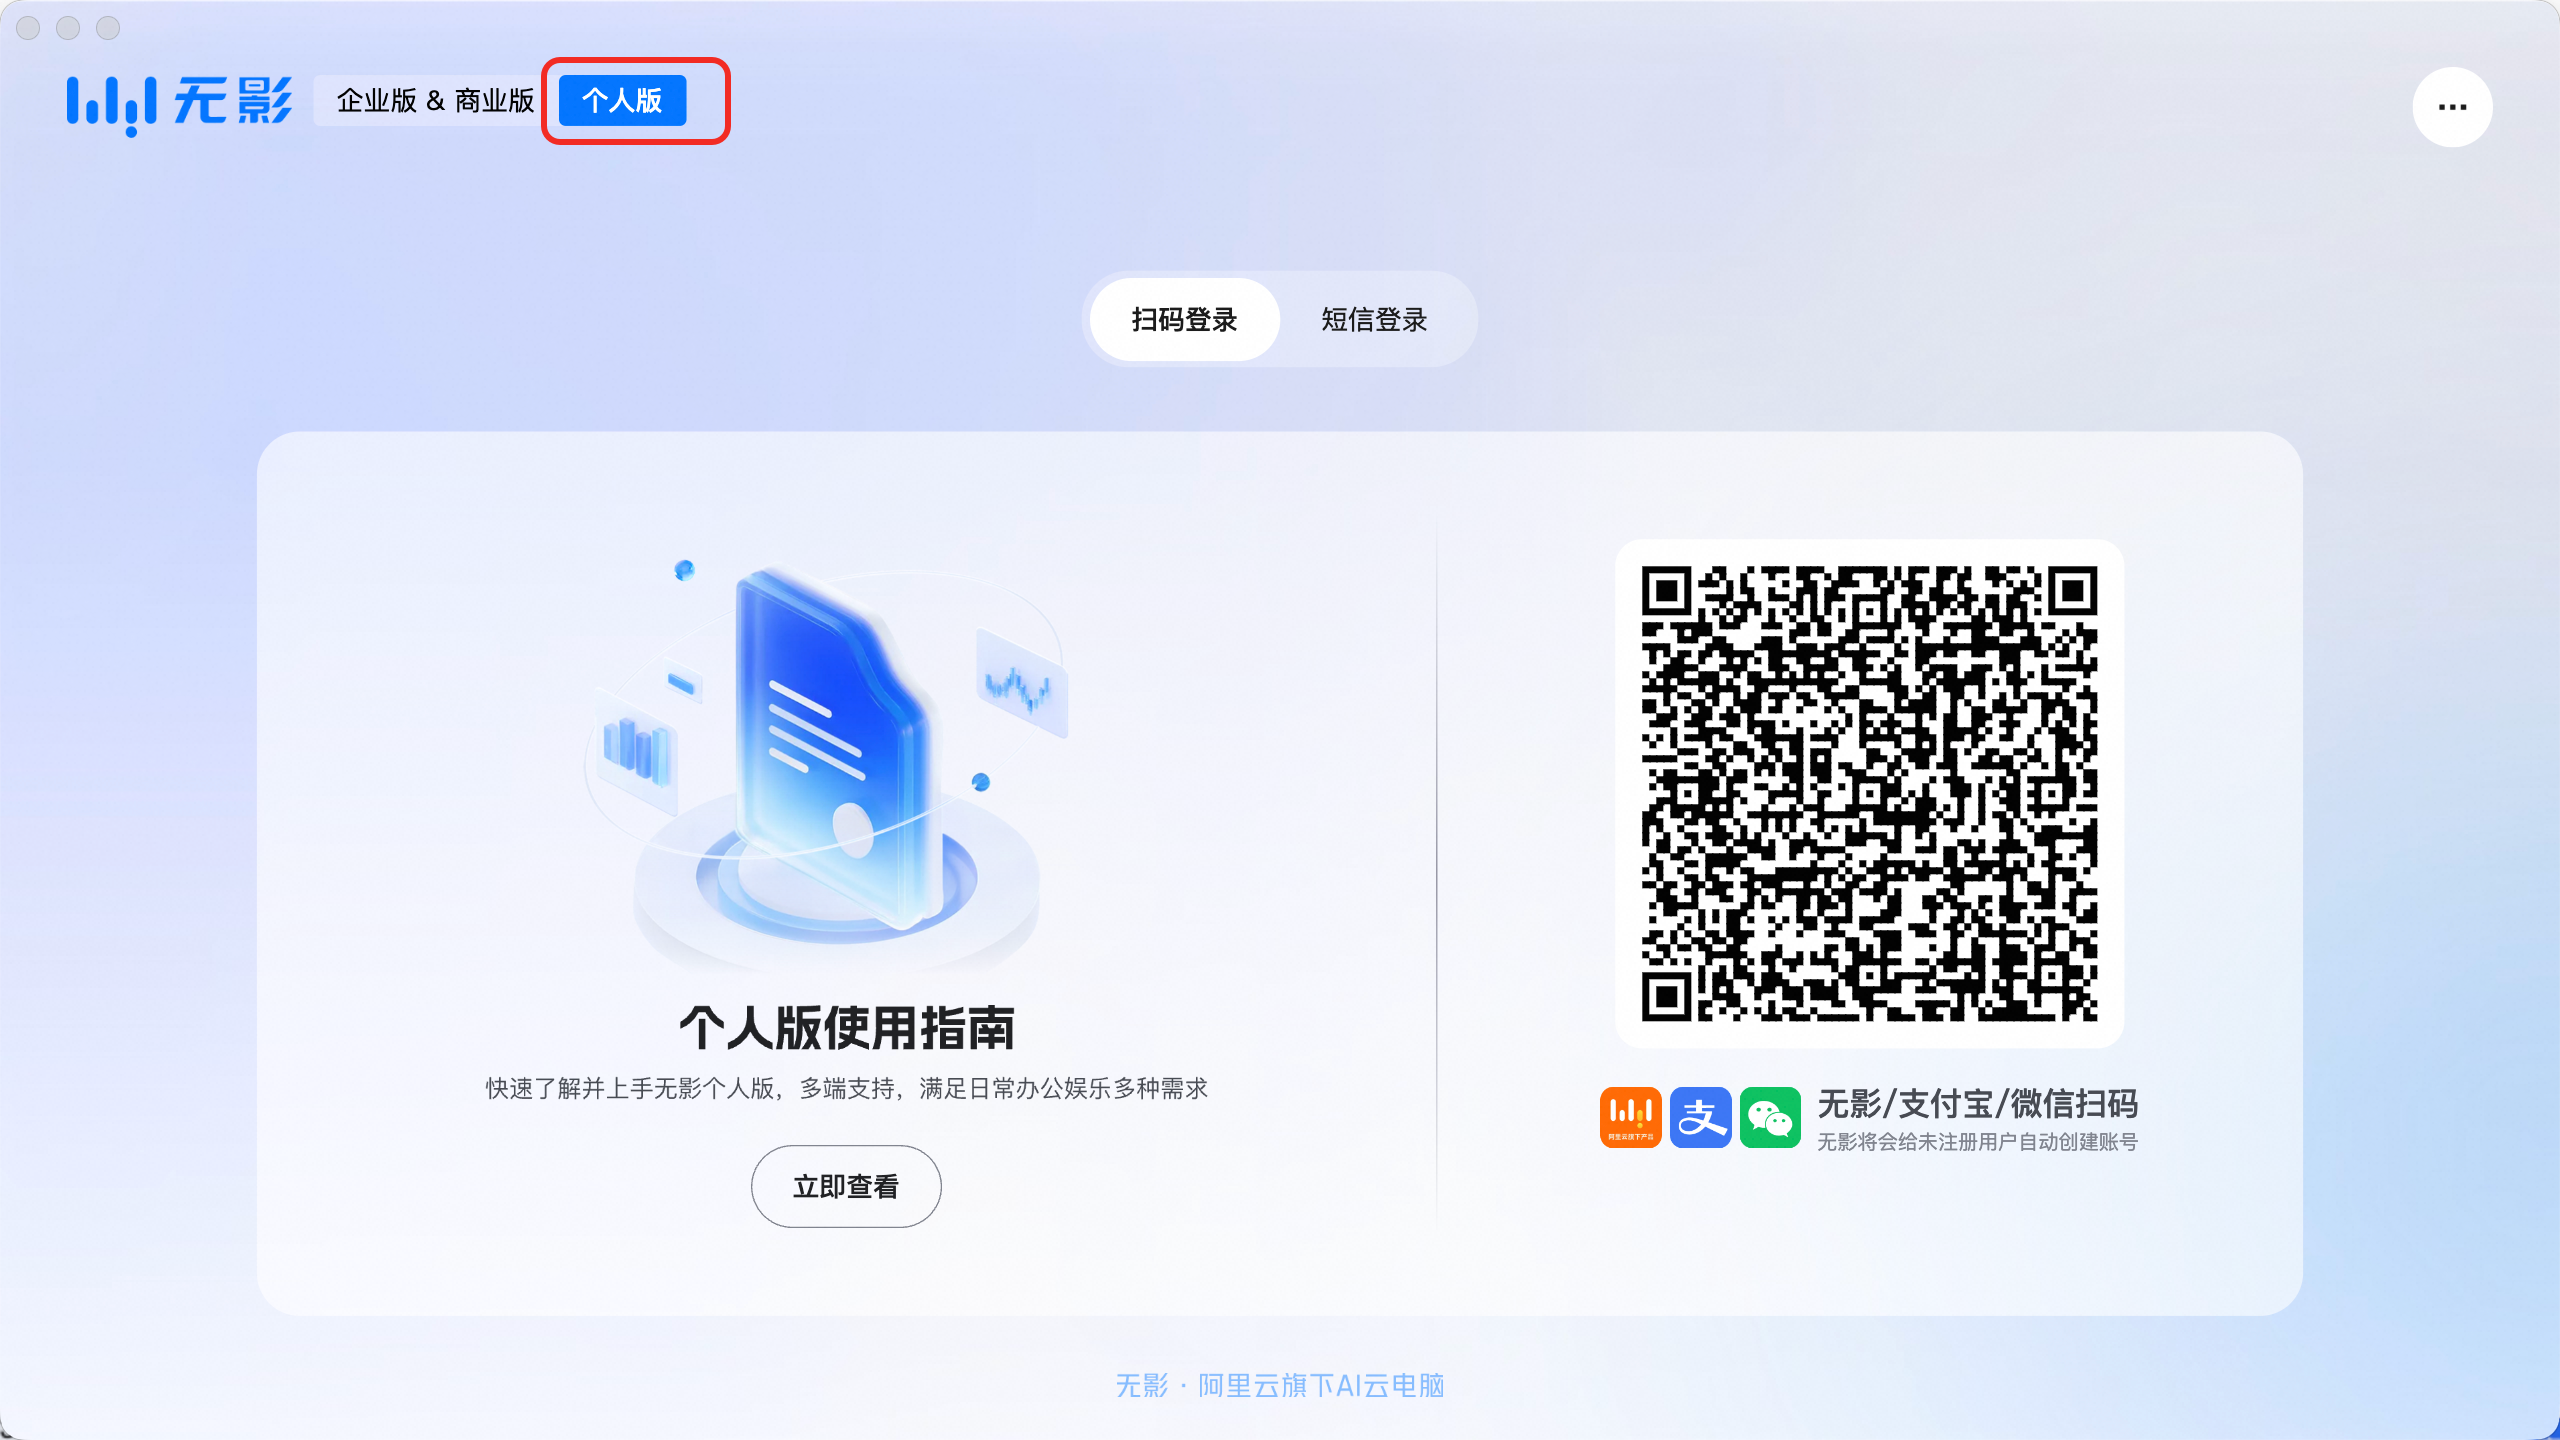
After the download is complete, log in to the Personal Edition of Elastic Desktop Service with your Alibaba Cloud account. For more information, see Cloud Computer Usage Overview.
Deploy a cloud computer
Create an OpenClaw cloud computer
The OpenClaw solution for Elastic Desktop Service is based on an Ubuntu image and does not support Windows.
Purchase a cloud computer
Open the Elastic Desktop Service client, log in to the Personal Edition, and click Wuying Store.
On the Quick Purchase tab, purchase the One-click Deployment for OpenClaw (Clawdbot) package. This package includes a Gold Monthly Card for Elastic Desktop Service Personal Edition and 2,000 Wuying Beans.
NoteWuying Beans are the standard unit for measuring the resource consumption of cloud computers and cloud gaming. For a cloud computer with a 4-core CPU and 8 GiB of memory, 2,000 Wuying Beans can support 500 hours of runtime. For more information, see Wuying Beans.
Change image
Changing the image erases all software and personal data on the system disk or data disk of the original cloud computer. This action cannot be undone. Proceed with caution.
Log in to the Personal Edition from the Elastic Desktop Service client.
After you log in, find the target cloud computer card and click the Manage button.

On the management page, select the Image tab, and then click Change Image.
Click Select Image. On the Select Image page, click Favorite Image with Code.
Enter the image code
OpenClaw(case-sensitive) and click OK.Select the favorited OpenClaw image and click OK.
On the Change Image page, click OK, Shut Down and Change. Wait for the image to update before you connect to the cloud computer to begin configuration.
Configure 24/7 operation
By default, the Auto Shutdown/Sleep on Disconnection feature is enabled to prevent unexpected Wuying Beans consumption if you forget to shut down or hibernate your cloud computer. The cloud computer automatically enters hibernation after 10 minutes of disconnection. A cloud computer in hibernation does not consume Wuying Beans.
When the cloud computer is in hibernation, the OpenClaw service deployed on it cannot be accessed. If you access OpenClaw through a third-party IM channel (such as DingTalk, Lark, or QQ), hibernation may prevent the bot from returning messages correctly. To avoid this, you can disable the Auto Shutdown/Sleep on Disconnection feature to allow OpenClaw to run 24/7.
Wait for the cloud computer's status to change to Running before you configure policies.
Click the Manage button on the target cloud computer card.
Select the Policy tab and turn off the Auto Shutdown/Sleep on Disconnection switch.
Configure OpenClaw
In the Personal Edition client, click Cloud Computer in the left-side navigation pane.
Click OpenClaw Application Configuration on the target cloud computer card.
On the Model Configuration tab, click Add Model.
On the Add Model Configuration page, complete the following settings:
NoteThe following steps use the
Qwen3.5 Plusmodel from Alibaba Cloud Model Studio as an example. To use a different model, select the corresponding Service Provider and enter the Model Name and API Key.When you chat with OpenClaw after you configure an Alibaba Cloud Model Studio model, charges apply based on the number of tokens used. You can subscribe to an Alibaba Cloud Model Studio Token Plan to get a fixed monthly fee and a monthly quota, and avoid unexpected costs.
Service Provider: Alibaba Cloud Model Studio.
Model Name:
Qwen3.5 Plus.API Key: Click Go to Configure API Key below to go to the Model Studio console. Click Create API Key and copy the key.
Click Add and Enable and wait for OpenClaw to restart.
Try out OpenClaw
The OpenClaw version in Elastic Desktop Service Personal Edition is adapted for compatibility. Upgrading OpenClaw separately may render the service unavailable.
Chat with OpenClaw
After you configure the model, you can chat with OpenClaw directly or assign tasks and commands within the cloud computer.
Double-click the OpenClaw icon on the cloud computer desktop.
On the Chat tab, start a conversation with OpenClaw to verify that the environment and model are correctly configured.
NoteTo set the display language of the OpenClaw console to Chinese, select Overview from the left-side navigation pane, and in the Gateway Access area, set language to Simplified Chinese.
To change the display language of the operating system, see Change System Language to Chinese.
DingTalk integration
In the channel settings, you can select and connect to various IM platforms. This allows you to send tasks and commands to OpenClaw through these platforms. The following example shows how to integrate with DingTalk. For more integration options, see More Channel Integrations.
DingTalk app integration
Log in to the DingTalk Open Platform.
NoteYou must select an organization for which you have developer permissions or select an organization and then get developer permissions.
If you do not have a suitable organization, you can scan the QR code below with the DingTalk mobile app to quickly create one.

Click App Development in the top navigation bar. On the DingTalk App page, click Create App.
After you create the app, select Add App Capabilities from the left-side navigation pane. Under Bot on the right, click Add.
On the bot configuration page, enable Bot Configuration. For Message Receiving Mode, select Stream Mode, and then click Publish to complete the bot configuration.
Select Version Management and Publication from the left-side navigation pane and click Create New Version. After you complete the configuration, click Save at the bottom to publish the version.
Select Credentials and Basic Information from the left-side navigation pane. View and record the Client ID and Client Secret.
In the Elastic Desktop Service client, click OpenClaw Application Configuration on the target cloud computer card and select the IM Channel Configuration tab.
Click Add Channel, and for Service Provider, select DingTalk.
Enter the Client ID and Client Secret of your DingTalk app, and then click Add Now.
Chat with the DingTalk bot
Open DingTalk and enter the name of the DingTalk app you created in the search box at the top.
In the list of functions, click the bot you just added to start a chat.
Enter a question or command in the chat box to interact with the DingTalk bot.
Next steps
Change the system language to Chinese
To change the system language of the cloud computer to Chinese, follow these steps:
At the bottom left of the cloud computer screen, click Show Applications. In the search box at the top, enter Terminal and open it.
In the Terminal, run the following commands:
sudo echo "export LANG=zh_CN.UTF-8" >> ~/.bashrc
sudo echo "export LANGUAGE=zh_CN:zh" >> ~/.bashrc
echo "export LANG=zh_CN.UTF-8" | sudo tee -a /etc/profile
echo "export LANGUAGE=zh_CN:zh" | sudo tee -a /etc/profile
source ~/.bashrc
source /etc/profile
Return to the Elastic Desktop Service client. Click the Power button on the target cloud computer card, and then click Restart.
After the restart, connect to the cloud computer and accept the related name changes.
More channel integrations
These integration steps support quick setup. You can scan QR codes to configure them.
If the channel you want to integrate is not listed in the IM channel configuration, you can instruct Clawbot to perform the integration directly in a chat.
Method | Description | Reference |
Lark integration |
| |
QQ integration |
| |
WeChat Work integration |
|
Subscribe to the Model Studio Token Plan
Subscribing to an Alibaba Cloud Model Studio Token Plan provides a monthly token quota for a fixed fee and helps prevent unexpected costs.
Go to the Token Plan Team Edition Purchase Page, select the Seat Type and Quantity, and complete your subscription.
Go to the Token Plan Management Platform. On the Overview page, generate and copy an API Key.
Go to the Elastic Desktop Service client and click OpenClaw Application Configuration on the target cloud computer card.
On the Model Configuration tab, click Add Model.
For Service Provider, select Model Studio Token Plan and enter the API Key you copied in step 2.
After you confirm that the information is correct, click Add and Enable.
NoteIf you add multiple models, OpenClaw uses only the one with the In Use status. To switch to a different model, click the edit icon for that model and then click Switch and Enable.
FAQ
Effects of changing the image
Changing the image does not affect the size of the system disk or data disk, or your subscription plan.
Firefox connection error
Try running the following commands in the Terminal to fix the issue:
openclaw gateway restart
openclaw doctor --fix
Remote access to OpenClaw
Elastic Desktop Service does not expose ports to the public internet, so you cannot access services on the cloud computer from a local browser. To access OpenClaw, connect to the cloud computer with the Elastic Desktop Service client and use the cloud computer's browser.
For more questions, see the OpenClaw FAQ.