本文介绍如何使用Canal将MySQL数据库(自建MySQL或RDS MySQL)中的数据同步到表格存储(Tablestore)。您可以通过Canal实现MySQL增量数据的实时同步,也可以将MySQL的全量数据同步到表格存储。
背景信息
Canal是阿里的开源项目,主要用途是基于 MySQL 数据库增量日志解析,提供增量数据订阅和消费。其工作原理是伪装成MySQL的Slave,模拟MySQL Slave的交互协议,向MySQL Master发送dump请求,获取binary log并解析。更多信息,请参见Canal。
准备工作
准备需要同步的 MySQL 信息,包括用户名、密码、数据库地址、JDBC 连接信息等。
重要通过Canal同步MySQL数据需要开启MySQL的binlog功能,确认binlog是否开启以及开启方式请参见附录1:MySQL准备工作。
开通表格存储服务,创建实例和数据表,用于存放同步的数据。具体操作,请参见开通服务和创建实例和创建数据表。
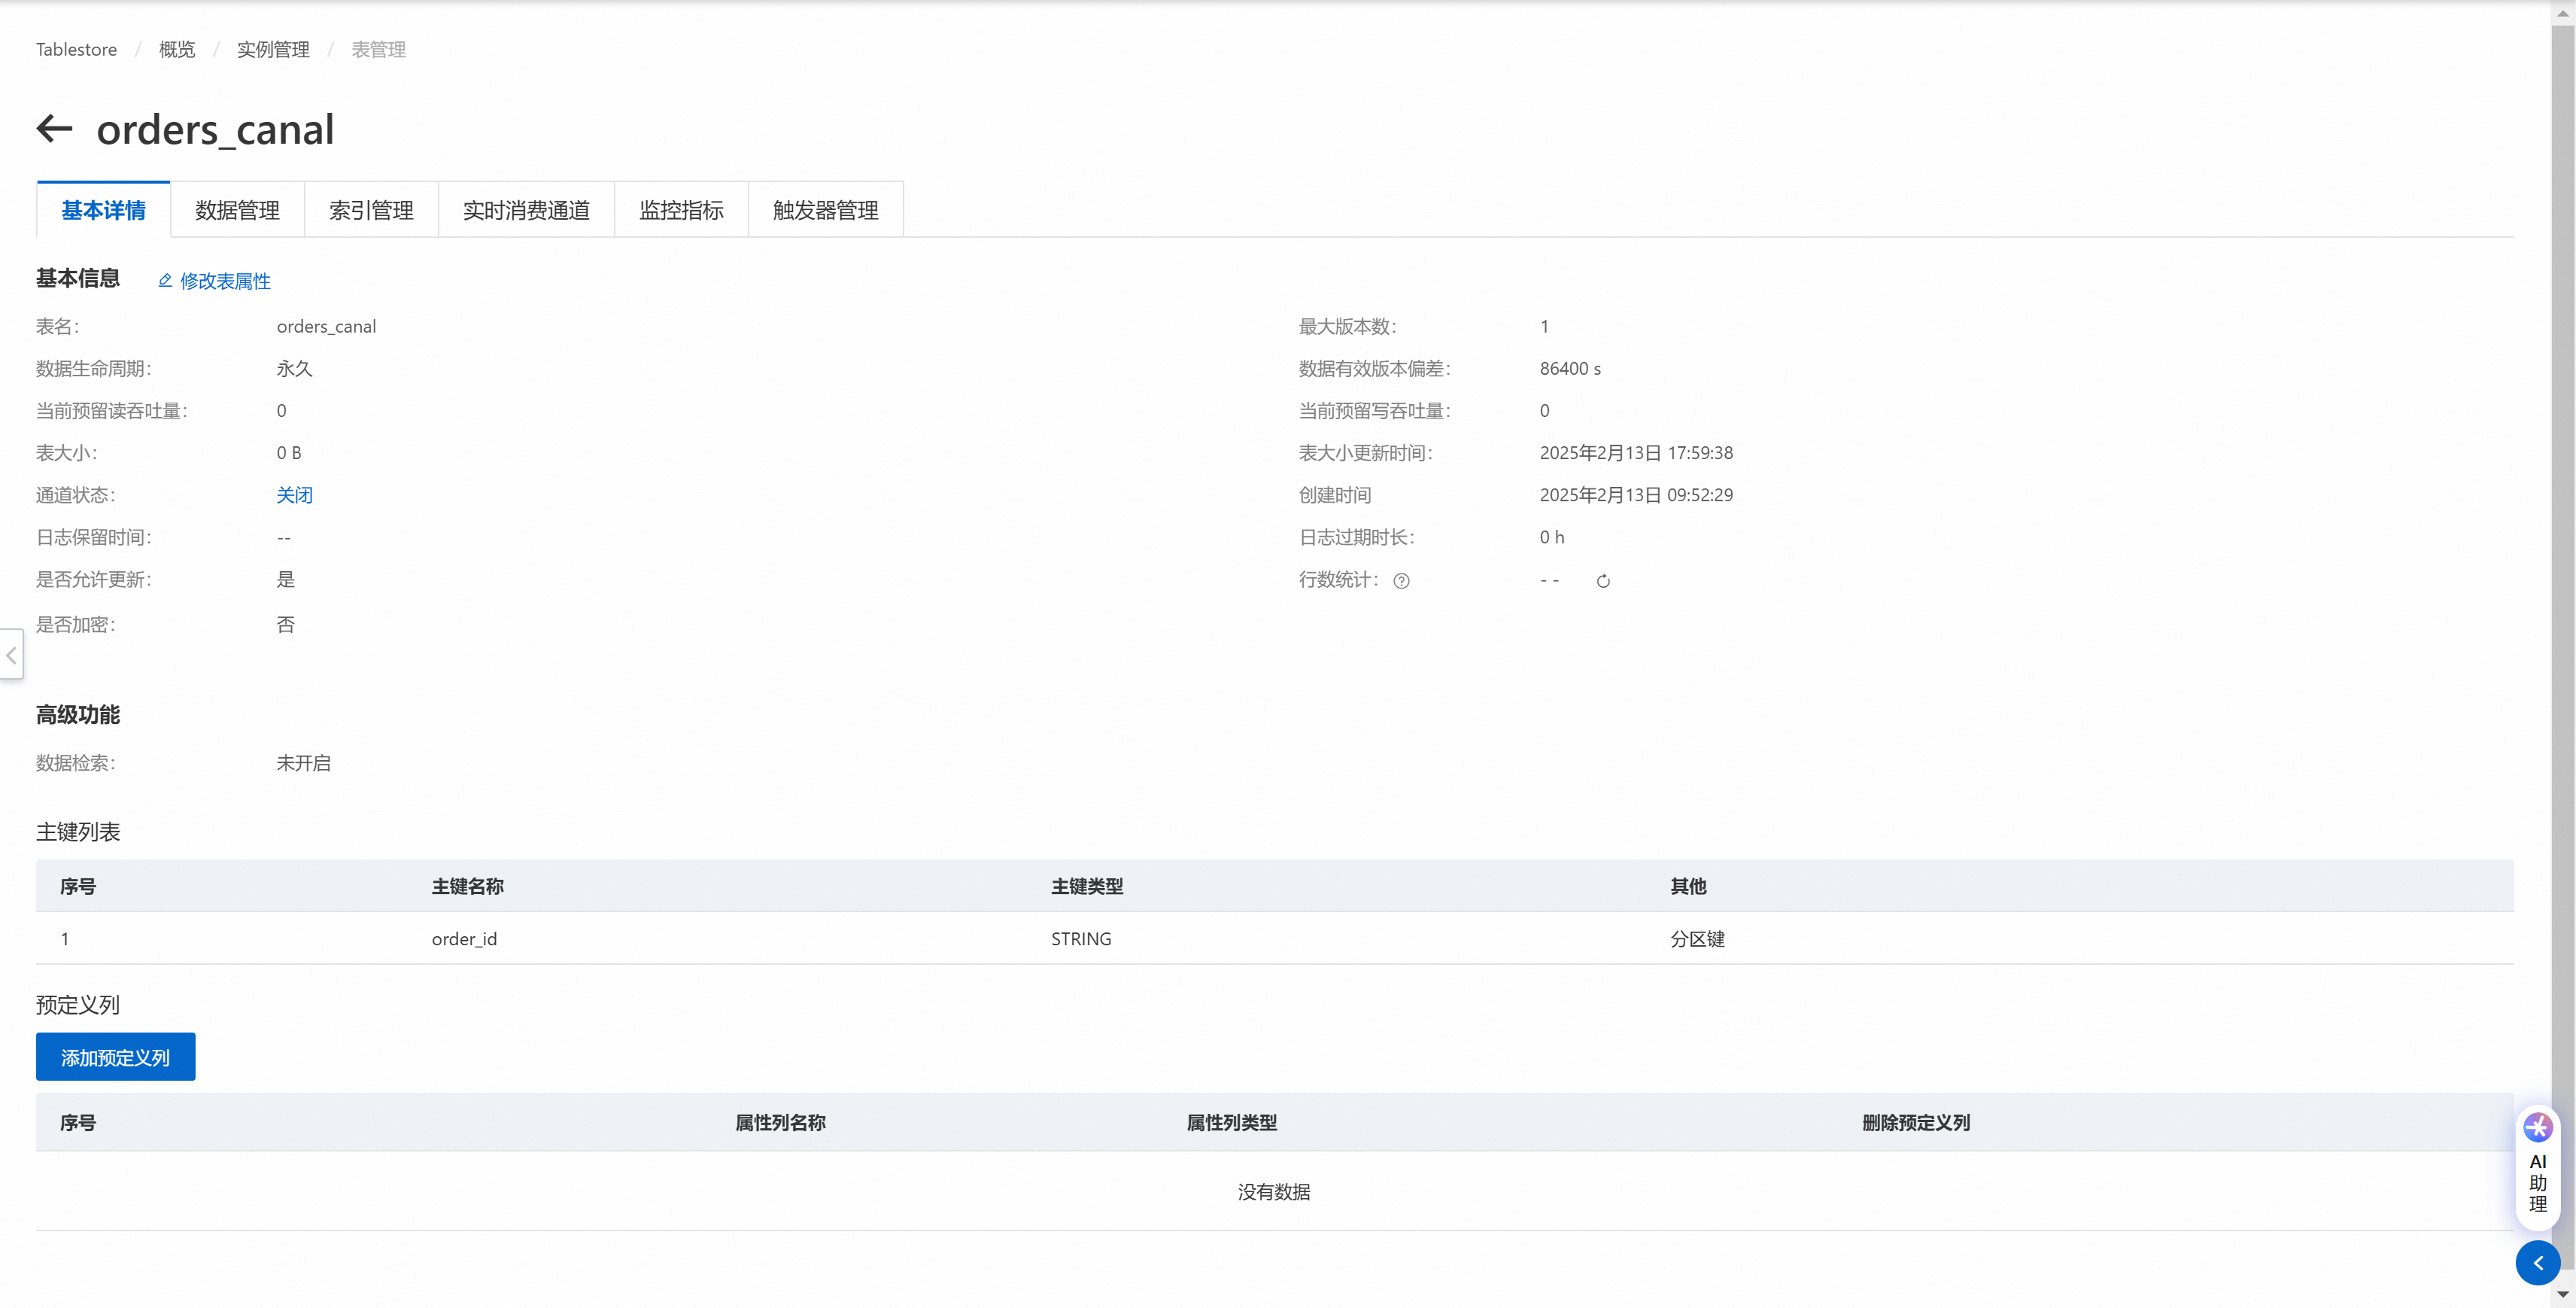
说明创建数据表时,建议使用MySQL原主键或唯一索引作为表格存储数据表的主键。本文使用的MySQL和表格存储数据表样例,请参见附录3:样例数据。
获取表格存储的实例名称和服务地址(Endpoint)。
登录表格存储控制台。
在页面上方,选择资源组和地域。
在概览页面,单击实例别名或在操作列单击实例管理。
在实例详情页签,查看实例的名称和服务地址。
获取 AccessKey 信息。请使用阿里云账号或RAM用户的 AccessKey 进行配置。获取AccessKey的具体操作,请参见如何获取AccessKey。
说明出于安全考虑,强烈建议您通过RAM用户使用表格存储功能。您可以创建RAM用户、授予该用户管理表格存储权限(
AliyunOTSFullAccess)并为该RAM用户创建AccessKey。具体操作,请参见使用RAM用户访问密钥访问表格存储。
操作步骤
本文操作使用的服务器为云服务器ECS,操作系统为Alibaba Cloud Linux 3.2104 LTS 64位和Ubuntu 24.04 64位。
一、安装JDK
Canal的运行依赖JDK(1.8及以上,推荐1.8),本文介绍在ECS的Alibaba Cloud Linux和Ubuntu系统中安装JDK 1.8的方法,如果您使用的是其他服务器,请自行进行安装。
Alibaba Cloud Linux
yum -y install java-1.8.0-openjdk-devel.x86_64Ubuntu
apt update && apt upgrade
apt install openjdk-8-jdk二、部署Deployer服务
创建Deployer服务部署目录。
cd && mkdir -p canal/deployer cd canal/deployer下载Deployer软件包并解压。
下载Deployer软件包。
wget https://github.com/alibaba/canal/releases/download/canal-1.1.8/canal.deployer-1.1.8.tar.gz如果网络不佳,您也可以直接下载canal.deployer-1.1.8.tar.gz并上传至服务器。
解压软件包。
tar -zxvf canal.deployer-1.1.8.tar.gz
编辑配置文件。
创建实例空间,将默认配置文件复制到创建的实例空间文件夹。
mkdir conf/tablestore
cp conf/example/instance.properties conf/tablestore
修改配置文件。
vi conf/tablestore/instance.properties修改以下配置项,指定监听的MySQL源数据库。
配置项
示例值
说明
canal.instance.master.address
自建MySQL:47.**.**.44:3306
RDS MySQL:rm-cn-rp************mo.rwlb.rds.aliyuncs.com:3306
Canal监听的MySQL源数据库地址,格式为
host:port。canal.instance.dbUsername
canal
MySQL源数据库用户的用户名。
重要该用户需要有
SELECT、REPLICATION SLAVE和REPLICATION CLIENT权限。授权方式请参见授权MySQL用户具有MySQL Slave的权限。canal.instance.dbPassword
Ca*******88
MySQL源数据库用户的密码。
修改canal.properties文件,自定义实例名称。
vi conf/canal.properties修改以下配置项,指定实例名称为tablestore。
canal.destinations = tablestore
启动Deployer服务。
sh bin/startup.sh您可以通过以下命令查看日志,以判断服务是否启动成功。
tail -f logs/tablestore/tablestore.log启动成功会有如下信息展示。
2025-02-13 19:45:40.622 [destination = tablestore , address = /47.**.**.44:3306 , EventParser] WARN c.a.o.c.p.inbound.mysql.rds.RdsBinlogEventParserProxy - ---> find start position successfully, EntryPosition[included=false,journalName=binlog.000001,position=249075669,serverId=1,gtid=,timestamp=1739446563000] cost : 22134ms , the next step is binlog dump 2025-02-13 19:45:40.737 [destination = tablestore , address = /47.**.**.44:3306 , EventParser] WARN c.a.otter.canal.parse.inbound.mysql.MysqlConnection - load MySQL @@version_comment : Source distribution如需关闭Deployer服务,您可以执行以下命令。
sh bin/stop.sh
三、部署Adapter服务
创建Adapter服务部署目录。
cd && mkdir -p canal/adapter cd canal/adapter下载Adapter软件包并解压。
下载Adapter软件包canal.adapter-1.0.1.tar.gz,并上传至服务器的部署目录。
重要GitHub上的Adapter软件包暂不支持将数据写入表格存储,请使用本文提供的Adapter软件包。
解压软件包。
tar -zxvf canal.adapter-1.0.1.tar.gz
编辑配置文件。
修改配置文件application.yml,定义适配器信息。
vi conf/application.yml修改以下配置项,指定MySQL数据库连接信息和适配器信息。
配置项
示例值
说明
srcDataSources
defaultDS
源数据库标识。保持默认即可。
srcDataSources.defaultDS.url
自建MySQL:jdbc:mysql://47.**.**.44:3306/ki**at?useSSL=false
RDS MySQL:jdbc:mysql://rm-cn-rp************mo.rwlb.rds.aliyuncs.com/ki**at?useSSL=false
MySQL源数据库的JDBC连接信息。
srcDataSources.defaultDS.username
canal
MySQL源数据库用户的用户名。
srcDataSources.defaultDS.password
Ca*******88
MySQL源数据库用户的密码。
canalAdapters.instance
tablestore
Canal实例名称。必须与Deployer的实例名称相同。
canalAdapters.groups.groupId
g1
适配器组ID。保持默认即可。
canalAdapters.groups.groupId.outerAdapters.name
tablestore
适配器类型。必须设置为tablestore,表示此适配器将数据写入到表格存储。
canalAdapters.groups.groupId.outerAdapters.key
orders
适配器标识。如果需要同步多张表,可以通过该参数进行区分。
canalAdapters.groups.groupId.outerAdapters.properties.tablestore.endpoint
https://i0********44.cn-hangzhou.ots.aliyuncs.com
表格存储实例访问地址。
重要为了保证资源访问安全,表格存储新创建的实例默认已关闭公网访问。如果您使用的是公网访问地址,请在中允许网络类型勾选公网。
canalAdapters.groups.groupId.outerAdapters.properties.tablestore.accessSecretId
LT********************bE
阿里云账号或RAM用户的AccessKey ID。
canalAdapters.groups.groupId.outerAdapters.properties.tablestore.accessSecretKey
CR**************************HD
阿里云账号或RAM用户的AccessKey Secret。
canalAdapters.groups.groupId.outerAdapters.properties.tablestore.instanceName
i0********44
表格存储实例名称。
修改适配器配置文件,指定需要消费的数据以及表映射。
说明如果需要多表同步,需要在Adapter安装目录的
conf/tablestore目录下创建多个.yml格式的配置文件,通过配置文件内的outerAdapterKey与application.yml文件中的canalAdapters.groups.groupId.outerAdapters.key进行匹配。vi conf/tablestore/orders.yml修改以下配置项。
配置项
示例值
说明
dataSourceKey
defaultDS
源数据库标识。与application.yml文件中的srcDataSources保持一致。
destination
tablestore
实例名称。与application.yml文件中的canalAdapters.instance保持一致。
groupId
g1
适配器组ID。与application.yml文件中的canalAdapters.groups.groupId保持一致。
outerAdapterKey
orders
适配器标识。与application.yml文件中的canalAdapters.groups.groupId.outerAdapters.key保持一致。
threads
1
TablestoreWriter中的bucket数量,默认值为1。
updateChangeColumns
false
行覆盖或行更新。默认值为false,表示行覆盖,即一行数据更新时,使用该行最新的整行值覆盖Tablestore中的旧行。如果设置为true,则表示行更新,即一行数据更新时,只对变化的字段进行操作。
dbMapping.database
ki**at
需要同步的MySQL数据库名称。
dbMapping.table
orders
需要同步的MySQL数据表源表名称。
dbMapping.targetTable
orders_canal
写入到表格存储的目标表名称。
dbMapping.targetPk
order_id: order_id
主键配置,格式为
pk: target_pk,即源表主键名称: 目标表主键名称。说明多个主键列配置时顺序必须与Tablestore中的主键顺序相同。
Tablestore适配器支持配置主键列自增,格式为
$$: target_pk,表示在目标表中生成一列名称为target_pk的主键且该主键列为自增列。当上游数据写入Tablestore时,Tablestore Adapter会自动填充该列的值。
dbMapping.targetColumns
modified_time: $string
配置需要同步的数据列及映射,支持配置类型转换。支持以下4种配置格式:
id: target_id$string:表示源表的id字段同步到目标表的target_id字段,字段类型映射为string。id: target_id:表示源表的id字段同步到目标表的target_id字段,字段类型采用默认映射。id: $string:表示id字段同步前后字段名不变,字段类型映射为string。id::表示id字段同步前后字段名不变,字段类型采用默认映射。
重要在dbMapping.targetPk中配置的非自增的主键列也需要在此处进行配置,自增主键列不需要进行配置。
如果不配置类型转换,Canal会根据源表中的字段类型推断目标字段类型。更多信息,请参见附录2:MySQL源表和表格存储目标表字段类型映射
配置映射的字段类型时,字段类型大小写不敏感。
dbMapping.commitBatch
200
一次批量RPC请求导入的数据行数,对应于TablestoreWriter中的maxBatchRowsCount。
dbMapping.etlCondition
where create_time >= {}
全量抽取数据时的过滤条件,过滤条件中的字段名称为源表的字段名称,可不填写。
重要只有在同步全量数据命令中带params参数时,过滤条件才会生效,否则即使设置了etlCondition,也会同步全量数据。
启动Adapter服务。
sh bin/startup.sh您可以通过以下命令查看日志,以判断服务是否启动成功。
tail -f logs/adapter/adapter.log启动成功会有如下信息展示。
2025-02-13 16:16:21.415 [main] INFO  c.a.o.canal.adapter.launcher.loader.CanalAdapterLoader - Start adapter for canal-client mq topic: tablestore-g1 succeed
2025-02-13 16:16:21.415 [main] INFO  c.a.o.canal.adapter.launcher.loader.CanalAdapterService - ## the canal client adapters are running now ......
2025-02-13 16:16:21.415 [Thread-5] INFO  c.a.otter.canal.adapter.launcher.loader.AdapterProcessor - =============> Start to connect destination: tablestore <=============
2025-02-13 16:16:21.421 [main] INFO  org.apache.coyote.http11.Http11NioProtocol - Starting ProtocolHandler ["http-nio-8081"]
2025-02-13 16:16:21.423 [main] INFO  org.apache.tomcat.util.net.NioSelectorPool - Using a shared selector for servlet write/read
2025-02-13 16:16:21.447 [main] INFO  o.s.boot.web.embedded.tomcat.TomcatWebServer - Tomcat started on port(s): 8081 (http) with context path ''
2025-02-13 16:16:21.452 [main] INFO  c.a.otter.canal.adapter.launcher.CanalAdapterApplication - Started CanalAdapterApplication in 3.931 seconds (JVM running for 4.515)
2025-02-13 16:16:21.521 [Thread-5] INFO  c.a.otter.canal.adapter.launcher.loader.AdapterProcessor - =============> Subscribe destination: tablestore succeed <=============
Adapter服务启动成功后,Canal默认自动开始同步MySQL增量数据并定期打印同步日志。
2025-02-13 19:56:06.400 [writer-scheduled-pool-%d0] INFO  com.alicloud.openservices.tablestore.TableStoreWriter - WriterStatistics: WriterStatistics: {
    totalRequestCount=0,
    totalRowsCount=0,
    totalSucceedRowsCount=0,
    totalFailedRowsCount=0,
    totalSingleRowRequestCount=0,
}如需关闭Adapter服务,您可以执行以下命令。
sh bin/stop.sh四、验证增量数据同步
在MySQL的源表中插入一行数据。
如果同步成功,adapter.log会打印同步日志如下。
2025-02-13 16:14:25.512 [writer-scheduled-pool-%d0] INFO com.alicloud.openservices.tablestore.TableStoreWriter - WriterStatistics: WriterStatistics: { totalRequestCount=1, totalRowsCount=1, totalSucceedRowsCount=1, totalFailedRowsCount=0, totalSingleRowRequestCount=0, }在表格存储控制台查看数据。
五、(可选)同步全量数据
执行以下命令调用Adapter服务的方法触发同步任务。
执行命令后,Canal会先中止增量数据传输,然后同步全量数据。待全量数据同步完成后,Canal会自动进行增量数据同步。
命令格式:
curl "hostip:port/etl/type/key/task" -X POST示例:
curl "localhost:8081/etl/tablestore/orders/orders.yml" -X POST带过滤条件的同步命令示例,调用时会使用params的值替换dbMapping.etlCondition中的 {}:
curl "localhost:8081/etl/tablestore/orders/orders.yml?params='2025-01-01'" -X POST参数说明如下:
配置项 | 示例值 | 说明 |
hostip | localhost | 部署Canal服务的服务器IP地址,本地运行可设置为localhost。 |
port | 8081 | 部署Canal服务的端口。 |
type | tablestore | 适配器类型,必须设置为tablestore。 |
key | orders | 适配器标识。与application.yml文件中的canalAdapters.groups.groupId.outerAdapters.key保持一致。 |
task | orders.yml | 配置文件名称。 |
同步成功后,adapter.log会打印同步日志。
2025-02-13 19:59:40.836 [http-nio-8081-exec-1] INFO  o.a.catalina.core.ContainerBase.[Tomcat].[localhost].[/] - Initializing Spring FrameworkServlet 'dispatcherServlet'
2025-02-13 19:59:40.836 [http-nio-8081-exec-1] INFO  org.springframework.web.servlet.DispatcherServlet - FrameworkServlet 'dispatcherServlet': initialization started
2025-02-13 19:59:40.865 [http-nio-8081-exec-1] INFO  org.springframework.web.servlet.DispatcherServlet - FrameworkServlet 'dispatcherServlet': initialization completed in 28 ms
2025-02-13 19:59:40.954 [http-nio-8081-exec-1] INFO  com.alicloud.openservices.tablestore.TableStoreWriter - Start initialize ots writer, table name: orders_canal.
2025-02-13 19:59:41.012 [http-nio-8081-exec-1] INFO  com.alicloud.openservices.tablestore.TableStoreWriter - End initialize with table meta: TableName: orders_canal, PrimaryKeySchema: order_id:STRING, DefinedColumnSchema: .
2025-02-13 19:59:41.017 [writer-scheduled-pool-%d0] INFO  com.alicloud.openservices.tablestore.TableStoreWriter - WriterStatistics: WriterStatistics: {
    totalRequestCount=0,
    totalRowsCount=0,
    totalSucceedRowsCount=0,
    totalFailedRowsCount=0,
    totalSingleRowRequestCount=0,
}
2025-02-13 19:59:41.149 [pool-8-thread-2] INFO  com.alicloud.openservices.tablestore.TableStoreWriter - WriterStatistics: WriterStatistics: {
    totalRequestCount=0,
    totalRowsCount=133,
    totalSucceedRowsCount=0,
    totalFailedRowsCount=0,
    totalSingleRowRequestCount=0,
}
2025-02-13 19:59:41.982 [pool-8-thread-1] INFO  com.alicloud.openservices.tablestore.TableStoreWriter - WriterStatistics: WriterStatistics: {
    totalRequestCount=44,
    totalRowsCount=8943,
    totalSucceedRowsCount=6740,
    totalFailedRowsCount=0,
    totalSingleRowRequestCount=0,
}
2025-02-13 19:59:42.085 [http-nio-8081-exec-1] INFO  c.a.o.c.c.a.tablestore.service.TablestoreEtlService - 数据全量导入完成, 一共导入 10001 条数据, 耗时: 1064
2025-02-13 19:59:42.086 [http-nio-8081-exec-1] INFO  com.alicloud.openservices.tablestore.TableStoreWriter - WriterStatistics: WriterStatistics: {
    totalRequestCount=54,
    totalRowsCount=10001,
    totalSucceedRowsCount=10001,
    totalFailedRowsCount=0,
    totalSingleRowRequestCount=0,
}
附录
附录1:MySQL准备工作
开启binlog
MySQL 8.0和RDS MySQL新建实例已默认开启binlog,您可以登录MySQL后通过以下命令确认binlog是否已开启。
show variables like 'log_bin';如果binlog已开启,会显示如下信息。
mysql> show variables like 'log_bin';
+---------------+-------+
| Variable_name | Value |
+---------------+-------+
| log_bin       | ON    |
+---------------+-------+
1 row in set (0.01 sec)
如果 log_bin 参数的值为 OFF,表示binlog未开启,需要在my.cnf配置文件中添加如下内容开启binlog。
[mysqld]
log-bin=mysql-bin #开启 binlog
binlog-format=ROW #选择 ROW 模式
server_id=1 #配置 MySQL replaction 需要定义,不要和 Canal 的 SlaveId 重复授权MySQL用户具有MySQL Slave的权限
您可以为已有用户授权,也可以登录MySQL后创建一个新用户并进行授权。
创建MySQL用户命令如下。
create user 'canal' identified by 'password';授权命令如下。
grant select, replication slave, replication client on *.* to 'canal'@'%';授权后,需要刷新权限。
flush privileges;
附录2:MySQL源表和表格存储目标表字段类型映射
配置MySQL源表和表格存储目标表的字段映射时,如果不手动指定映射后的字段类型,Canal会根据源表字段类型自动判断表格存储目标表的字段类型。字段类型映射关系如下表所示。
源表字段类型 | 表格存储目标表字段类型 |
string | string |
int | int |
integer | |
bool | bool |
boolean | |
binary | binary |
double | double |
float | |
decimal |
附录3:样例数据
MySQL源表
MySQL源表建表语句如下。
create table orders (
  order_id varchar(50) primary key comment '订单ID',
  user_id varchar(10) not null comment '用户ID',
  sku_id varchar(10) not null comment '商品ID',
  price decimal(12, 2) not null comment '商品购买单价',
  num int not null comment '商品购买数量',
  total_price decimal(12, 2) not null comment '订单总价',
  order_status varchar(2) not null comment '订单状态',
  create_time timestamp not null default current_timestamp comment '订单创建时间',
  modified_time timestamp not null default current_timestamp on update current_timestamp comment '最后修改时间'
);
表格存储目标表
由于表格存储是schema-free的,创建目标表时仅需指定主键 order_id 即可。目标表基本详情如下。